
I know it’s been a while since a bathroom update on here……..over a month.
We didn’t want y’all to think that we’d forgotten that we were remodeling a bathroom. Trust me, we haven’t forgotten.
So much progress…..and so little documentation shared with you kind readers.
Let’s fix that right now, and start with the most boring part……..the walls.
After the tear-out, they looked like this….

My brother Ben and I ran new electrical and hung drywall on all the walls that won’t get tile.
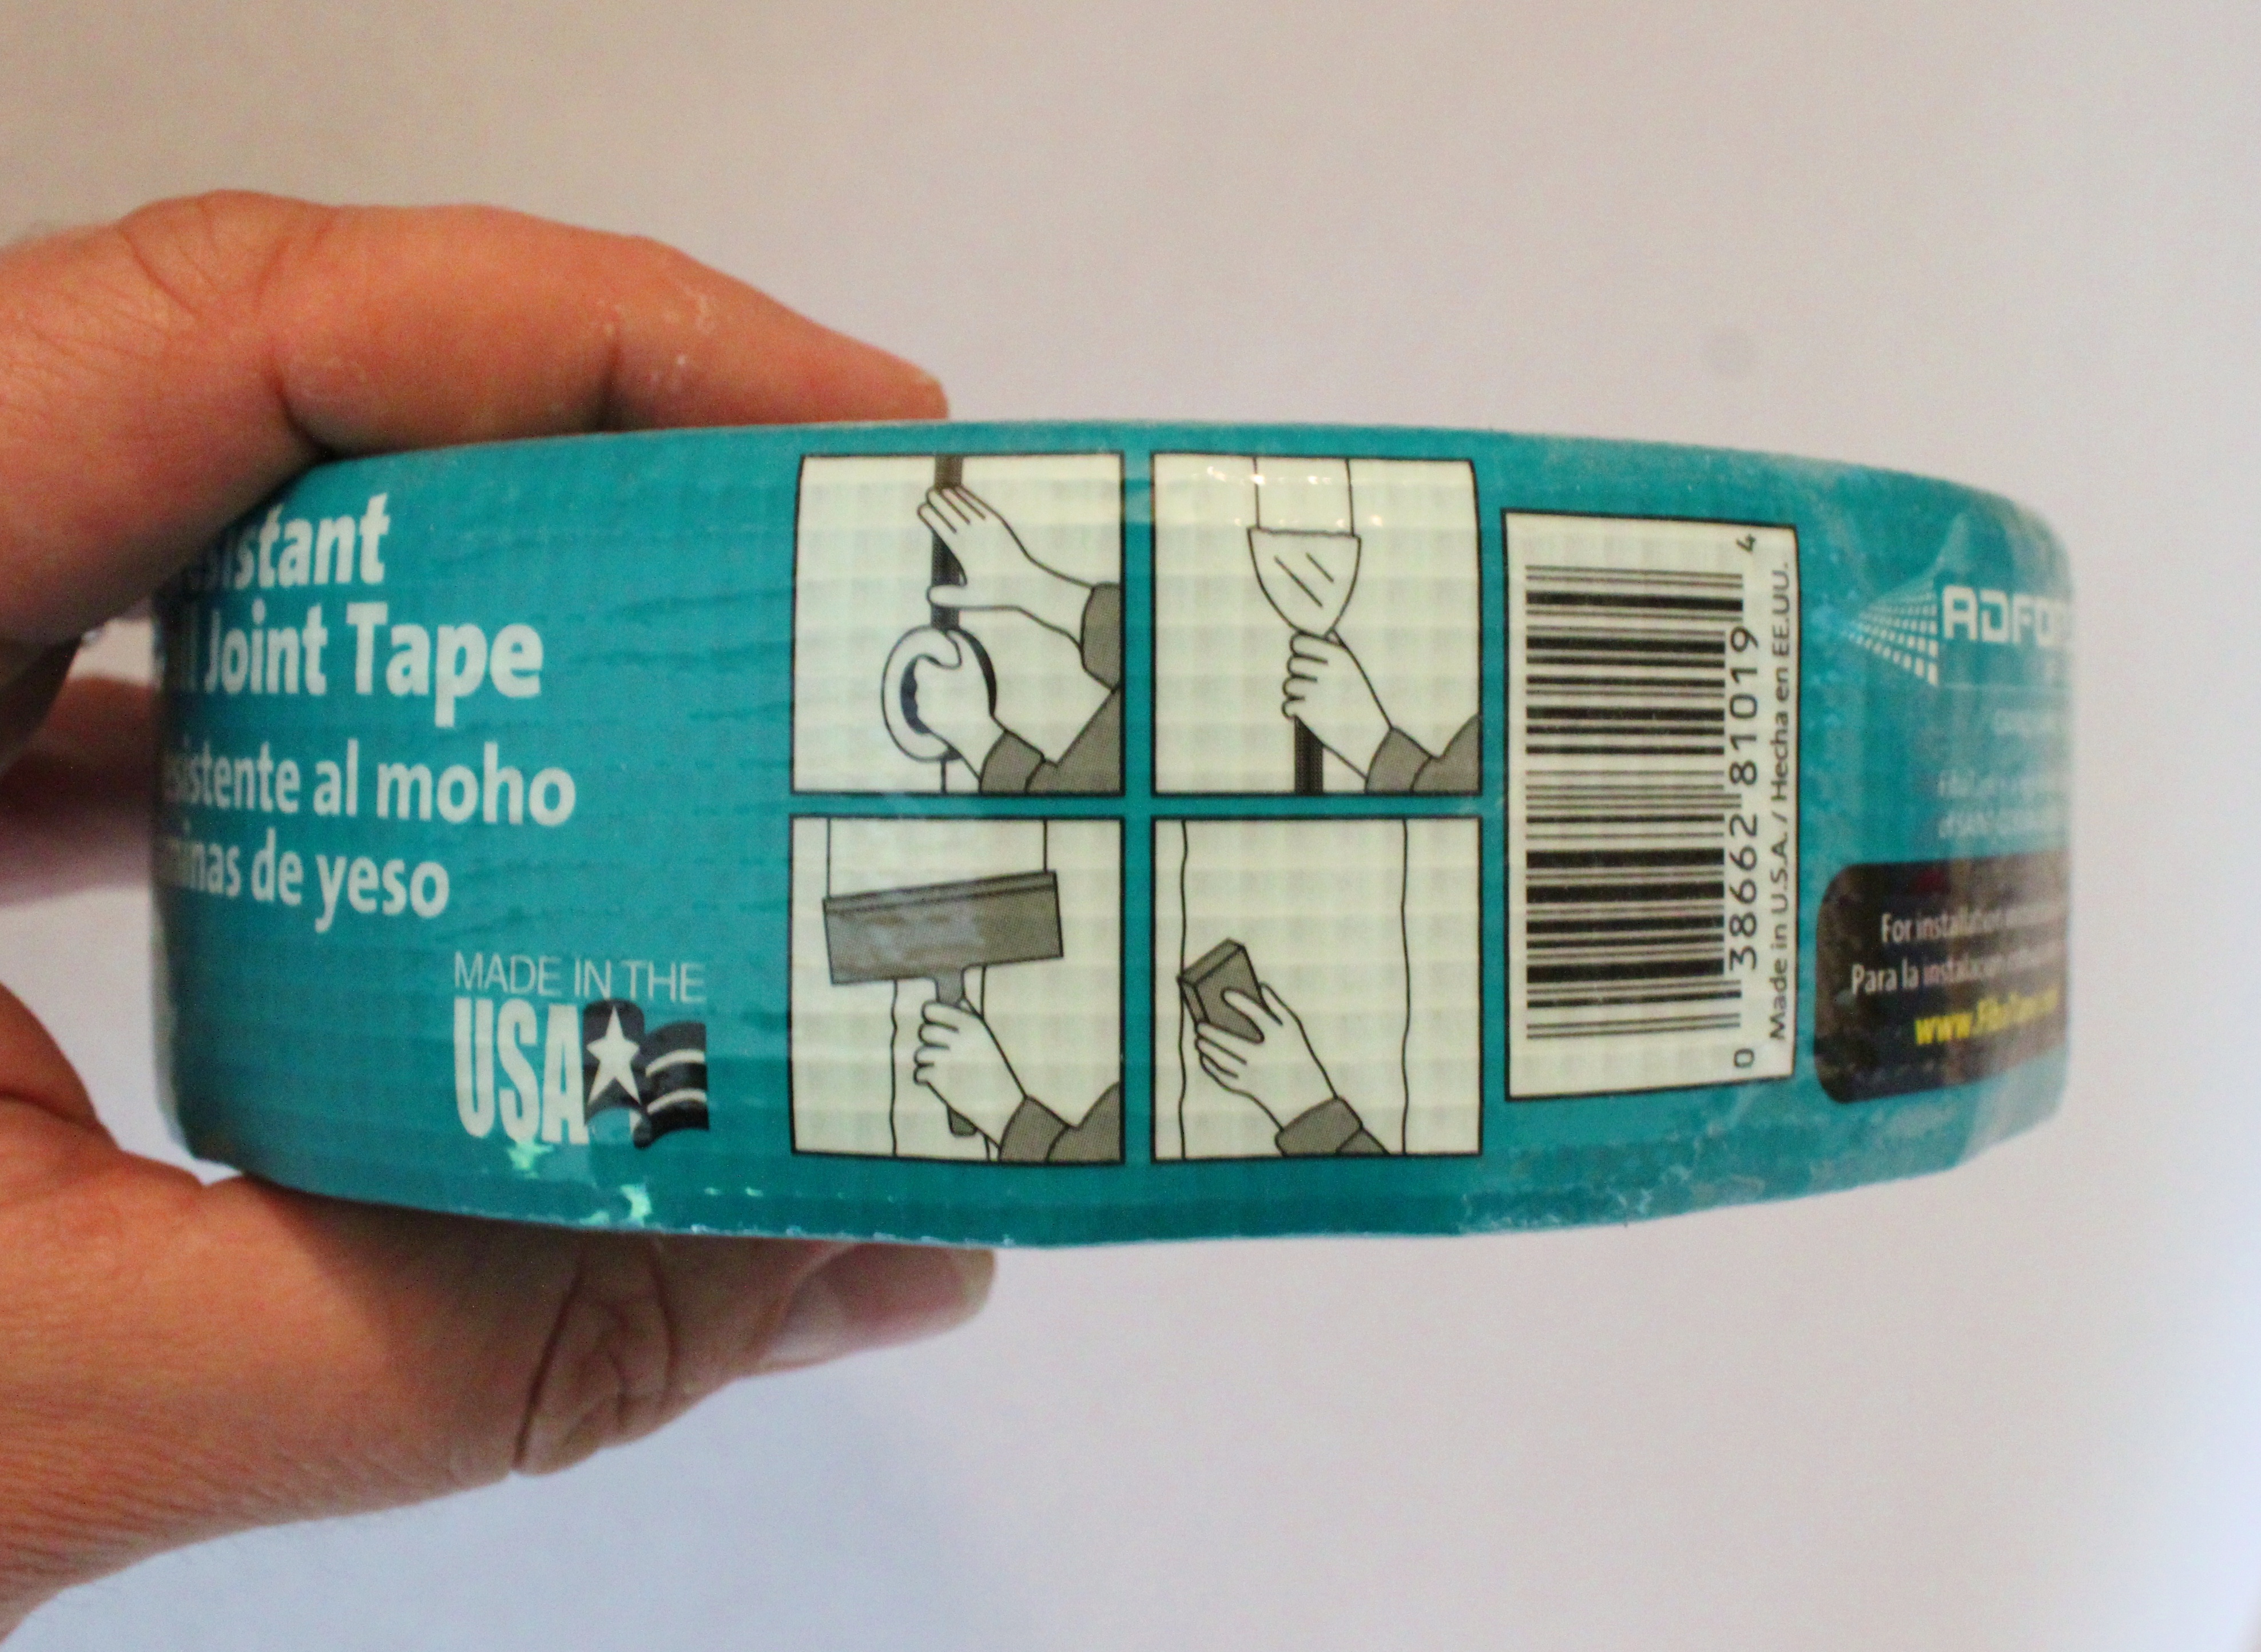
I didn’t get any pictures of newly-hung drywall because while I was at work Jamie surprised me and taped and bedded the whole room using mud and green mesh tape on the seams.

Looks pretty good, don’t it?
How did he know how to do it?
The directions are right on the label. Printed in hieroglyphics.
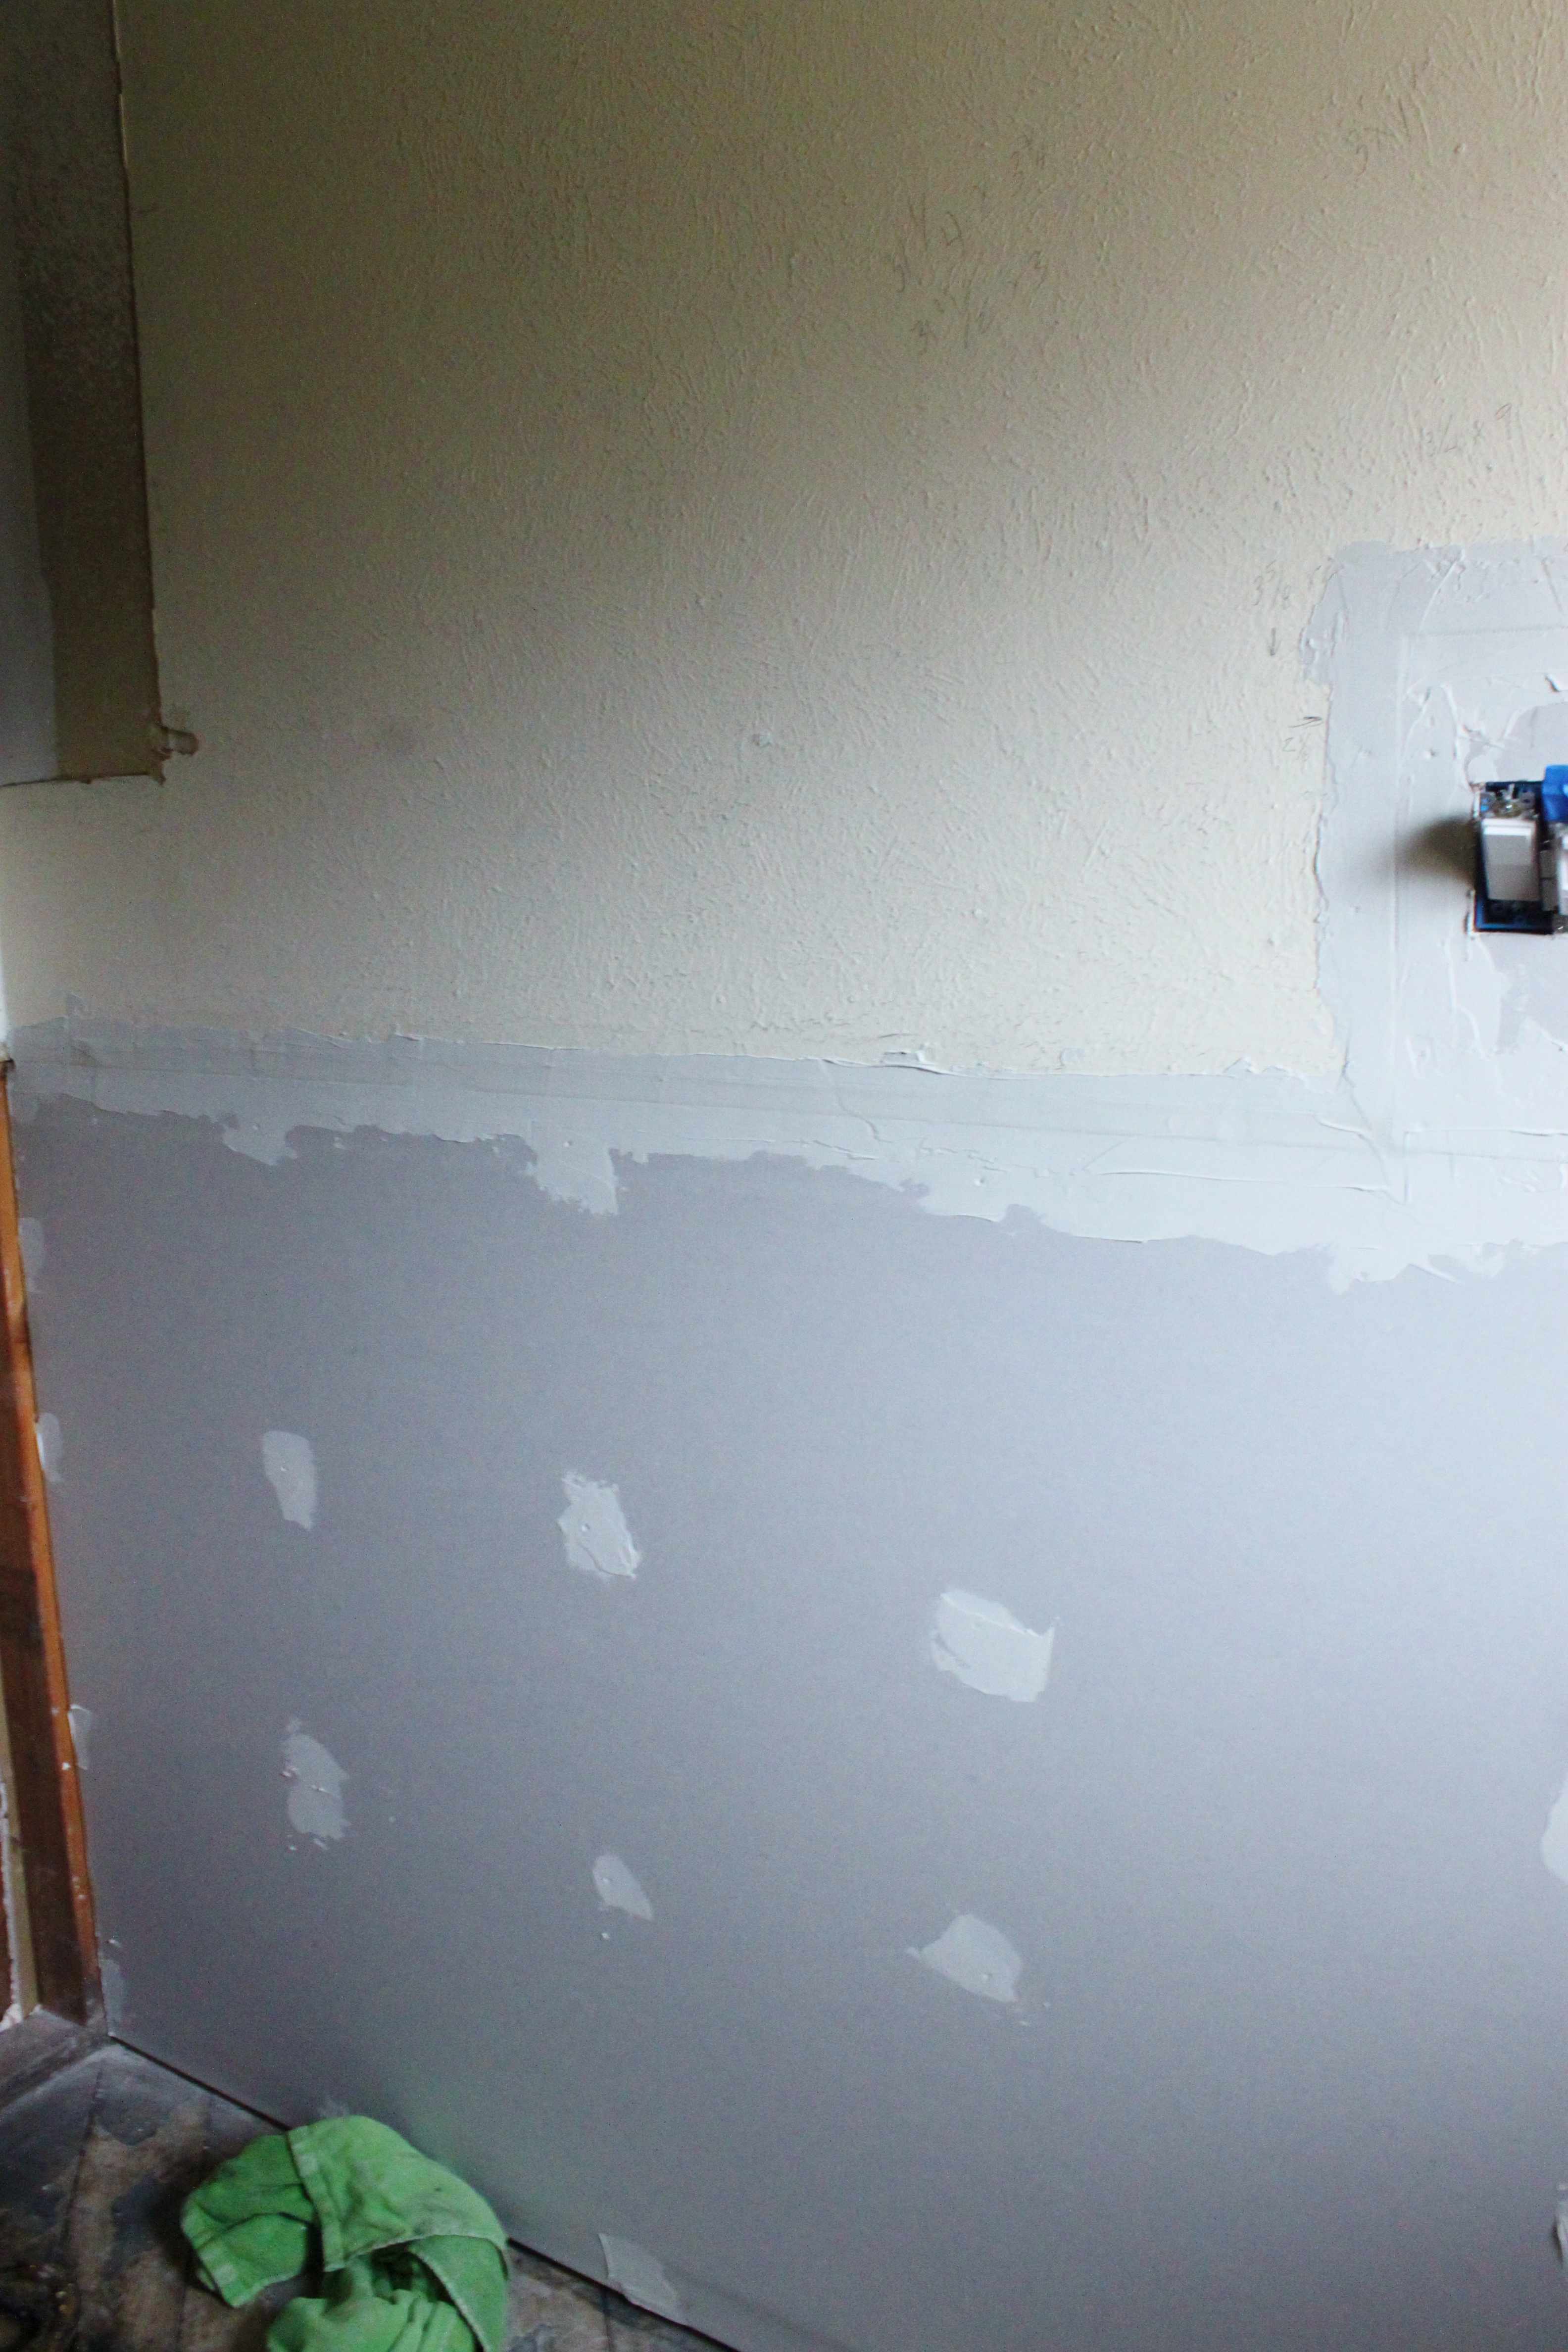
Then to smooth out the old wall, and add a small amount of texture to the new drywall, we added layer… upon layer….. upon layer of mud with a spatula.
Whenever you hear someone say “mud” – Joint Compound is what they really mean. Probably because it looks like, you know, ……mud.

After a week of “mudding” and sanding the walls and ceiling, we were left with this…..

The space heater is there to speed up the dry time in this humid month we’ve been having (and that small section on the left is unfinished so the plumber can replace the water line for the toilet.)
Told ya there isn’t anything too exciting to show.
We’ve actually come quite farther than this, but I have to start at the beginning.
Stay tuned for more…….


You guys are off to a great start! Can’t wait to see the finished project! Take care
Wow, nice work there on the drywall. I would not be surprised if Jamie actually, you know, Googled some too, just to be sure he understood how to mud an tape. 😉
Looks like he did a great job.
Will be interesting to see how the progress comes along as you back post, so to speak.
Looks great! Wow….Jeff and I have been wondering how this project has been going! Please please please keep us posted! Anxious to see!