I have been making my own Christmas cards for as long as I can remember. Because I can rarely find any pre-made ones with the right ….”personality”.
It certainly isn’t cheaper to make them than buy. Not by a longshot. But they are much more personal.
Every card starts with an inspiration, usually a vintage picture we found at a junk shop.
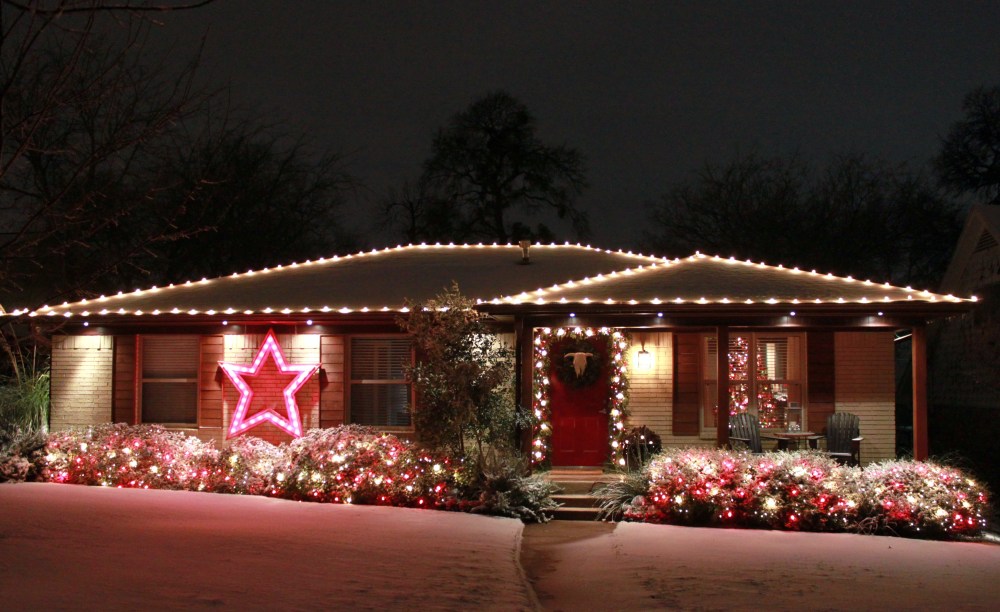
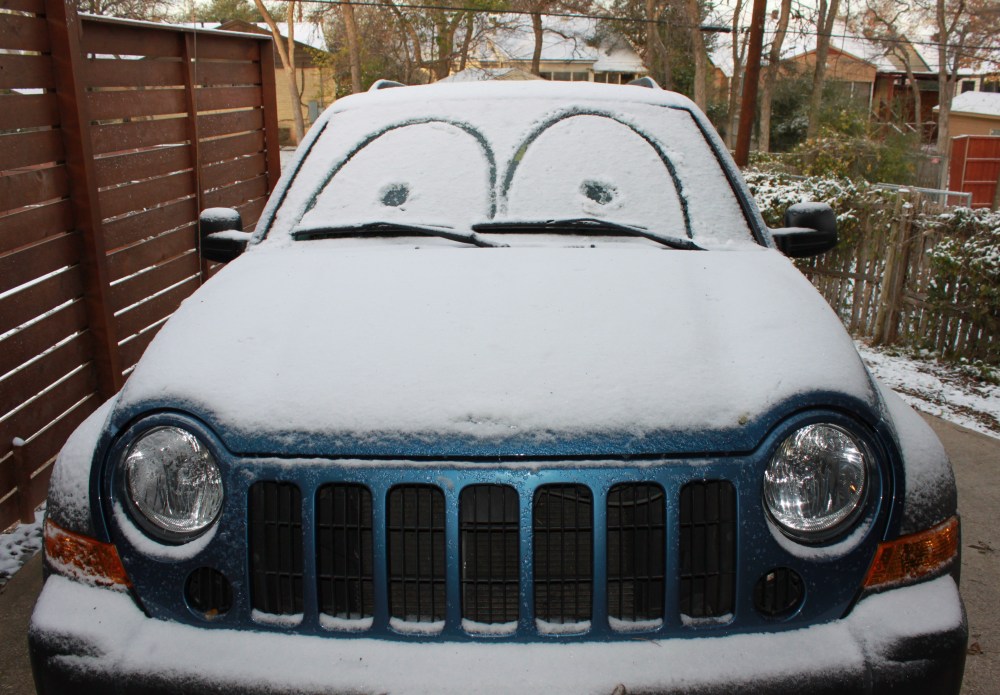
But, this year inspiration came to us from an image on Pinterest.
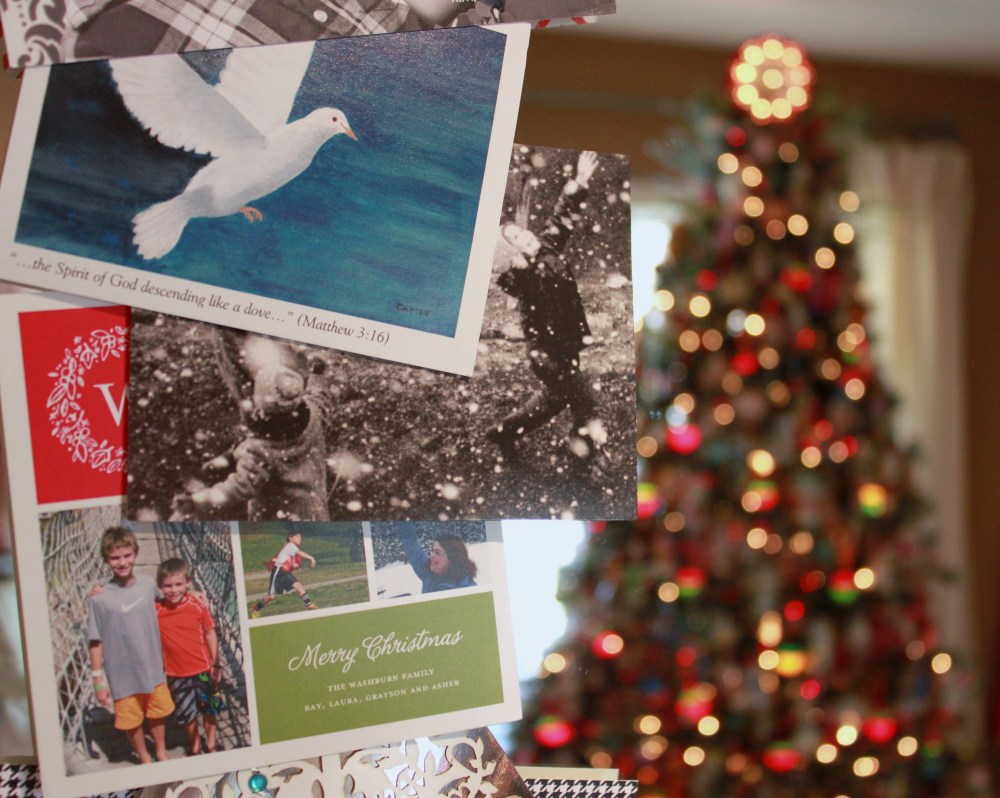
This one:

Pretty stunning, isn’t it? I’m in love with the grainy timelessness of it.
A Black/White photo will look like holiday cheer adhered on a red card. So red cards is where we started.
We are lucky to have a Paper Source in Dallas, and we headed there for red cards and white envelopes.
It was at Paper Source that we were given a couple of product demonstrations that showed us how to take our humble cards to the next level. We don’t consider ourselves to be “crafters”…..so this stuff was all new to us.
Allow us to share the process.
To begin, Jamie stamped “Happy Holidays” inside our cards with a rubber stamp and “Frost White” embossing ink. (Not all of our friends are Christians, so “Happy Holidays” is the best greeting)

Then a sprinkle with embossing powder.

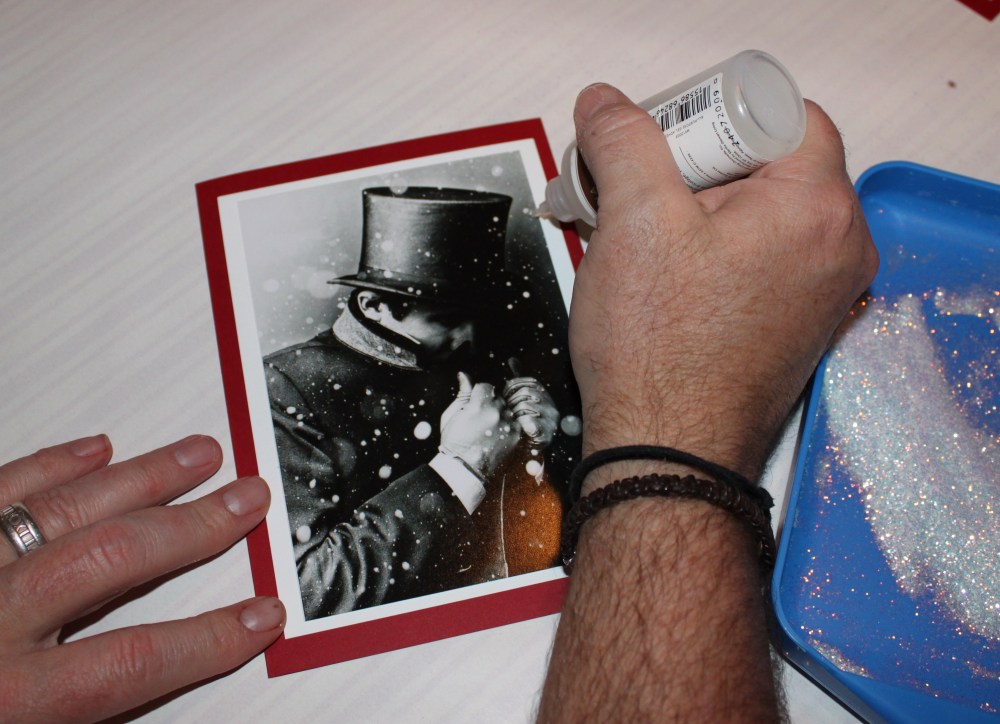
He taped the excess powder off into the “No Spill Tray Mate “. We have always shaken off excess glitter into a paper plate and then bent the plate in half to “funnel” the surplus back into the jar.
Apparently, this is how they crafted durring the middle-ages.

This thing is the perfect size to compile all that extra embossing powder and pour it right back where it belongs with the built-in funnel on the bottom.
He then “set” the embossing powder with a heat gun. This makes the powder bake onto the stamp. Very professional looking.

Can’t use a hair dryer because it would just blow all the powder away. (We don’t own a hairdryer anyway, neither of us has that much hair)
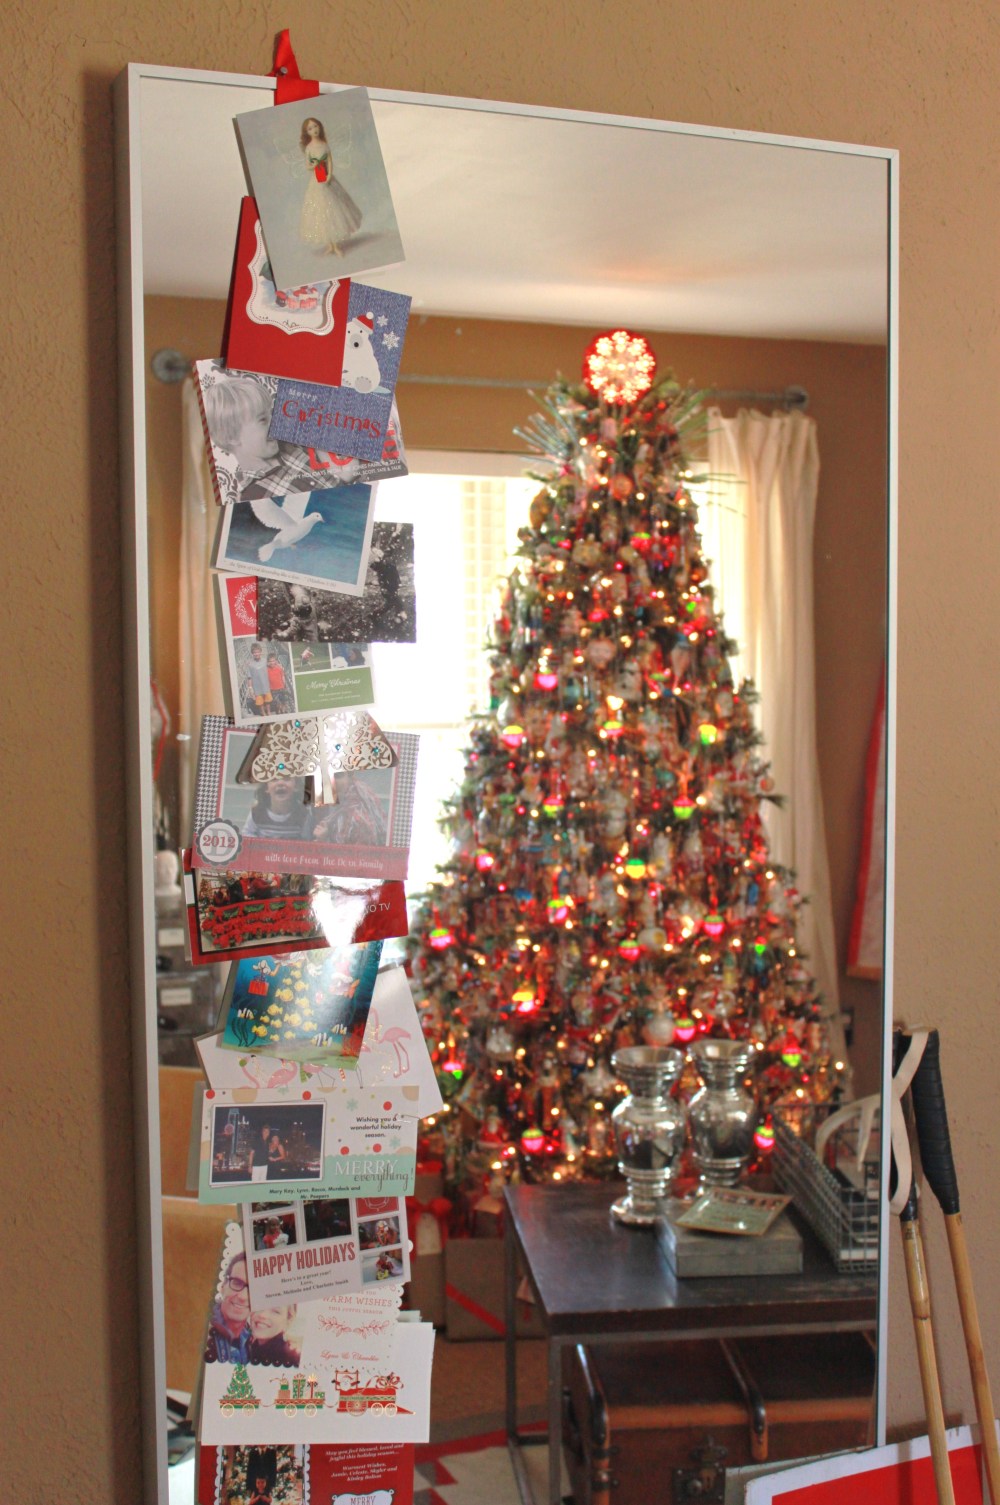
Here are all the finished stamped cards drying and waiting for Jamie to add the photos to the front.

Speaking of photos.
Jamie put our jpeg picture on a zip drive and used the photo machine at the drug store on the corner. Printed them on matt photo paper. (28 cents each)
We tried a couple different sizes of photos. 5X7 was beautiful image, but the exact size of our cards. We definitely want to show some of that holiday red color. The 4X6 with the small white border was printing slightly off-center. Skinny little white line on top, thick ones on the other 3 sides. In contrast, the 4X6 without a white border seemed too flat.

The solution turned out to be a 4 1/2 X 6 1/4 white card in-between our beautiful image and the red folded card. Like so….

We just had to tape all three together with a crafting tape runner.
I realize that with the math, the sides with have 1/8 of an inch more of white card showing than the top/bottom. I think we’re OK with this. The thought of cutting 1/4 inch off of 80 white cards perfectly seems a little dreadful at this point in the project.

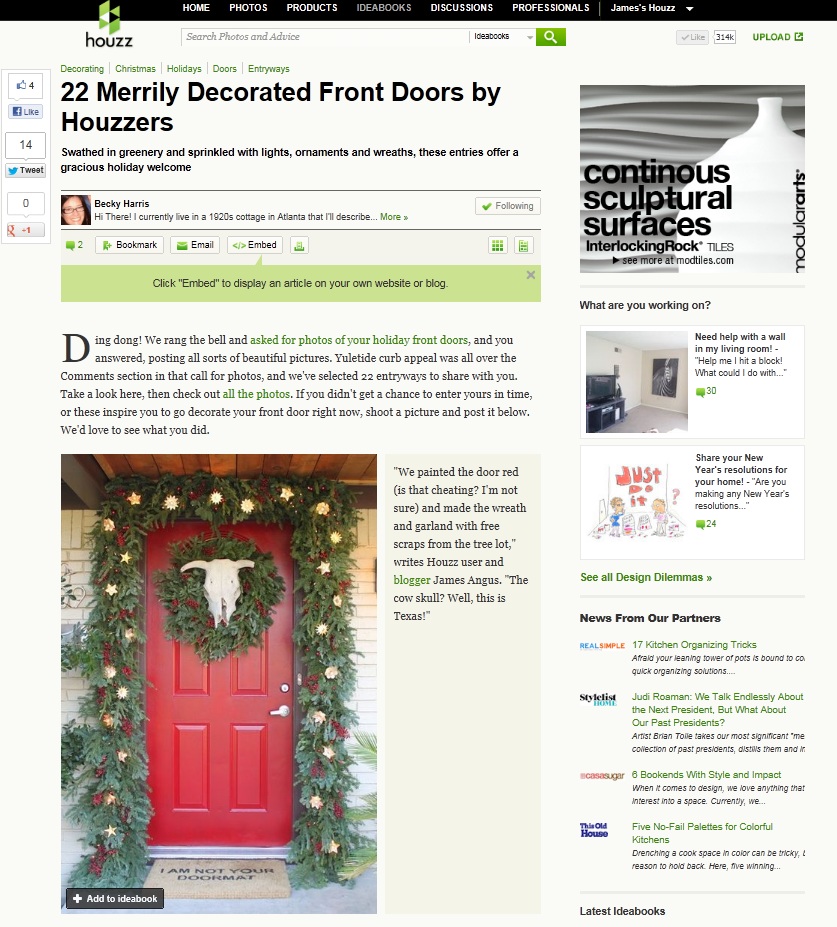
Now to add a little sparkle with some craft glue and fine glitter where the snow flakes are in the picture.
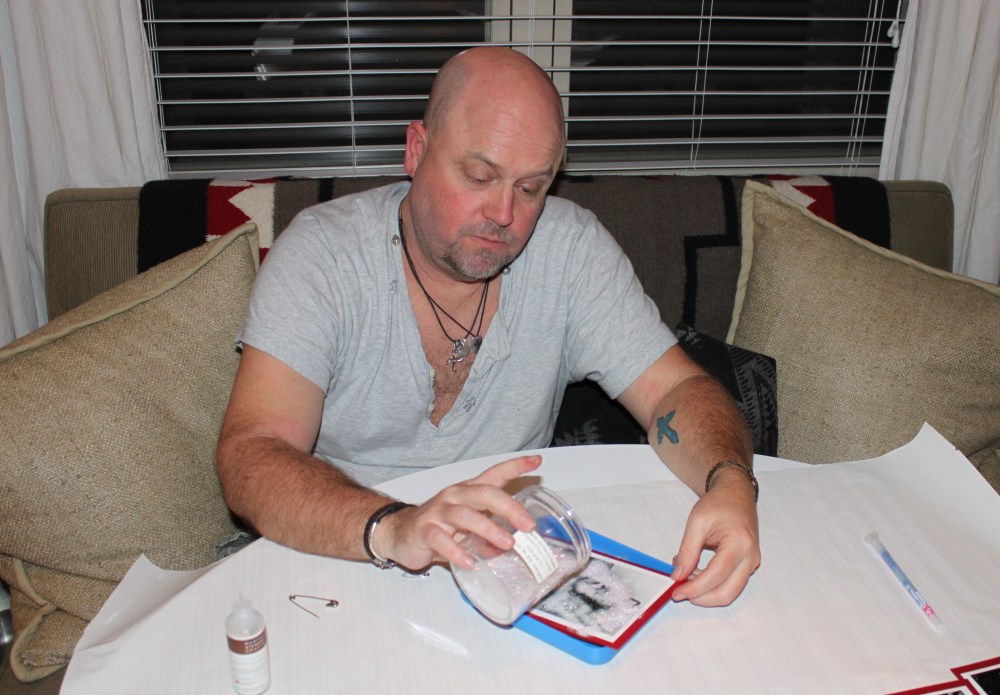
like so…..
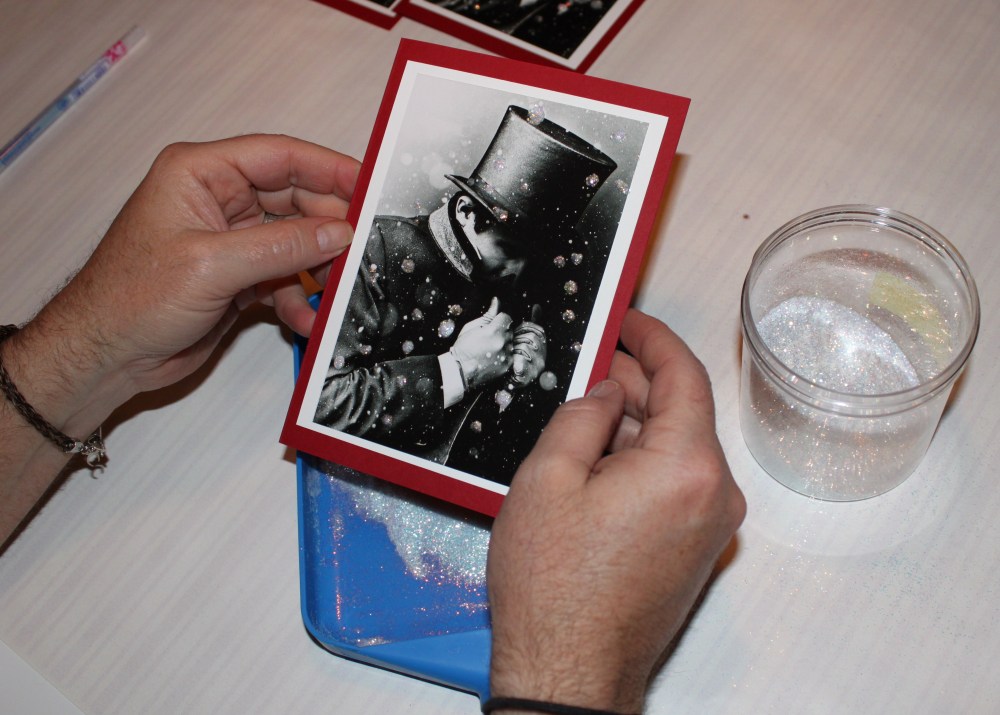
Almost finished.
The most important part is the stamp on the back….
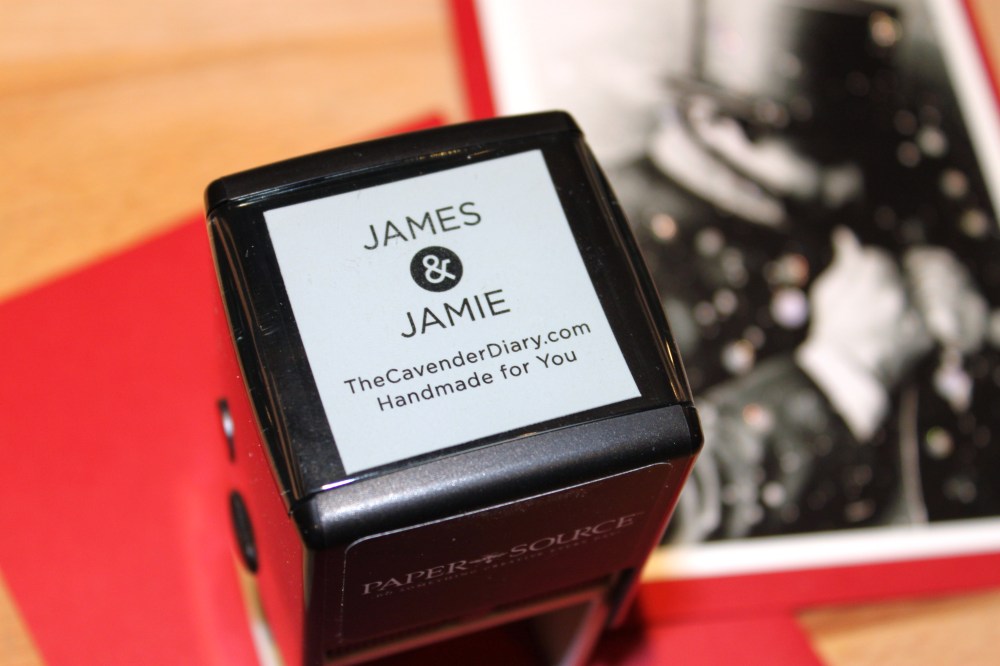
The good folks at Paper Source make pre-inked stamps to meet anyone’s needs….like ours. We just had to pick a design, customize it, and wait about 6 days.
Finished…now to get them in the mail.