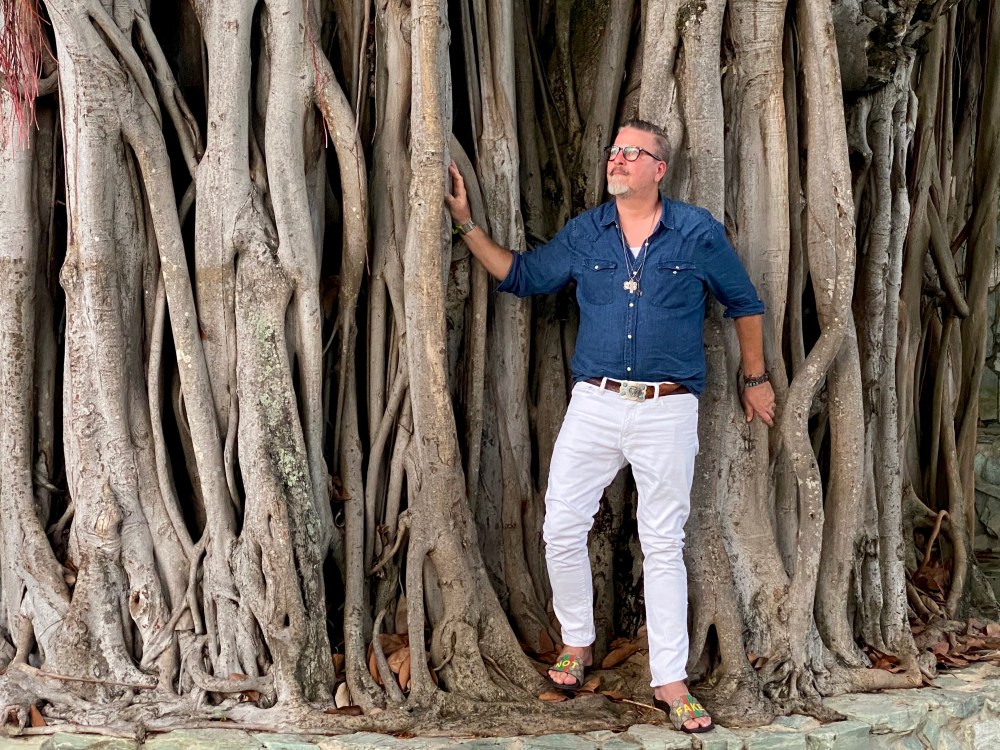
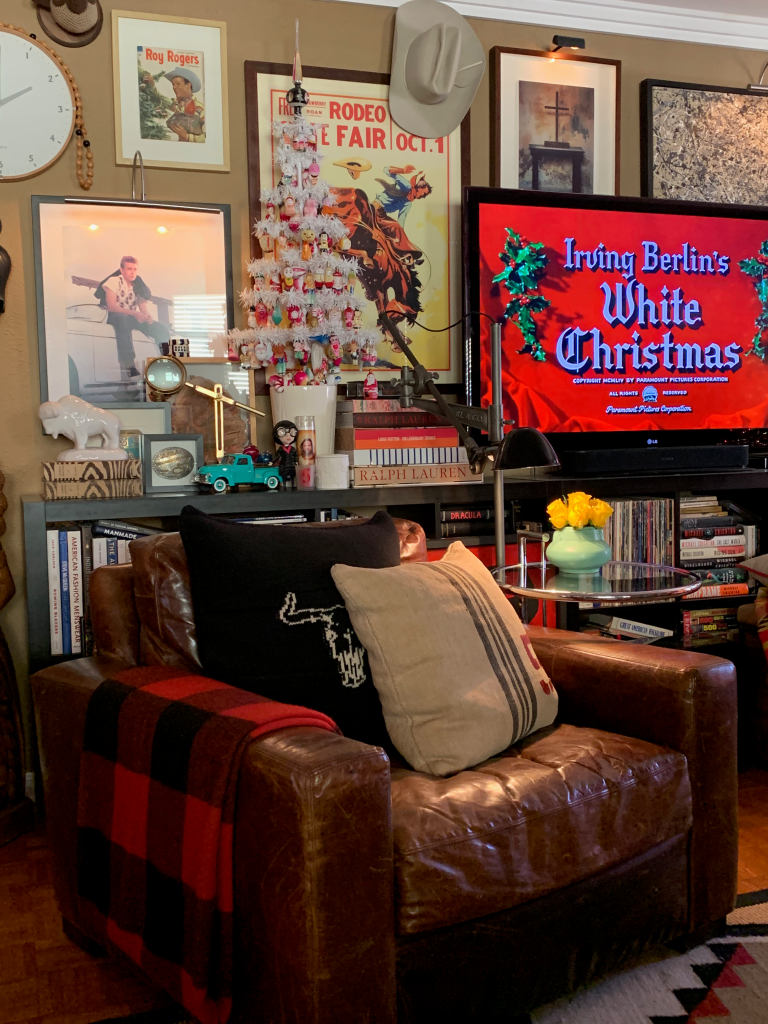
When I was thirteen my family took a roadtrip through the American Southwest; Dallas to Las Vegas and back. It was one of the best trips of my young life and I’m reminded of it all the time. My love of turquoise, Zuni fetish and Navajo blanket prints were all born on that trip.
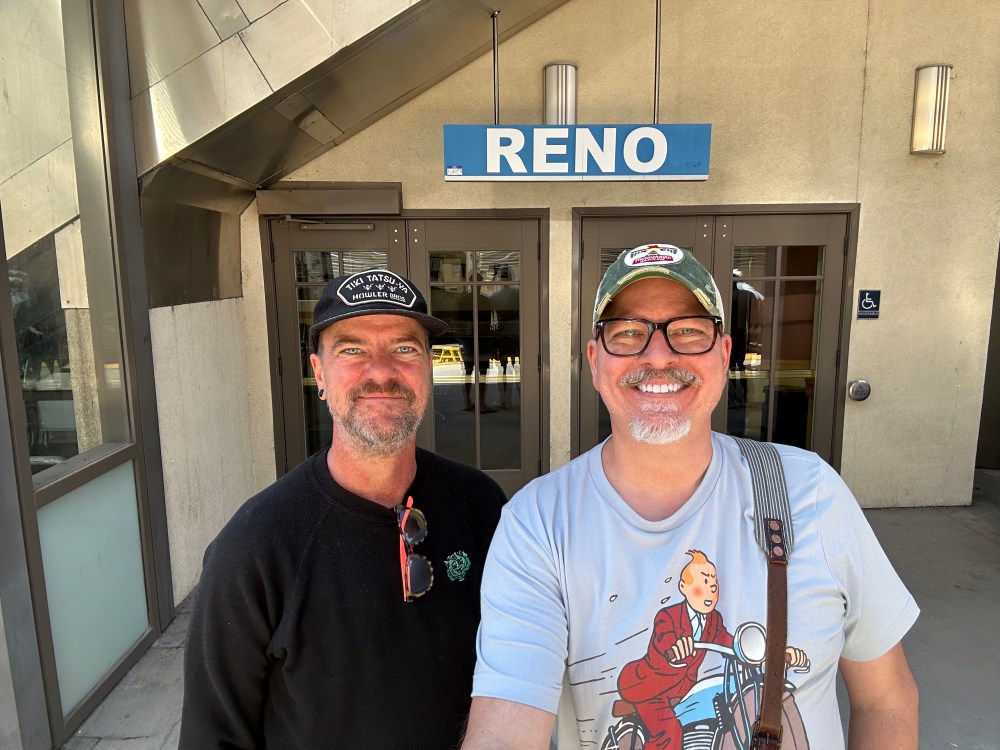
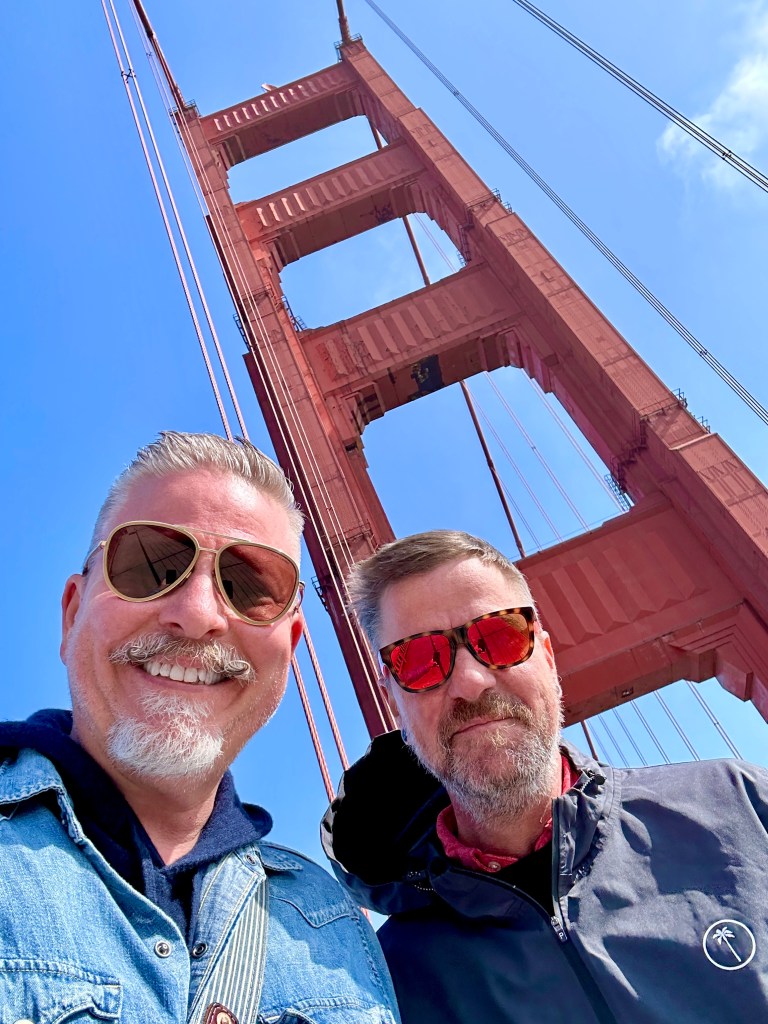
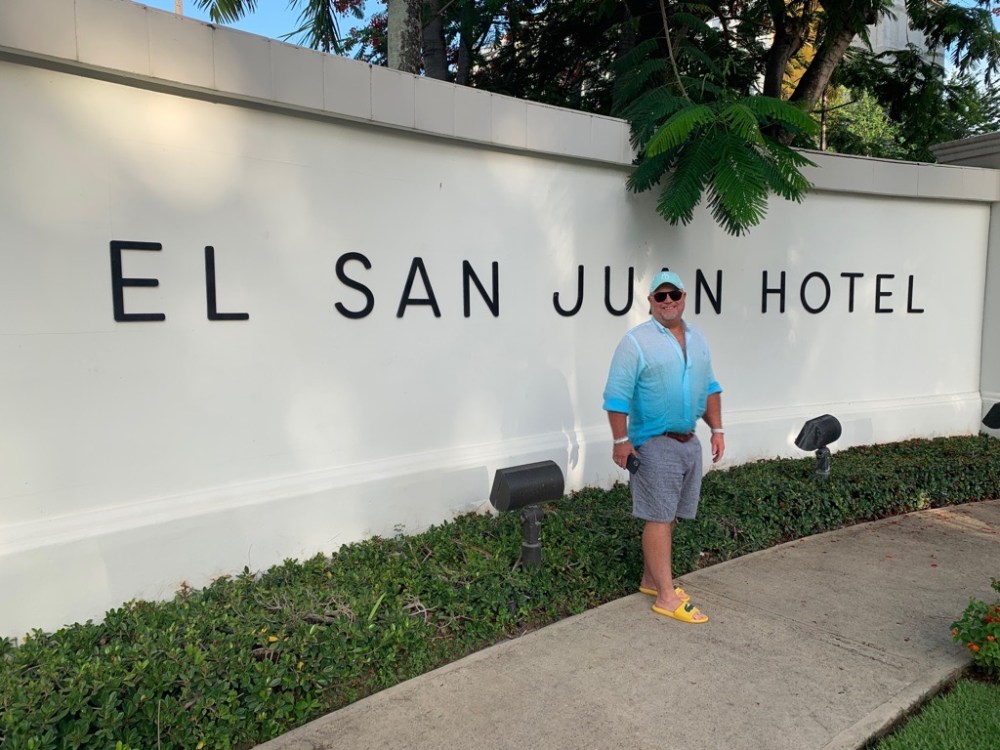
When Jamie mentioned that he’d never seen the Grand Canyon I immediately thought of that summer in the RV with my family.
Why not drive to the Grand Canyon? We could also stop at several places we’ve always wanted to visit throughout West Texas, New Mexico and Arizona.
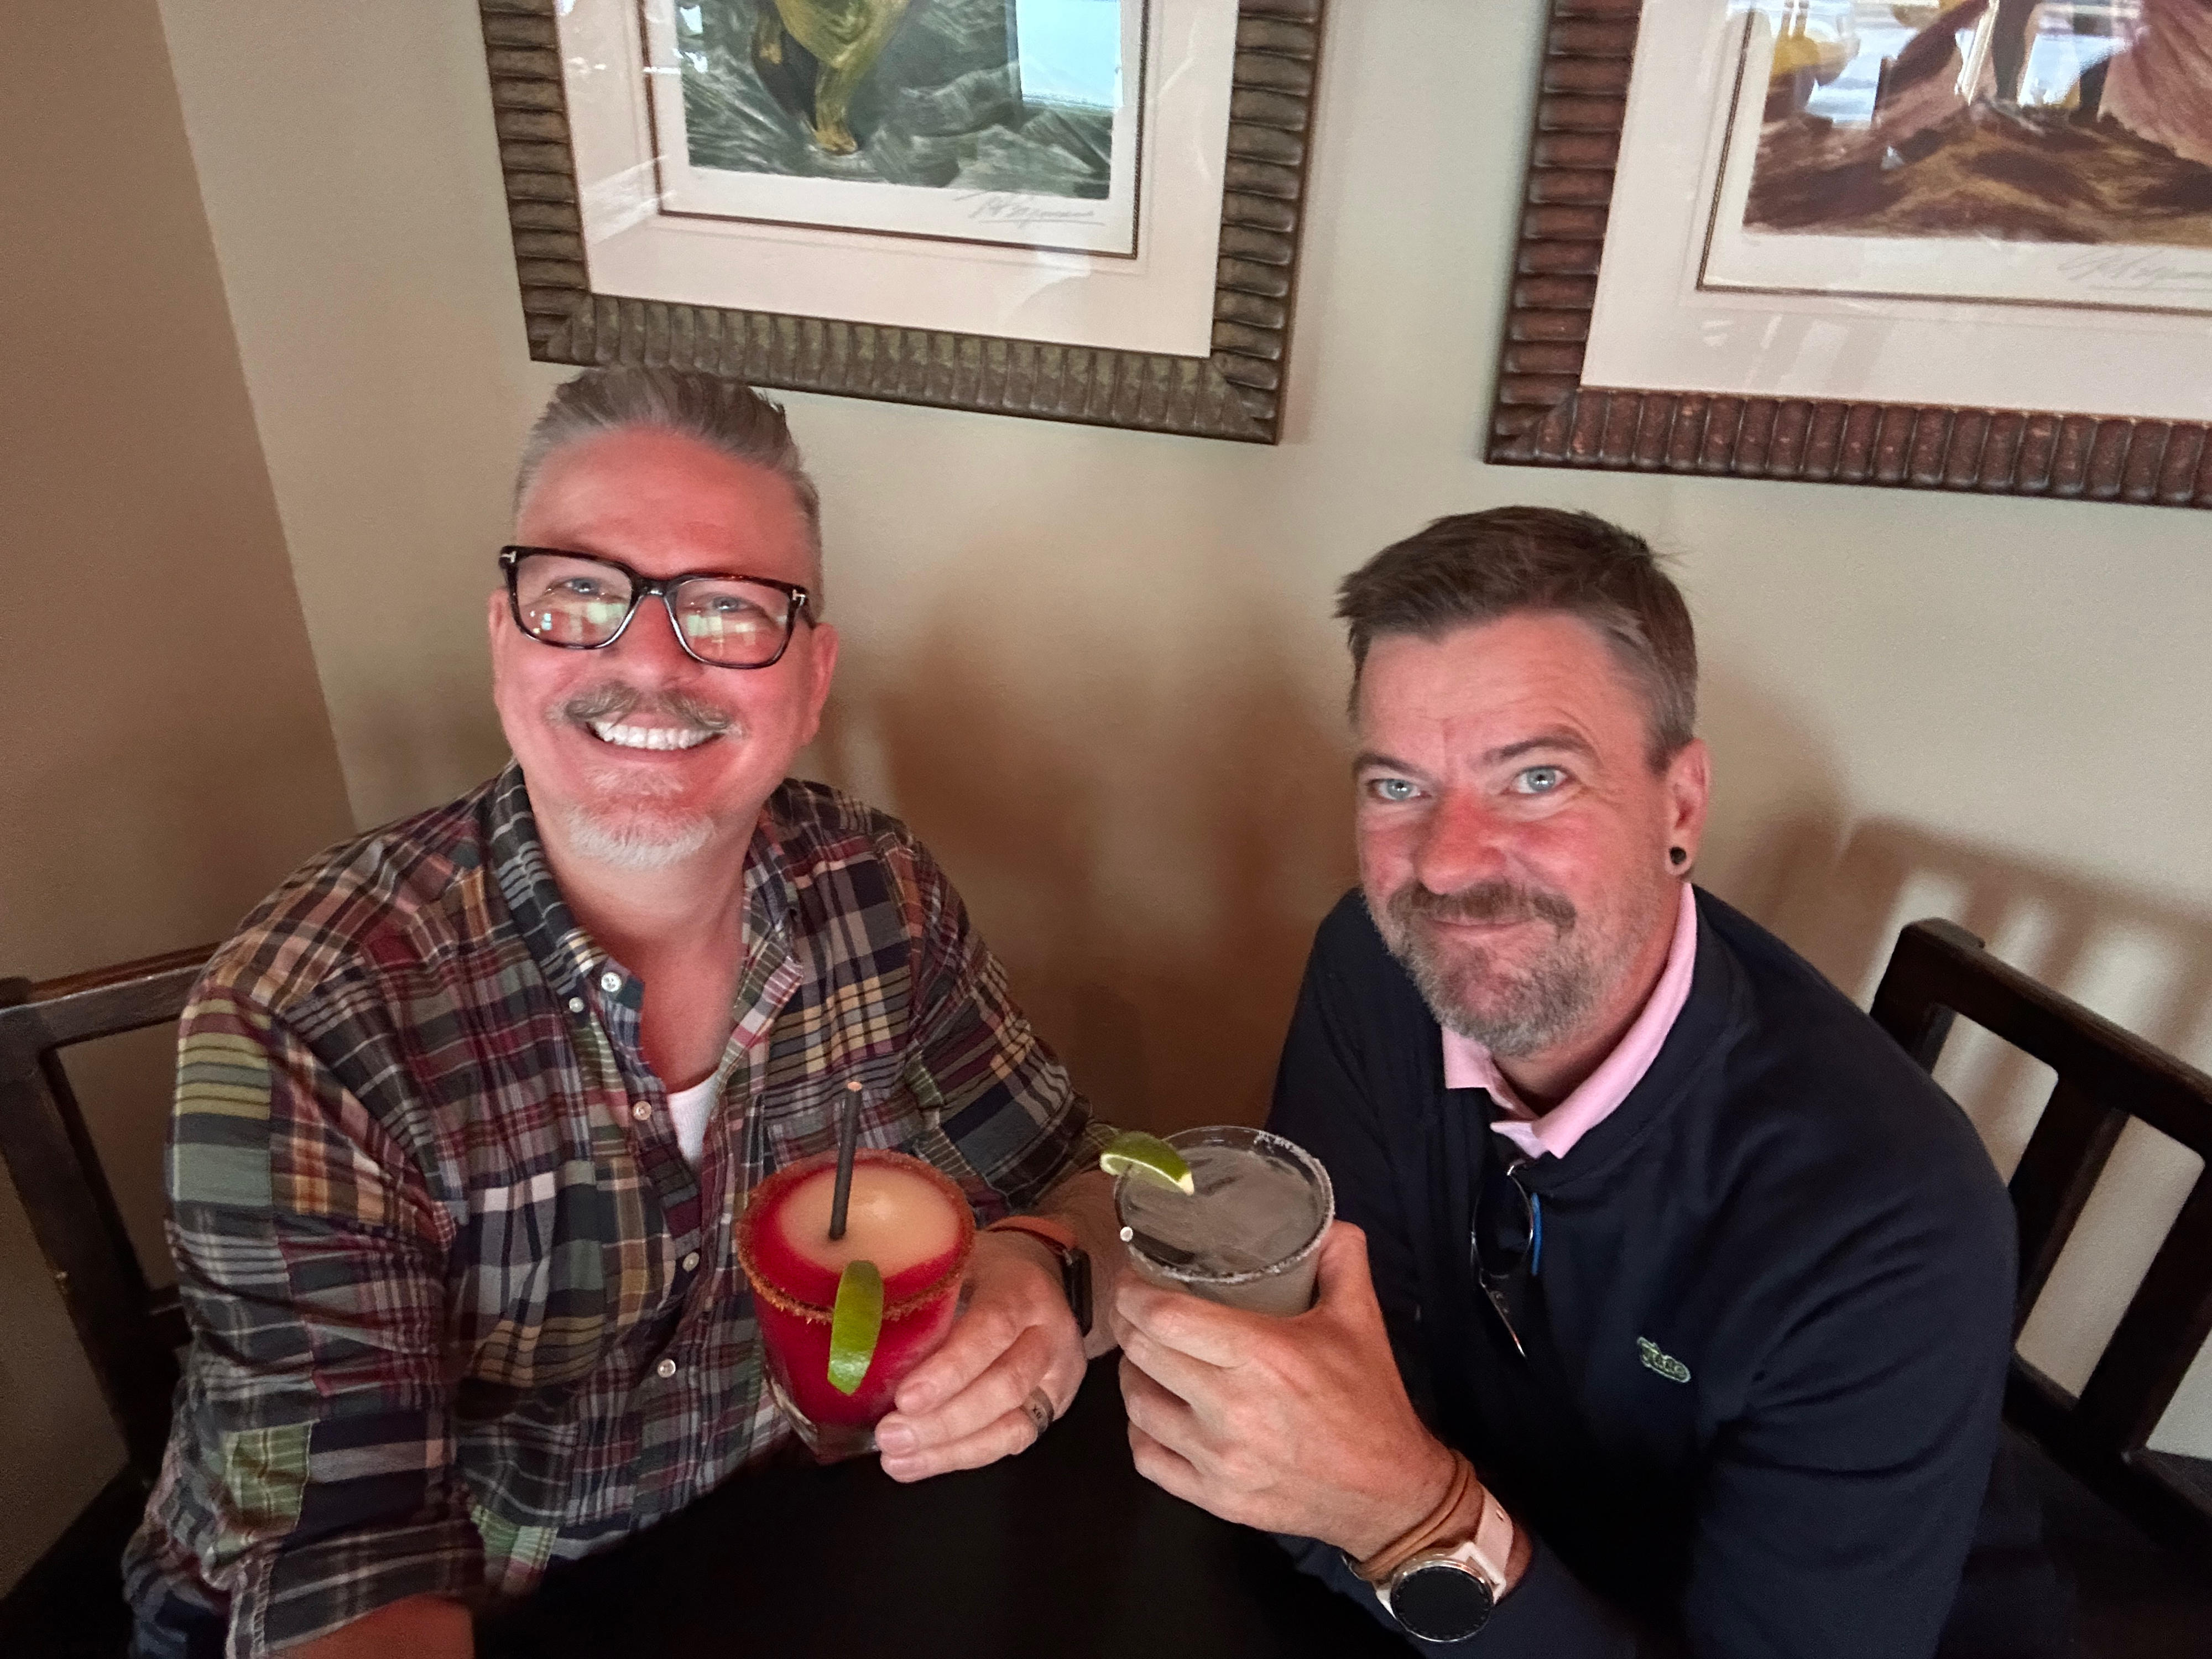
So we boarded our dogs, had the post office hold our mail, loaded Jamie’s new Bronco with drinks and Trader Joe’s snacks and hit the open road for a week of criss-crossing the two desert states on our left.
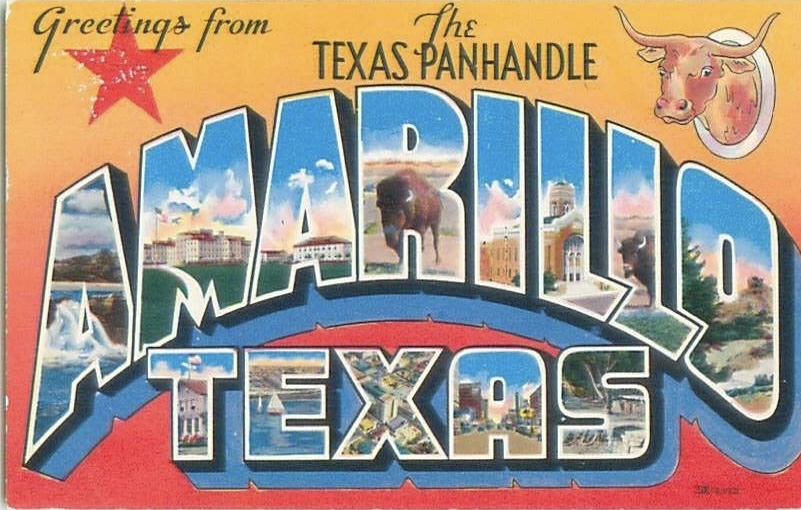
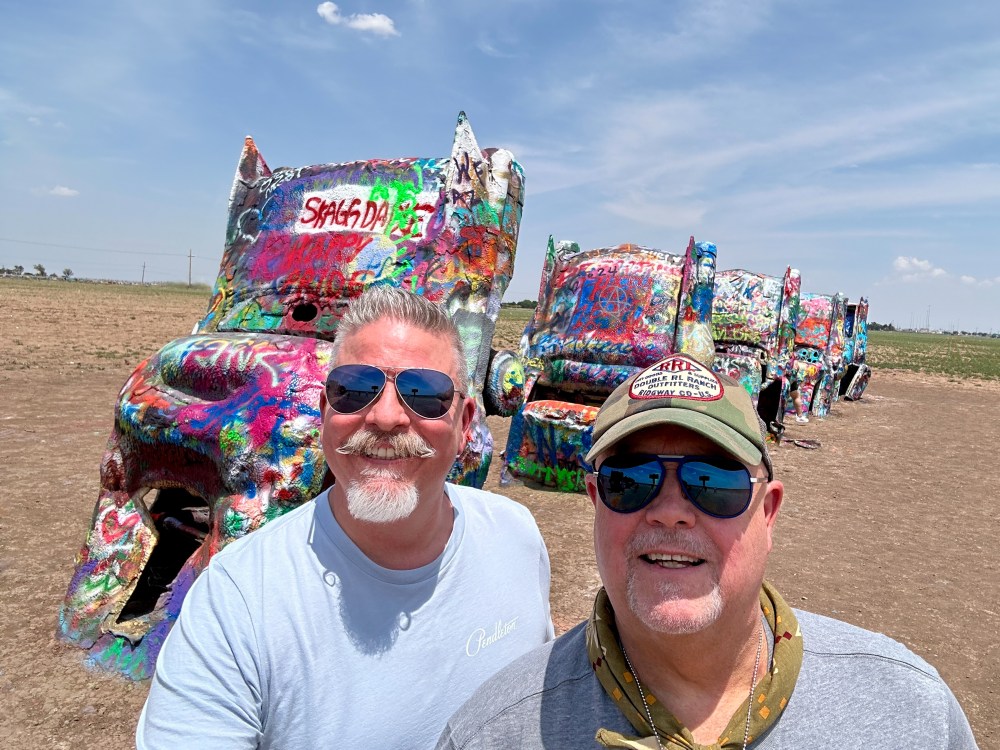
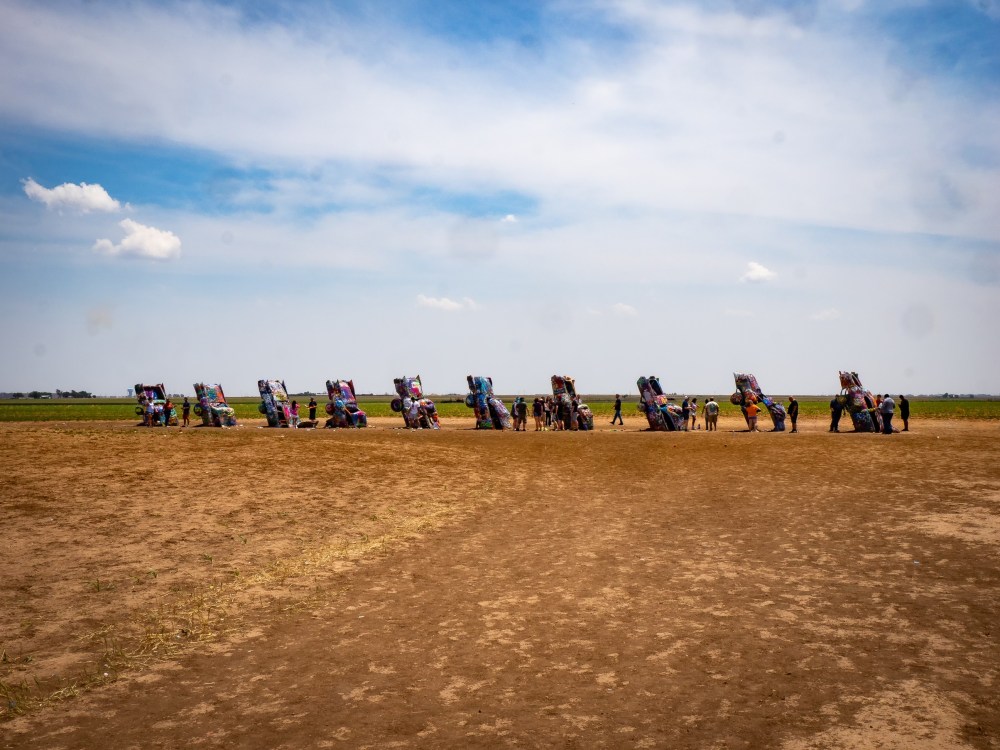
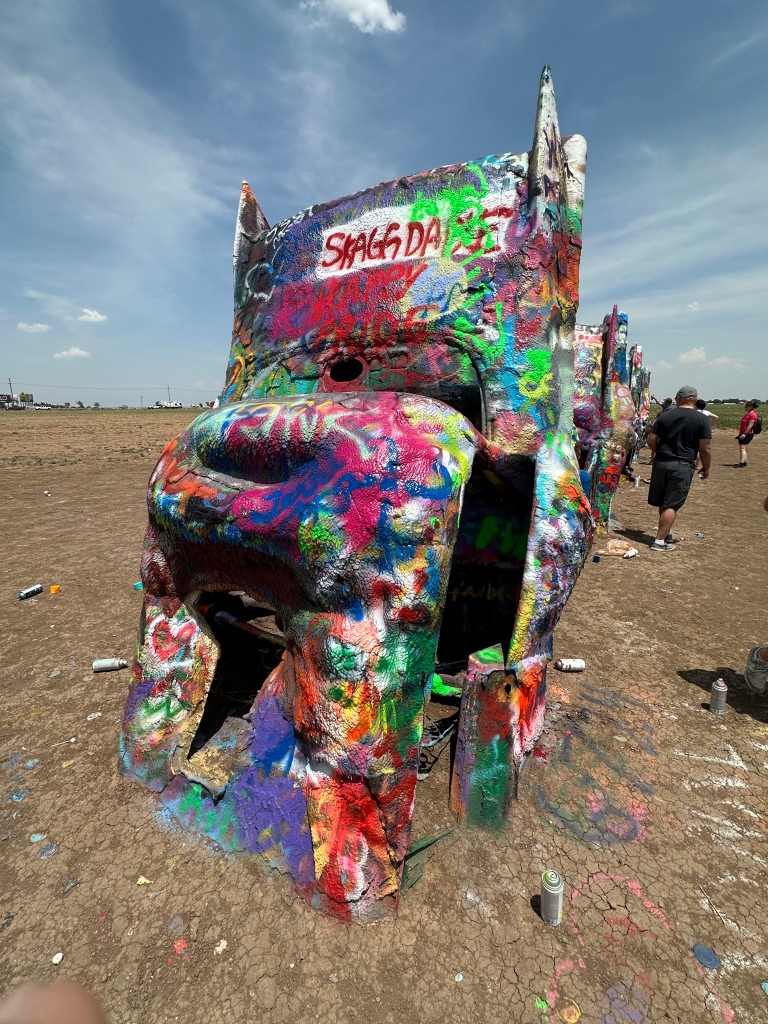
Our first stop was Amarillo, Texas.
Well, actually just outside of Amarillo at the Cadillac Ranch.
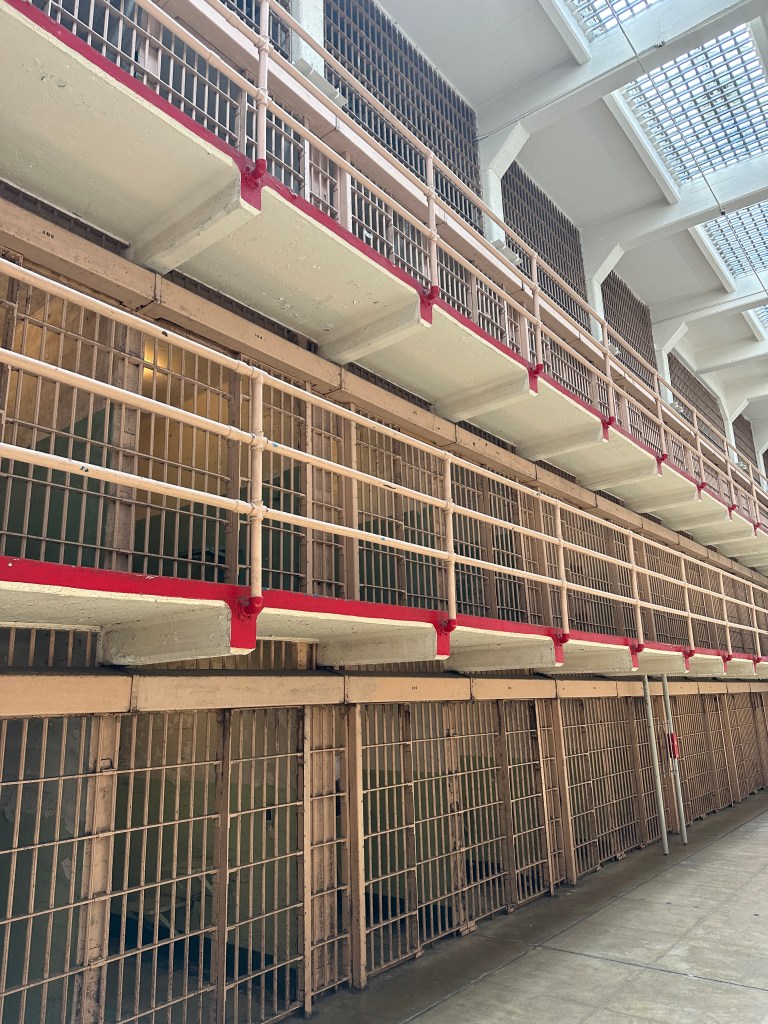
If you’re not familiar, Cadillac Ranch is West Texas’s response to Stonehenge; it’s an art installation of 10 vintage Cadillacs buried nose first into the west Texas dirt. First installed in 1974 by the art collective, Ant Farm, it was quietly moved to its current location off of Highway 40 (formerly Route 66) in 1997. Although the cars were originally in pretty decent shape, in recent years vandals have struck. Although the graffiti isn’t considered vandalism, it’s actually encouraged.
You can buy cans of spray paint at the “gift truck” right next to souvenir t-shirts and magnets.
(Yes, we bought t-shirts and magnets)
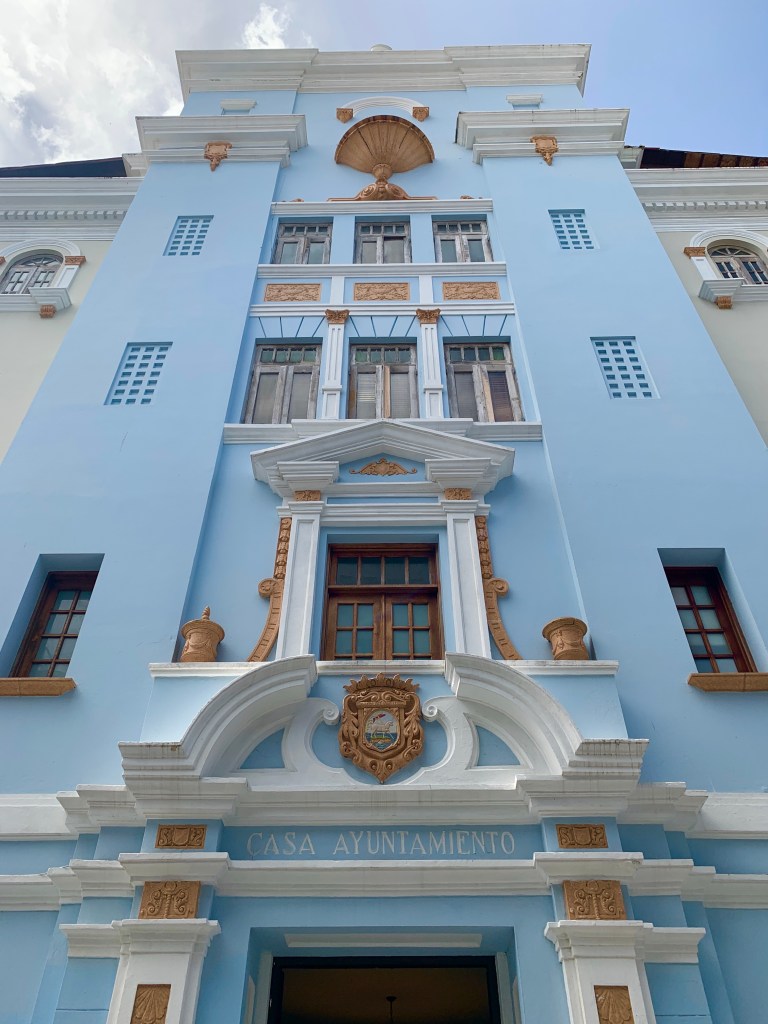
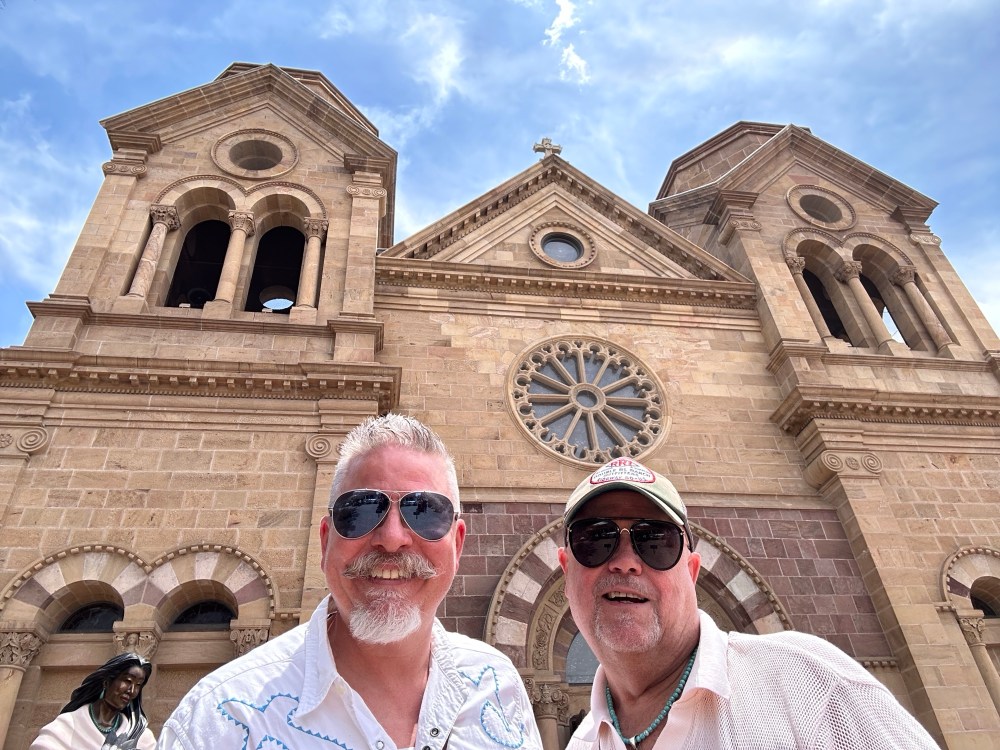
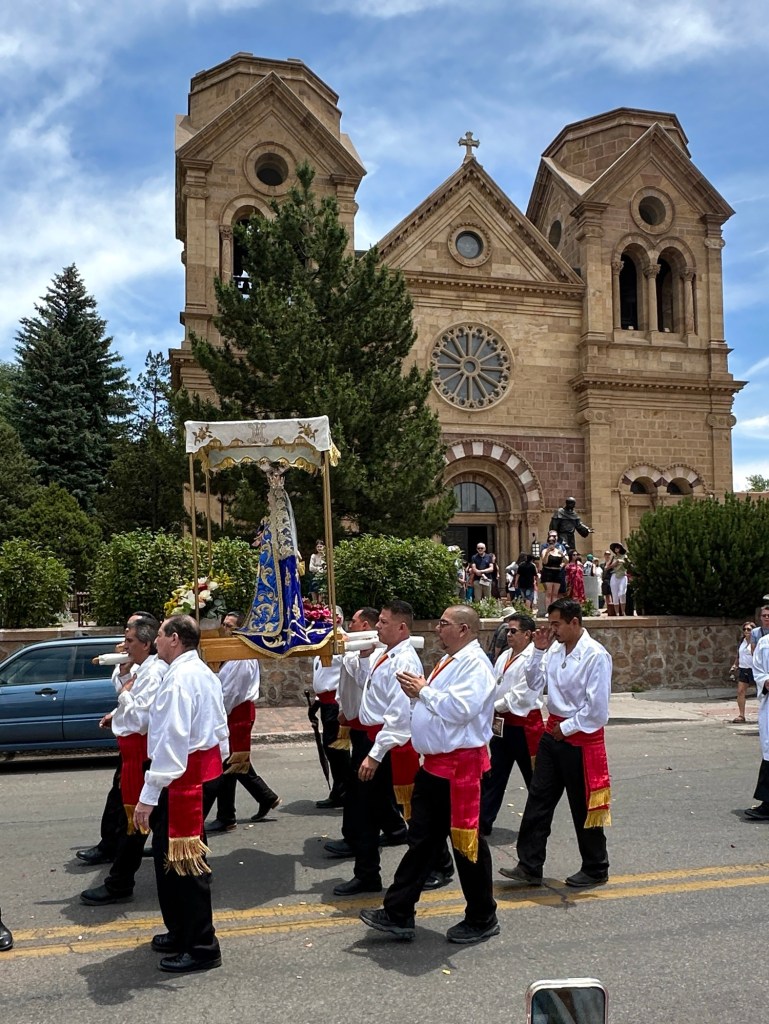
After stretching our legs for a bit we loaded back up and drove a few more hours on two-lane New Mexico back roads to Santa Fe.
We arrived in Santa Fe just before sundown and checked into the El Dorado hotel.
The El Dorado has an absolutely beautiful adobe-esque exterior, and an even more stunning lobby, but the rooms were straight up 1983 Ramada next to the airport. Nothing “Santa Fe” looking about them whatsoever.

Didn’t really matter because we were in Santa Fe to eat and shop and this hotel is a 2 minute walk to the main square… where we did both.
While my family was staying in Santa Fe all those years ago, a freak July storm passed thru dropping the temperature into the 50s. And it snowed. No lie, it actually snowed. None of us had packed any pants, my mother didn’t even bring shoes – just sandals, and we had to run into at K-mart for sweatsuits.
Get this. It happened again.
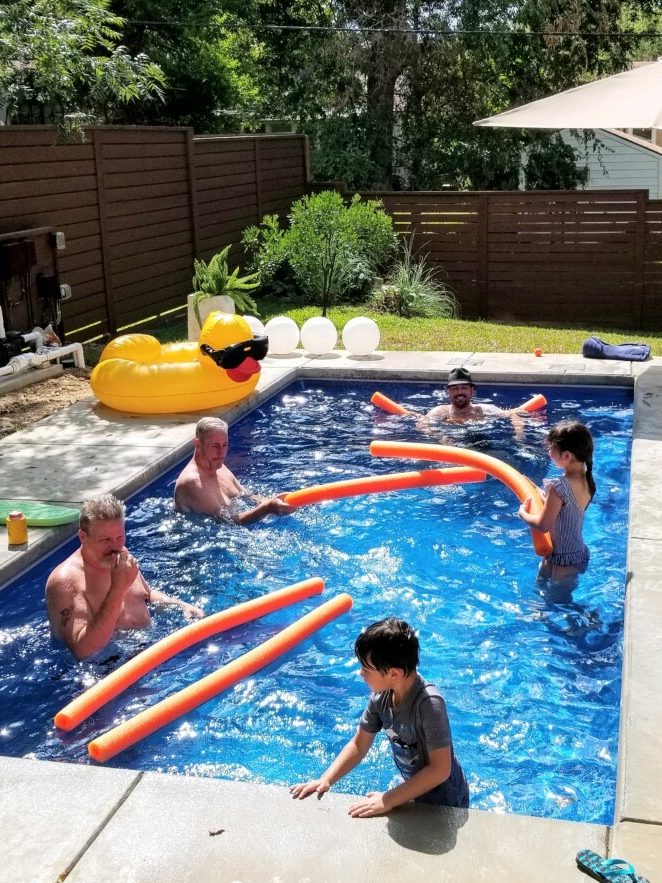
Ok, it didn’t snow this time. But a freak summer storm swept through dropping the temperature 30 degrees in about 20 minutes. Don’t worry. Your boys brought pants, and jackets, and maybe even a sweater or two.
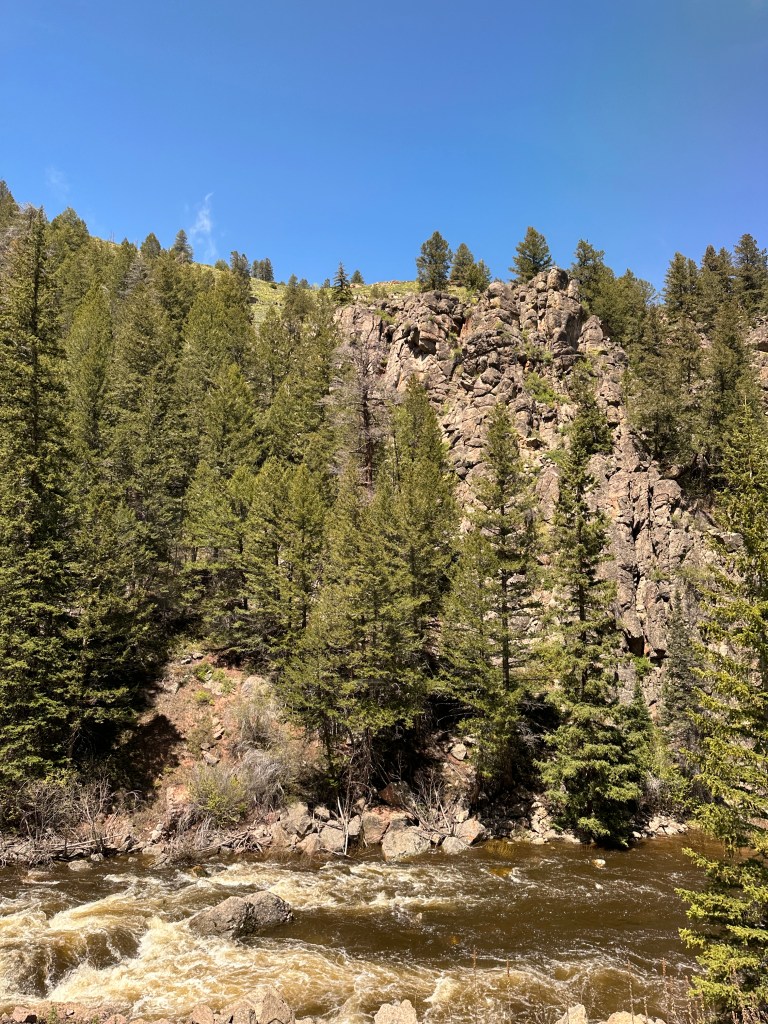
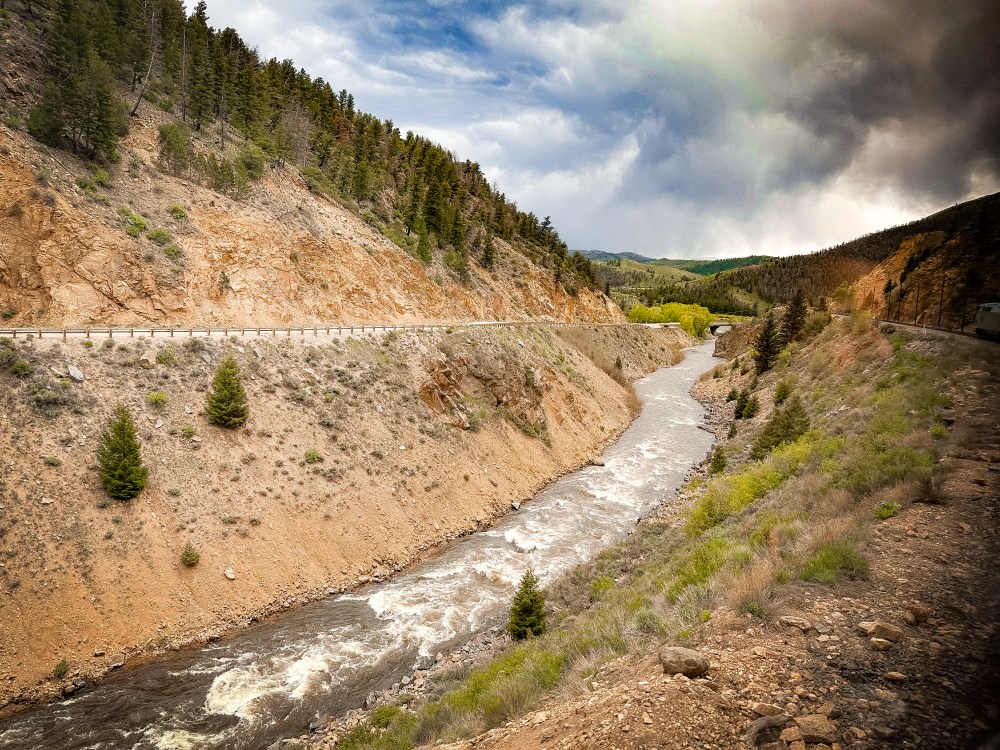
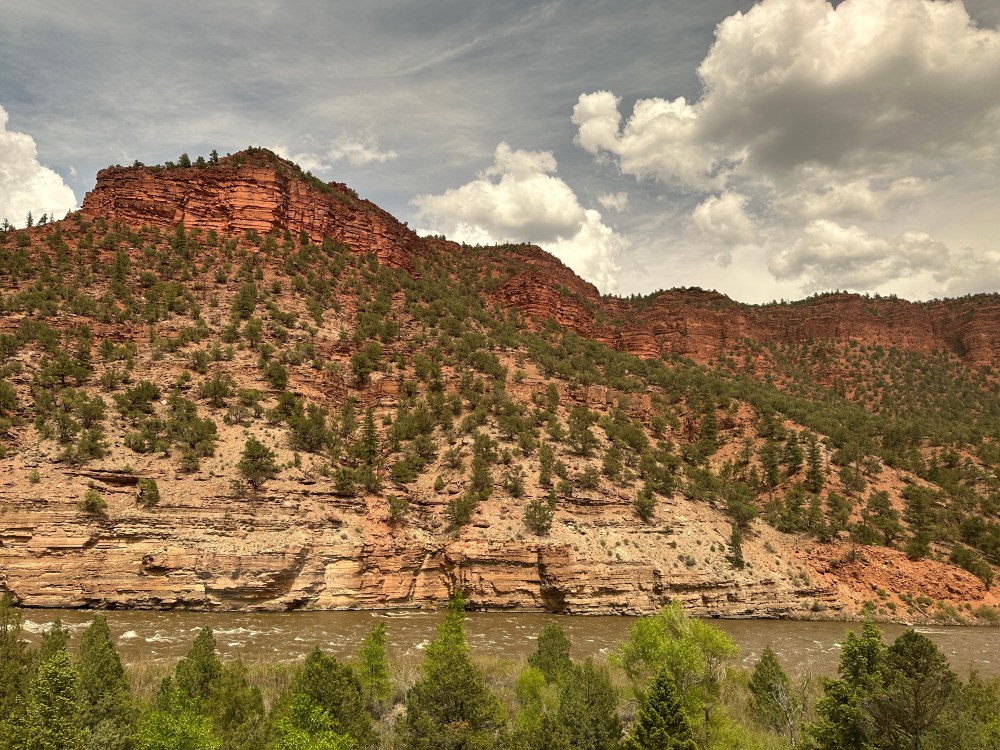
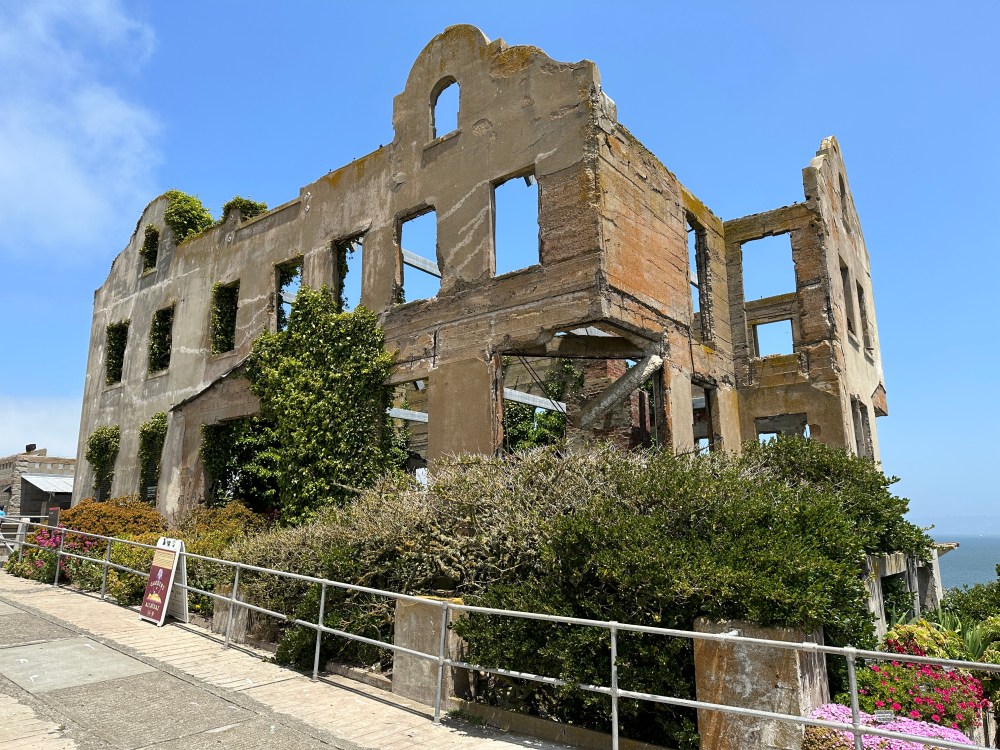
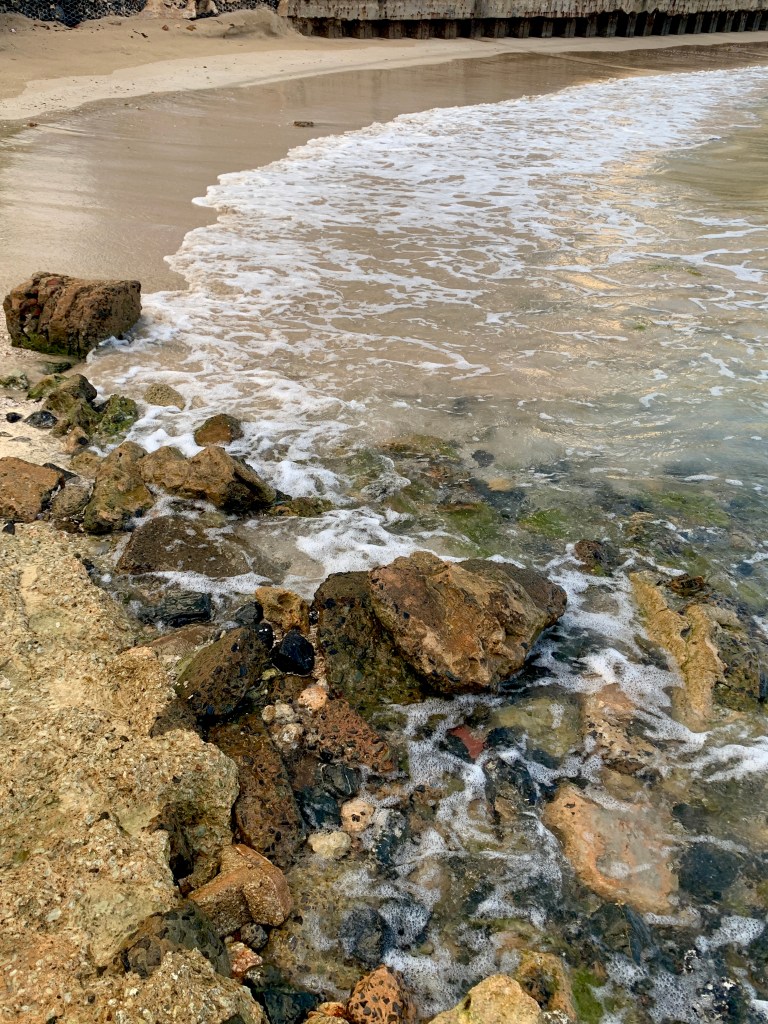
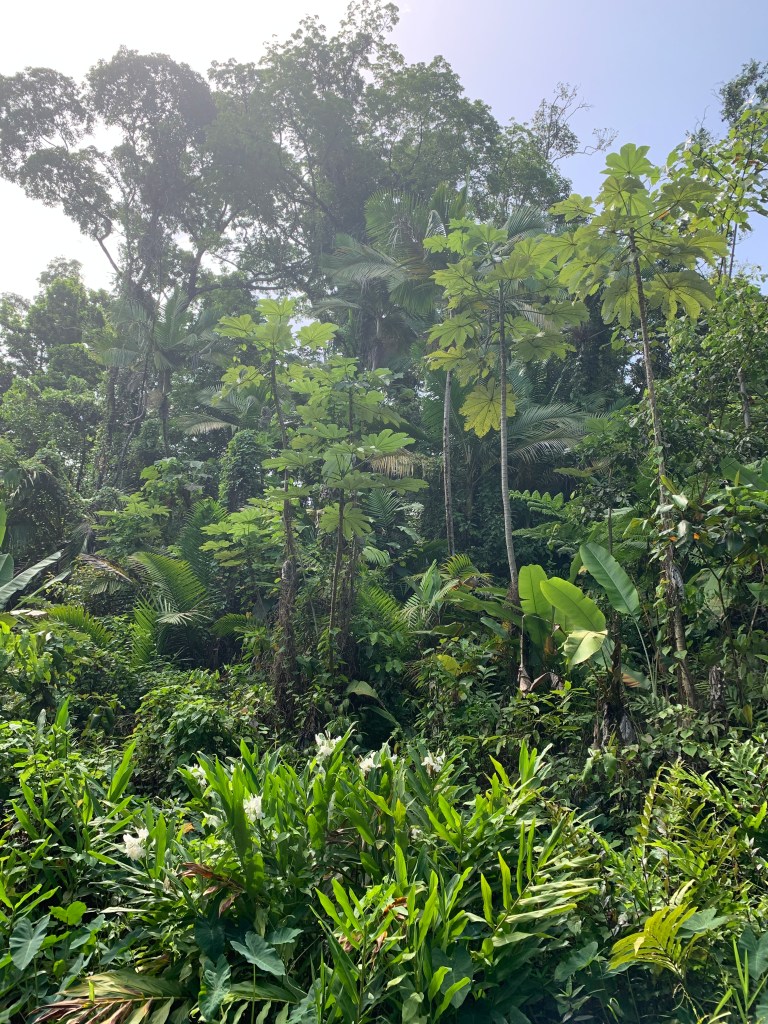
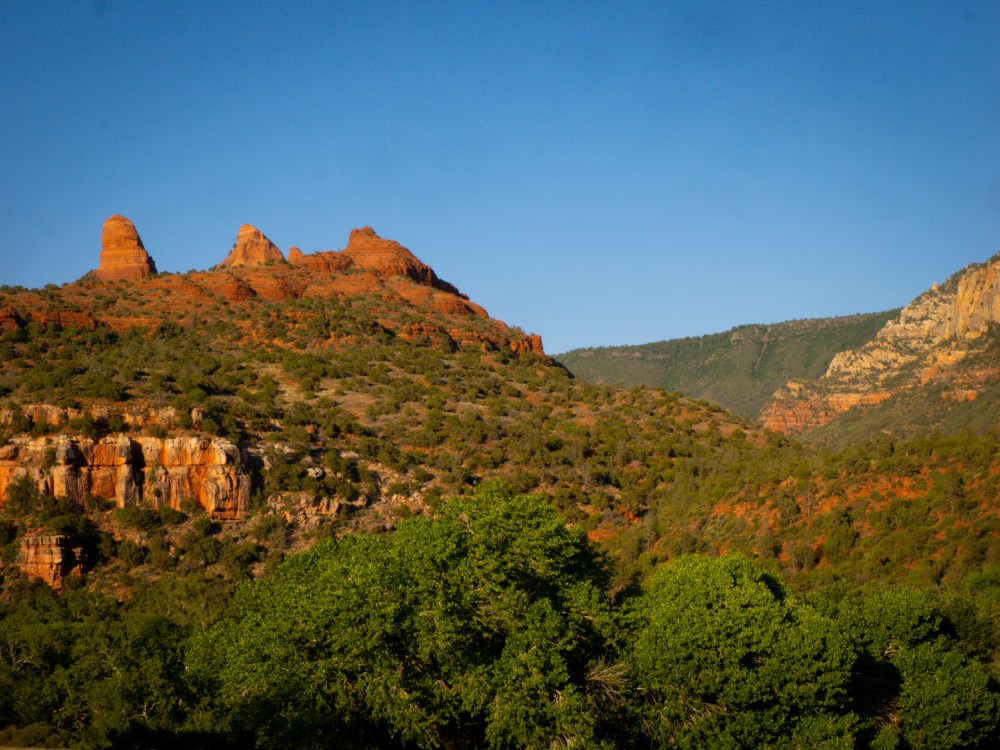
From Santa Fe we continued west past Galup, New Mexico, Winslow, Arizona and a few other little towns not quite worthy of mentioning in pop songs. When we reached Flagstaff we turned south along 89A through what I think is one of the most beautiful drives I’ve ever been on.
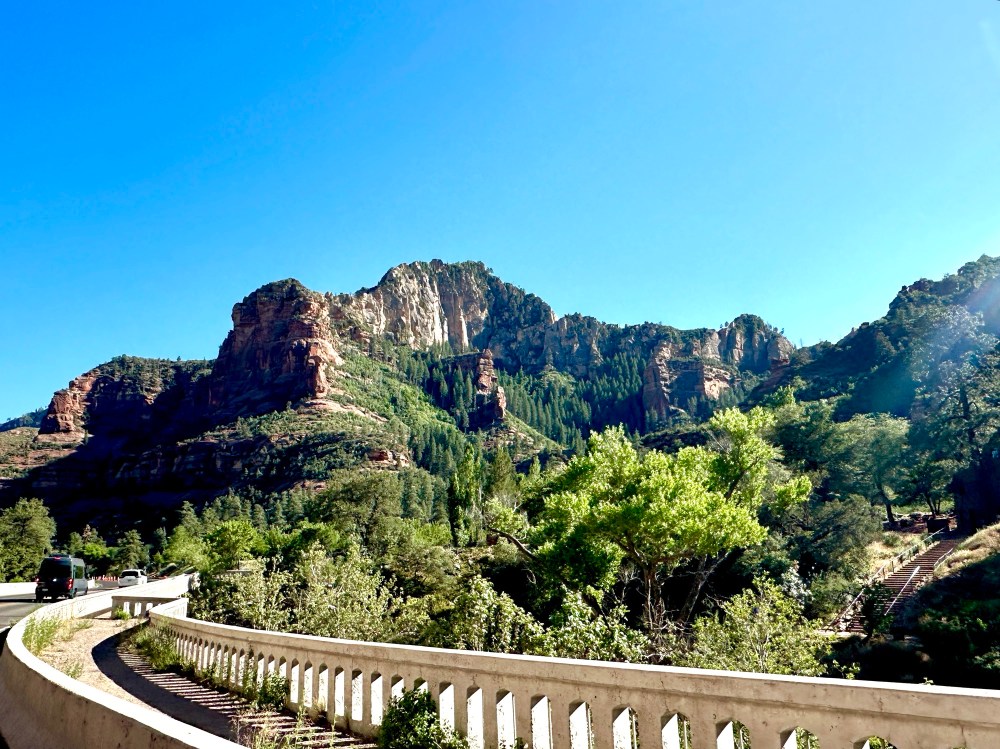
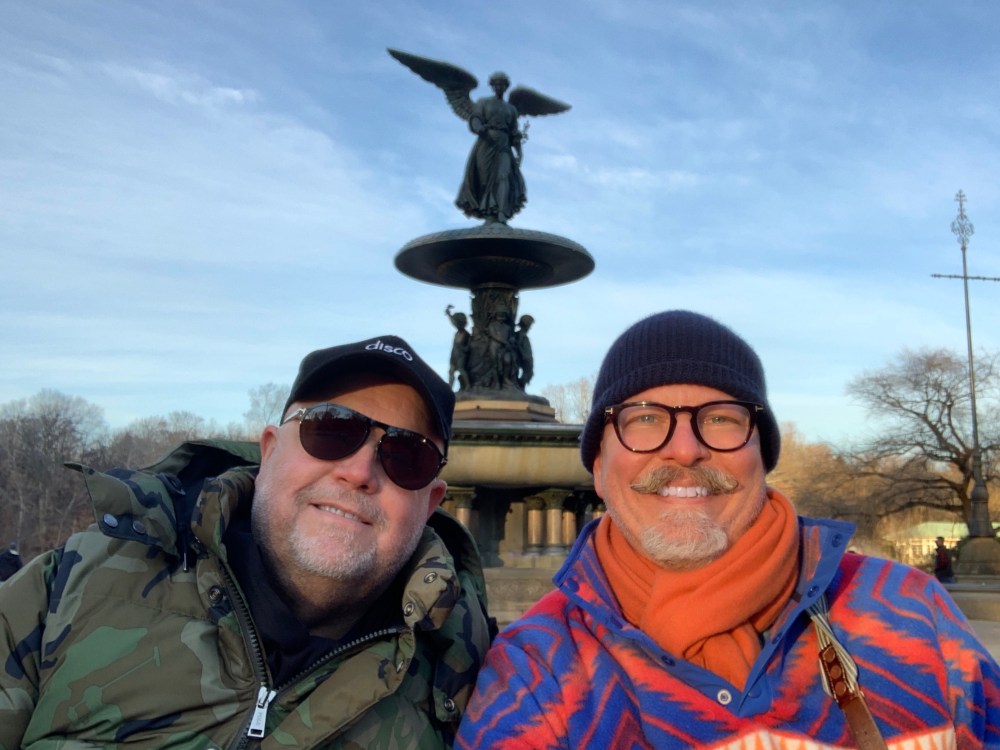
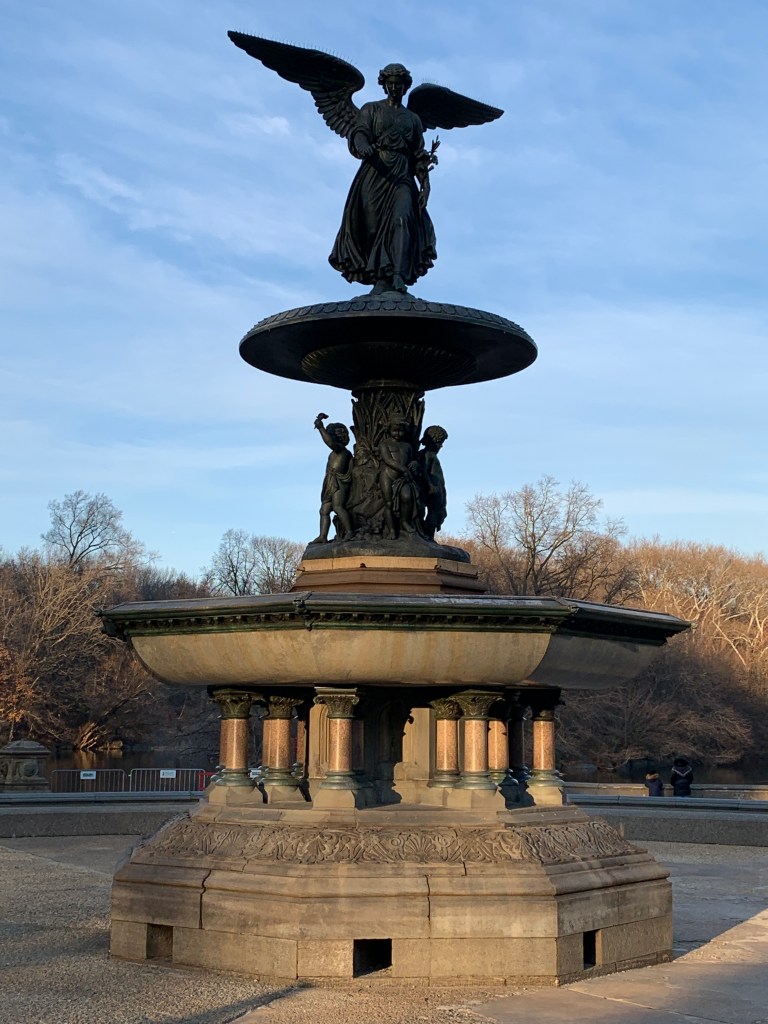
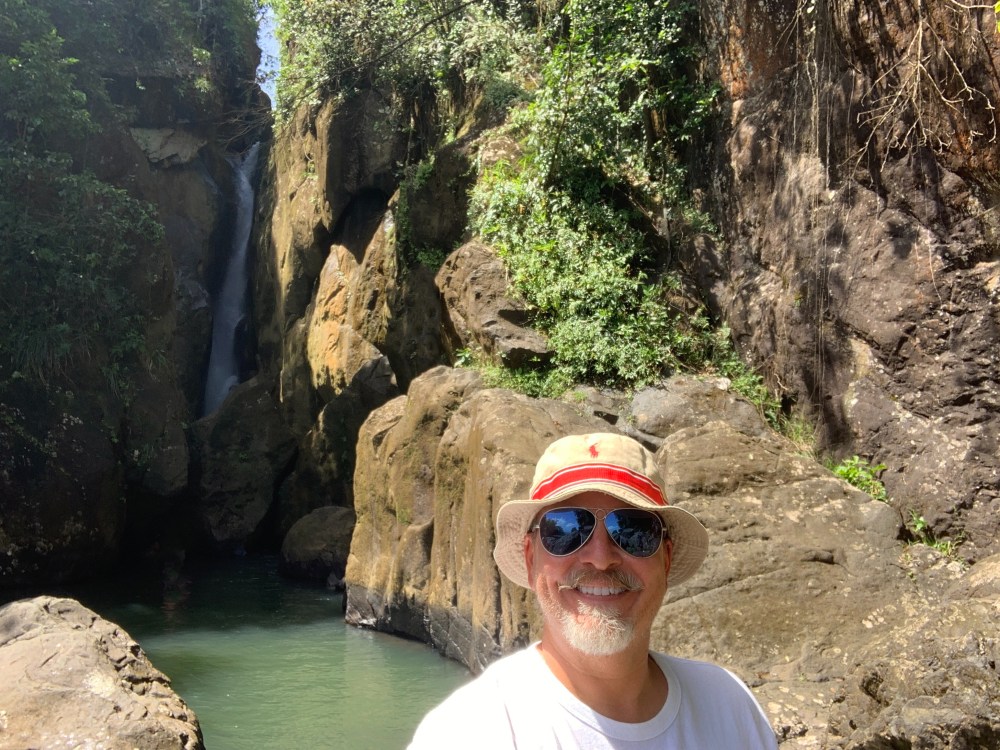
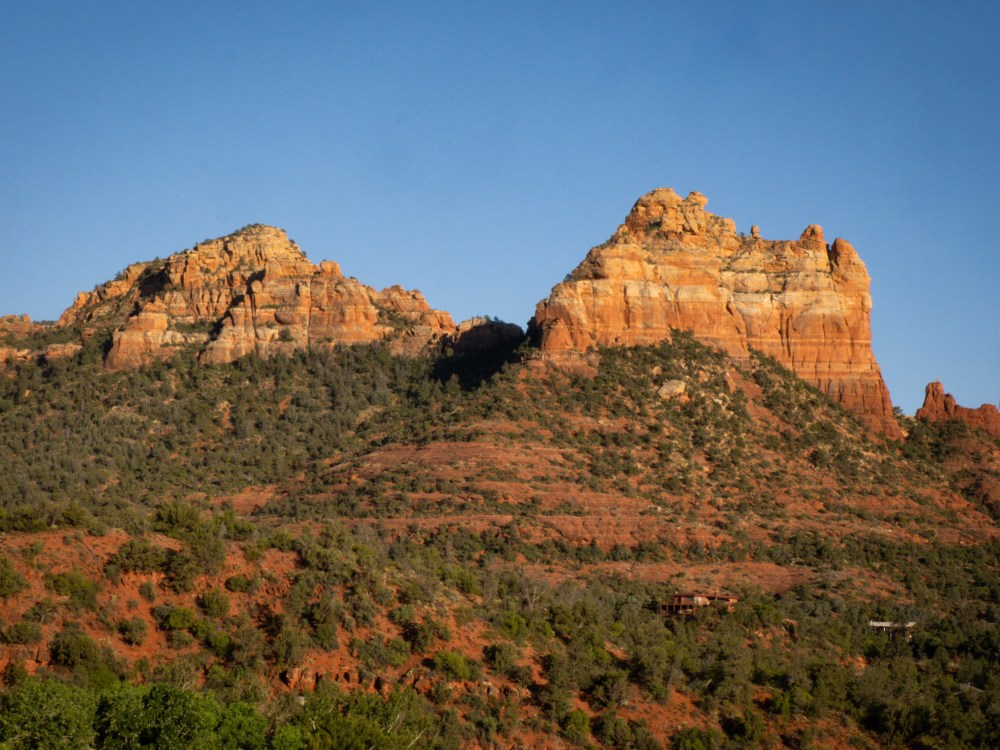
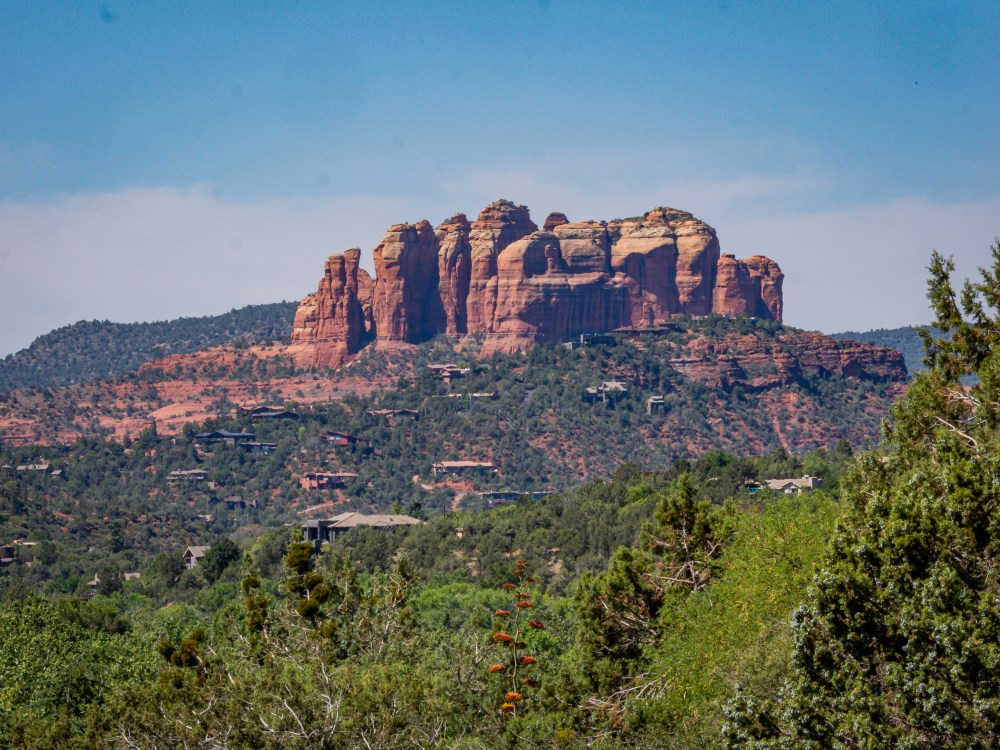
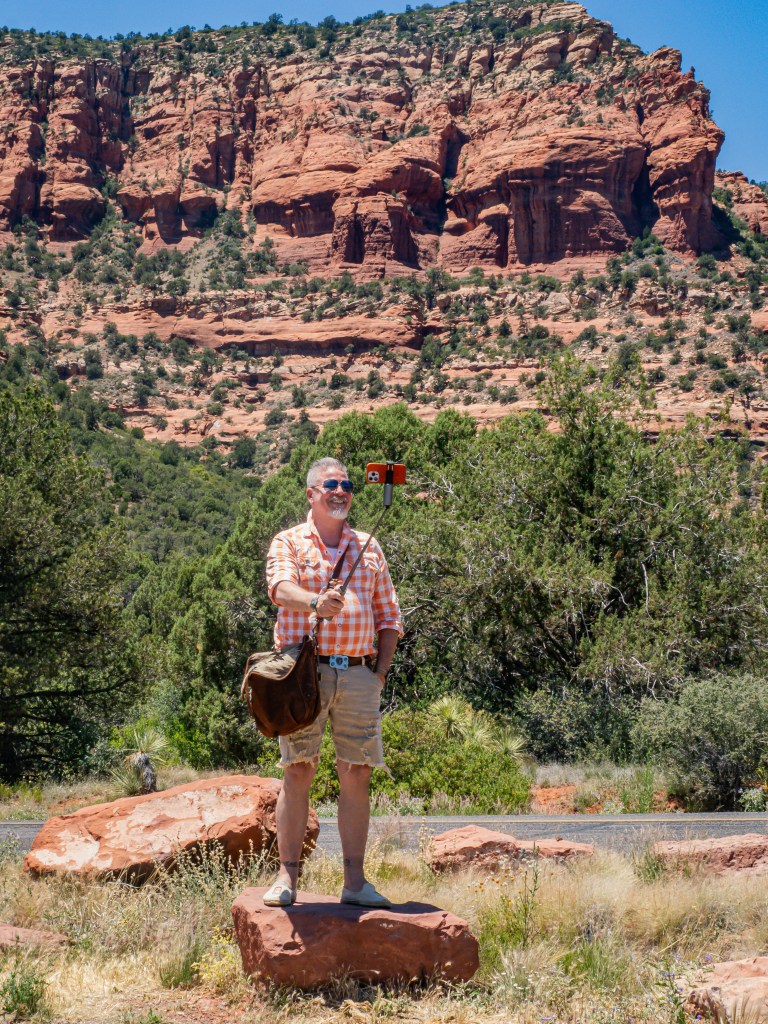
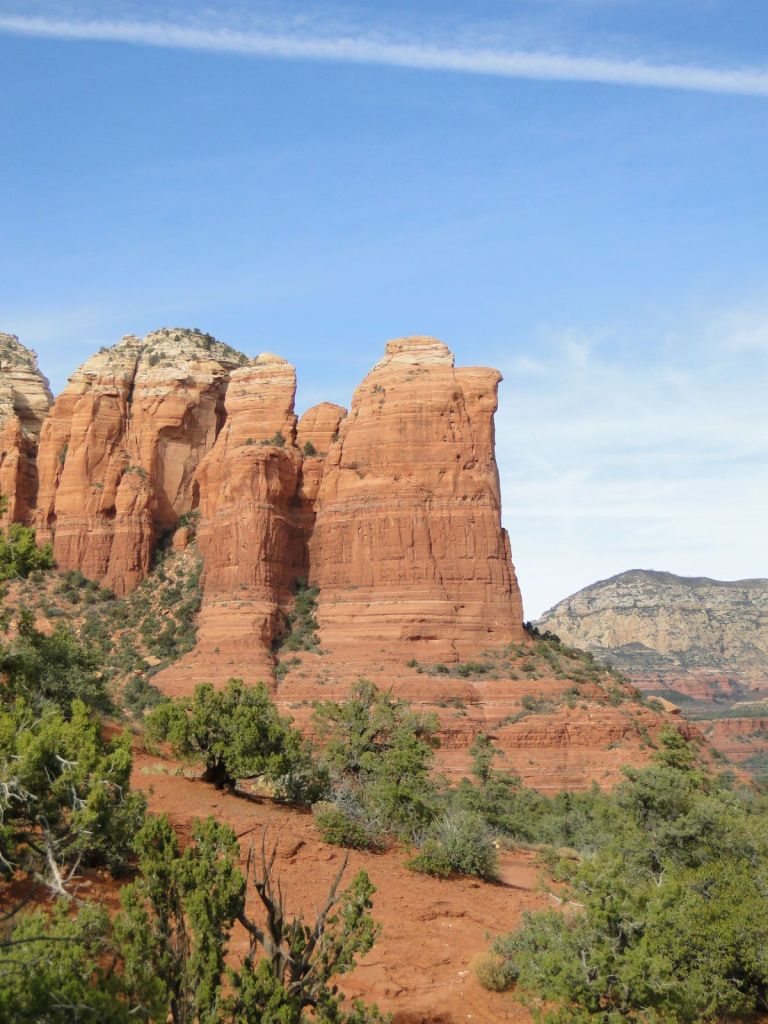
Until we reached Sedona.
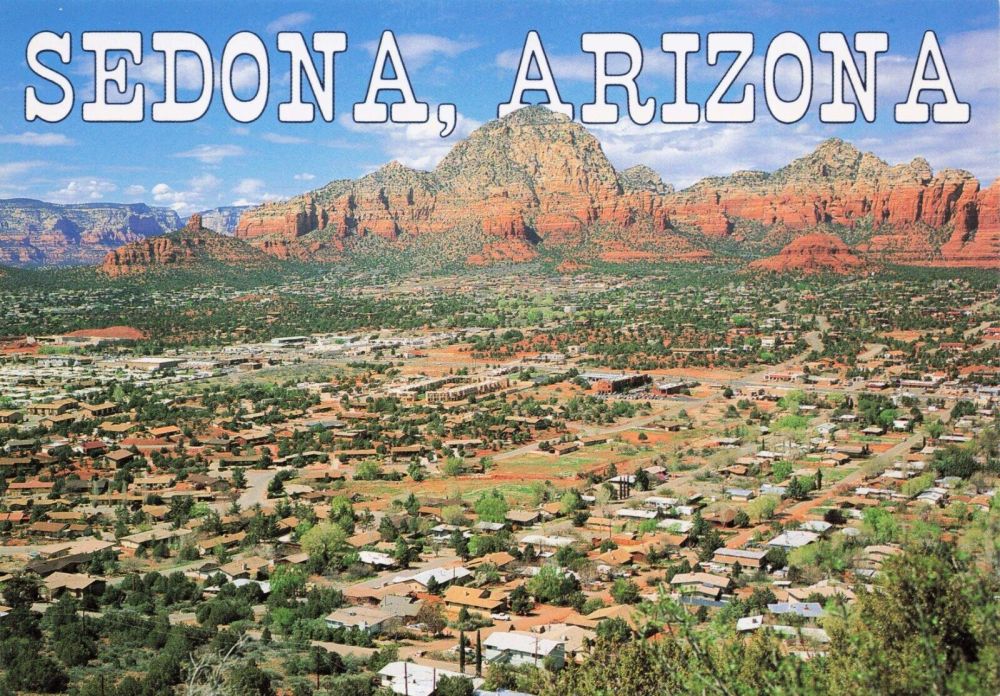
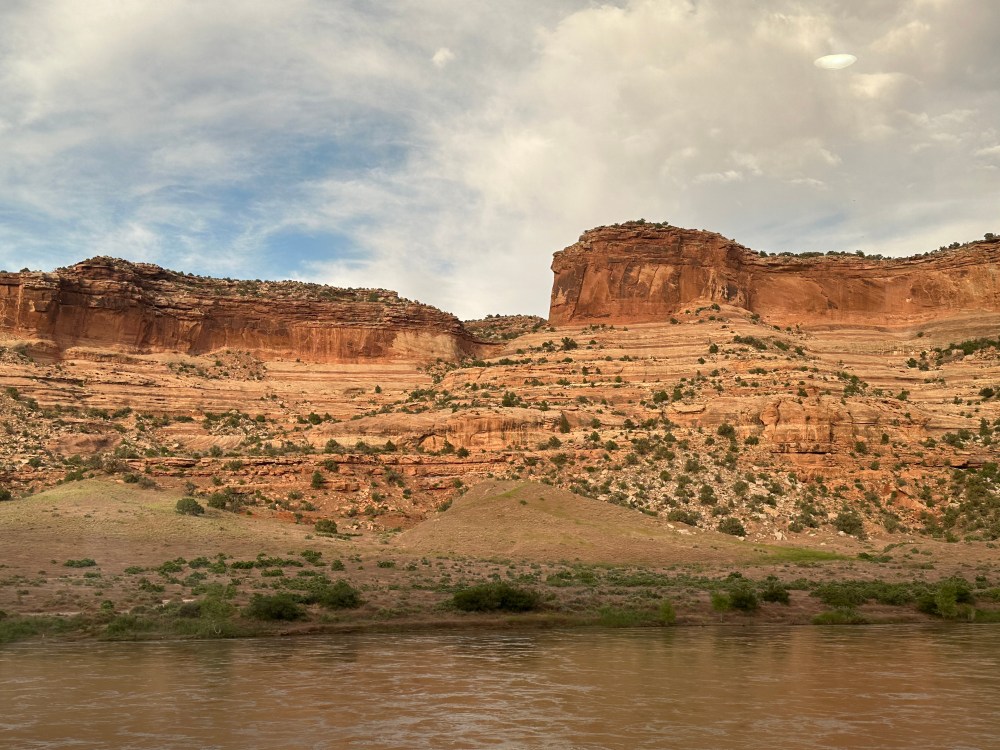
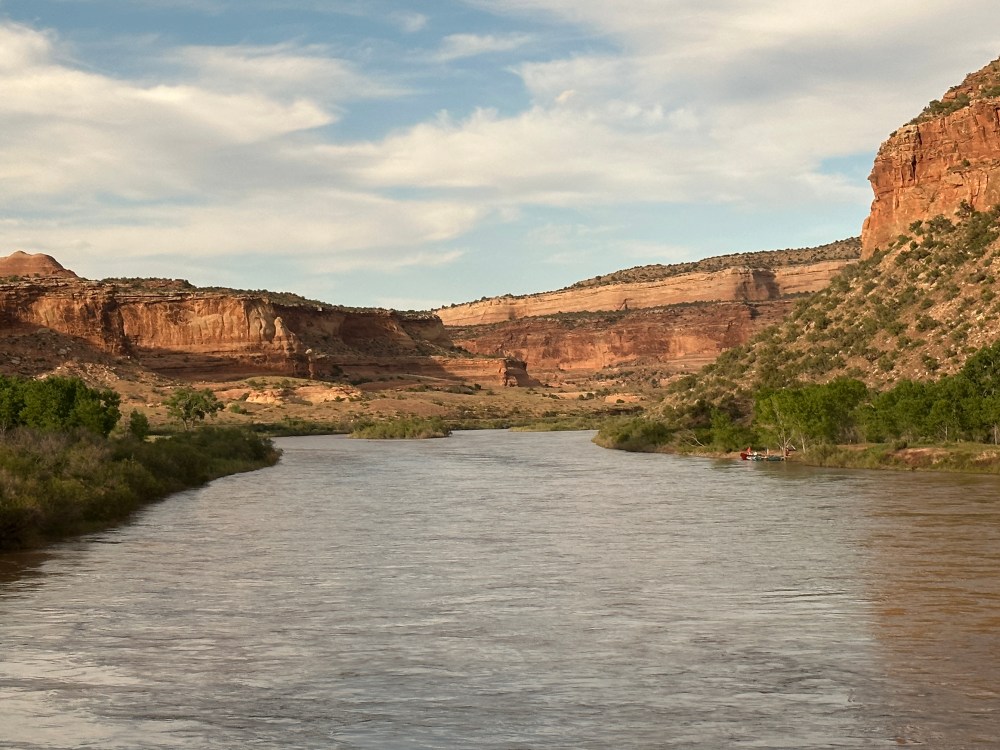
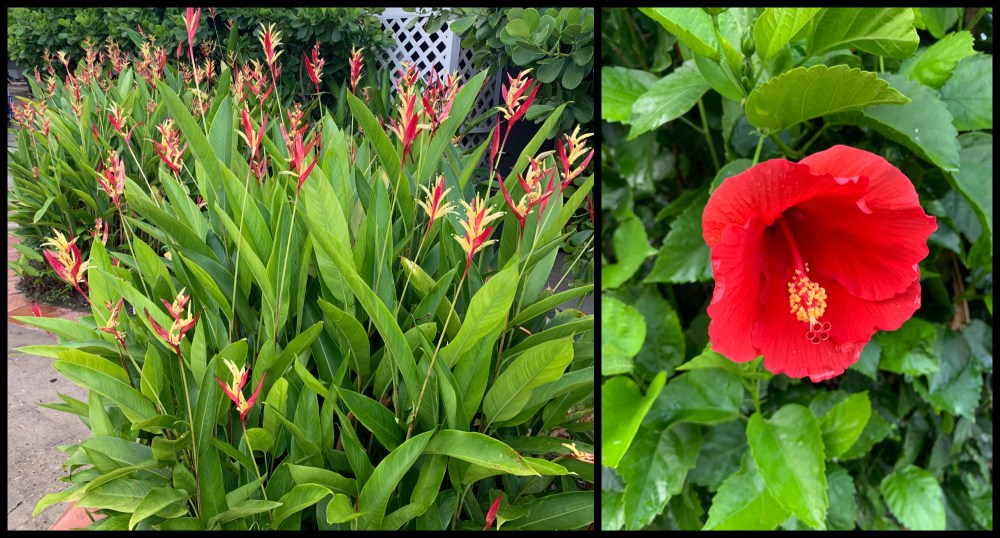
These spectacular views…
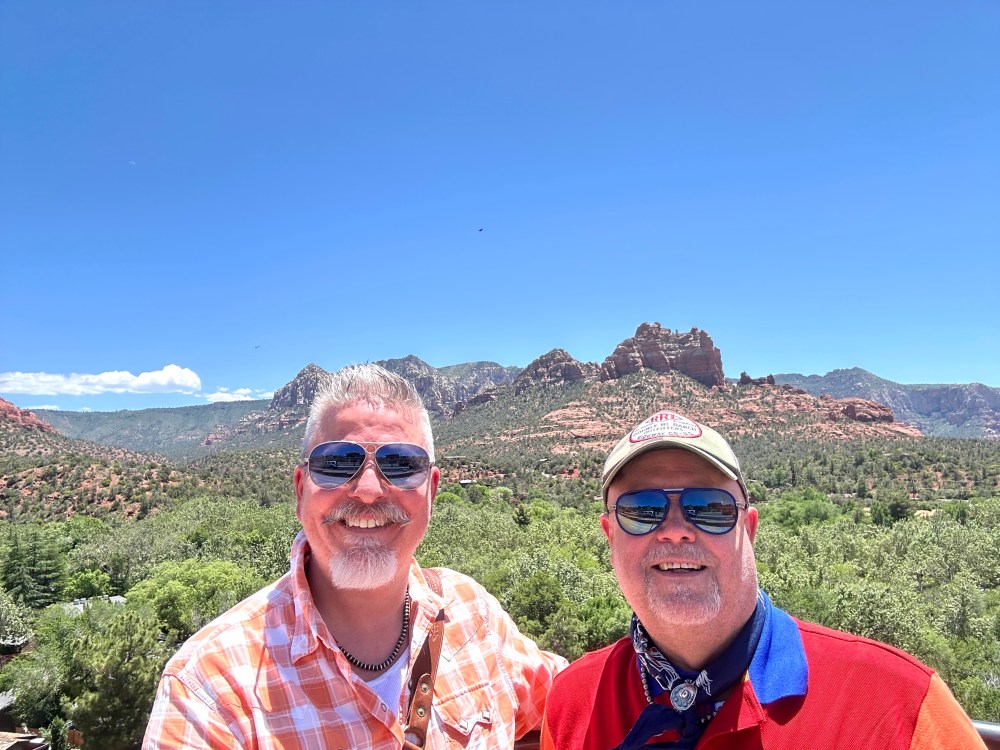
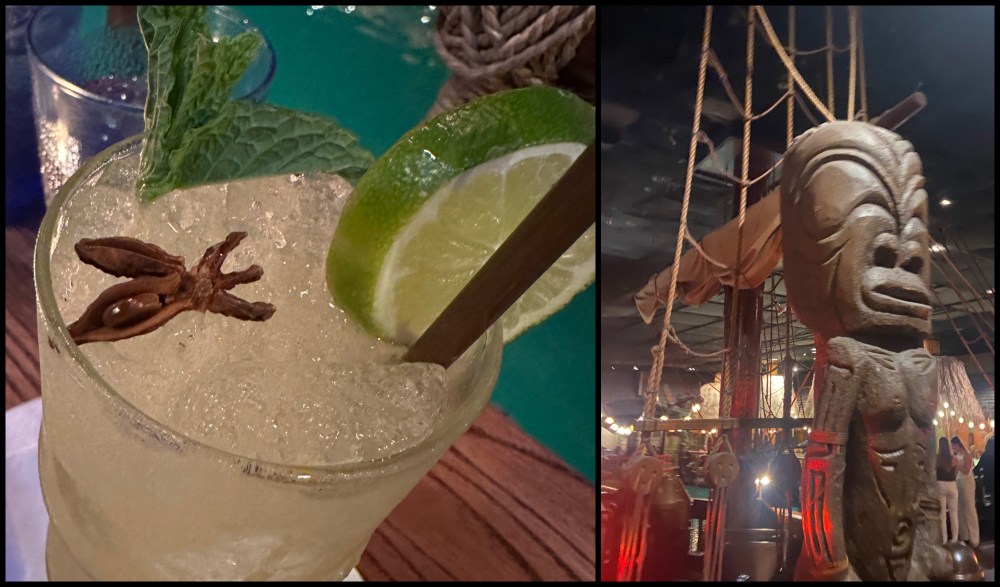
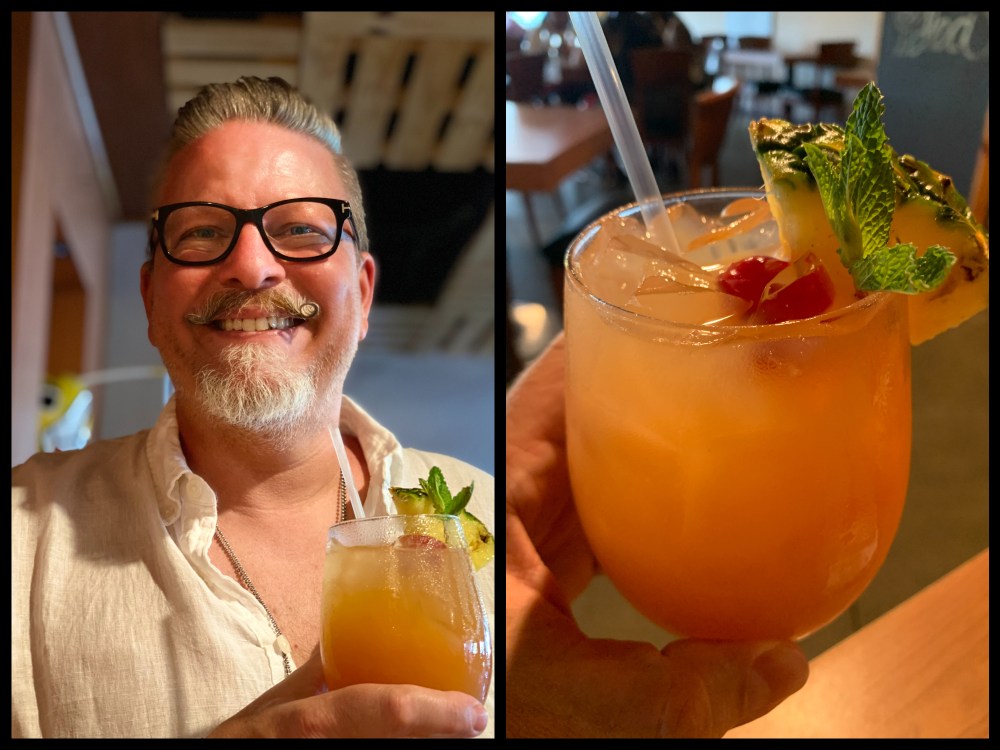
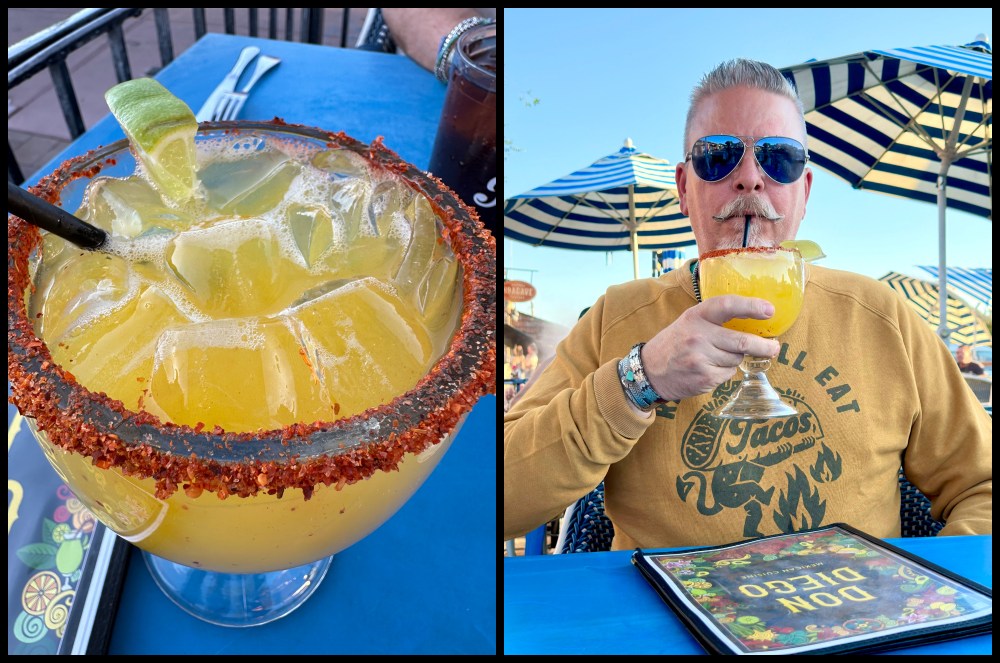
…and the spicy mango margaritas definitely have us wanting to return as soon as possible.
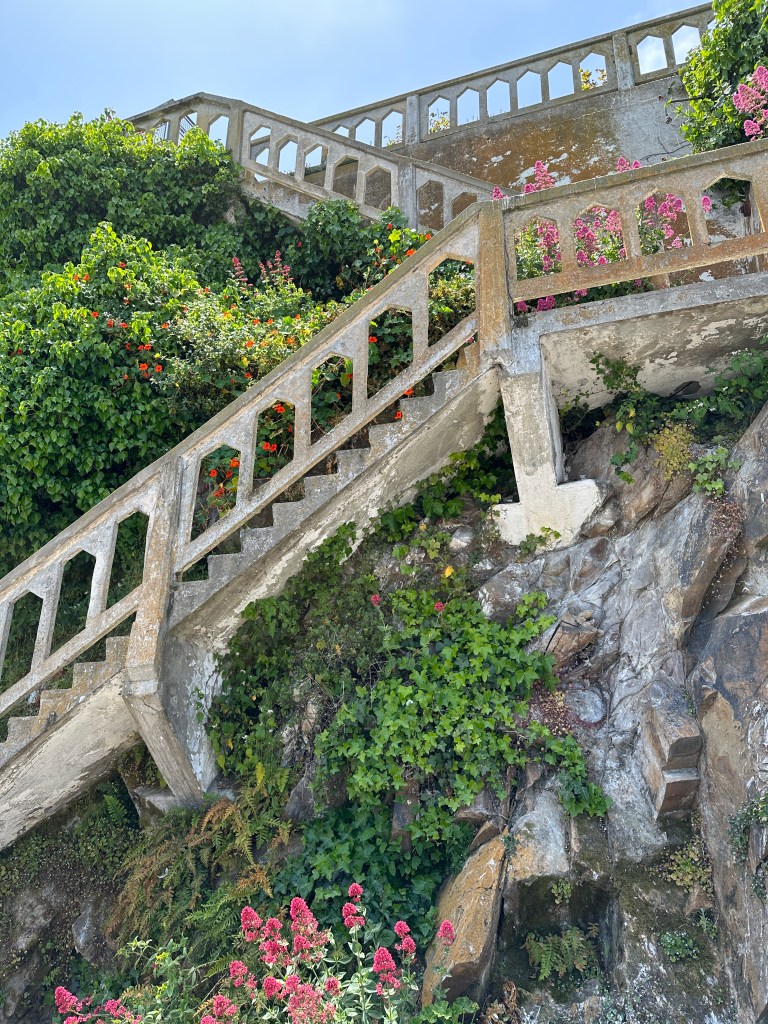
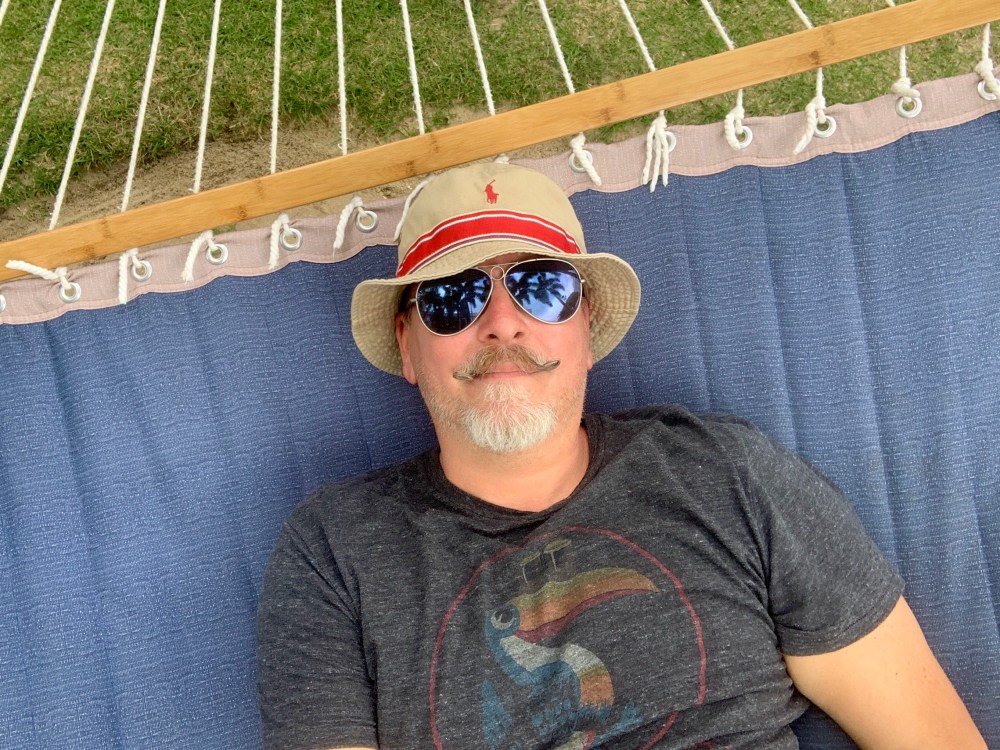
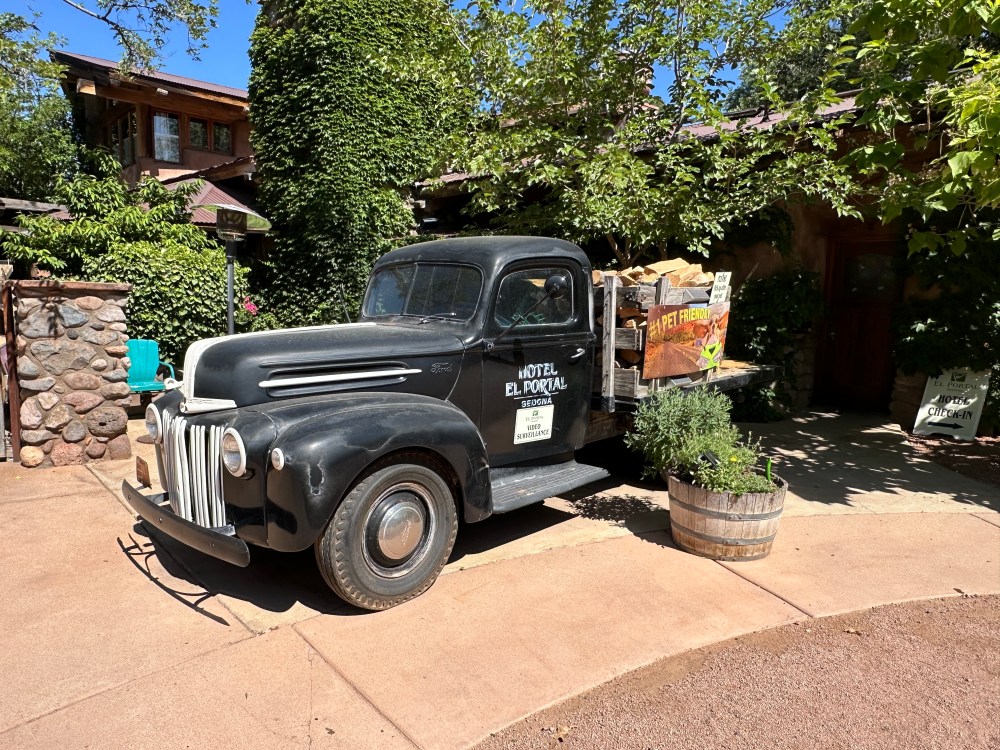
In Sedona we stayed a the Hotel El Portal – really more of a twelve room boarding house than a hotel. It’s right on the main drive close to the shops and restaurants. Speaking of, most of the restaurants close by 7:30 pm; an odd little quirk that the locals just shrug their shoulders about. Aside from that the El Portal was amazing. Our room was on the second floor (had to lug all of our pants, and jackets, and sweaters upstairs) with vaulted cedar ceilings, a Jacuzzi tub, and even our own, semi-private trumpet vine covered balcony.
It was heaven.
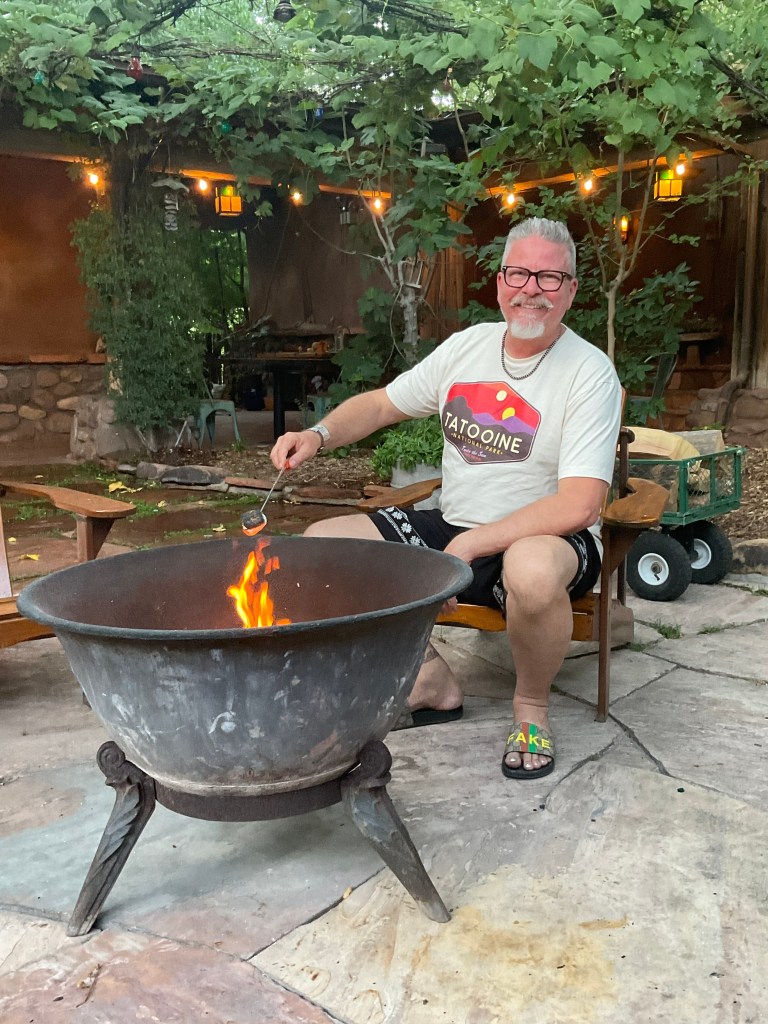
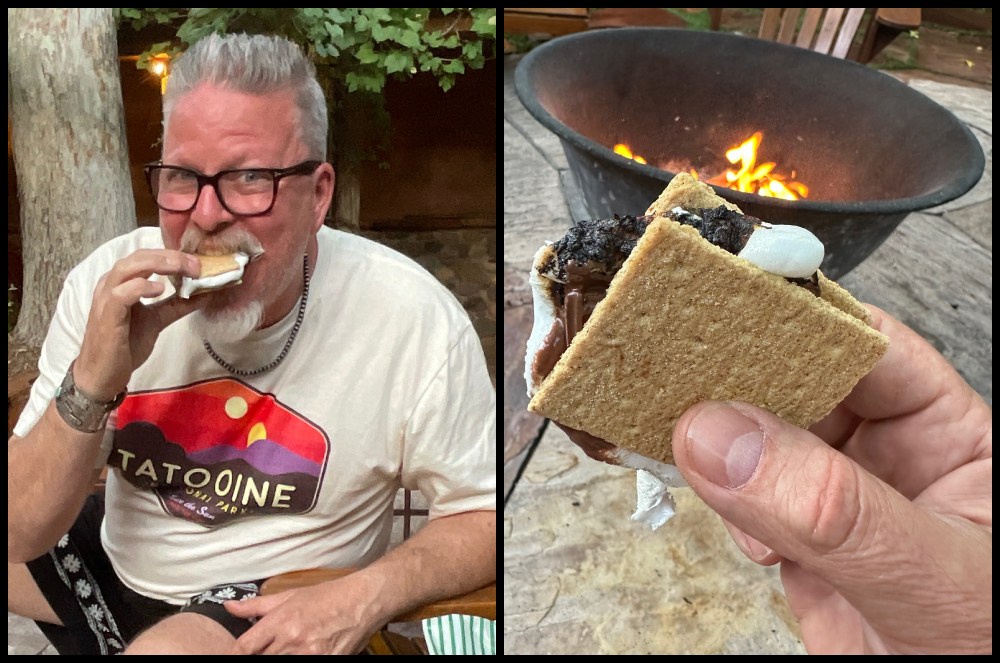
Every night Steve, the owner, lights a pinion fire in the grapevine covered courtyard for the guests to congregate around and roast, or possibly scorch, marshmallows for s’mores.
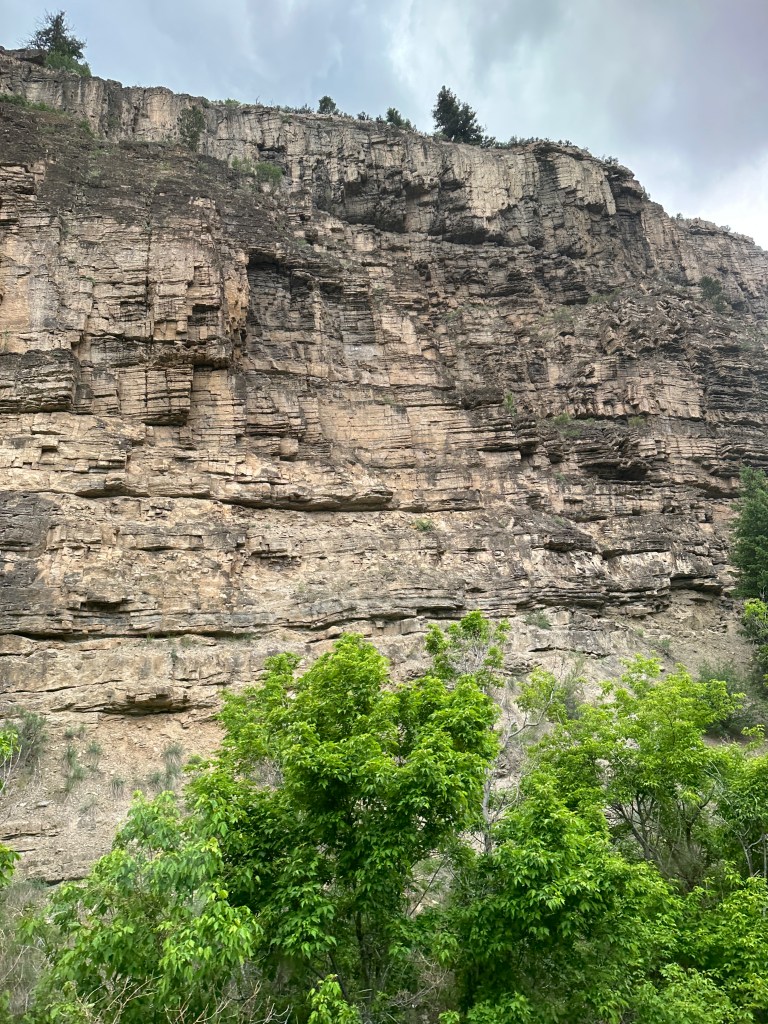
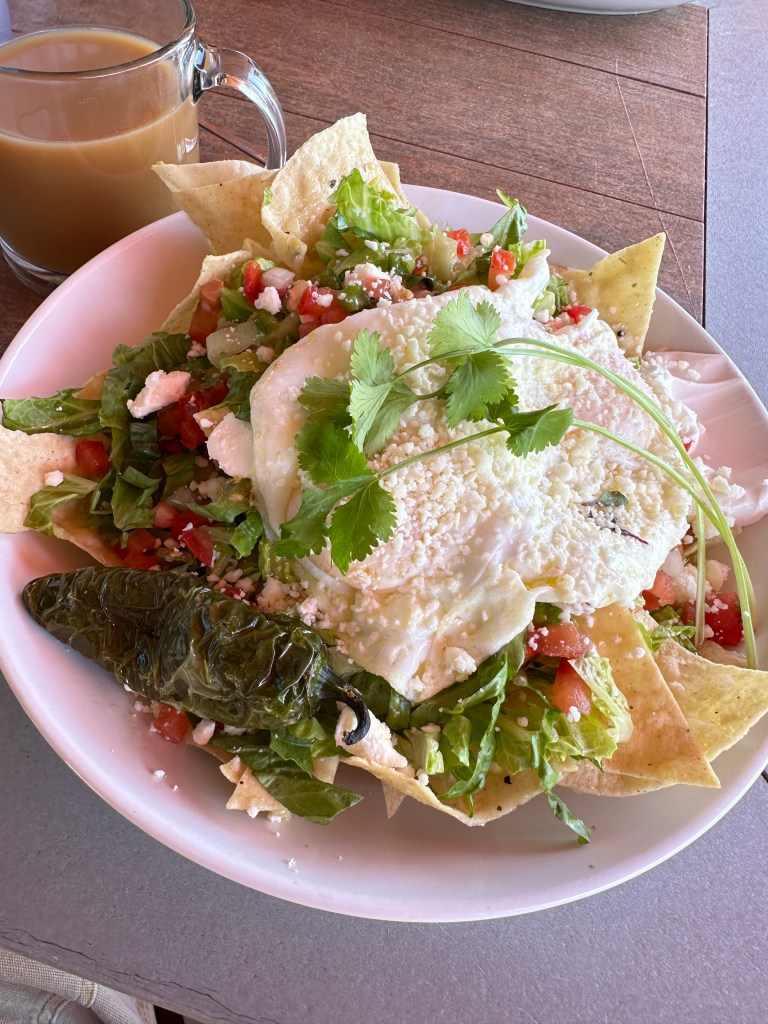
The Coffee Pot is a Sedona institution.
Not fancy by any means – reminded us of our local diner here in Oak Cliff, Norma’s – but we highly recommend a visit to this diner if you’re in the area.
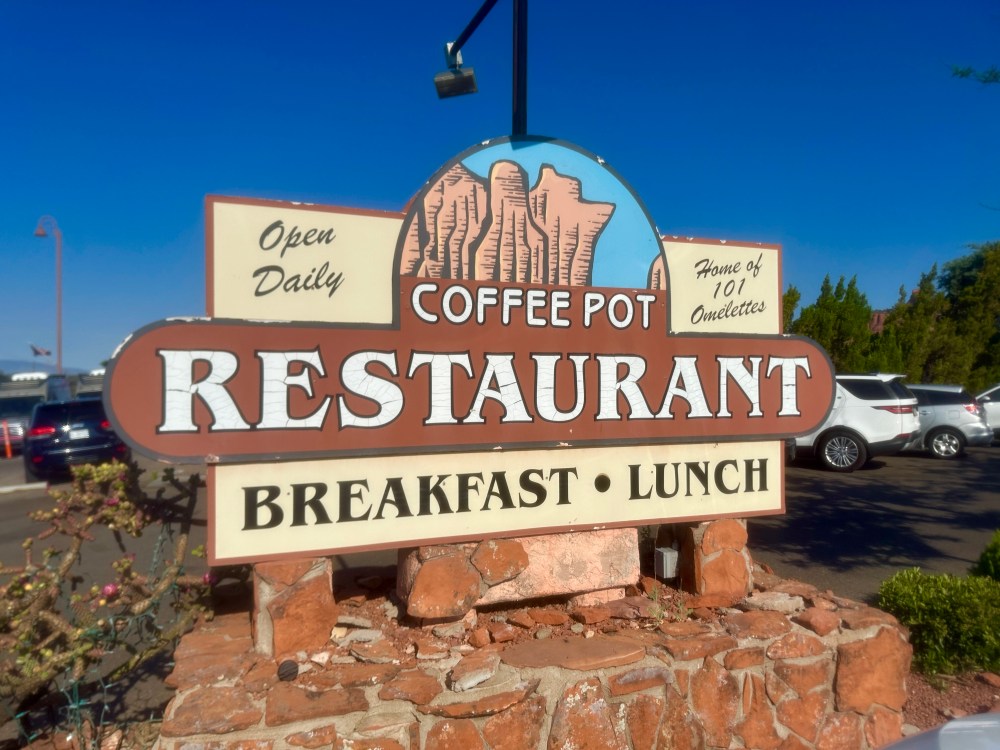
Named after the local rock formation that kinda looks like a coffee pot (see below), at one point the building was a club owned by Hollywood icon, and underwire bra enthusiast, Jane Russell. Since about 1950 the family owned restaurant has been know for offering 101 different omelets.
There was only a mere one hundred different omelet variations until a visit from the King of rock-n-roll, Elvis Presley himself, who requested peanut butter, jelly, and banana in his omelet….
…and you can’t refuse the King.
So, now they offer 101 different omelets…
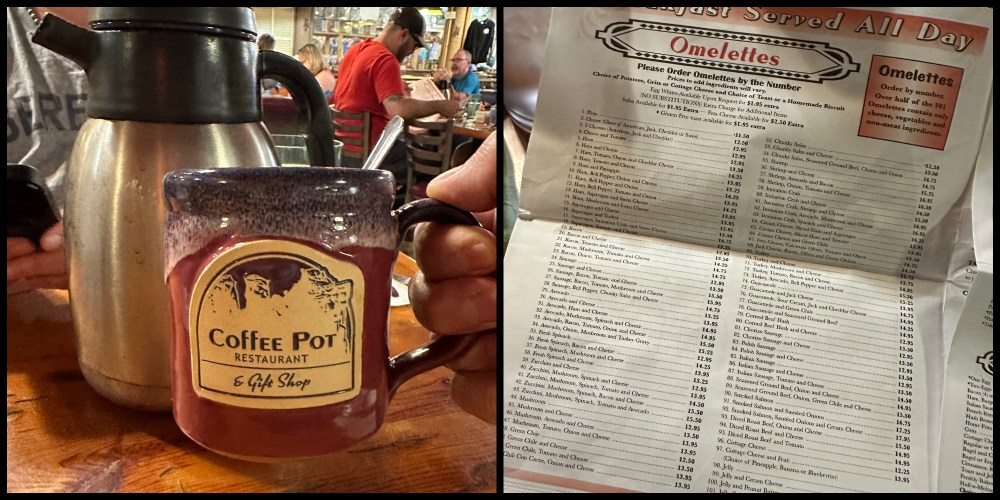
And no, neither of us ordered the Elvis special.
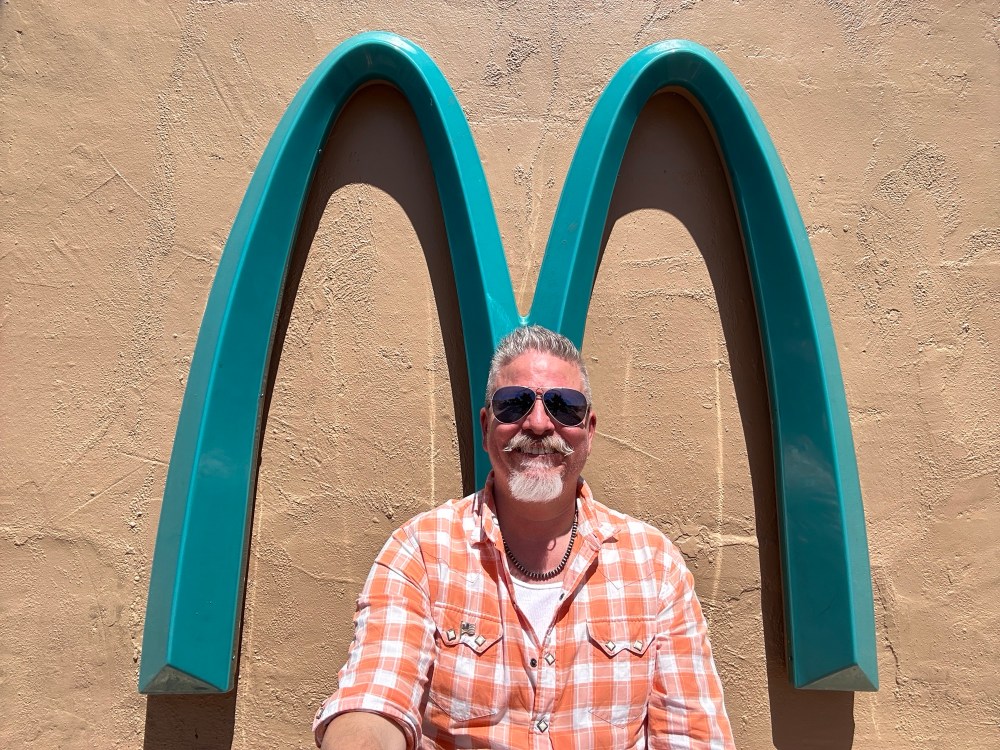
A little know fact about Sedona is that the only McDonald’s in the world to not have golden arches is located there.
They’re freakin’ turquoise.
Because of the zoning laws preventing tall buildings and signs from blocking the majestic views they’re only a couple inches off the ground too.
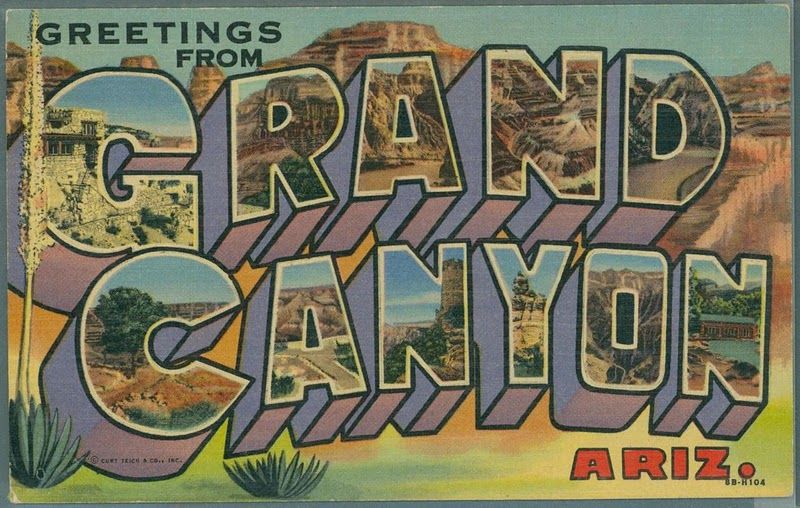
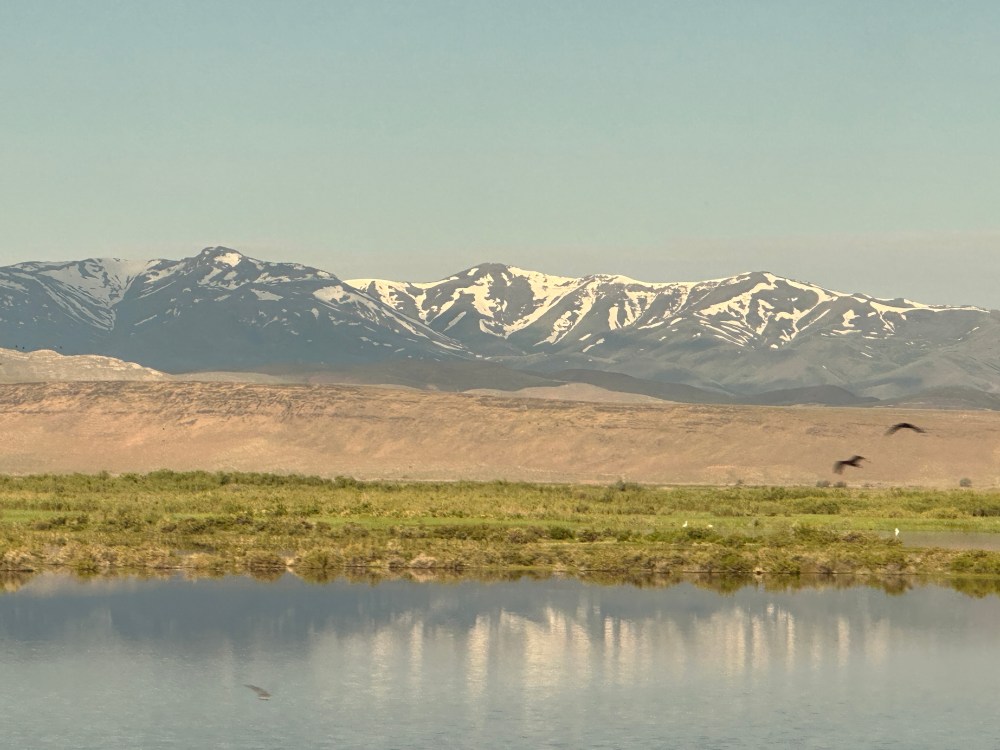
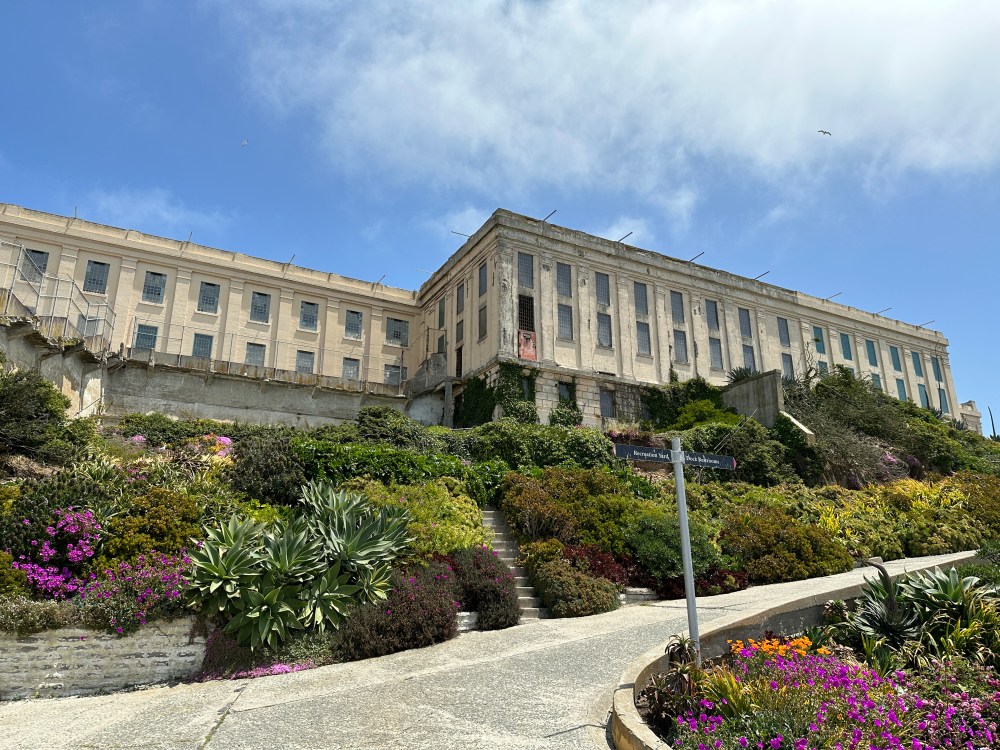
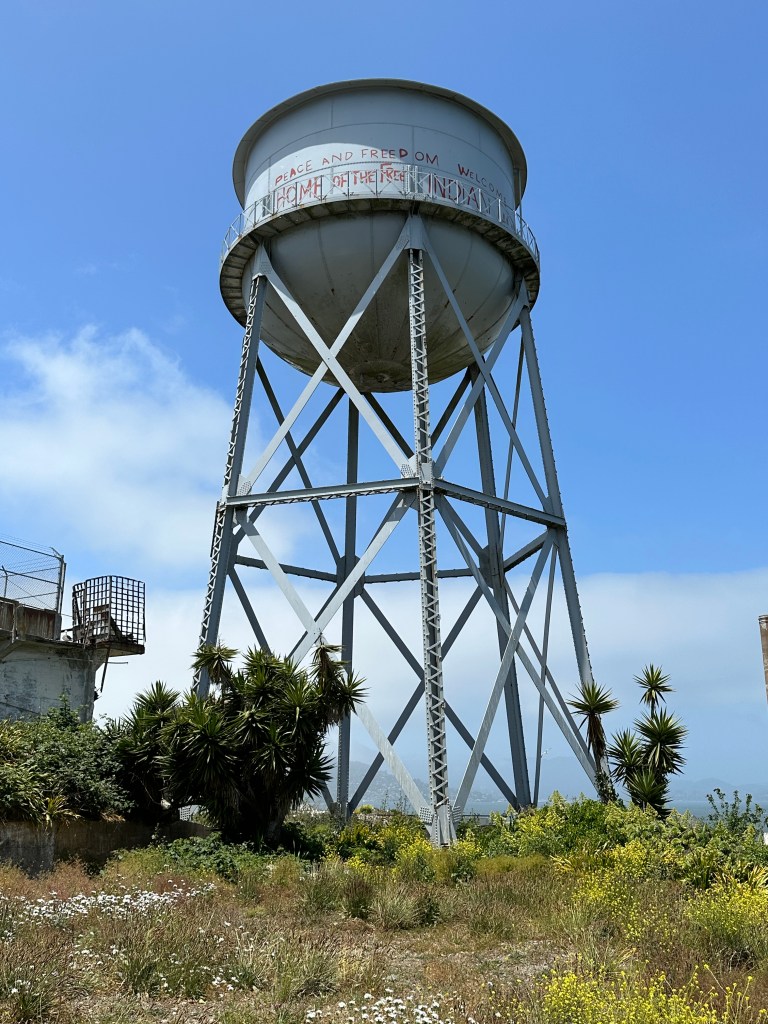
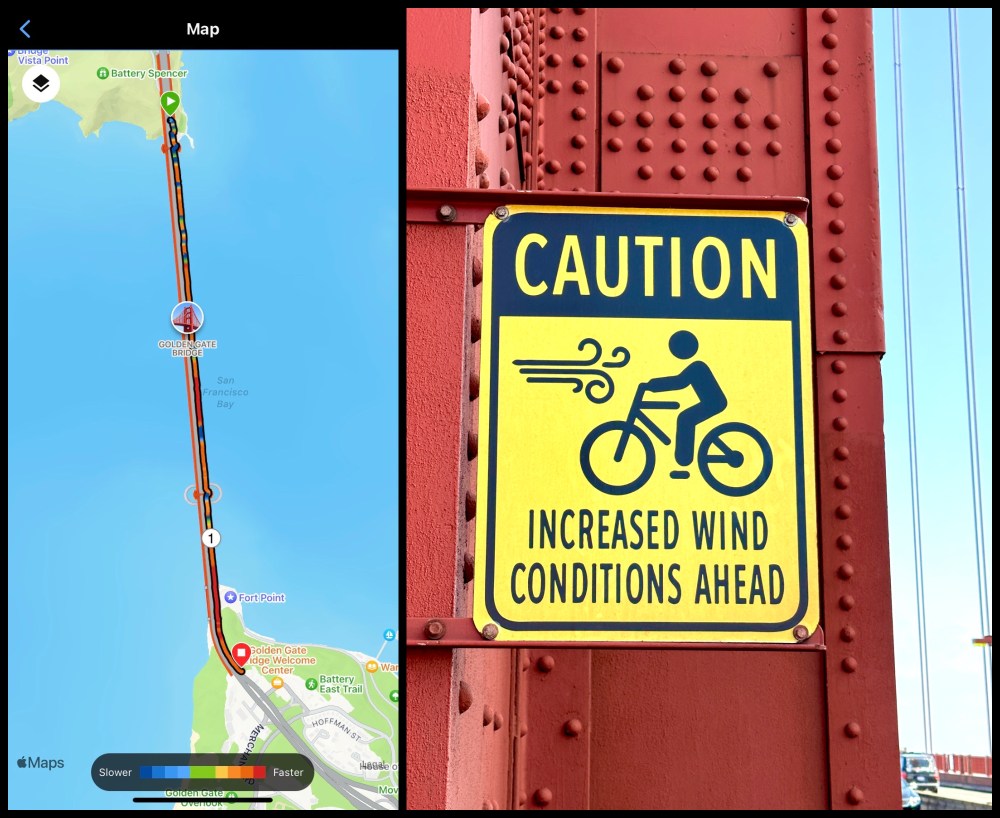
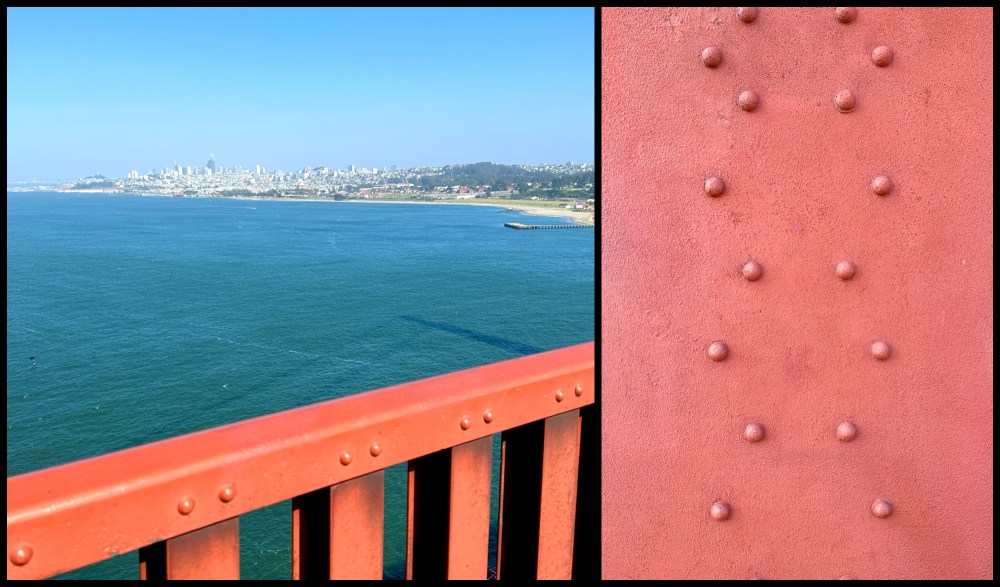
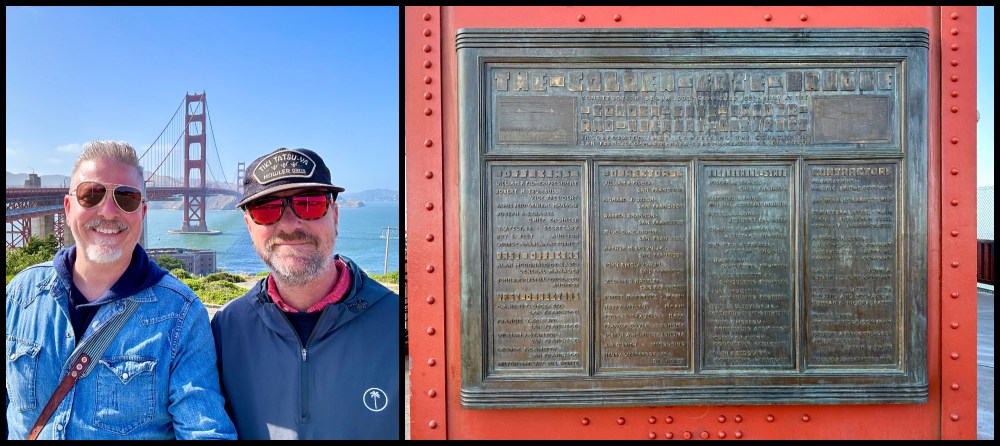
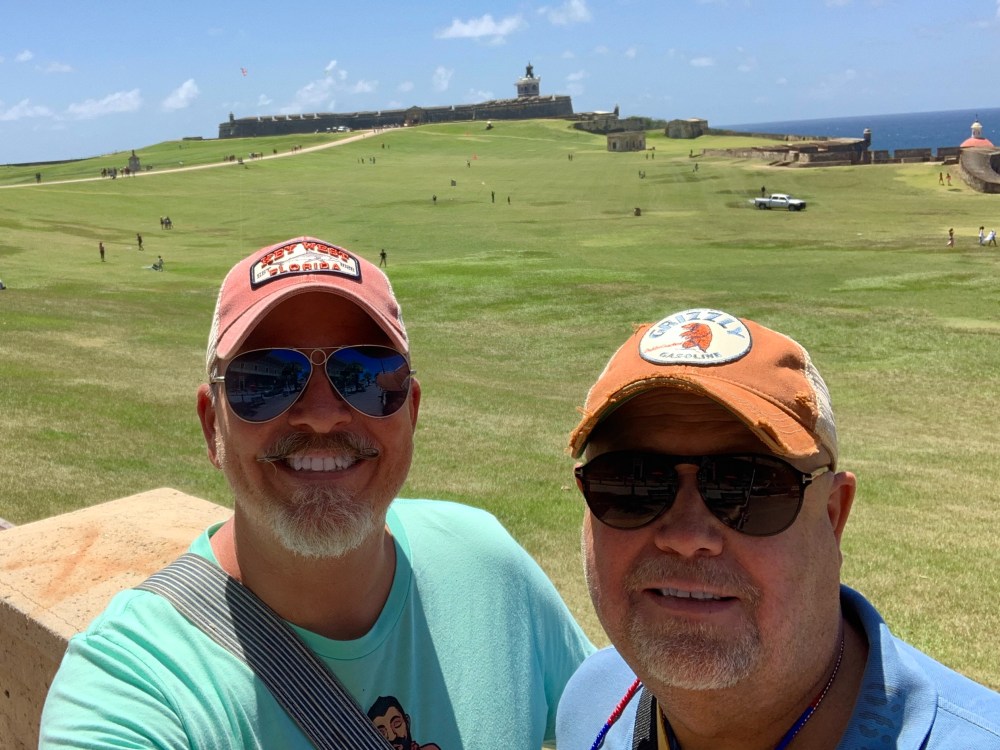
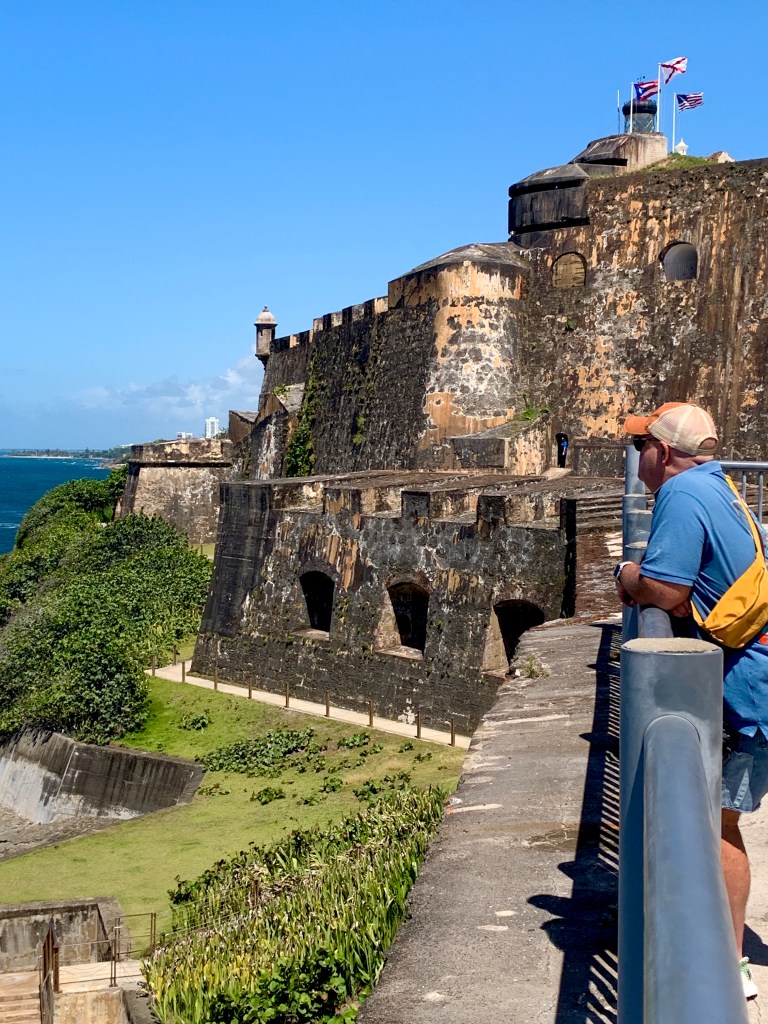
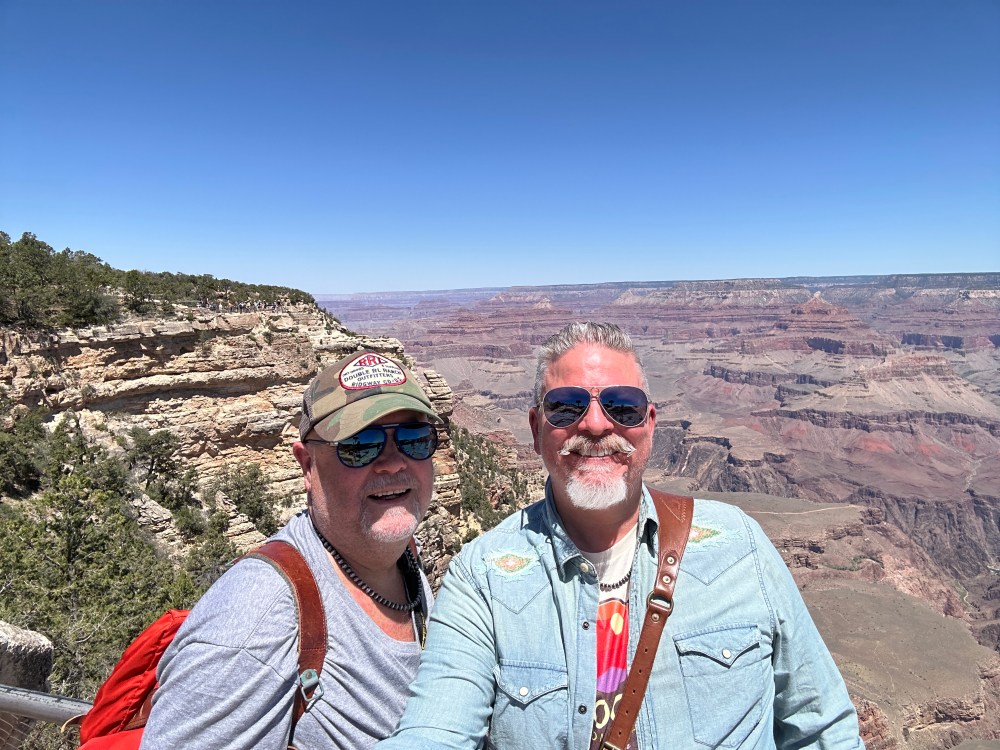
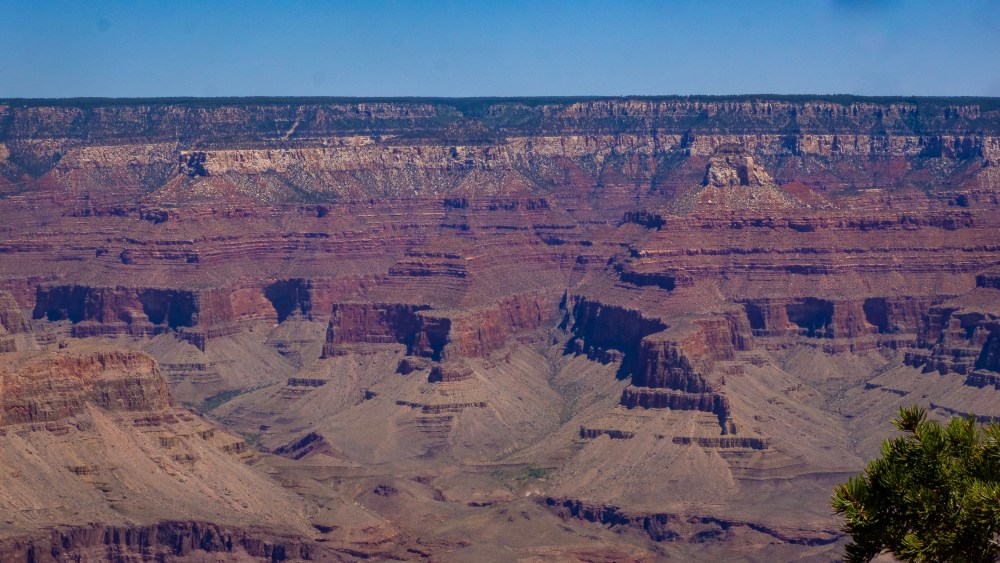
The south rim of the Grand Canyon was just a short two hour drive from Sedona (short – compared to the 9 hour stretch from Dallas to Santa Fe, anyway) and we shifted north for the day on Wednesday.
The pictures don’t do it any justice, y’all really need to see this place in person, but here’s a few pics anyway.
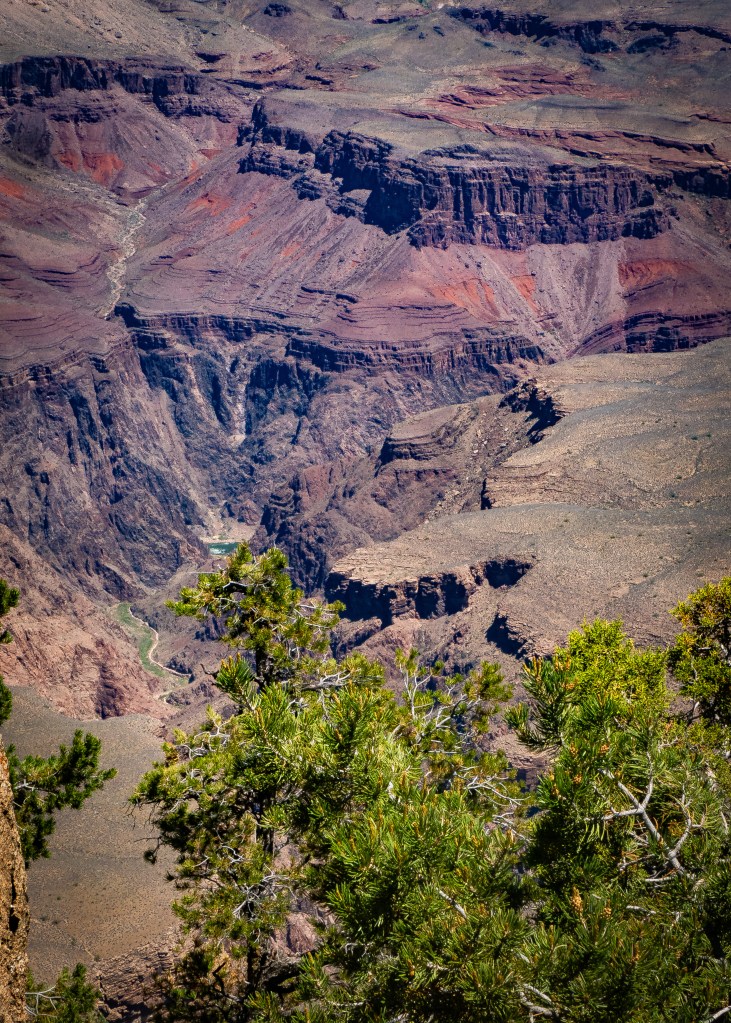

Interesting factoid, every year there are about a dozen deaths in the Grand Canyon, and that’s not counting suicides – like Thelma and Louise. These death statistics not only include accidental falls (about 1 out of every 1.8 million park visitors accidentally falls to their death), but also dehydration, hypothermia, plane/helicopter crashes and one woman was even crushed to death by a falling mule. No lie.
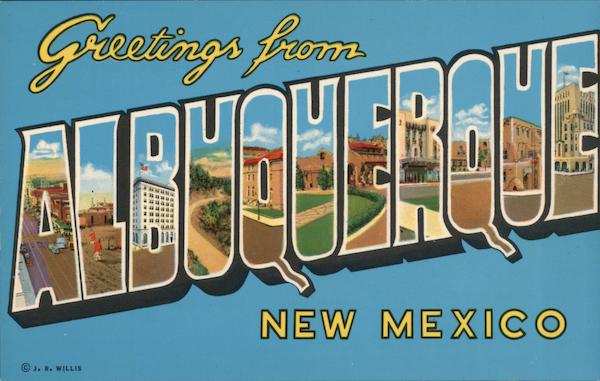
All too soon it was time to leave Arizona and head back in the direction of Texas, rather than kill ourselves – driving nine+ hours again – we stopped in Albuquerque, New Mexico for the night.
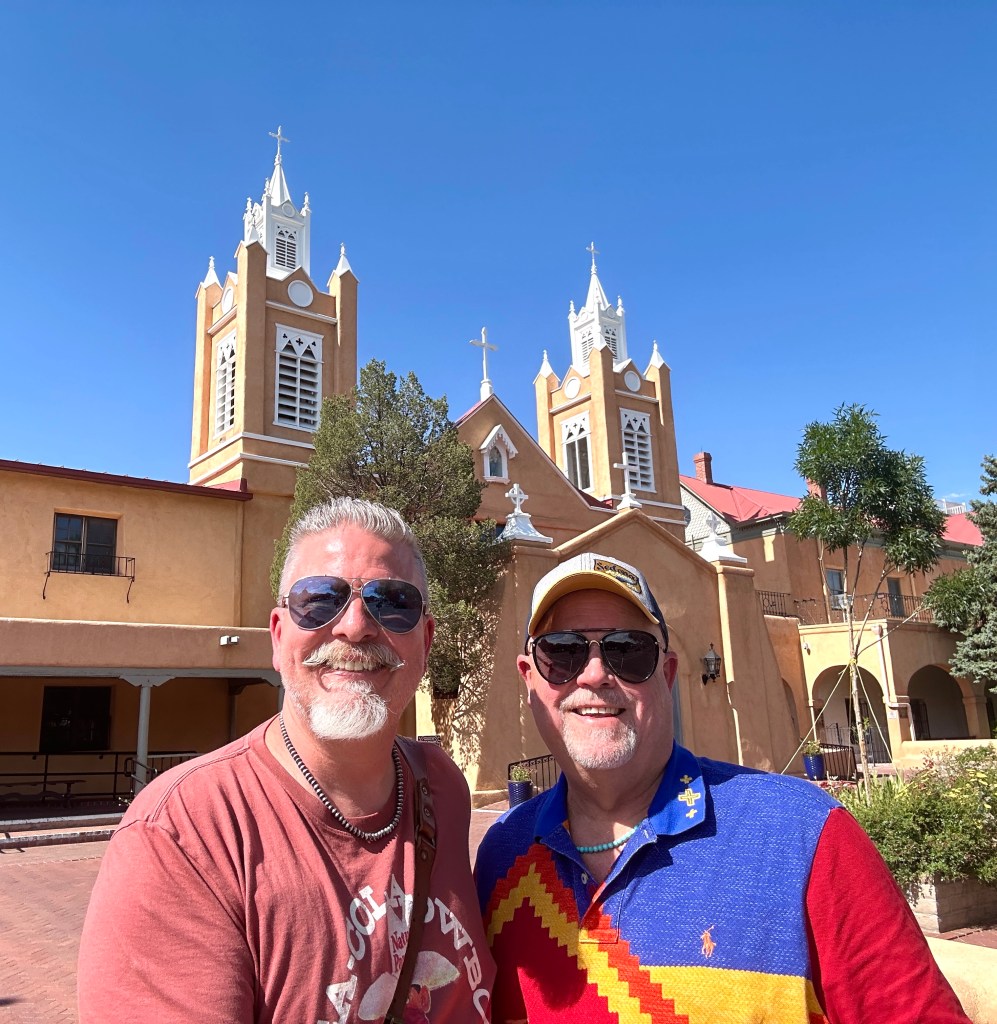
We weren’t in Albuquerque very long, but we did have time to swing by “Old Town” for some shopping…
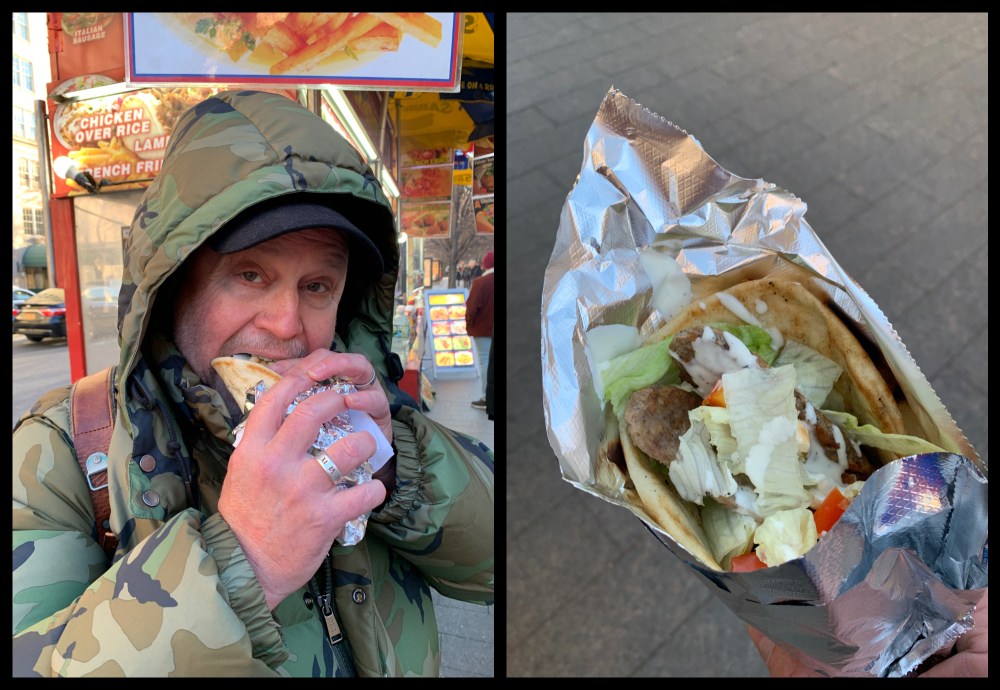
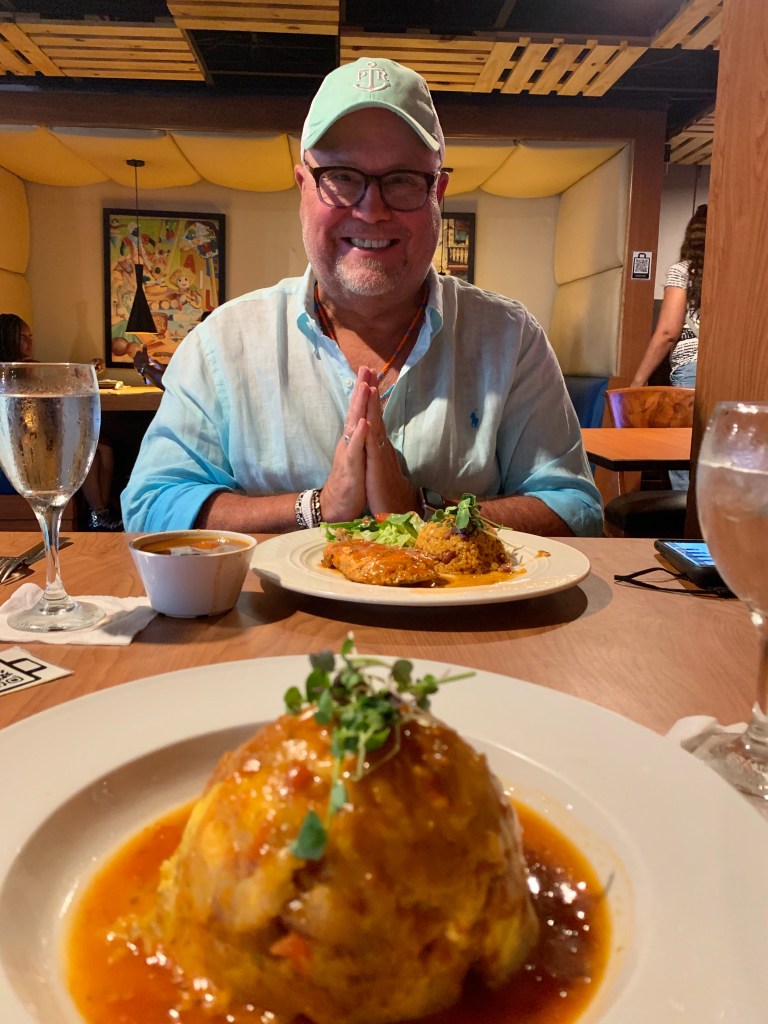
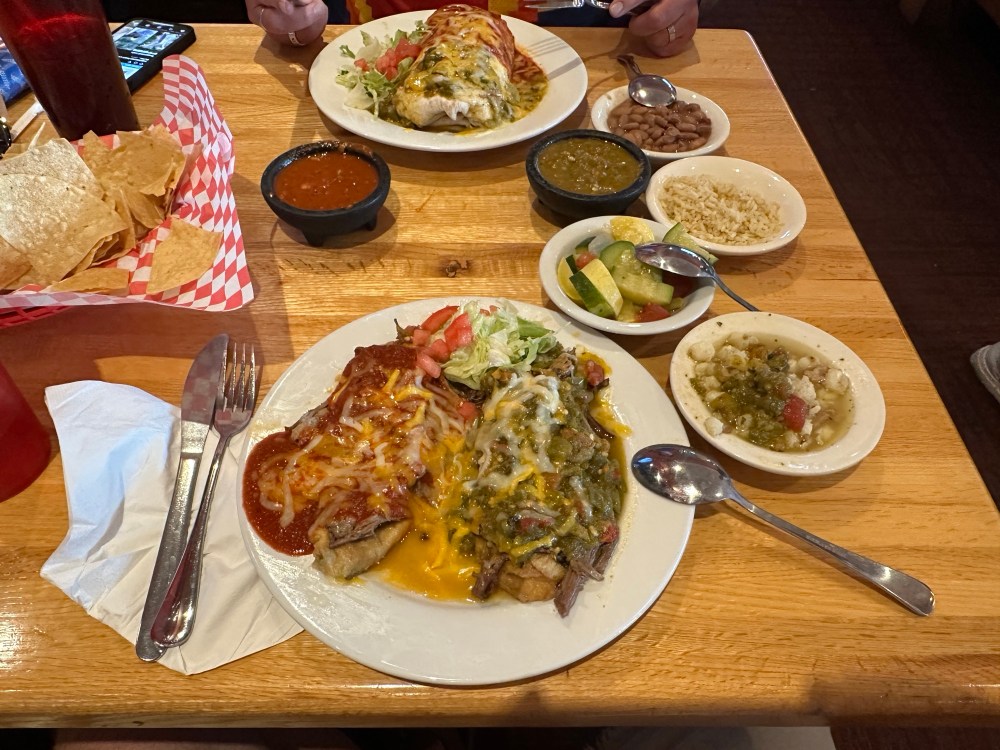
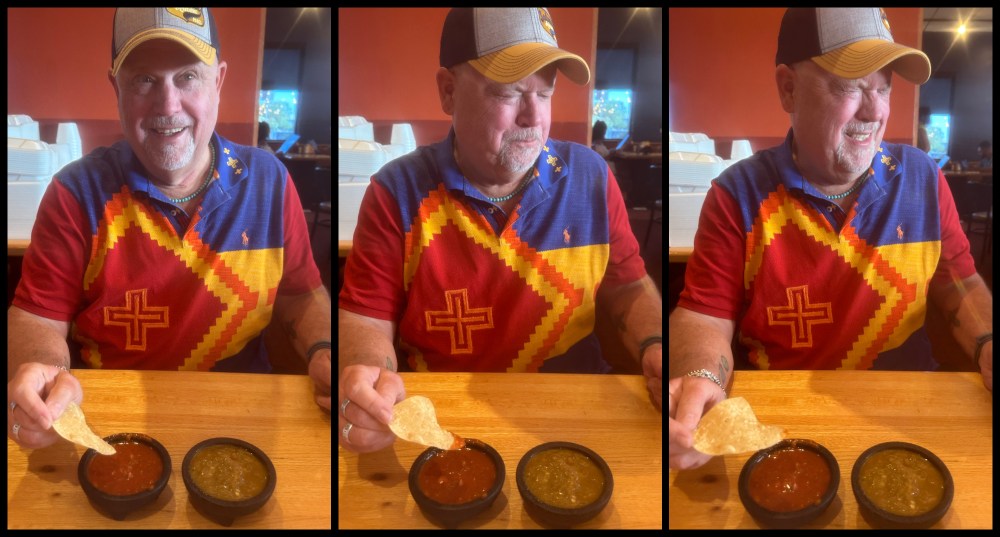
…and some spicy-ass New Mexican food.
In New Mexico, you’re either team “Red Chili” or team “Green Chili”. We opted for both, and that’s called “Christmas”. Naturally…
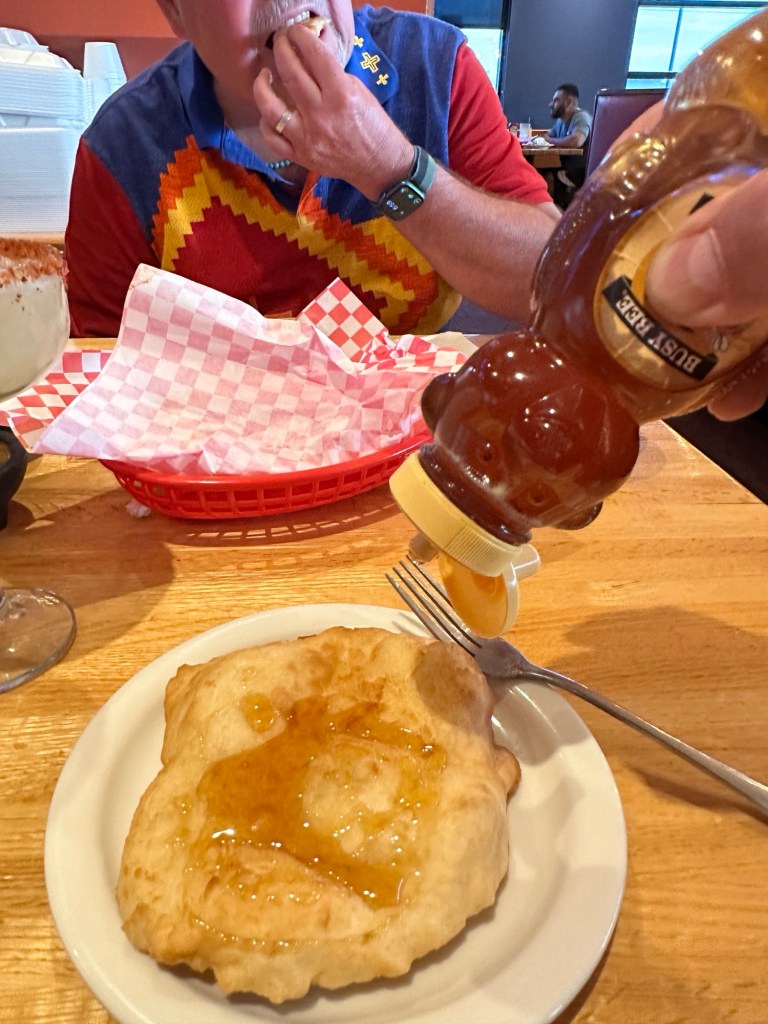
The best way to finish a meal like this is warm sopapillas – fried dough that’s sprinkled with sugar and doused in honey.
They seriously cut all that spicy heat.
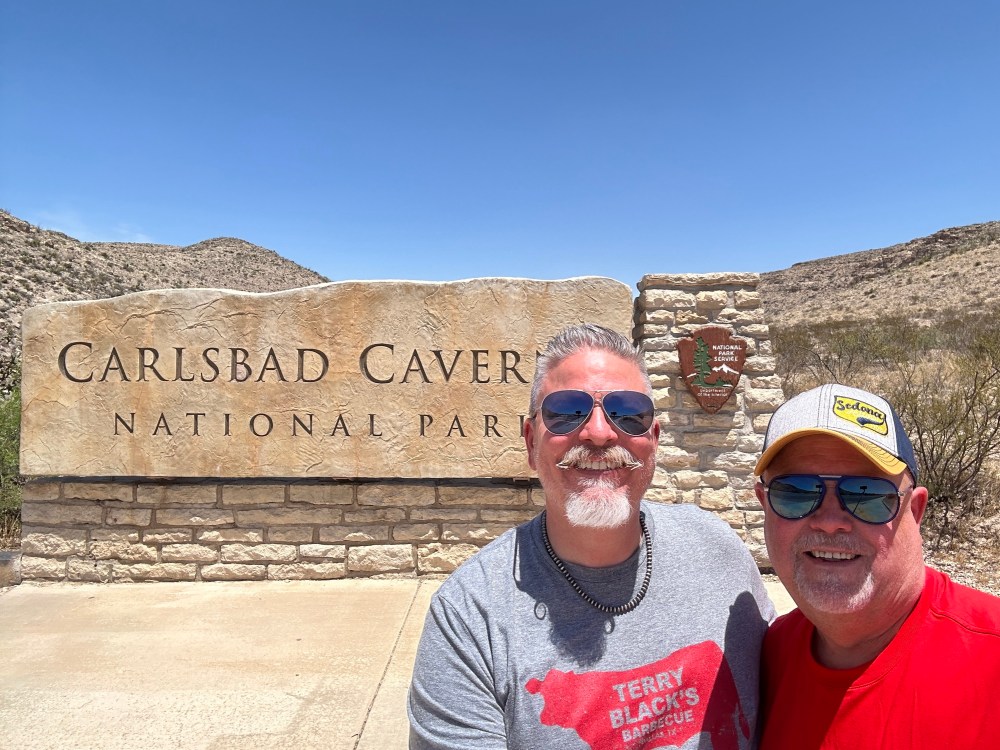
Our final destination of the trip was the lower right corner of the state and Carlsbad, New Mexico.
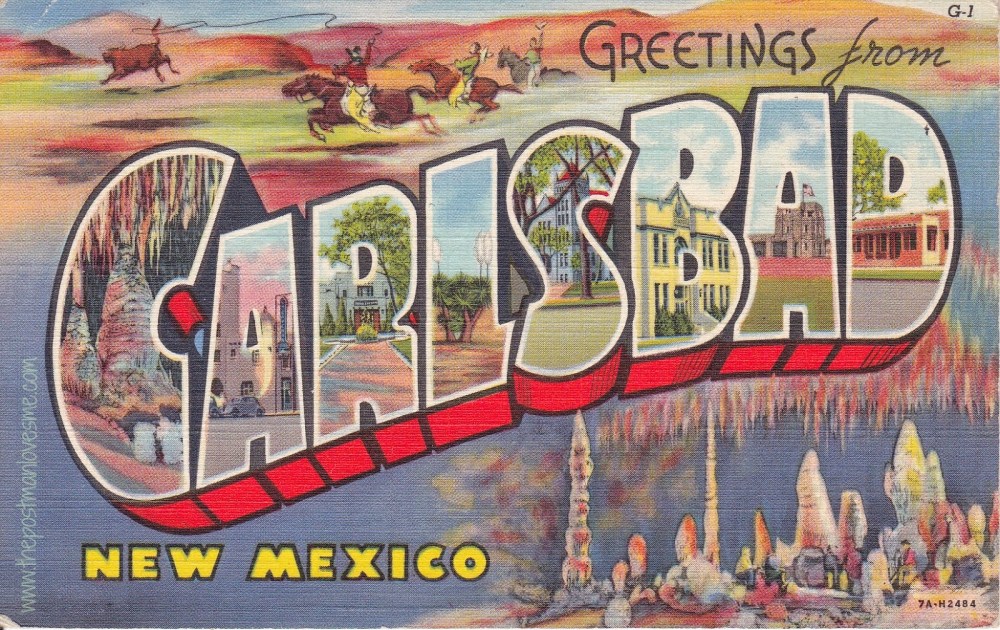
…at Carlsbad Caverns, of course.
We passed straight through Carlsbad towards Carlsbad Caverns National Park. (About 20 miles outside the city)
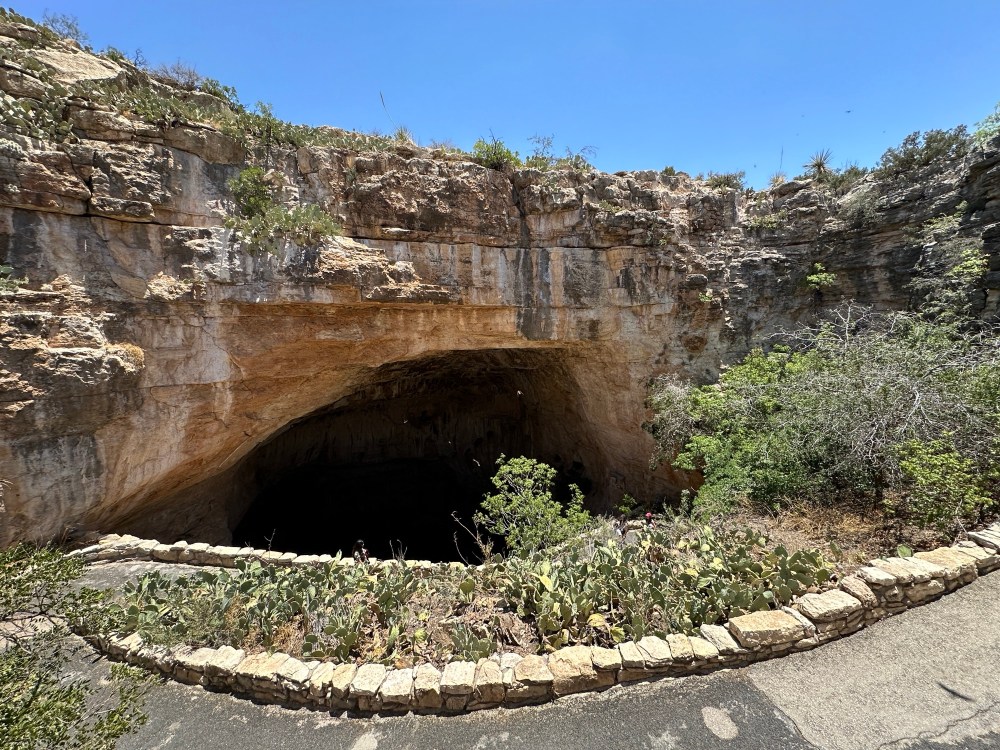
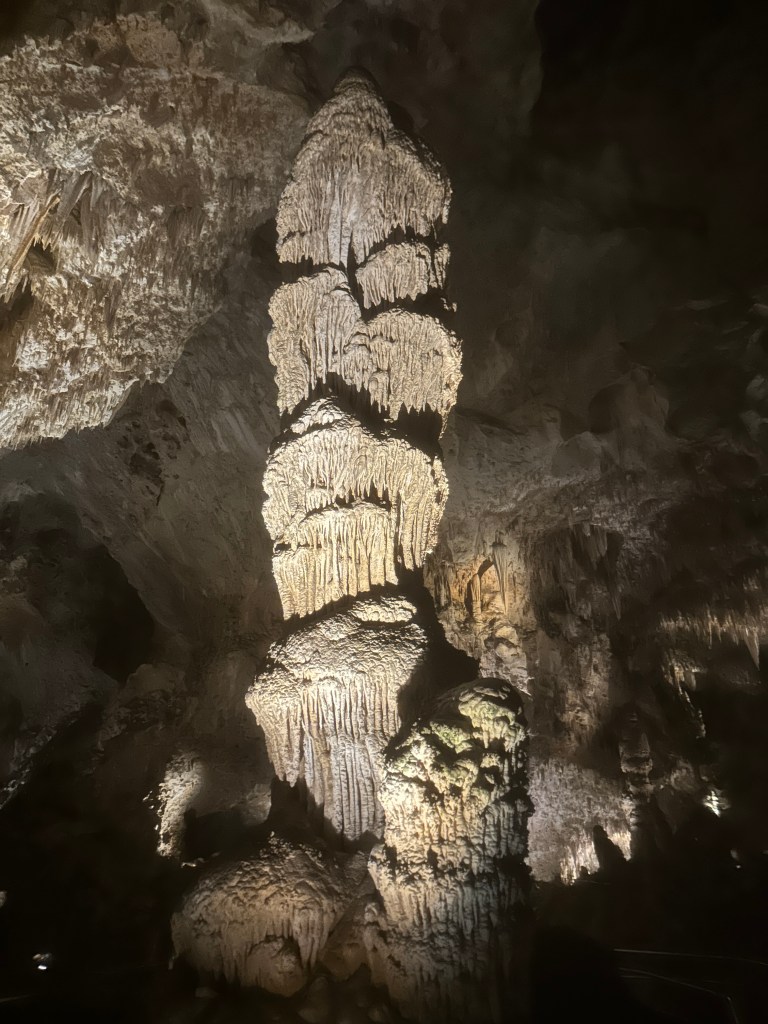
Carlsbad Caverns was established as a National Park in 1930. There are actually several caverns in the park, the largest of which is know as Carlsbad Cavern. Although it was know by native Americans for centuries the big cavern was introduced to the rest of the world in 1898 by a teenager named Jim White when he noticed a large school of bats emerging from somewhere over the ridge line. As teenagers tend to do, Jim explored the cave on his own using kerosene lanterns and a “rope” ladder he fashioned out of barbed wire and desert sticks. It was Jim who named a majority of the cavern’s “rooms” (The Kings Palace, Papoose Room, Green Lake Room etc.) and prominent calcium formations (The Totem Pole, Fairyland, Rock of Ages etc.)
Once again, photos just don’t do this place justice, but here’s a few anyway.
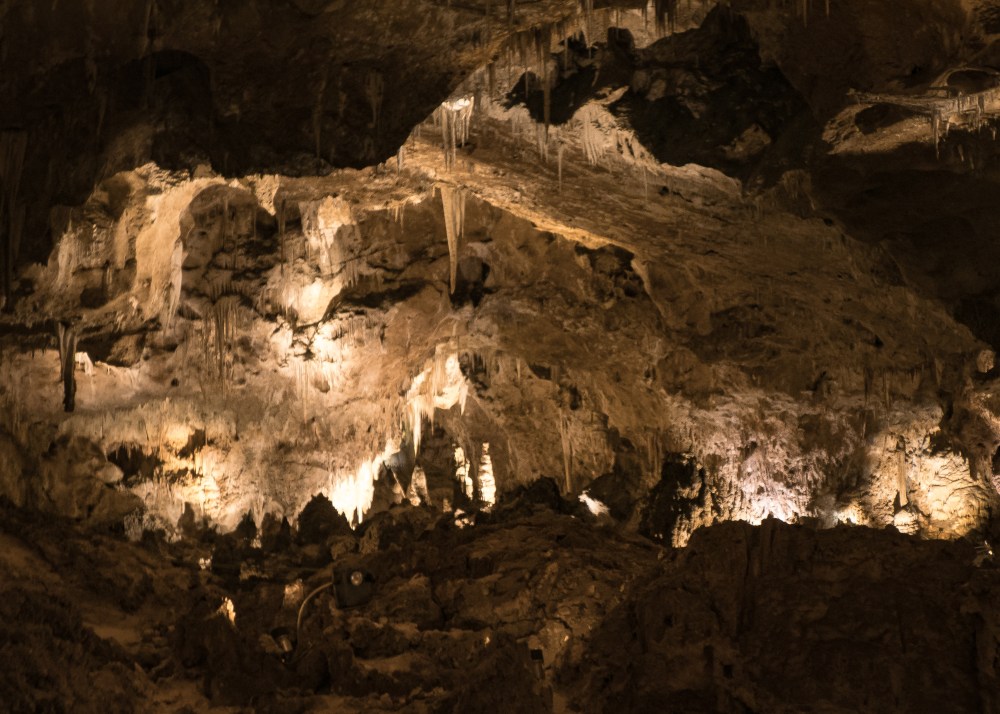
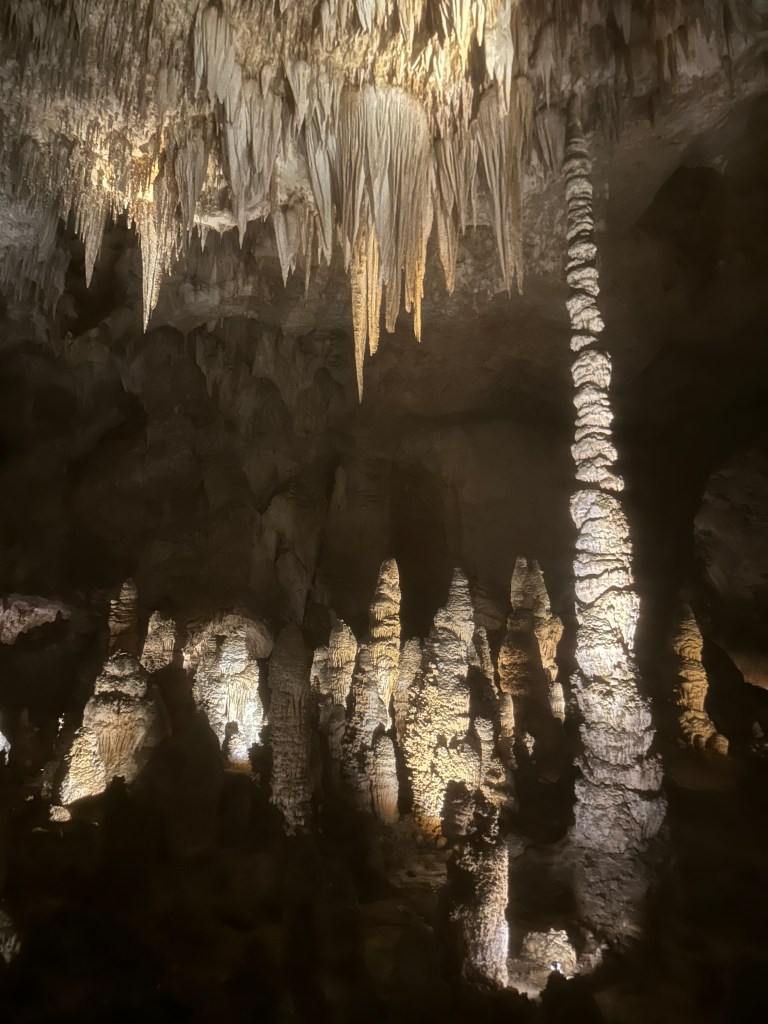
The largest of the cavern’s “rooms” is dubbed the “big room”. It is 4,000 feet long, 625 feet wide, and 255 feet high, at it’s highest point. Making it the largest chamber of it’s kind in North America.
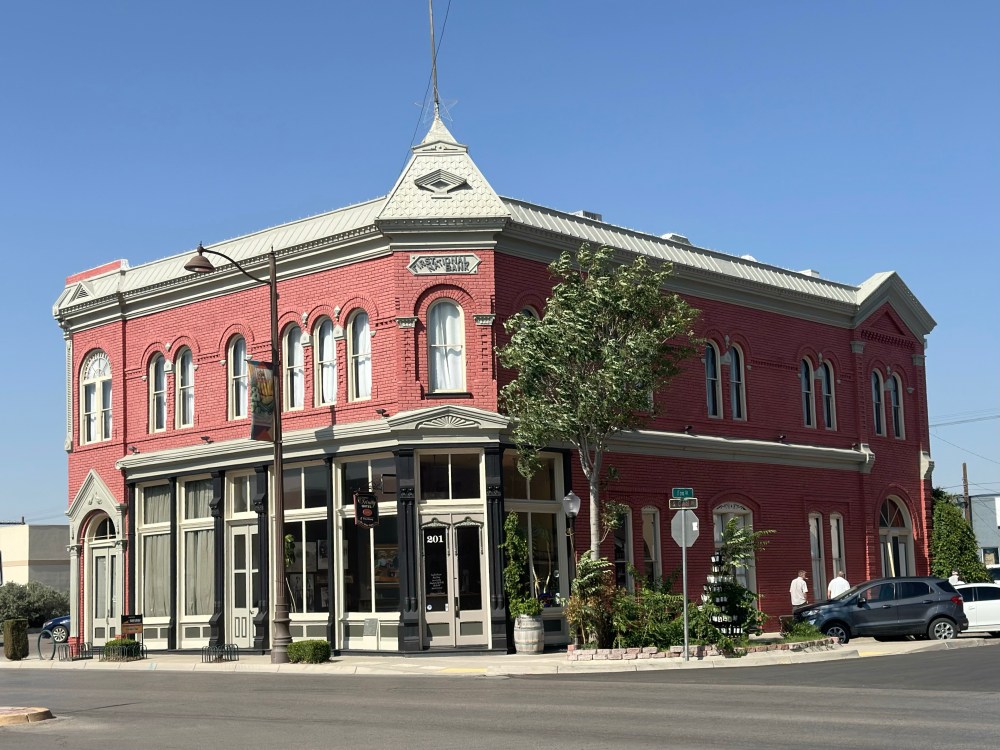
After a day of hiking 5+ miles in the cool, damp underground we drove the 20-ish miles back into town to check into our hotel and grab dinner. We stayed at the Trinity Hotel, formerly the First National Bank of Carlsbad.
Thank you for the recomendation, Terri.
Once again we lugged our much heavy-to-check-on-an-airplane luggage up a winding staircase. We’re big guys, our clothes weigh more. Exactly the explanation I have at the American Airlines counter every couple of years just before I reluctantly hand over my credit card to pay that extra $50 “overweight bag” fee. (Sigh)
The Trinity Hotel has “old west” charm for days.

And a pretty decent restaurant/bar too.
But we didn’t want to get too comfortable, on that AMAZING king-sized bed, because we had sunset plans 20 miles away… back at the caverns.
The Carlsbad bat flight.
National Park Ranger Ashley explained that any, and all, electronic devices or loud noises could frighten or confuse the delicate creatures and any photos or recording are strictly prohibited. She then explained to the entire crowd of about two hundred circled around the cave entrance how to turn off their phones… and watches. If there was an Amber Alert during the flight it would certainly mean an end of the bats at Carlsbad Caverns – there’s a chance they might move to a different enormous hole in the ground. In fact, Ranger Ashley informed us that any jarring sound at all could frighten the delicate little creatures.
Precisely at dusk the bats started to appear. There was complete silence from the crowd as somewhere between 100,000 and 1.3 million (turns out that national park rangers aren’t particularly skilled at counting small, flying mammals) Brazilian free-tailed bats whirled counter clockwise out of the cave opening and danced as light as air over our heads in the desert twilight.
Well, complete silence except for the 9 year old siting next to me with tuberculous. Jamie reminds me that I’m not a doctor, and I’m not saying he had the plague or anything but I assure you that there was something seriously wrong with that kid. He had the kind of hack you hear coming from the other side of the curtain of a shared hospice room. But I digress.
The experience was quite magical.
Highly recomend.
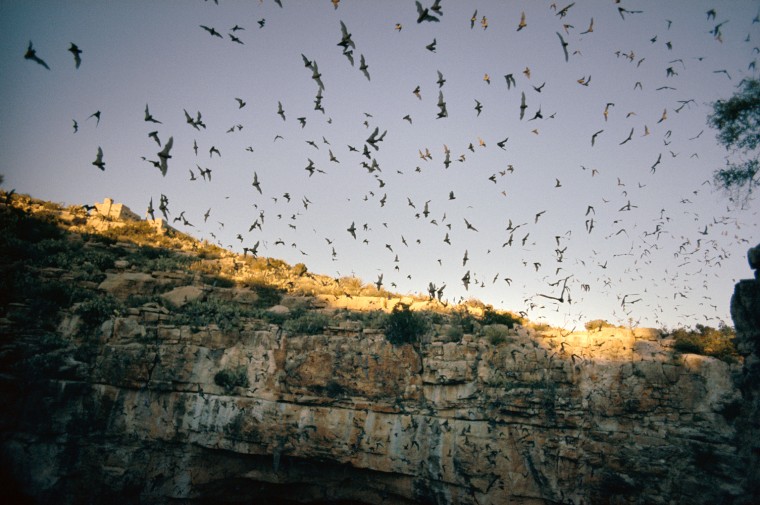
(not my photo. I always respect national park rangers)
Saturday morning we loaded the Bronco one last time with all our new t-shirts, baskets, pinion incense, books about deaths at the Grand Canyon, bracelets, blankets and magnets and started our drive home. We waved goodbye to the land of huevos rancheros and chilaquiles and headed back towards good old fashioned Tex-Mex.
All in all, we logged 2361 miles, round trip.
And walked just over 5 miles a day.
We were exhausted.
If ya wanna see more of this trip, and I know you do, check out Jamie’s photo page at JamieBoltonPhotography.com