

Hardly a unique idea here, folks……far from it.
But I searched high and low on the internets and can’t find a single decent image of one.
Guess it’s up to us to solve that.
What better way to frame a mirror than with scrabble tiles? They sell the tiles solo, just for projects and I can only assume; scrap booking.

We found them on Amazon, pretty reasonable too, 10 bucks for 100 (10 cents each if you’re doing the math). It’s cheaper than buying the game just for the tiles…….unless you find the complete box at thrift stores or garage sales.
Jamie had this old mirror in his apartment, and it had a nice bevel to the glass. So this is our candidate – without the frame (Don’t y’all just love that it’s so filthy that it barely reflects anything?)

Sure, the frame is a little scratched, but every one of you knows damn well that I would just paint that sucker black anyway.
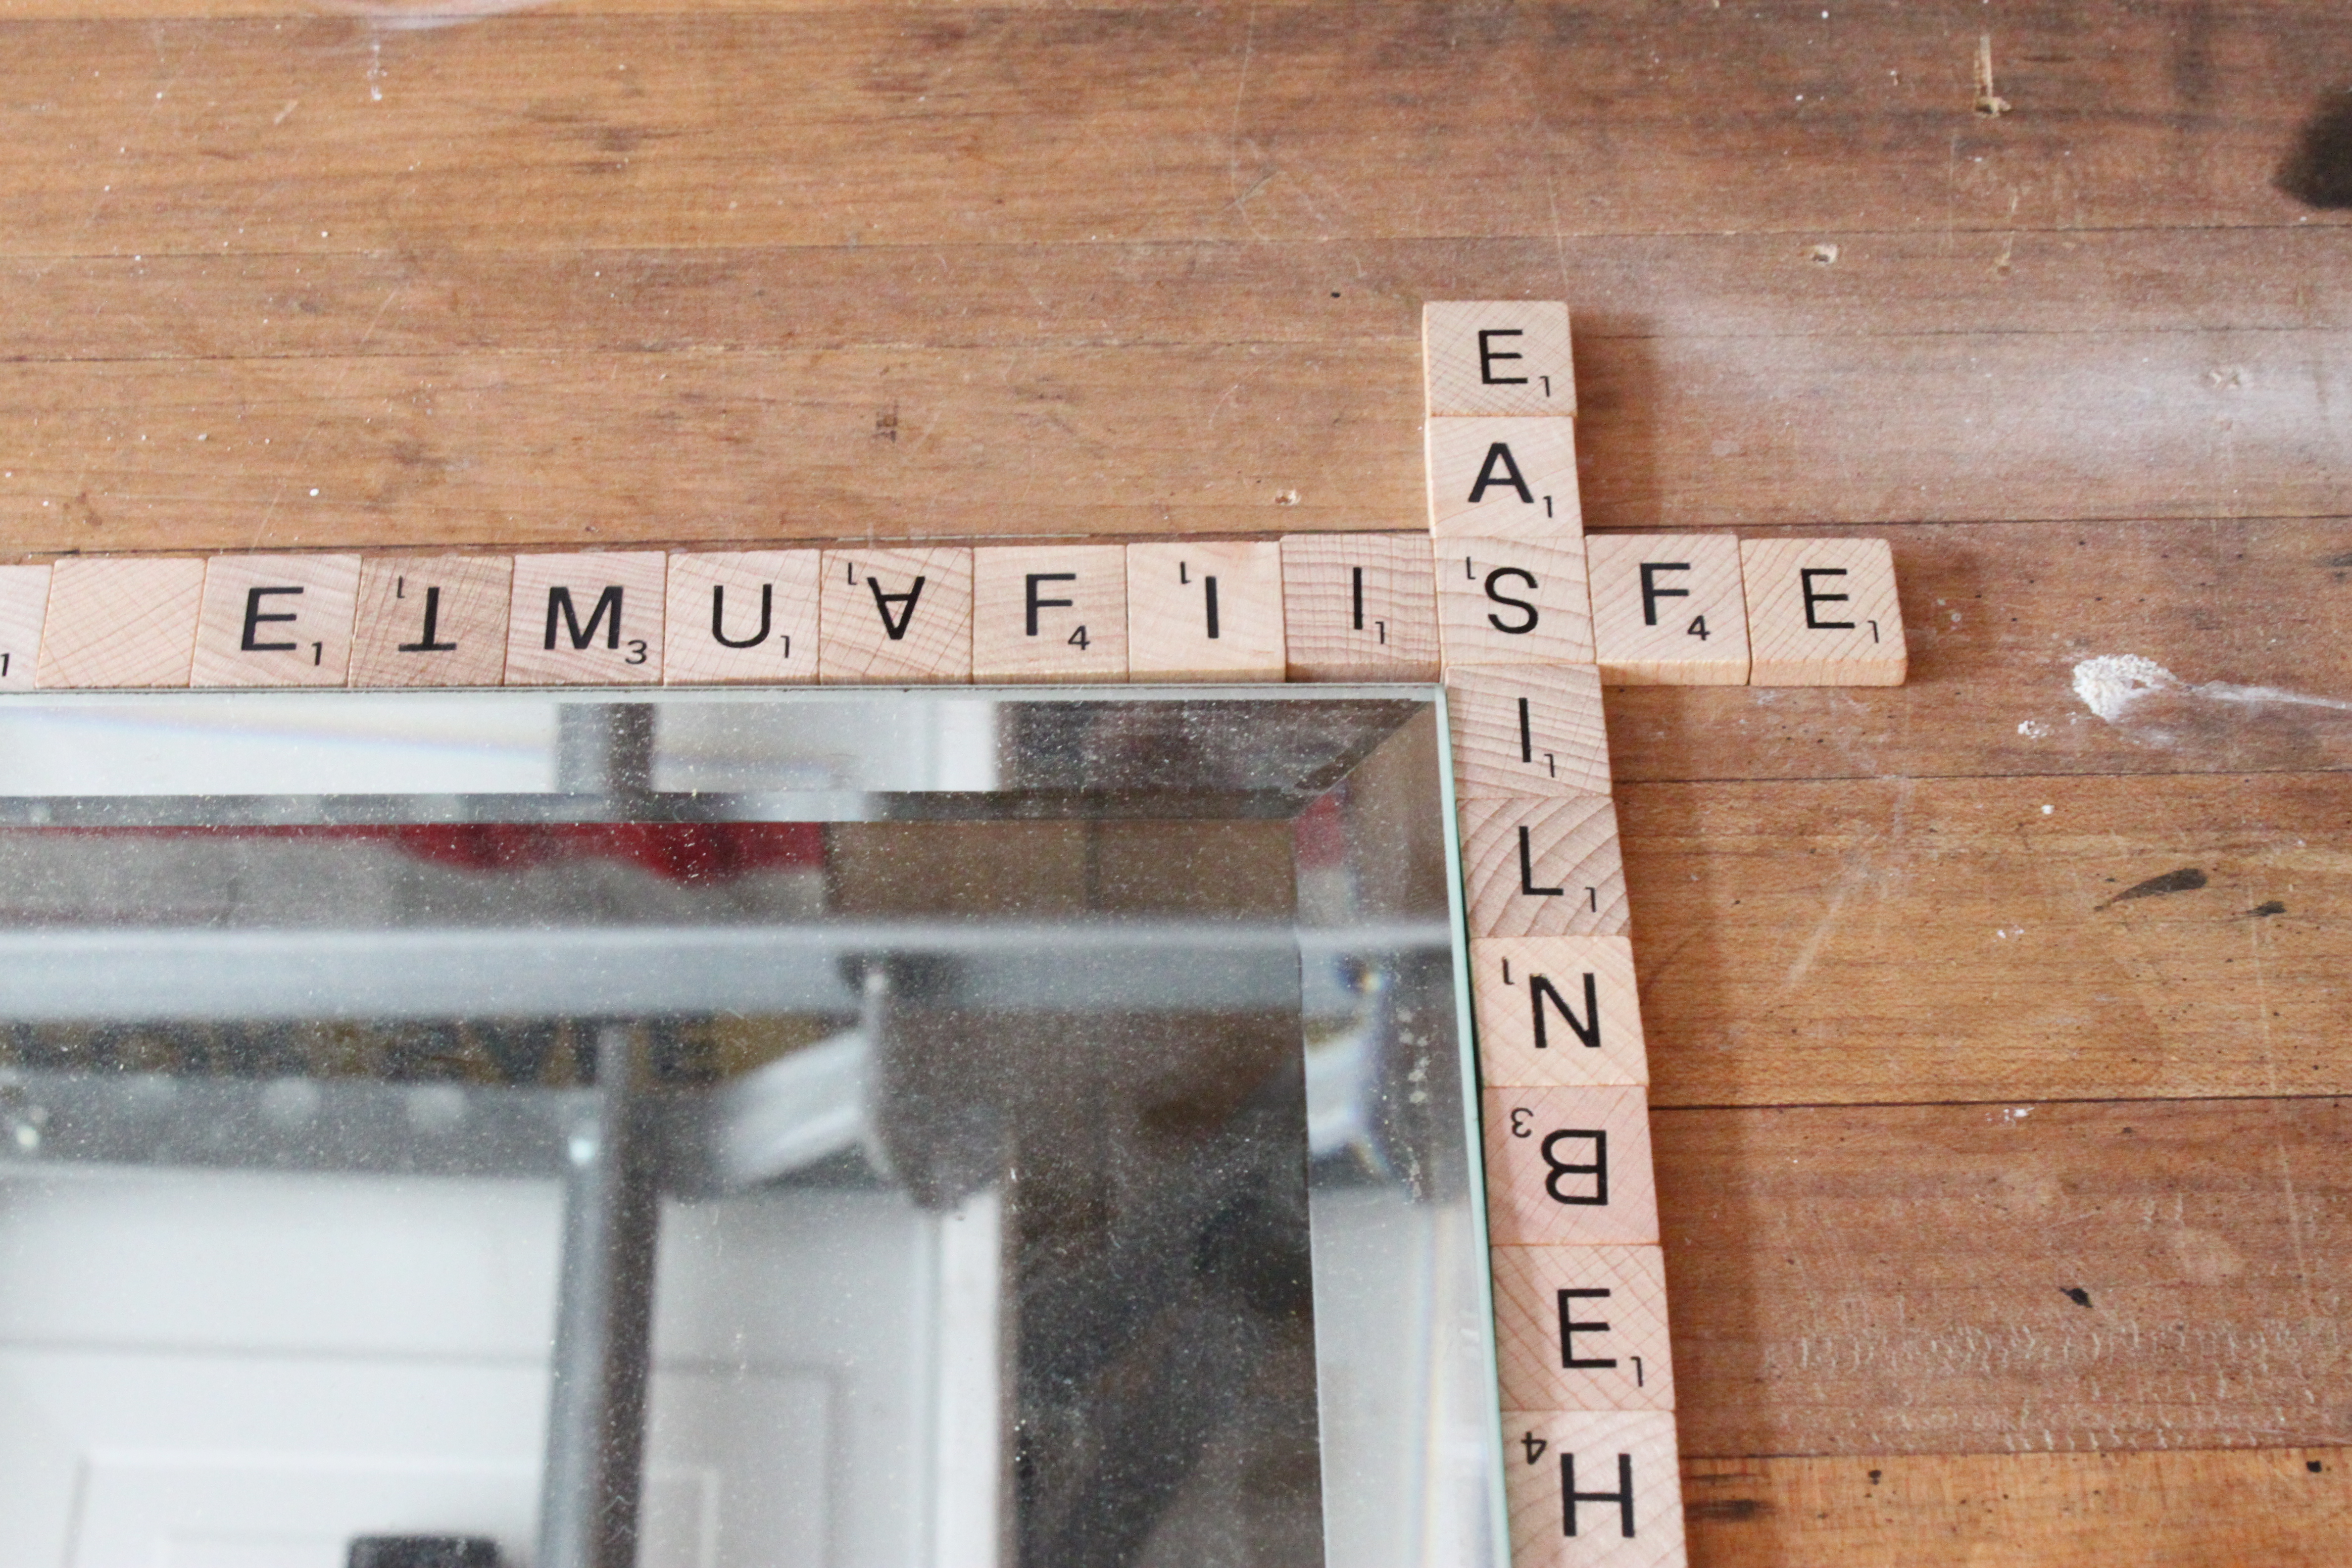
I Lay out my Scrabble pieces across the top and side of the mirror to gage the size of frame I need to cut.
Extending 3 tiles on all 4 sides makes my frame 20 7/8″ X 24 7/8″ with a 16 1/2″ X 20 1/2″ opening.
We started with a sheet of plywood from our “wood scrap pile” in the garage. Pretty sure this was left over from the banquette.
I used the table saw to cut it to 20 7/8 X 24 7/8″.

To cut out the inside of the frame, I measure out 2 3/8″ from the top and bottom, and 2 1/4″ from both sides.
I use a drill with a paddle bit to create holes in all for corners. That way I can stick the jig-saw blade into the center and cut it out……
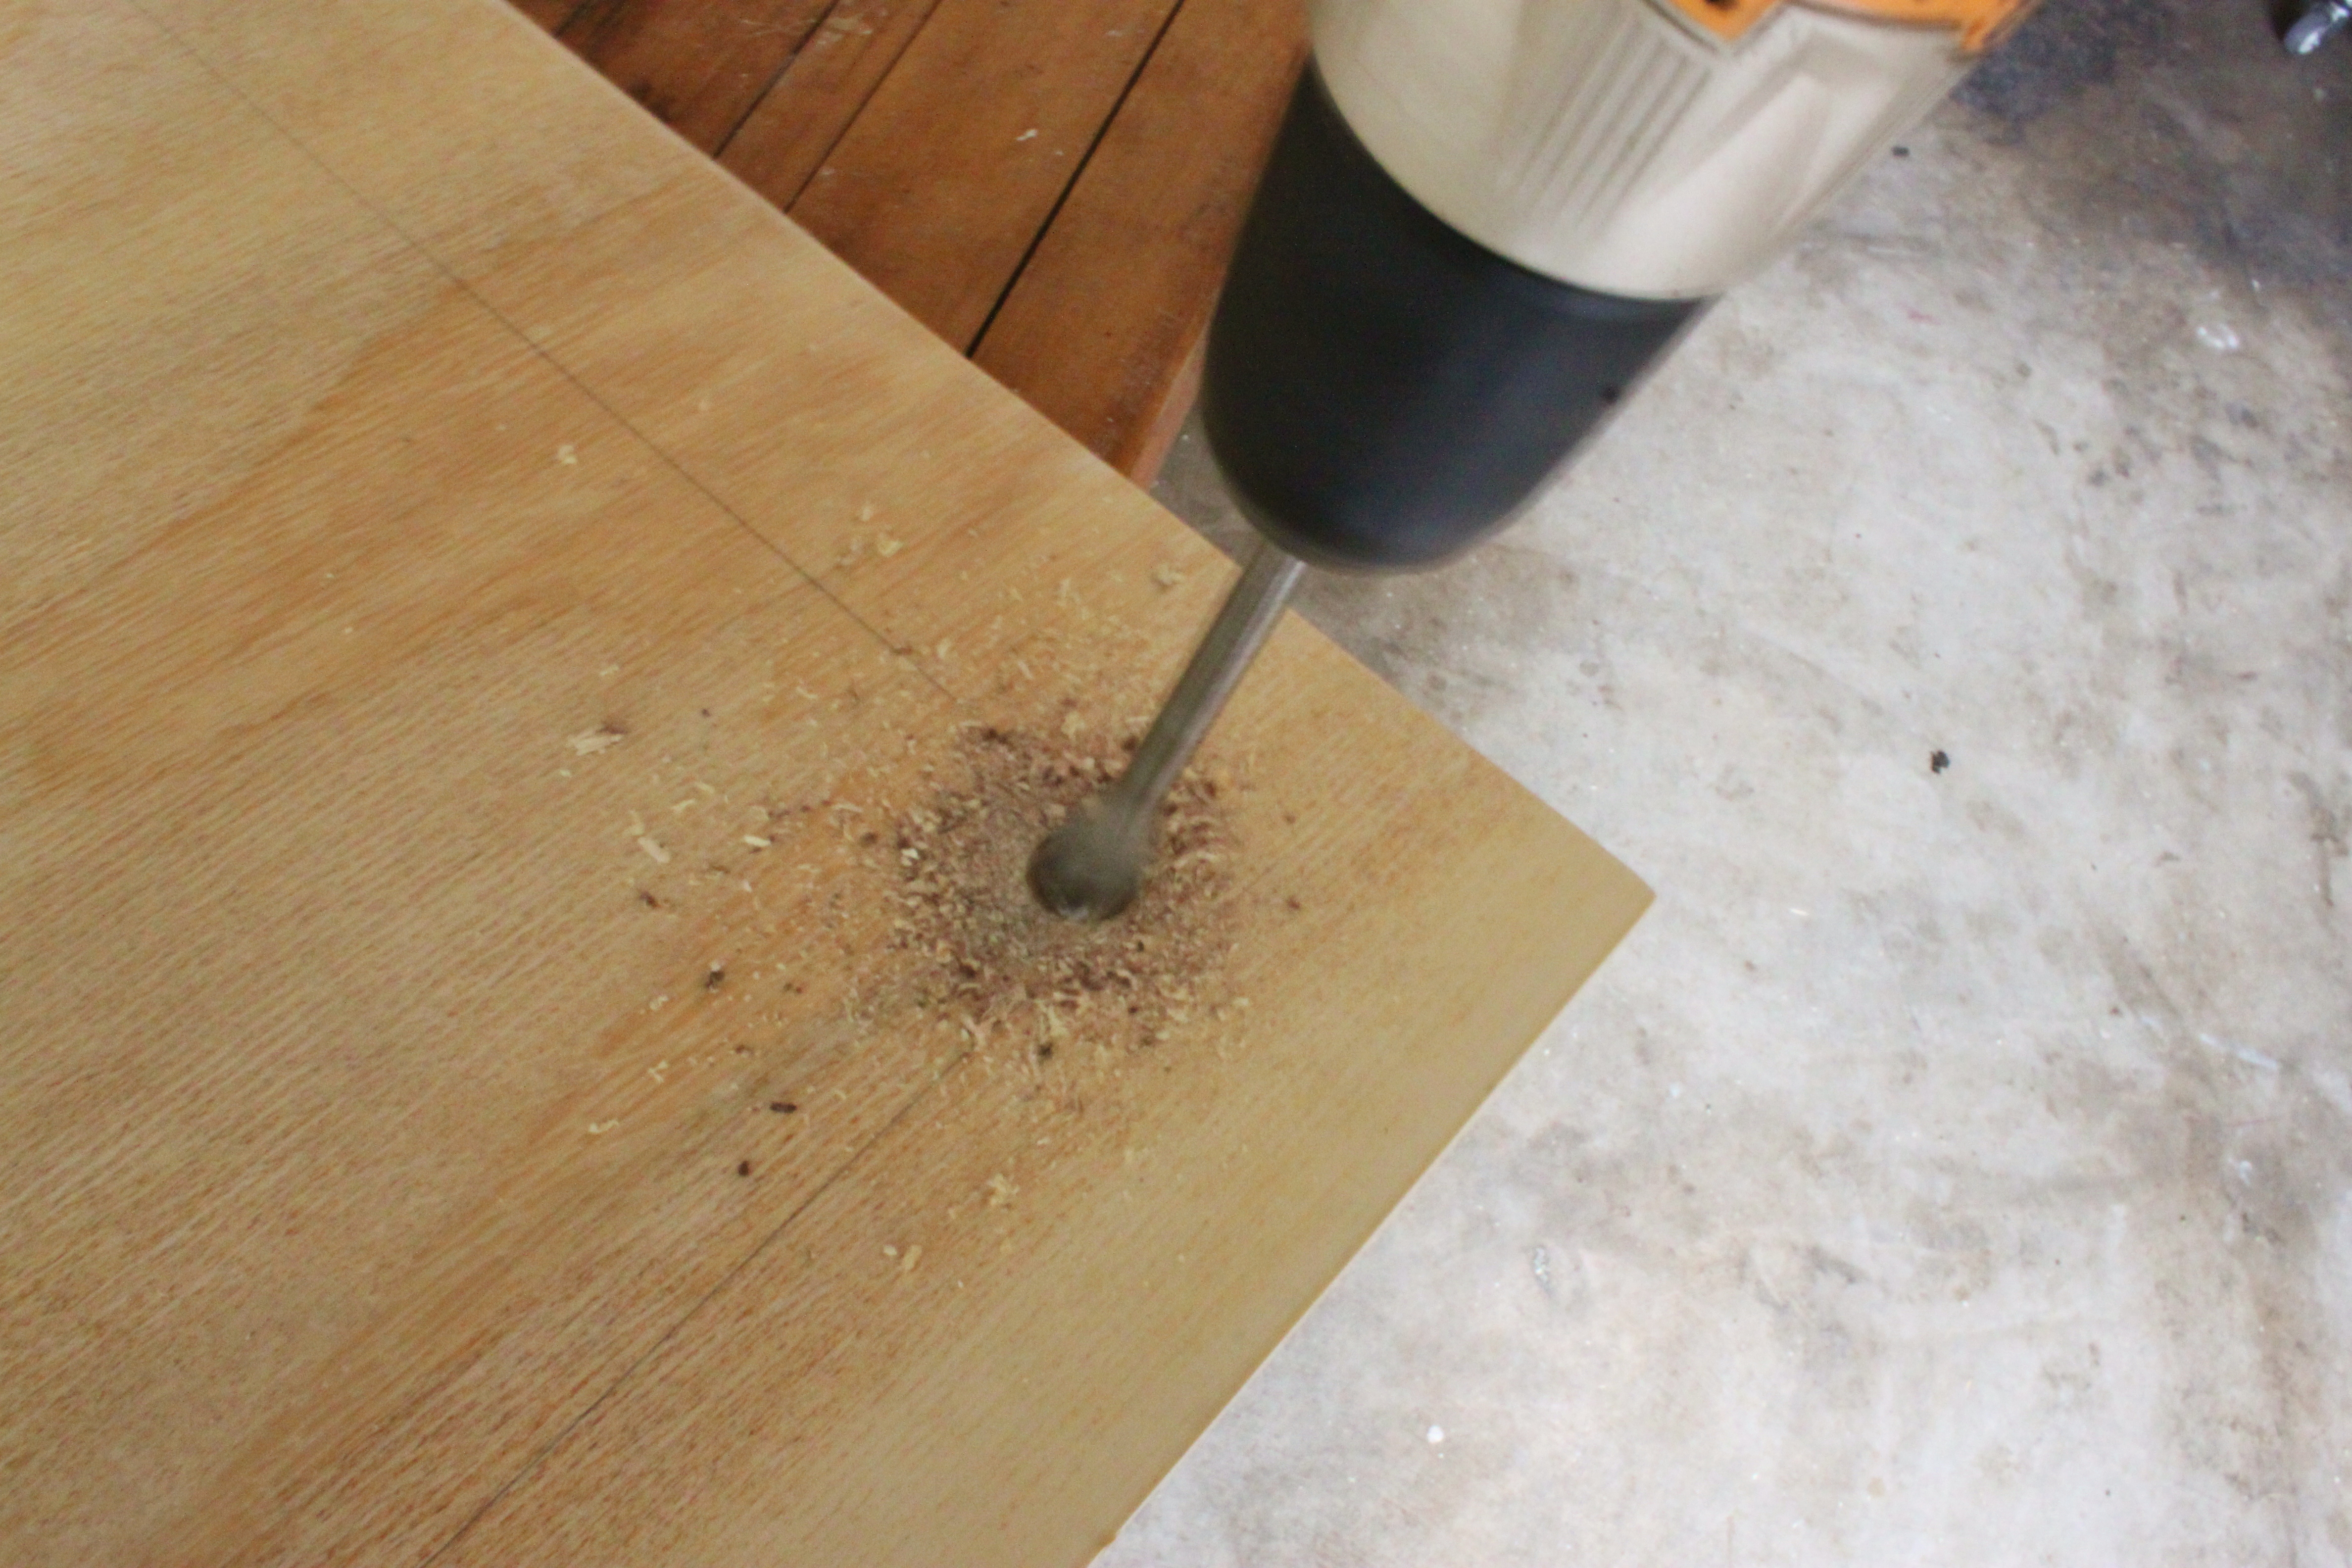
Like so.
Far from perfectly straight lines……..but I’m pretty sure the scrabble tiles will hide all the imperfections.
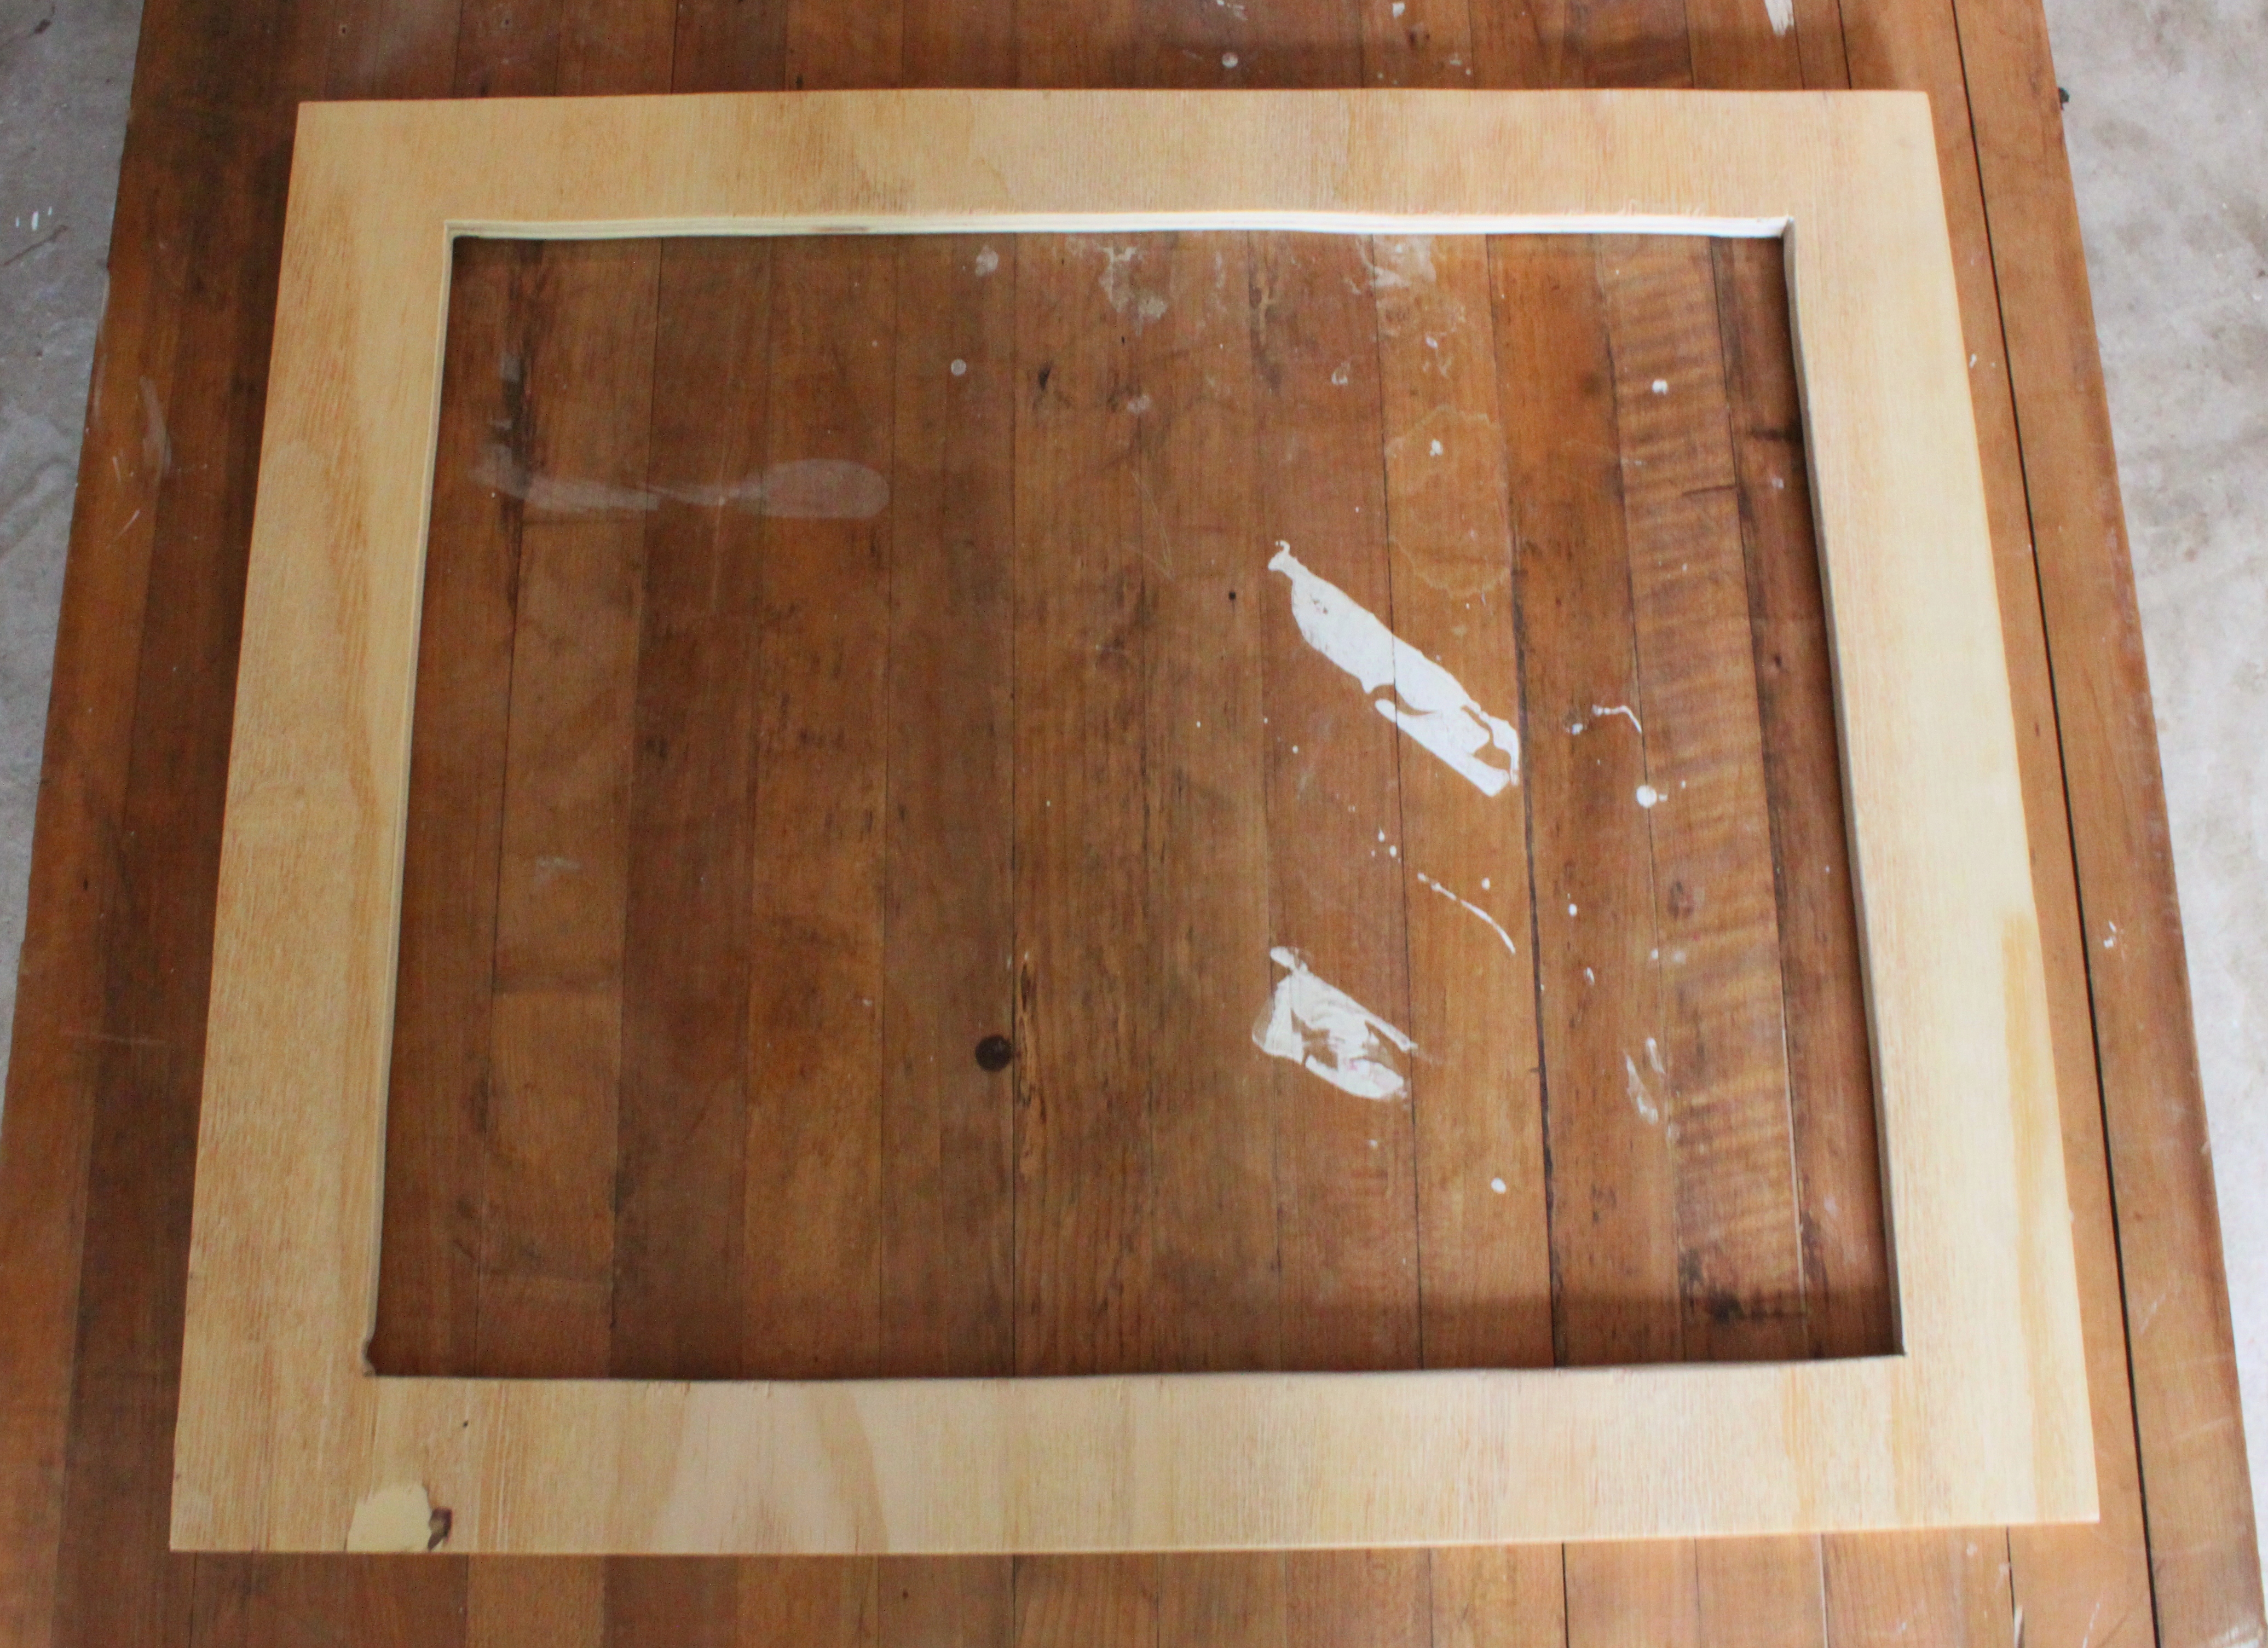
Another way to hide those imperfections is the trim.
I found flat lattice by the foot, it’s about 1 inch wide and 1/4 inch thick, and used it to trim the outside of the frame. I nailed it on with brads using a Scrabble tile to judge the depth of my sides.

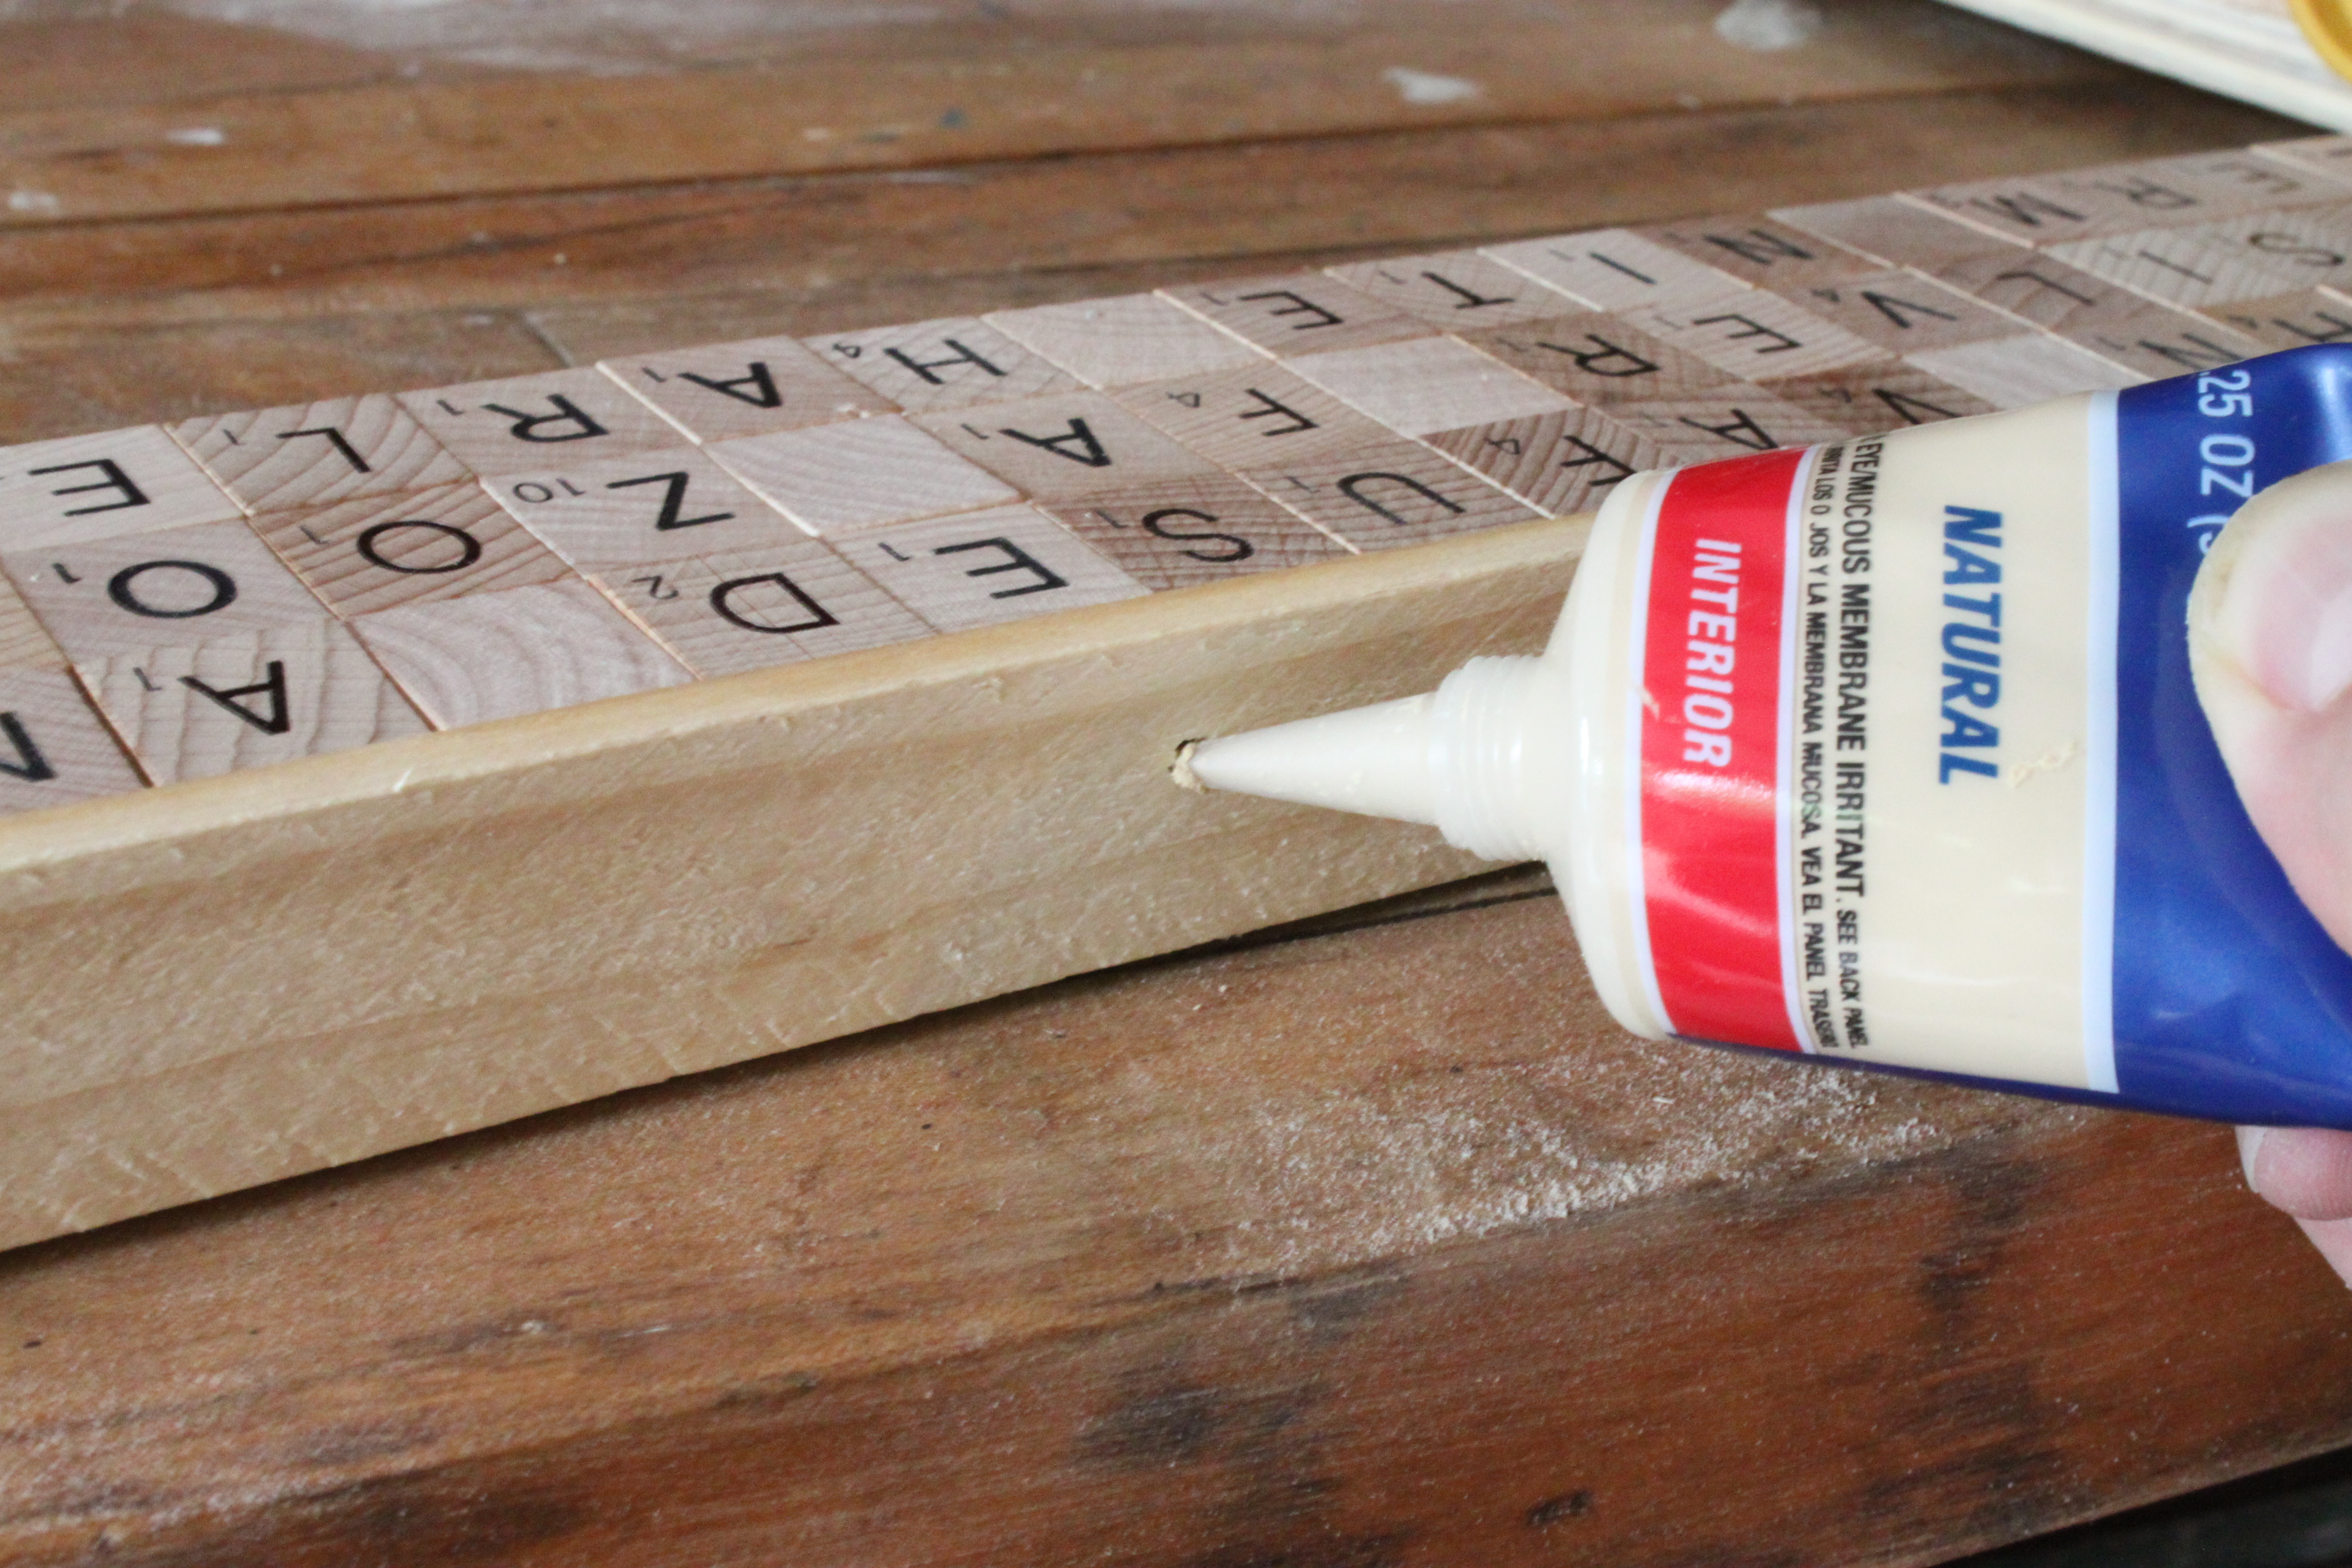
Now that I have the outside edge set, I can start glueing the tiles down………with Elmer’s Wood Glue Max.

After all my tiles are set, and dry – only takes a few hours – I glue and clamp the same lattice trim on the inside of the frame also.

A little natural wood filler hides any brad holes, or slight imperfections.
And believe you me, there were quite a few slight imperfections. (At this point, I began to remind myself that this was folk-art and they just added to the charm of the piece)
Looks pretty good so far.

I tried to add some words that meant something to us; favorite colors, foods, even the name of my old dog……..and Jamie’s horse.
You know. Words that will make us smile. (Don’t y’all worry, Harley is in there too)
Because I don’t want an overly glossy frame, I spray it with a Deft Clear Wood Finish in satin.

I glued my mirror onto the back with liquid nails, let it dry, and…….


Far from perfect..
But still charming for days.
Am I right?
I usually am about these things.
When I was in my very early 20’s, I was somehow hired as a commissioned salesman at Neiman Marcus. As if y’all aren’t already aware, Neiman Marcus is the most fashionable department store in Dallas…….and quite possibly the whole world.
Naturally, I was pretty nervous about what I would wear to work there……
I just didn’t own any clothes at the time that were stylish enough to work at Neiman’s. (I’d borrowed a fraternity brother’s suit just for the interviews – Thanks Again, Chris) I was really still a kid; all I had to wear was my navy fraternity blazer with the crest, a few pair of khaki chinos, and about 2 dozen striped ties………That’s it. The other sales people scowled daily at my navy blazer and chinos. My “Look” was always the butt of their jokes……and I knew it. They’d all been working in retail much longer than me and wore black Armani suits and Ferragamo loafers that customers expected the sales staff at Neiman Marcus to wear. But not me, I was always the odd man out. An elderly woman was returning a sweater to a coworker one day and mentioned me as the salesman that had sold it to her. Well, not me exactly. She couldn’t remember my name, but she said that she had been helped by, get this,
“the young man still wearing his school uniform.”
Those bitchy queens that I worked with just ate that with a spoon. They still made fun of me behind my back, only now, they had the nickname “School Boy” to add to the mix.
After paying my rent, buying food, and occasionally making my car payments on time…….I just didn’t have the kind of money leftover that it took to invest in suits like my coworkers wore.
But one day, cruising the racks at an outlet store, I found one. The perfect suit. Double breasted (like a Wall Street Broker), deep navy blue with just the slightest pin stripe, genuine horn buttons, and big hand-stitched peak lapels (it was a stranger in an elevator who actually told me that they were hand stitched). Strait off the rack, it fit like it had been made just for me. It was Ralph Lauren, of course….and I’m fairly certain that Mr. Lauren himself would have worn such a fine garment. Even at the heavily discounted outlet price, $299, it was pretty far out of my price range. Just finding 50 extra dollars to put it on lay-a-way was quite a stretch. But I did it…….After all, I had found the suit that I was certain I would be buried in.
I had 30 days to pay off the lay-a-way balance and somehow I managed to scrape together another hundred dollars. The remainder was lent to me by my dear friend Lenny; who then held the suit in his own “lay-a-way” plan until I could pay him back. Which eventually, a few months later, I did.
With interest.
I couldn’t wait to wear it to Neiman’s. Couldn’t wait even to get the pants hemmed……so I did the hem job myself……..with strips of duct tape. Just folded the pant legs inside themselves, and taped them up.
I know, I know, I know……..what the Hell was I thinking? But I was so excited to wear it in front of my snarky co-workers. My first real suit.
There were “Oohs” and “Ahhs” from everyone when I showed up at work the next morning. I finally looked the part of a sales professional.
Wearing that suit made me feel like I finally belonged working at Neiman Marcus………..until about halfway through the day……..when the duct tape came loose. Of course, I didn’t realize that it had until much later. In fact, I didn’t realize it until looooooong after everyone else in my department had noticed the duct tape strips hanging out of my pants legs. They even told people from other parts of the store to come see. Again, even in the nicest suit I could ever afford, I was still being laughed at.
I went into a fitting room and cried,
The next day, I took the pants to a tailor to hem.
I wore that suit to my next job interview, and every job interview I had after that one. Here we are on a trip to San Diego with my dear friend George.

This is my one photo in Paper City, our Dallas social rag, volunteering for the live auction for AMFAR,
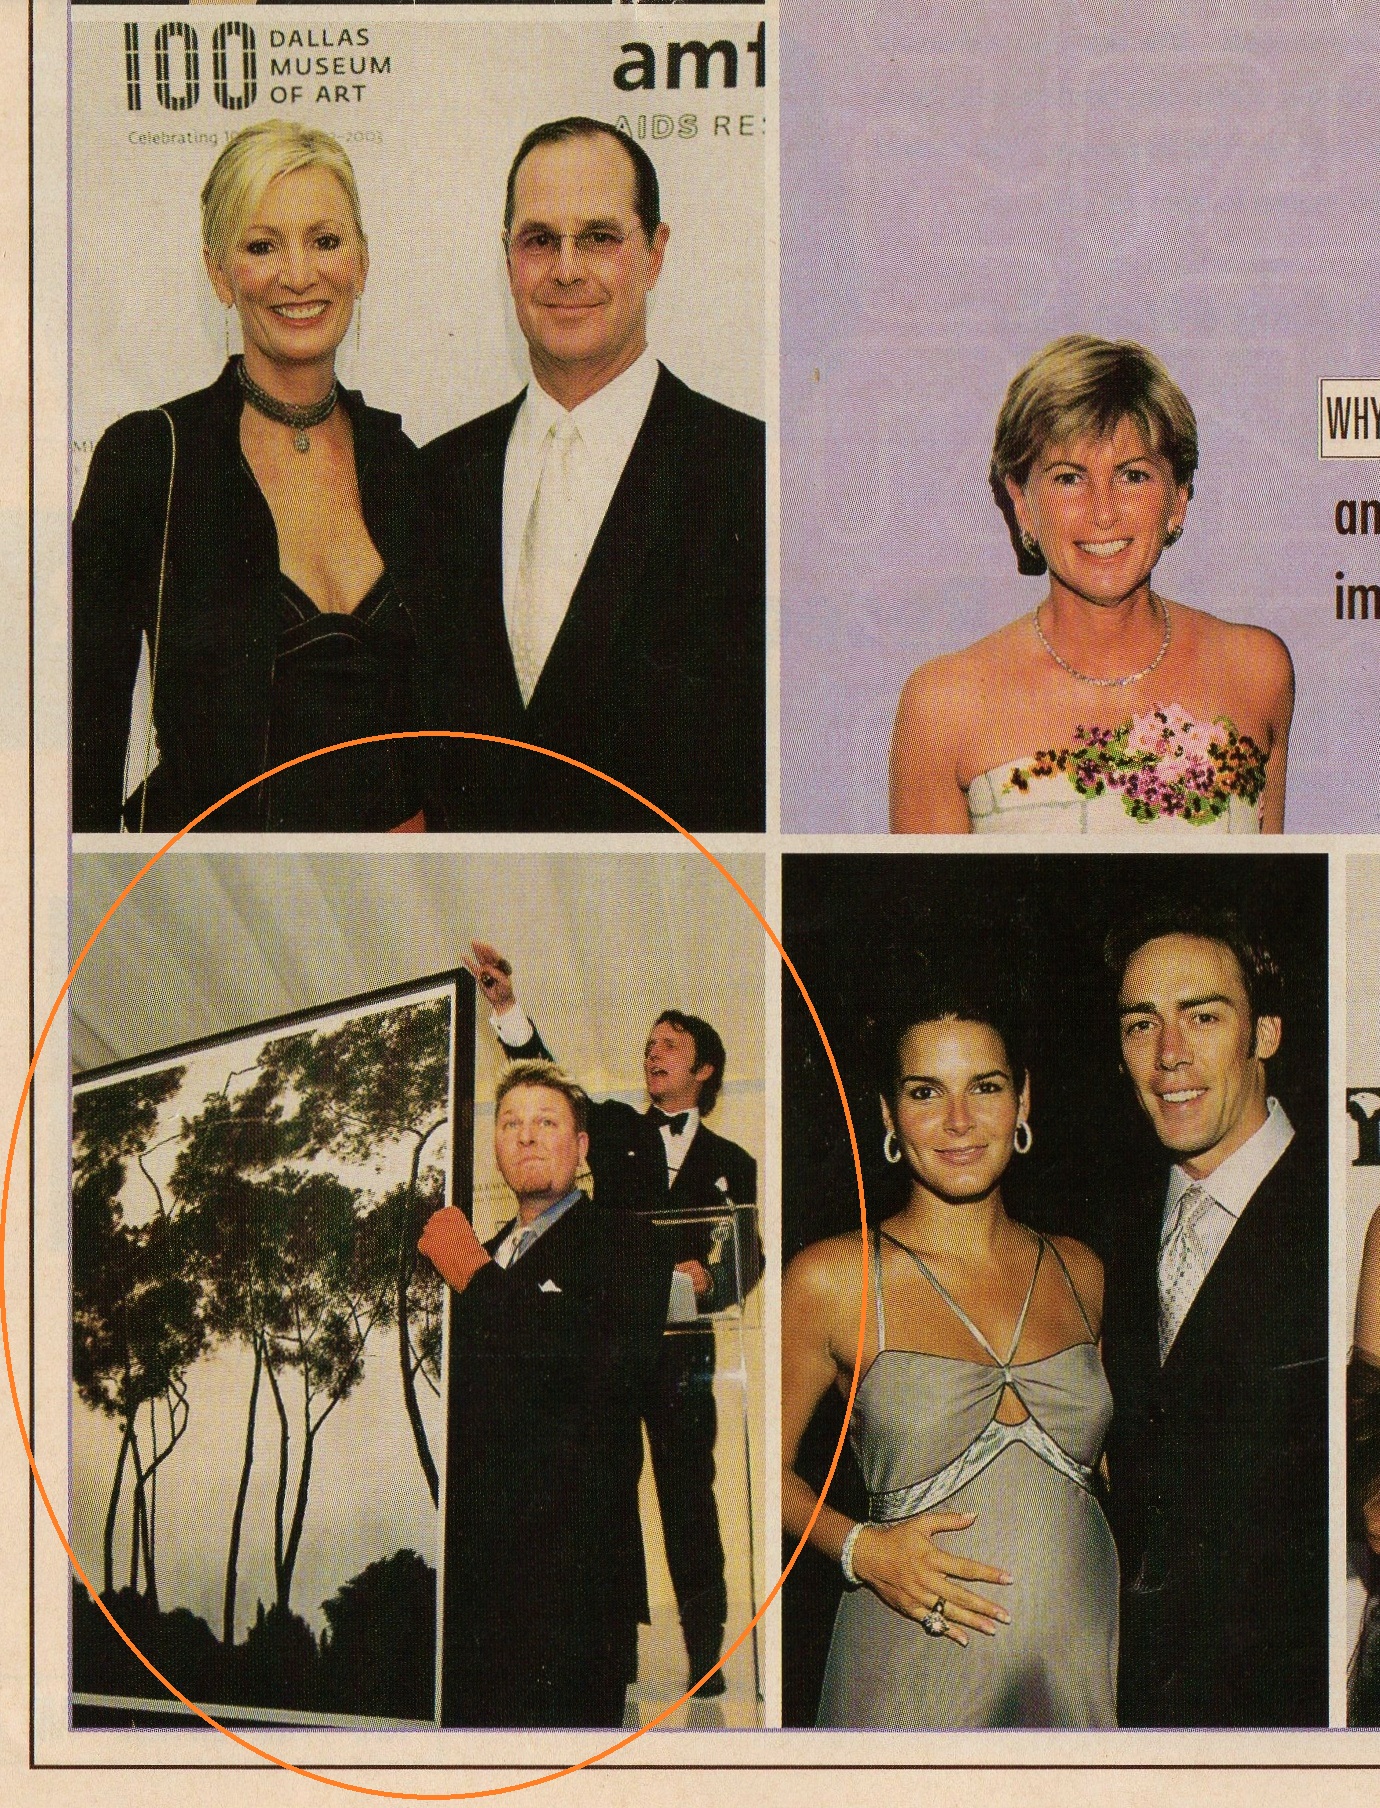
I even had my driver license picture taken in it,

I wore it to my high school reunion and on my first business trip. Every New Year’s Eve. Every Easter Mass. Every wedding. Every funeral. Every major event in my life that required a suit and tie.
I always felt like I was at my very best.
When it started to get a little tight around the middle, I took it to my tailor to move the buttons slightly. But moving the buttons wasn’t quite enough……he needed to let the seams out. “I’m givin’ ‘er all she’s got left to give, Cap’n”, he told me in his best Scotty impersonation. At the rate that I was expanding, I knew we didn’t have much more time together……
It’s a little sad to admit, but over the years I’ve replaced it with a couple of new suits in my new size.
I found that first suit in the very back of the closet a few weeks ago; about 25 years after first buying it. All the memories of working at Neiman Marcus came flooding back to me. Hadn’t thought about wearing it in well over a decade. Double-breasted isn’t really flattering on me anymore. There were a few miniscule moth holes in the right sleeve and I noticed that the lining was beginning to come loose under the arms.
I couldn’t get it on my body now if my life depended on it. Not without a pair of scissors, anyway.
So, I added it to our Goodwill donation bag.
…….and I’m fine with it. I really am.
It’s just a suit? Right?
But I know that nothing I own will ever make me feel that special again.
But maybe, just maybe, some other young man will find it at the Goodwill……..and he’ll feel the same way that I did in it.
Is there anything more summery than a fresh pineapple?
The kind that doesn’t come in a can of sugar-water.
Don’t be scared of the outer skin. They are pretty easy to core.
I’ll walk you through it.
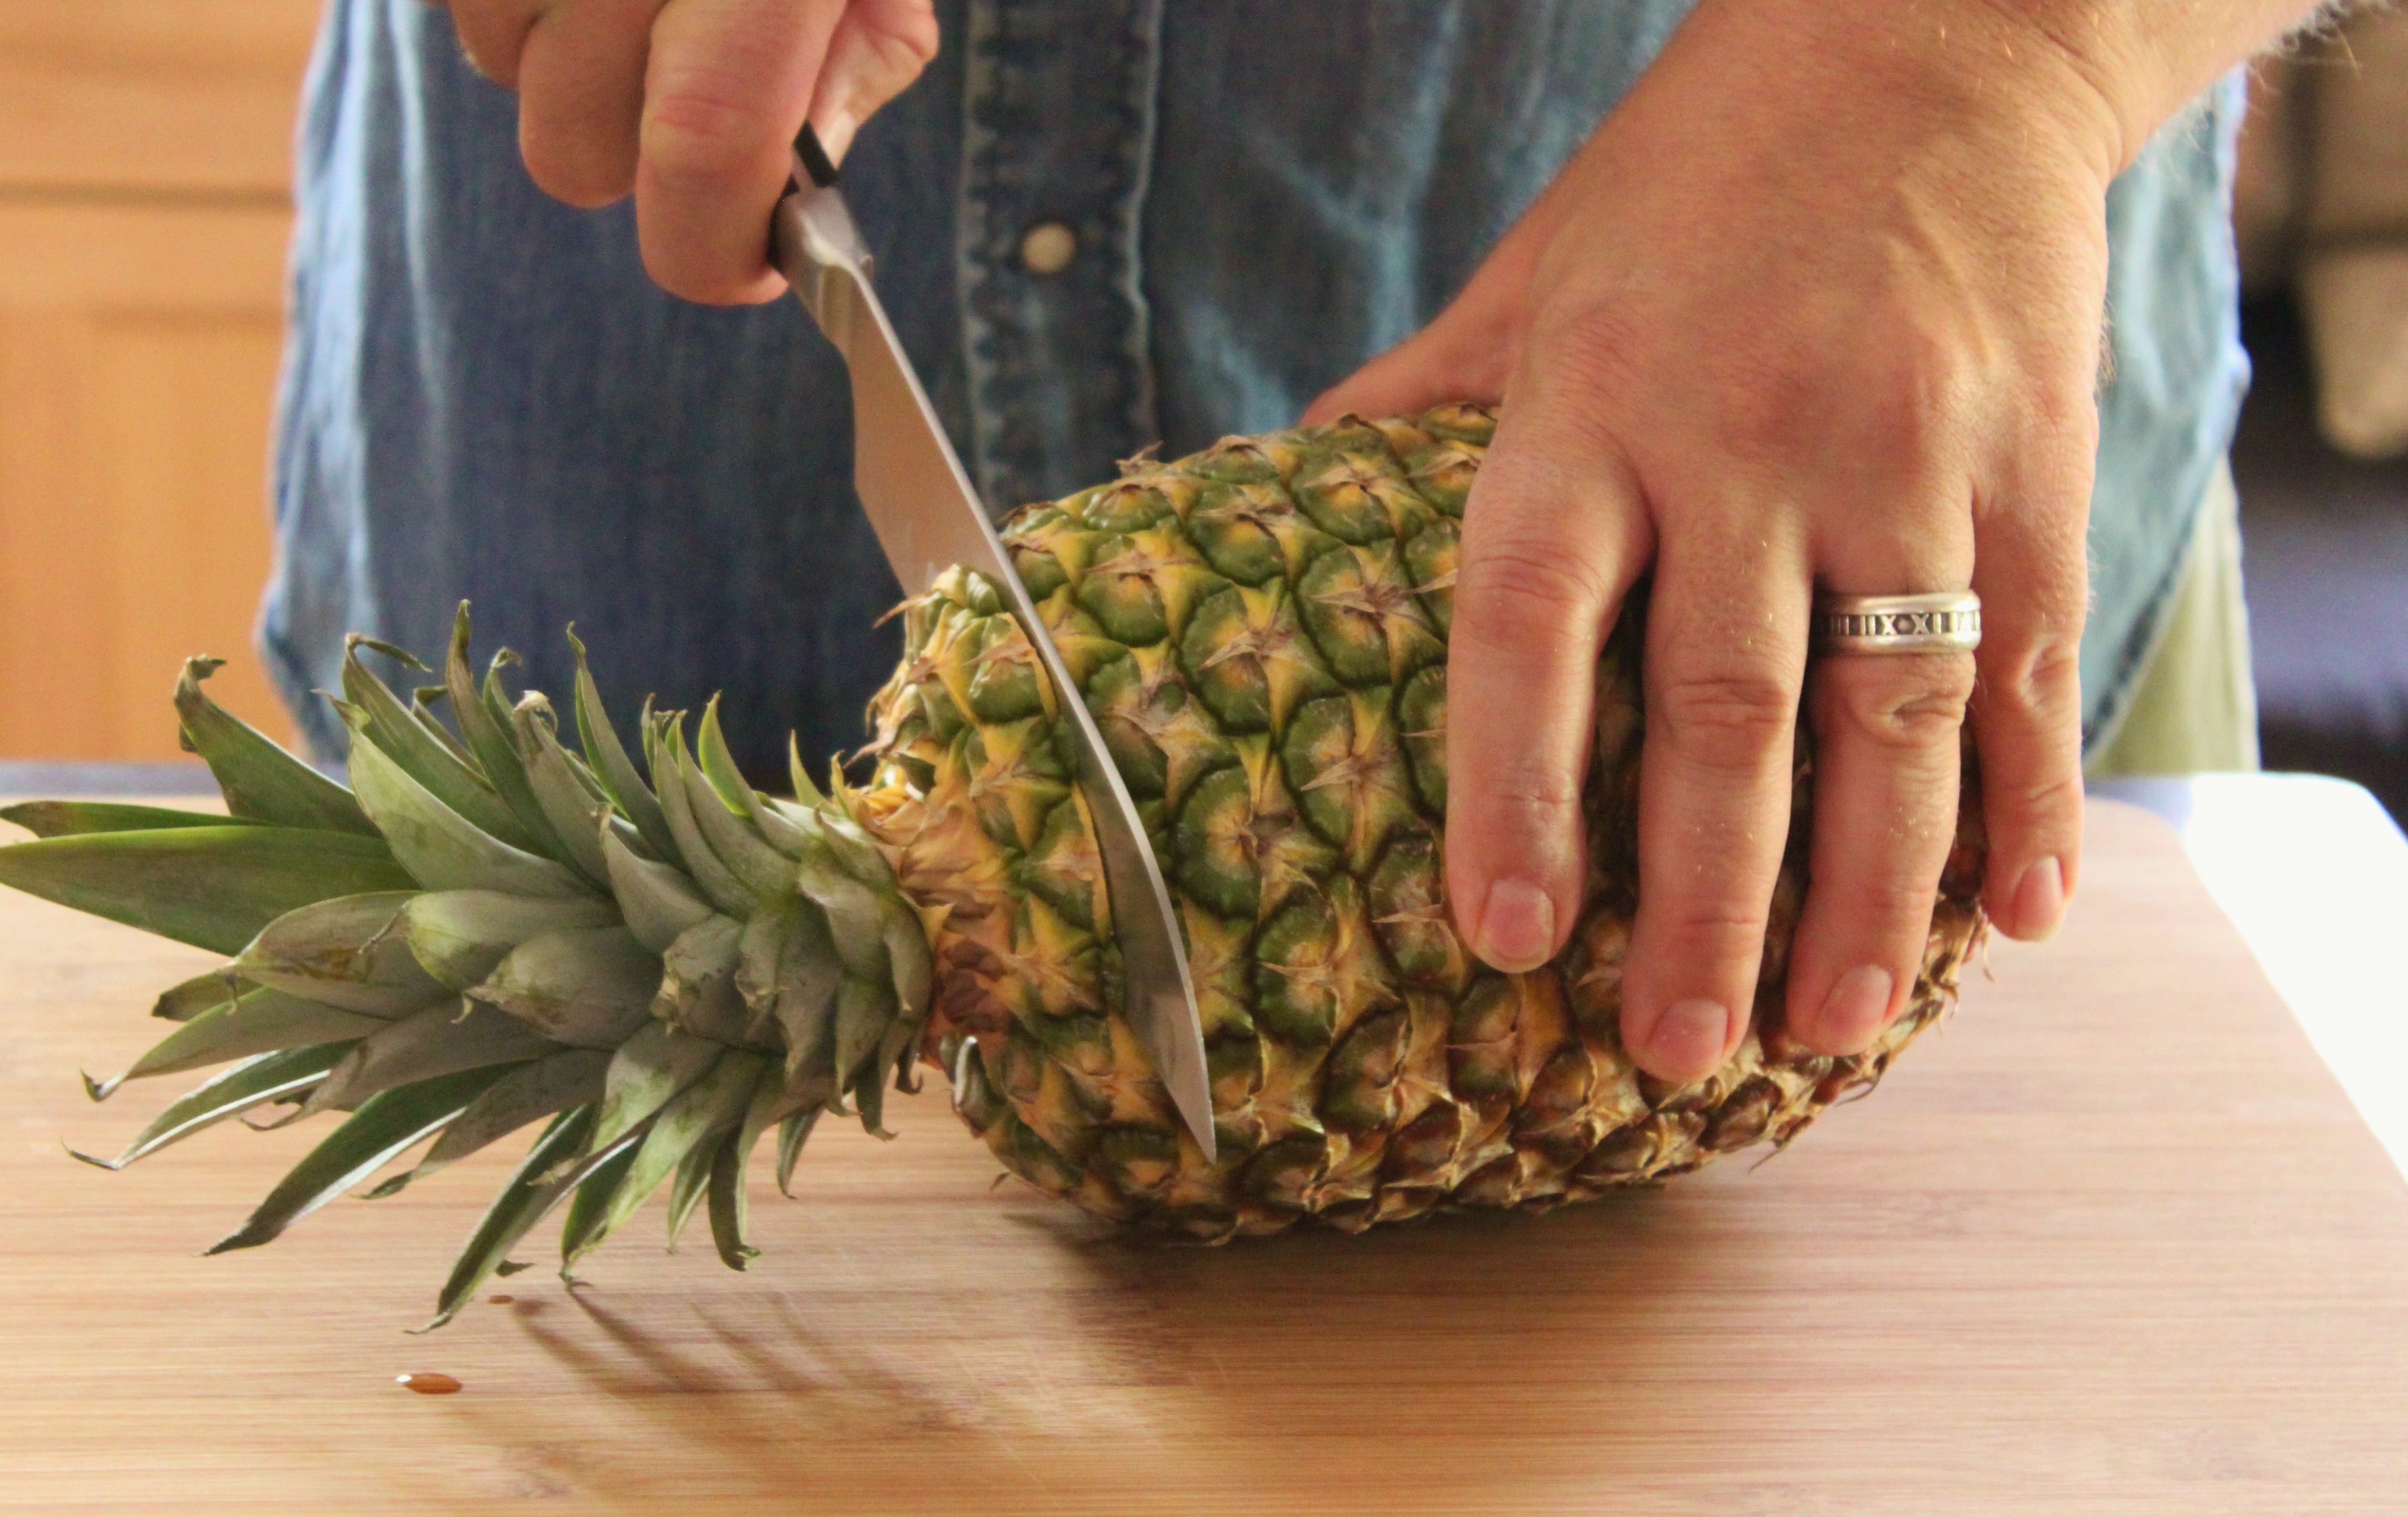
Pick a pineapple that has leaves that pull out eaisly from the center, this means it’s ripe enough to eat.
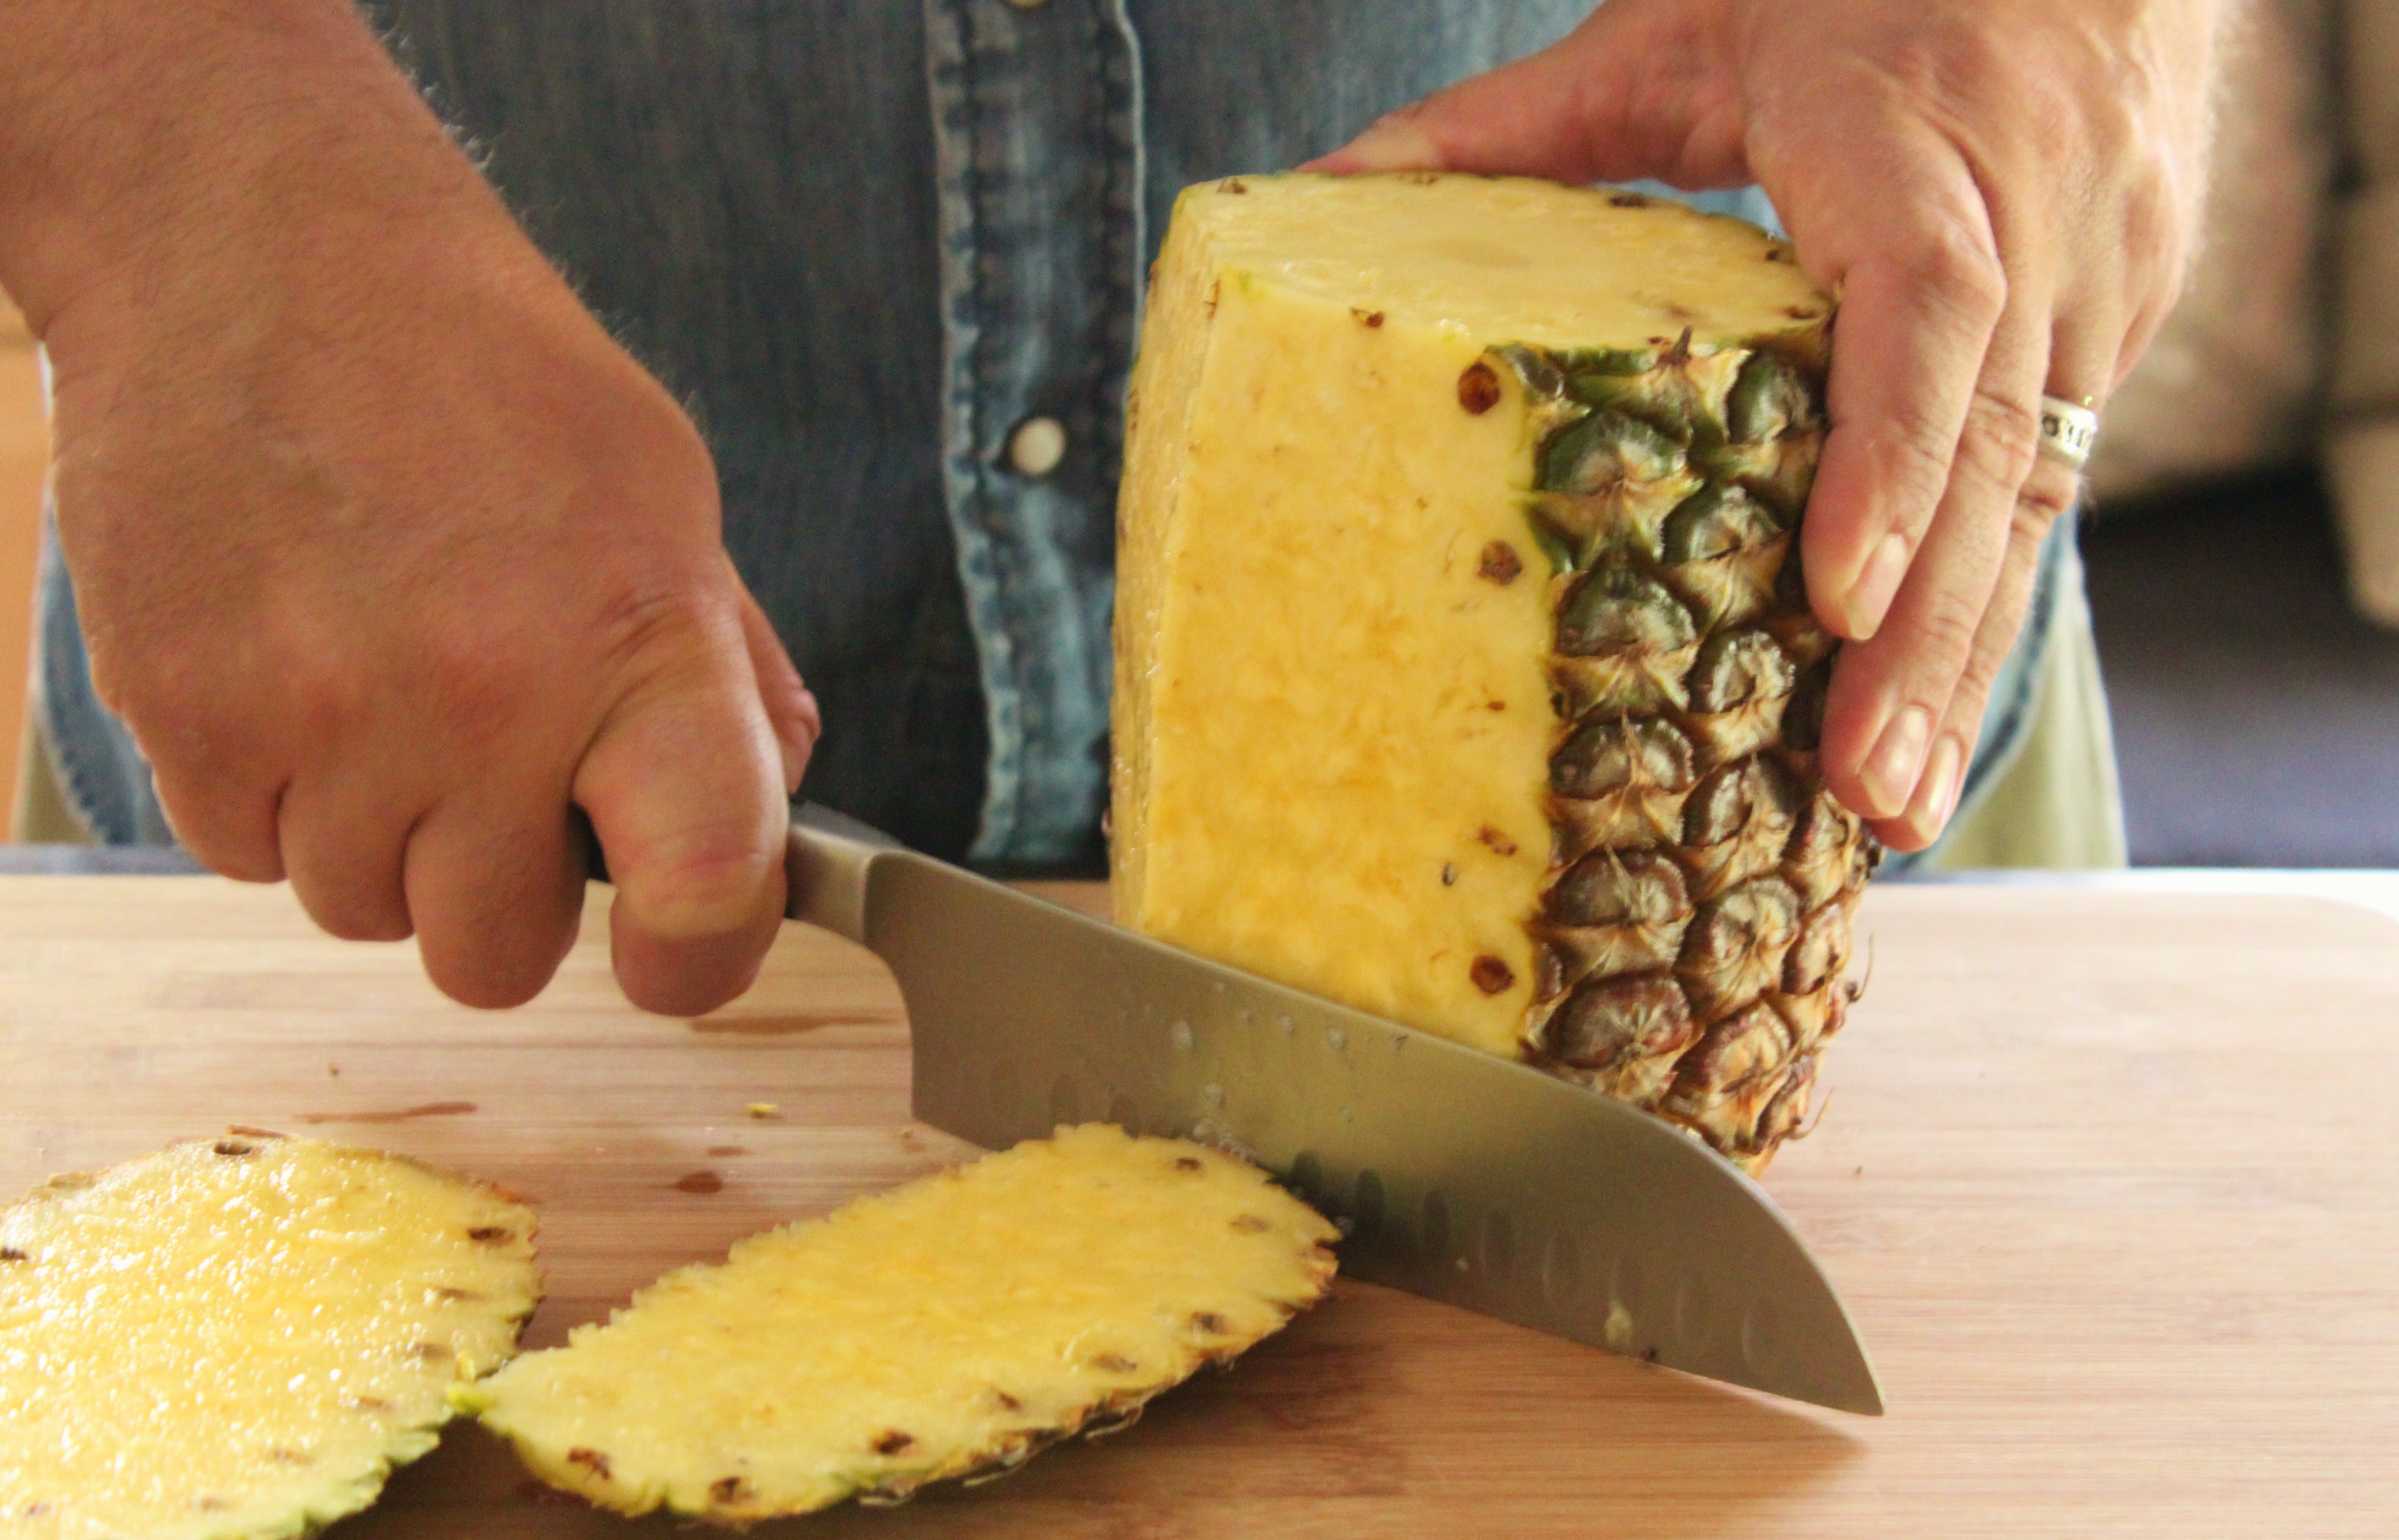
With a sharp knife, cut the top off. That’s the part with the…….leaves.
Then slice off the bottom.
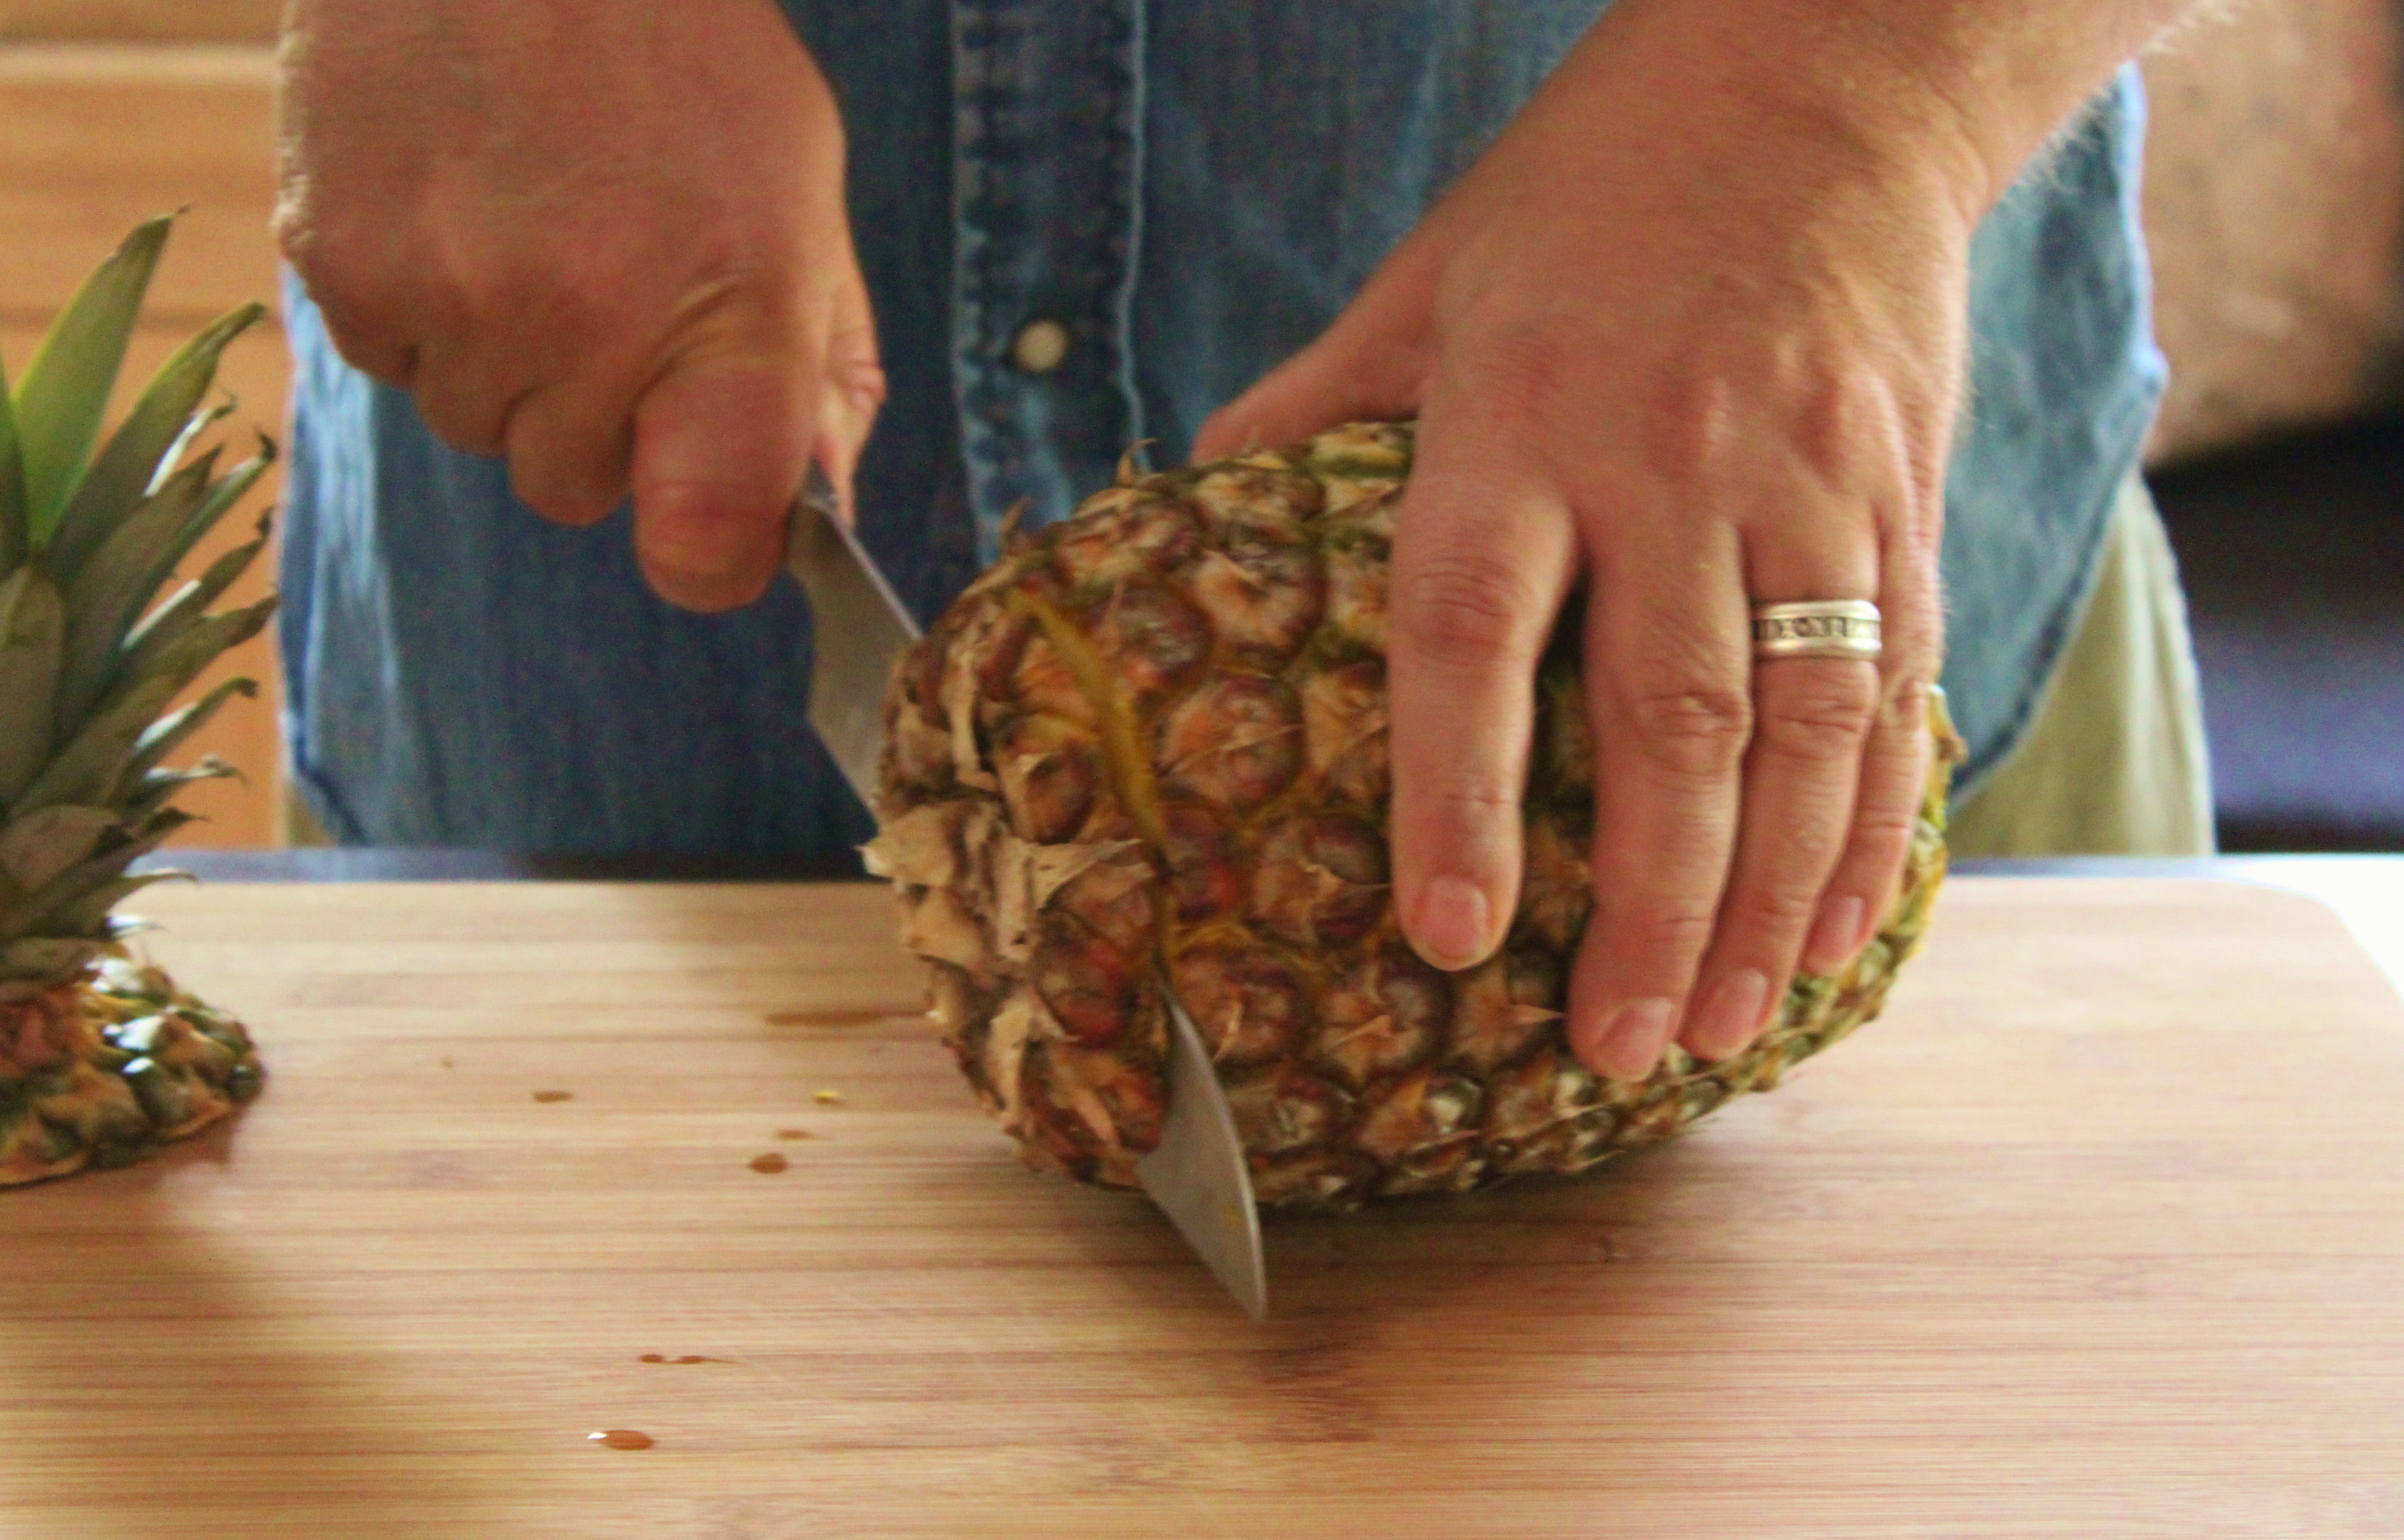
Stand the pineapple up, on the newly created flat edge, and slice down the side.
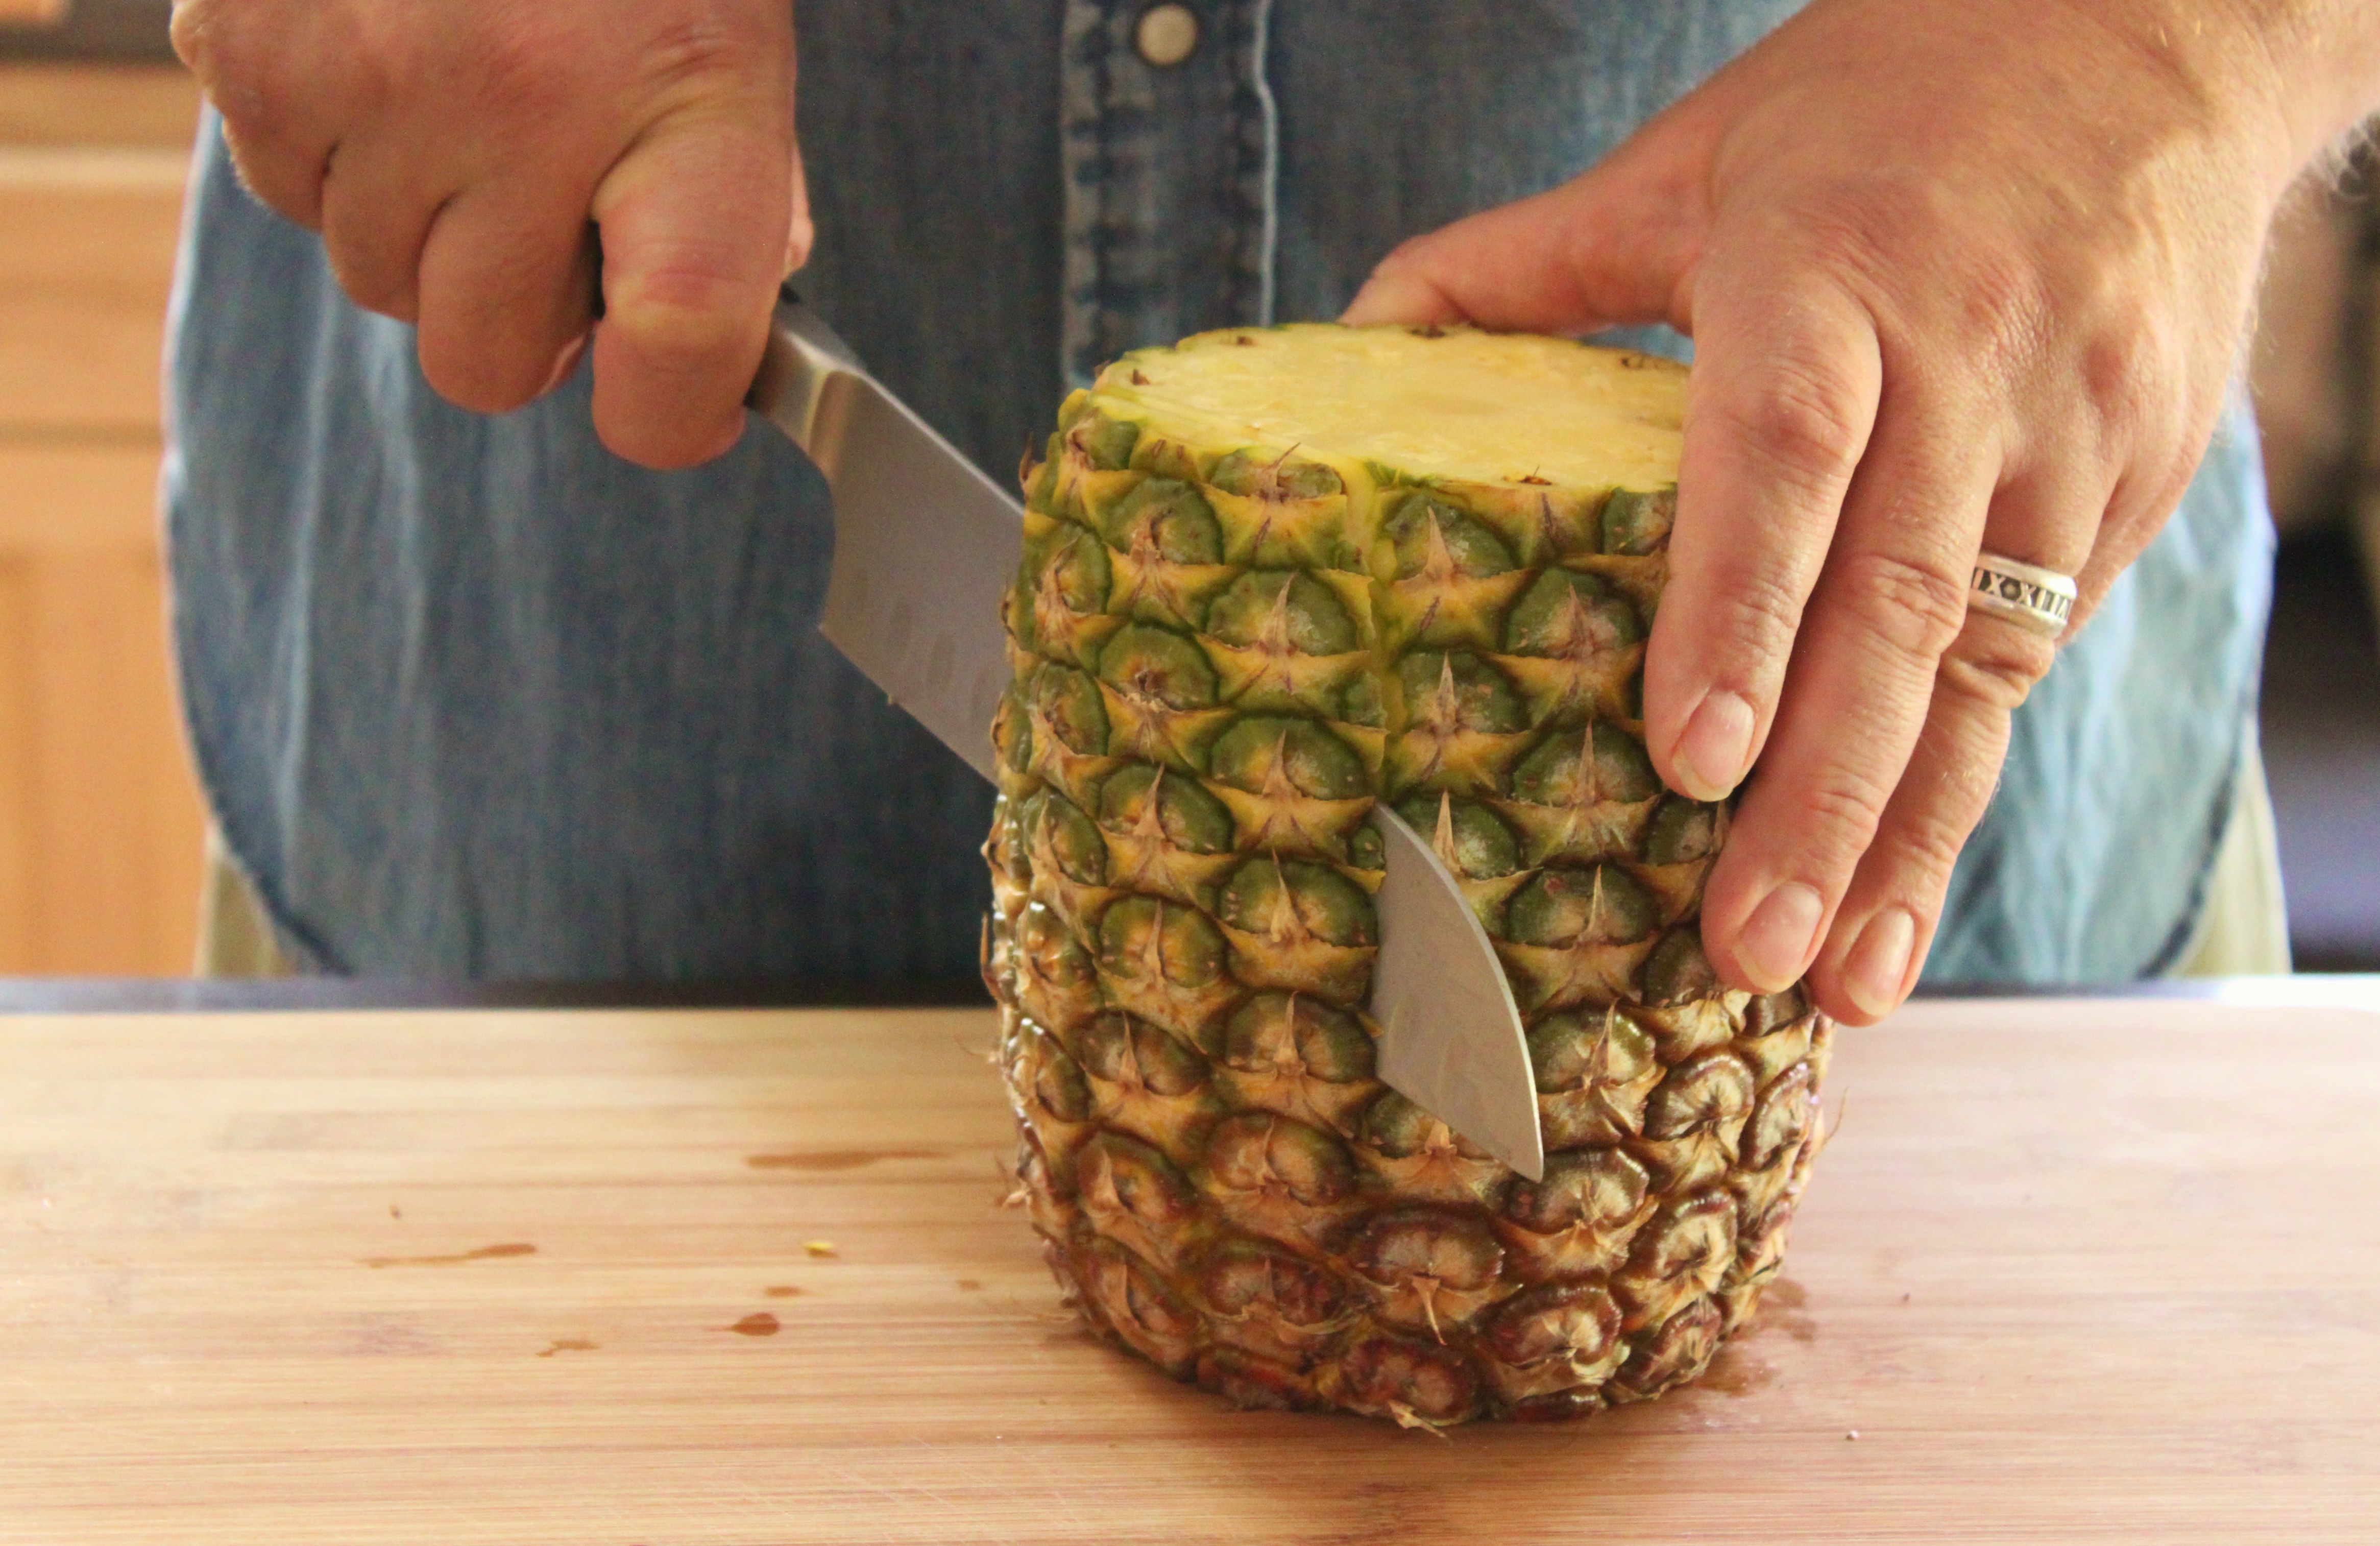
Continue around all the sides…….removing the outer skin.
Next, slice down the center of the fruit, just along the core. The core is the firmest part of the fruit.

Continue cutting off the fruit all along the edge of the core.
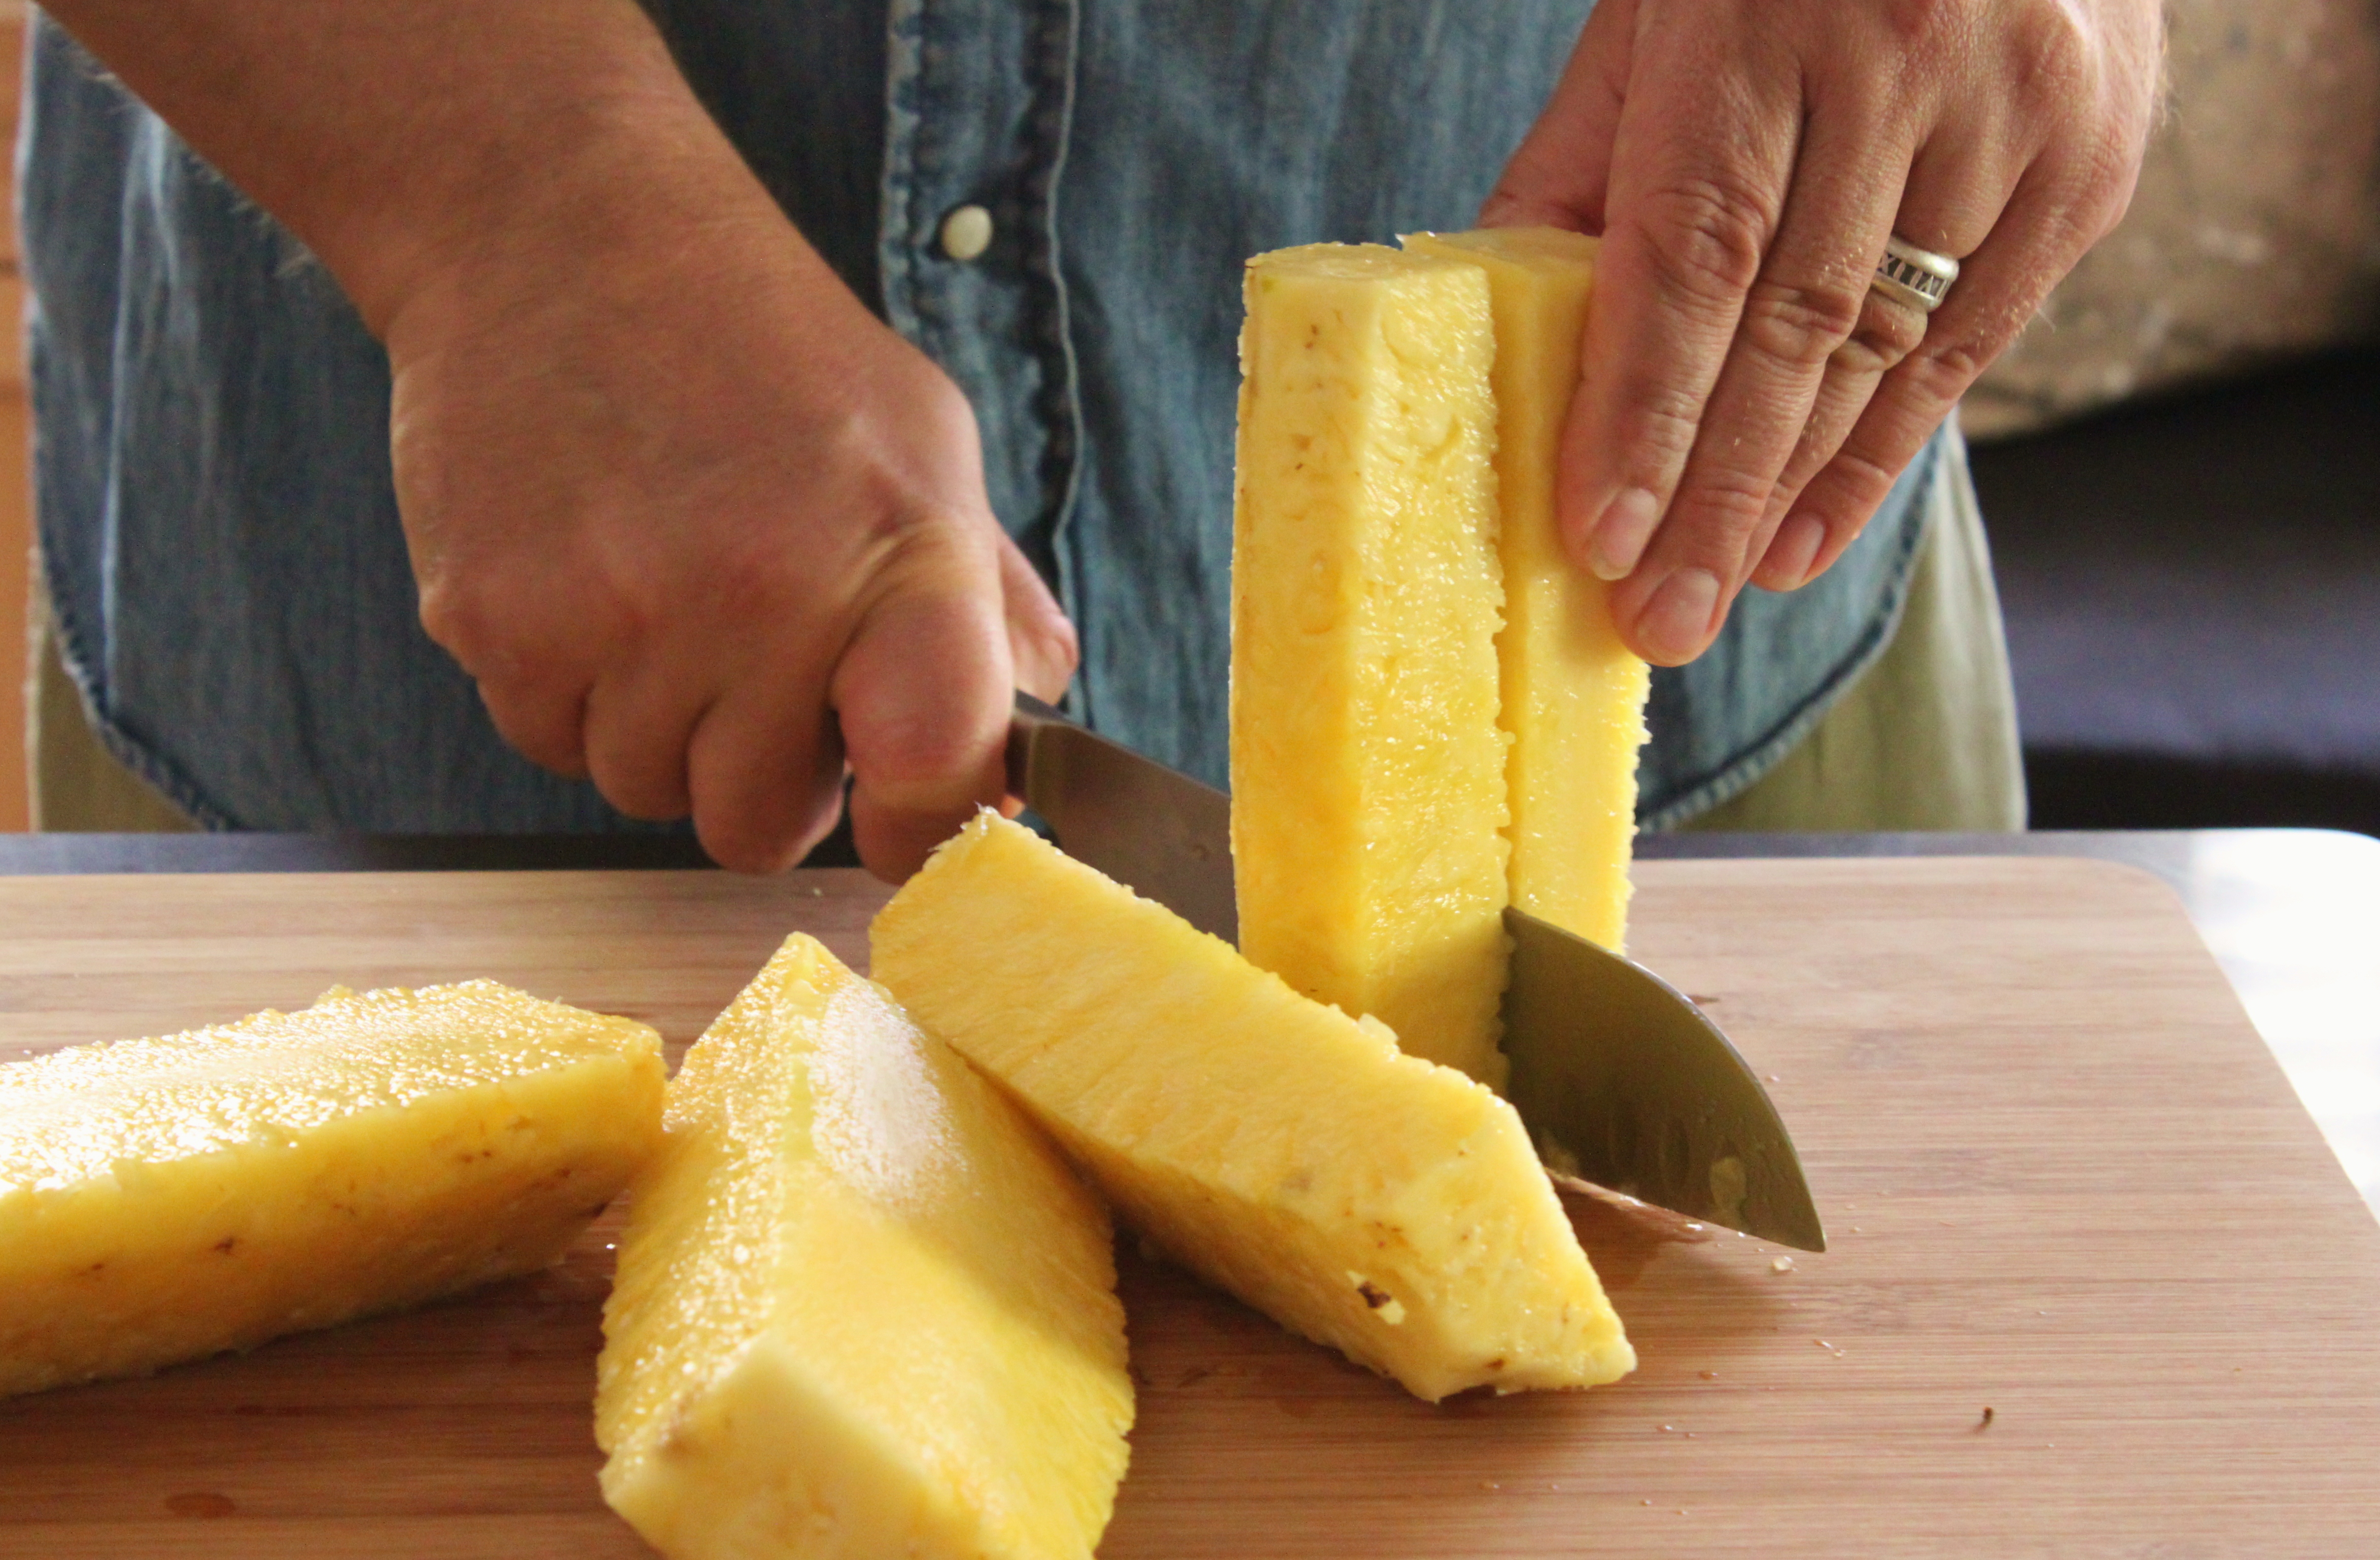
Slice each side into smaller slices…..
You could simply make bite-sized chunks,
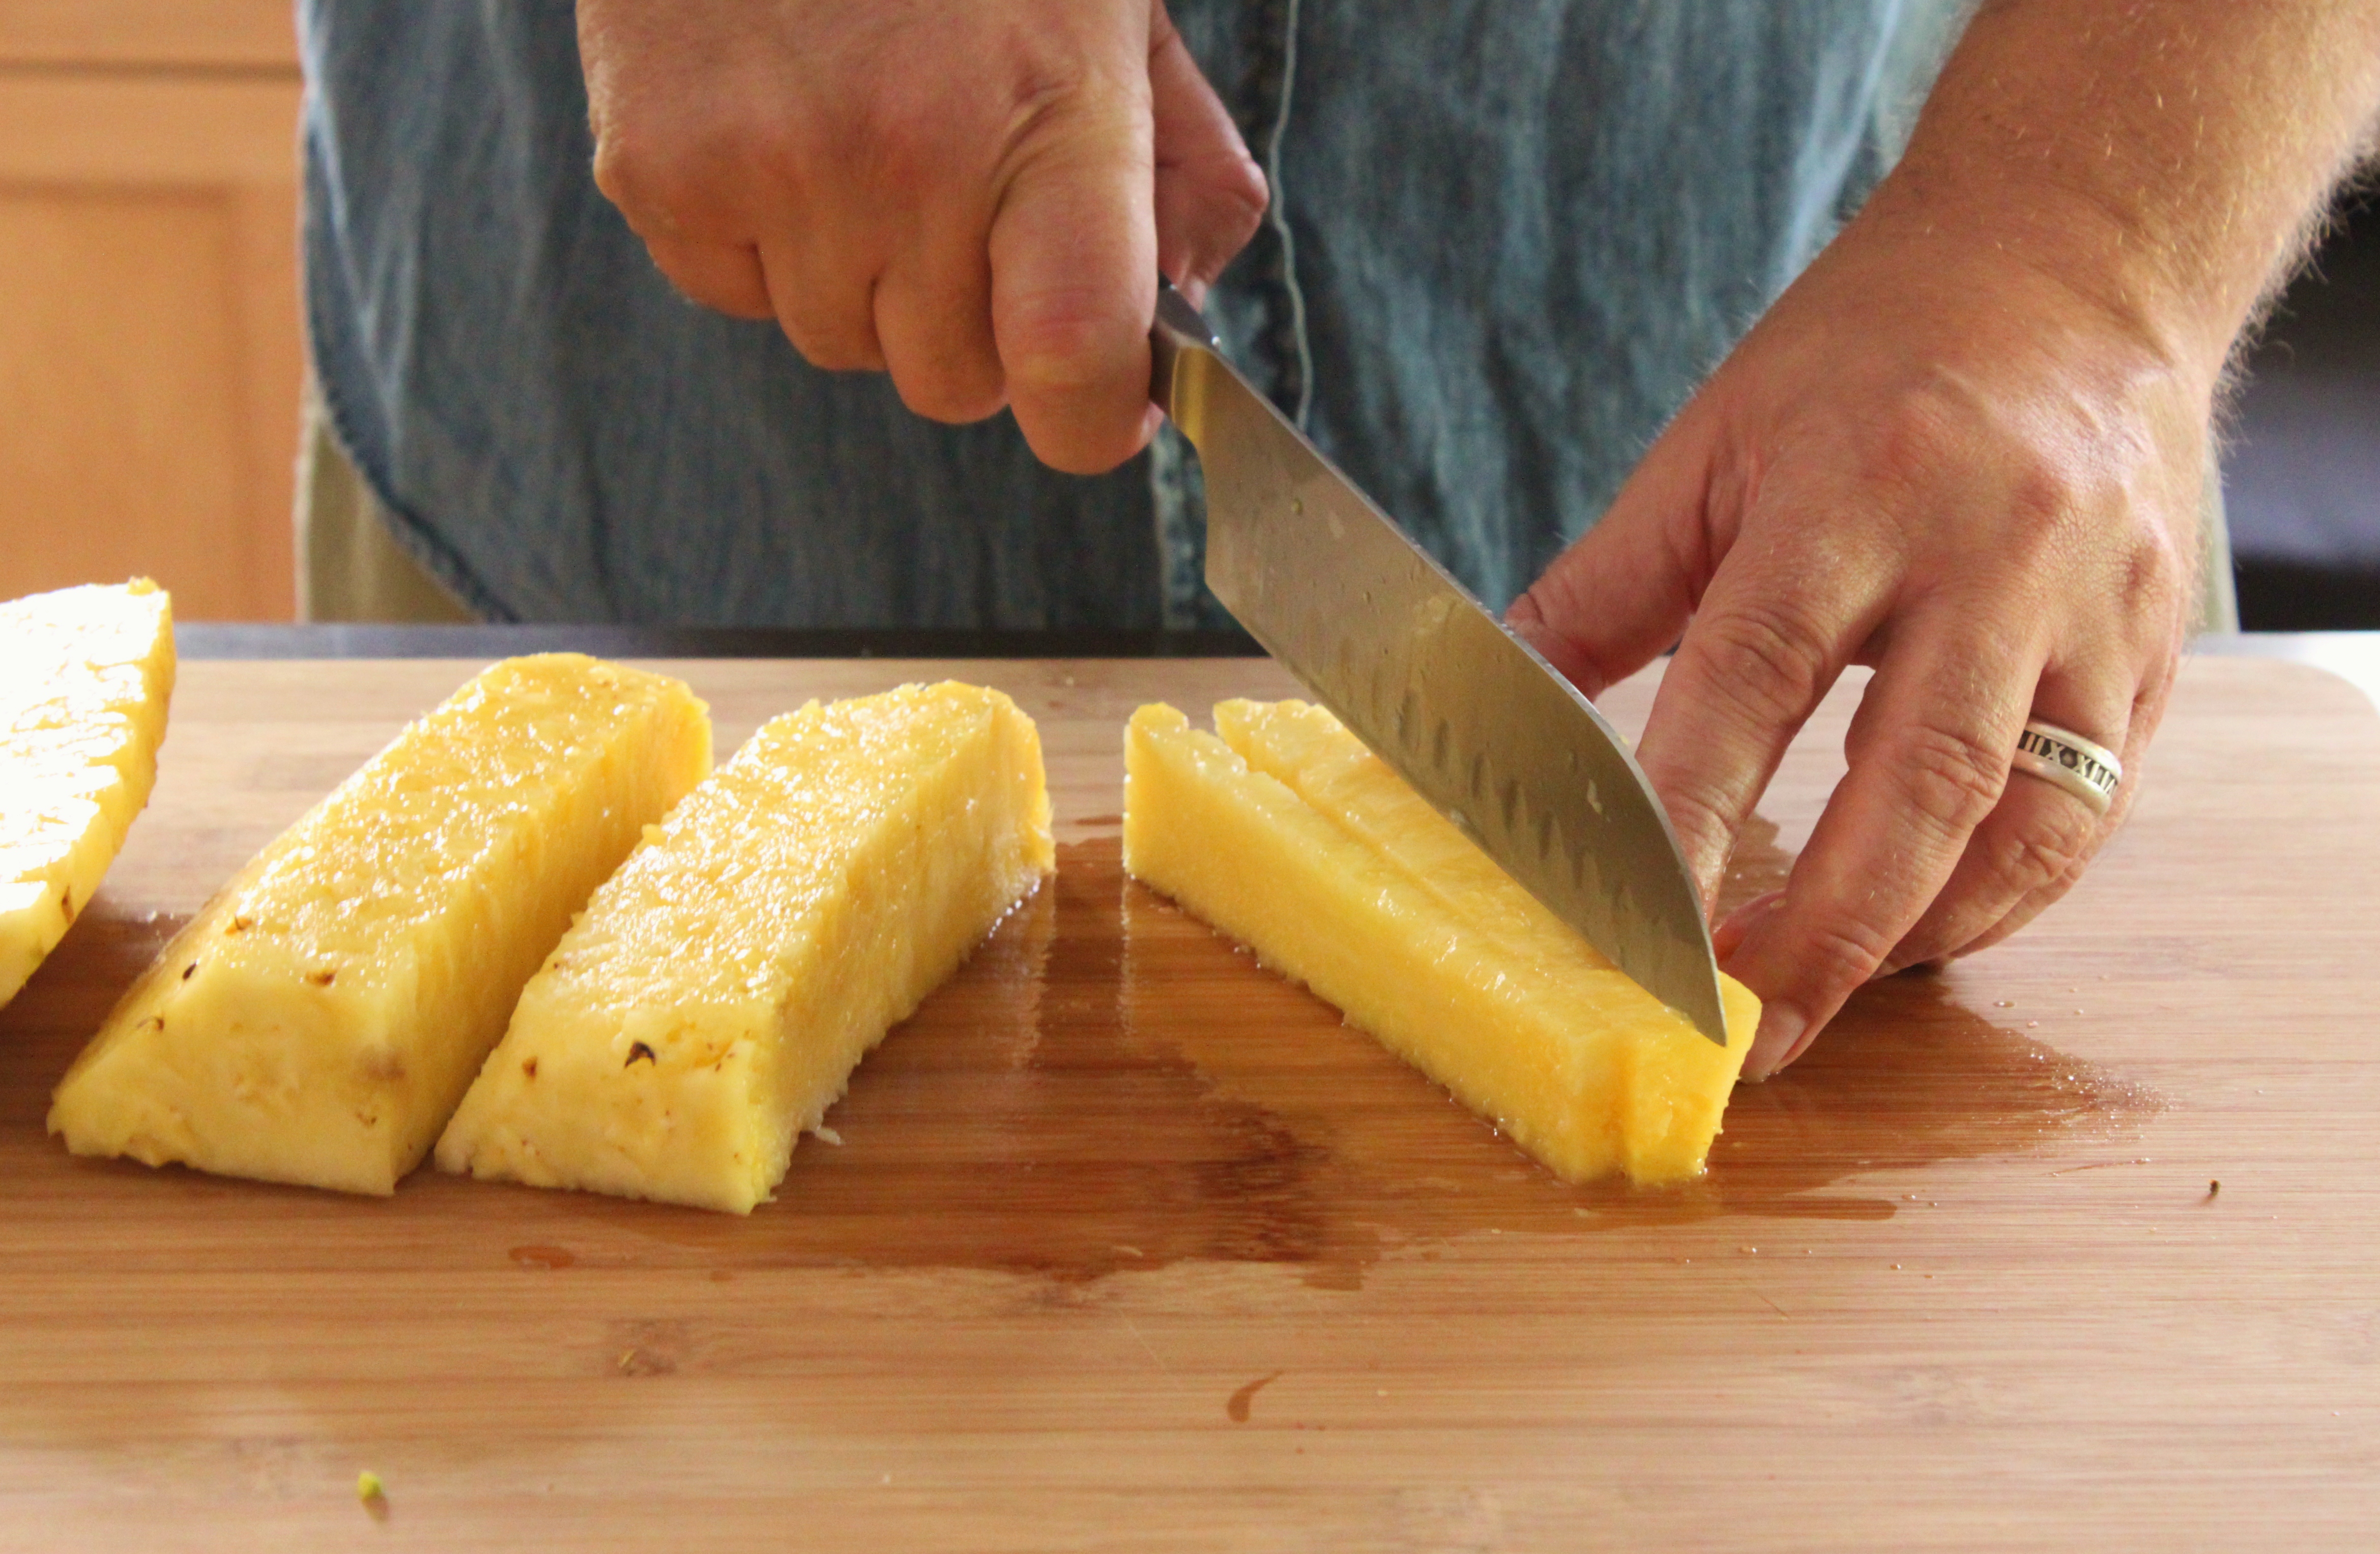
or dice the strips into pieces about the size of corn kernels.

A good-sized pineapple will yield a little over 2 cups diced.

Now, to that bowl of diced pineapple add:
Congrats. You just made Pineapple Pico de Gallo.

That wasn’t so hard…
Now, was it?
Try it over grilled pork, or just with corn chips.
You’re welcome.
About 5 years ago, Ralph Lauren paint was pulled from Home Depot to make room for Martha Stewart paint.
For some odd reason, RL Paint was then only available in 2 locations in the state of Texas. (7 places in Alaska)
Dallas was not one of them. (sad face)
Wouldn’t you know that was right before we bought the Cavender house…….so every room in our house is painted in Martha Stewart colors.
Well, look what appeared at the Home Depot last week…..

(cue the sound of angels trumpeting)
I know, we’re excited too.

The paint colors are divided into “lifestyles”….. like Throughbred, Urban Loft, Vintage Masters, Island Brights, and Harbour Blues….


Now, I’m sure y’all are thinking, “Paint is paint”
…..and yes, it’s all pretty much the same.
But Mr. Lauren had the genius idea to create specialty finishes.
Paint that actually emulates the texture and nuances of river rocks, or candle light, or linen, or aged leather, or suede…….

or (our personal favorite) denim……

Take a gander at all the shades of denim and chambray available.

There are even sample boards with chip colors on the RL Home website.
Like this one for River Rock.

If you think you have to be a skilled painter to achieve these techniques……..you are dead wrong.
Anyone with a little painting skill can do these finishes. There are even free instructional videos on the RL Home site…….just in case you need one.
Too bad every room in the Cavender house has already been painted in the past few years……
….but ya never know.
I love junk.
I confess, I have a hard time parting with old painted toys, galvanized buckets, tin globes, thermos, dice, bottle caps, license plates………(ahhh, the list goes on and on here)
Mostly stuff I find in junk shops, or on the side of the road during “Big Trash Week”. My friends feed my addiction too. They constantly give me old treasures they know I will appreciate. Sometimes, they just leave them in my garage.
I know there is greatness still to be found in that stufff…….and ya know what?
I’m not alone.
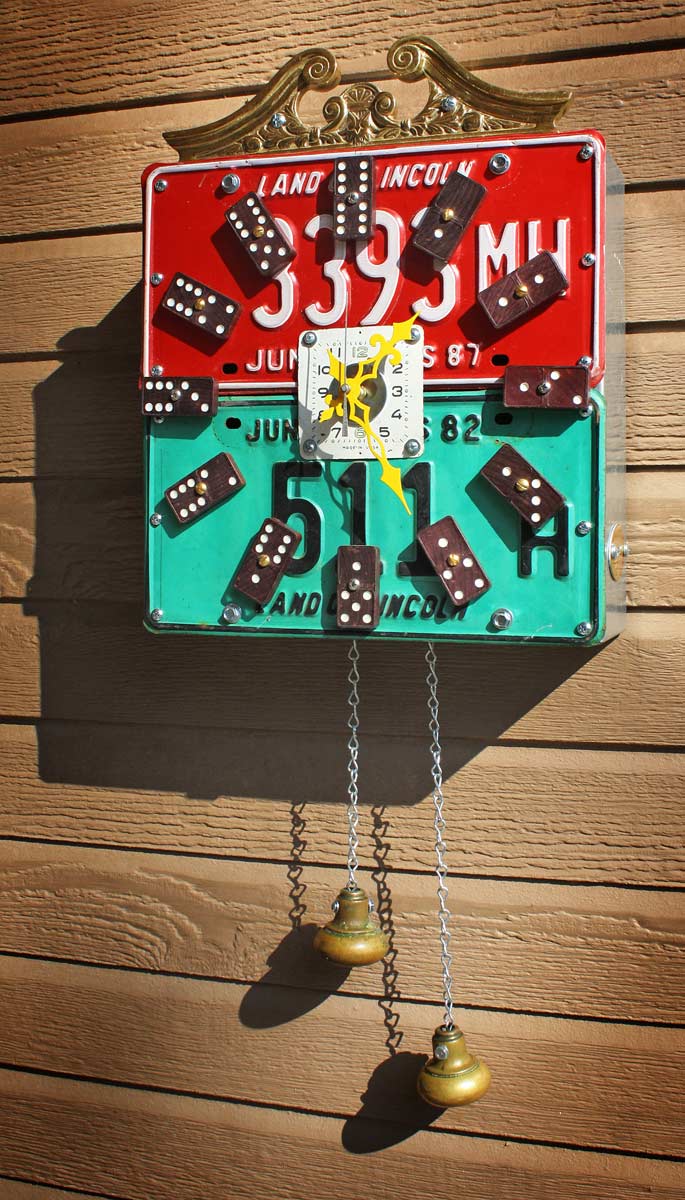
Brian Carlisle thinks that way too. He’s been crafting things out of (what others might deem useless junk) for years. In his mind a tea kettle is a perfect bird house, a license plate a cuckoo clock, a minnow bucket the shade for a lunch box lamp, and a roller skate is a flat-bed truck.
I borrowed a few of his photos to show y’all.
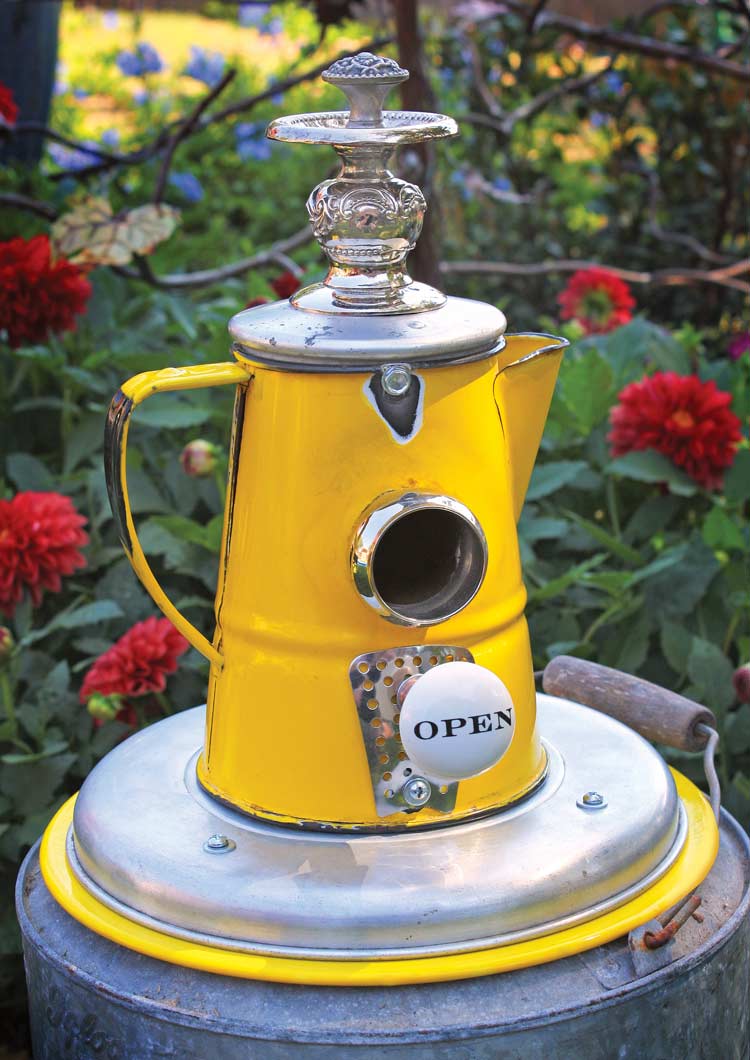
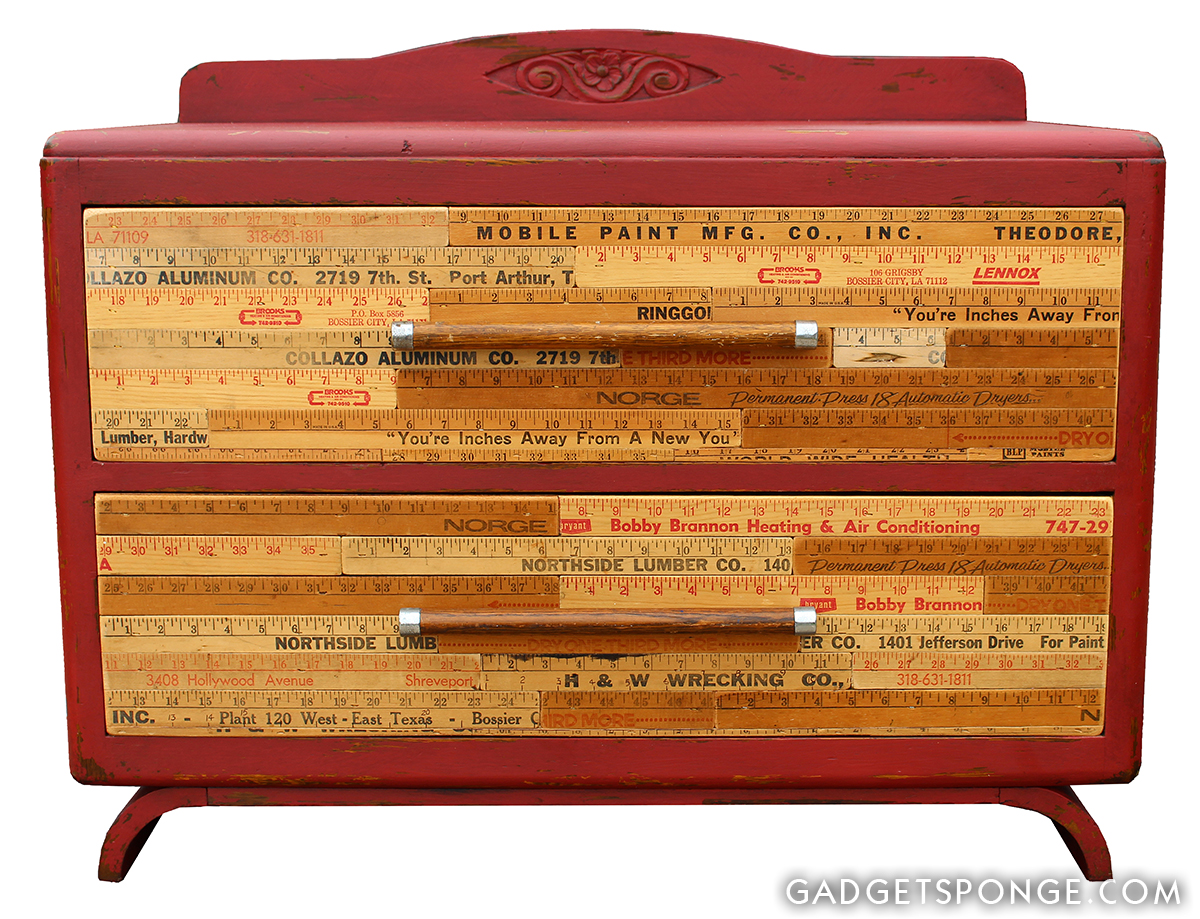


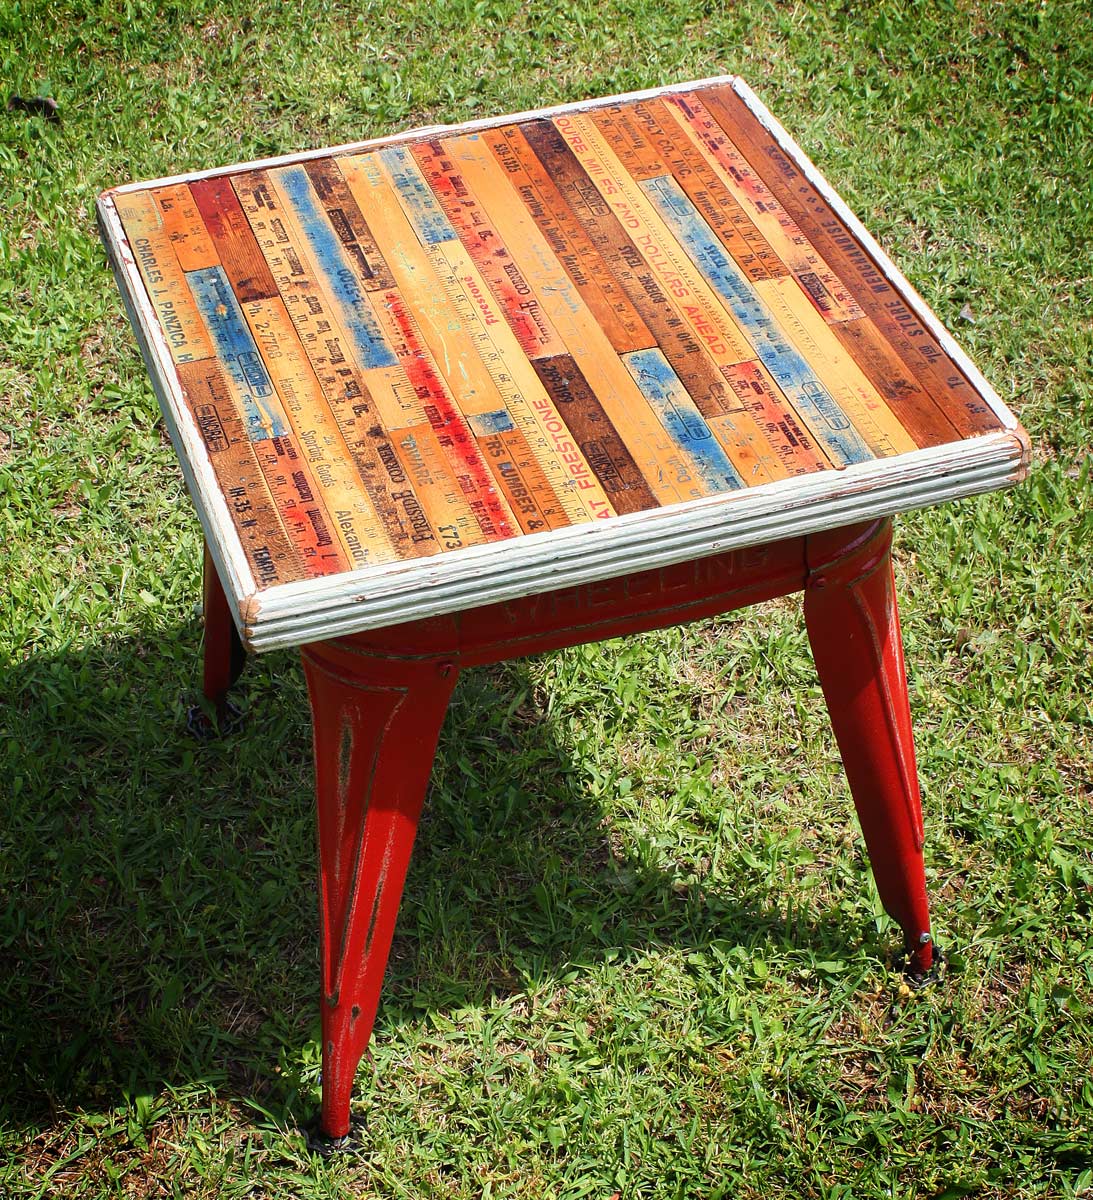
All my favorite Crayola colors too; red, blue, yellow and green.
Check out more of Brian’s upcycled creations on his blog Gadget Sponge.
and should any of y’all be interested in buying one of his unique works of art, head on over to his Etsy shop.
I’ll never throw anything away again.
And if anyone needs me, I’ll be tinkering in my garage for the next few years…….
A dear friend sent me on a quest recently.
Don’t think she intended to….but a quest none the less.
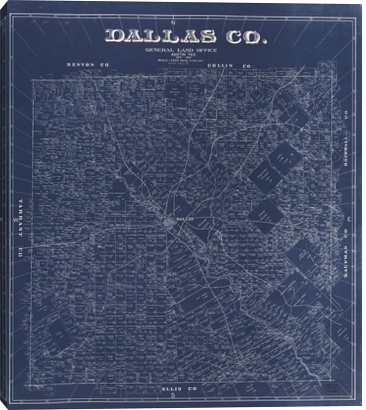
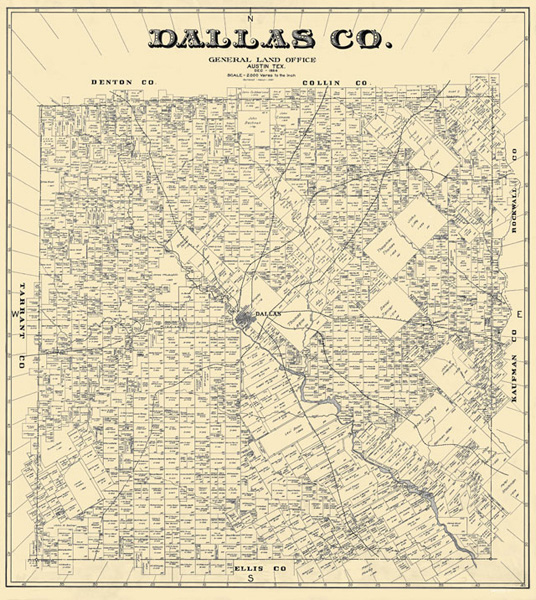
She sent me a link to this piece of art at West Elm……

A 1884 map of Dallas land owners. Don’t she know me so well, folks?
It’s a little hard to tell, but I think the Cavender property is on that map. (it would be in the lower-middle-part of the left side)
My heart actually skipped a beat.
Then I saw the price, 169 bones, and my heart stopped entirely.
Just a little out of my comfort level for such a treasure……..espcially sine we don’t have any available wall space anyway, and pictures are just leaning on the floor right now.
Hello Google….
Gallery Direct had them,
Printed on canvas and stretched over a stretcher frame, like this
Gallery Direct also offers them framed, or even mounted on plywood. Unfortunately, those prices are anywhere from 93 bucks to 120.
Ouch,
Good news, they also sell just the prints on paper. But 46 dollars for a 21 X 22 inch print? That’s still a little high.
(insert heavy sigh),
But there was hope, If I was willing to give up on the indigo color (and, I think I am) there are still options…
Like this one from Amazon….

Only 67.99 on matte art paper.
Or even better, this one from the dealer, Maps of the Past, on eBay….
31.99….with free shipping.
Ladies and Gentleman, we have a winner.
Sure, it’s just the print, and unframed.
I might have an unused frame for it in the hoard…….. I grab frames at garage sales all the time (and usually just spray them black).
If not, I know my framer can throw one together for me for about 40 bucks.
Done, and done.
Thanks, Kay….I just love the hunt.
(BTW, I’ve been following Kay’s blog, Red Bird Vinatge Home, since day one. She’s been remodeling an absolutely charming Dutch Colonial and cautiously picking paint colors, siding, the kitchen and bathroom fixtures and all the other bits of Pinspiration to fill it with. I feel very fortunate to have been along for that ride……..Check her out)
100 dollars? For a flower-pot with shells glued to it?
Are they kidding?
Love this shell pot at Wisteria, (ignore the flash)
But seriously? 100 bucks???? We have tubs (plural – tubSSSSSS) of shells in the garage.
Let’s see if I can make a pot like that for a fraction of that price.
The home improvement stores sell terra-cotta pots for pennies.

Literally, pennies, 125 of them.
I got a 6 inch azalea pot for a buck and a quarter. – Third from the right, bottom row – Yeah the Wisteria pot was slightly taller, but I’m working with what I got here.
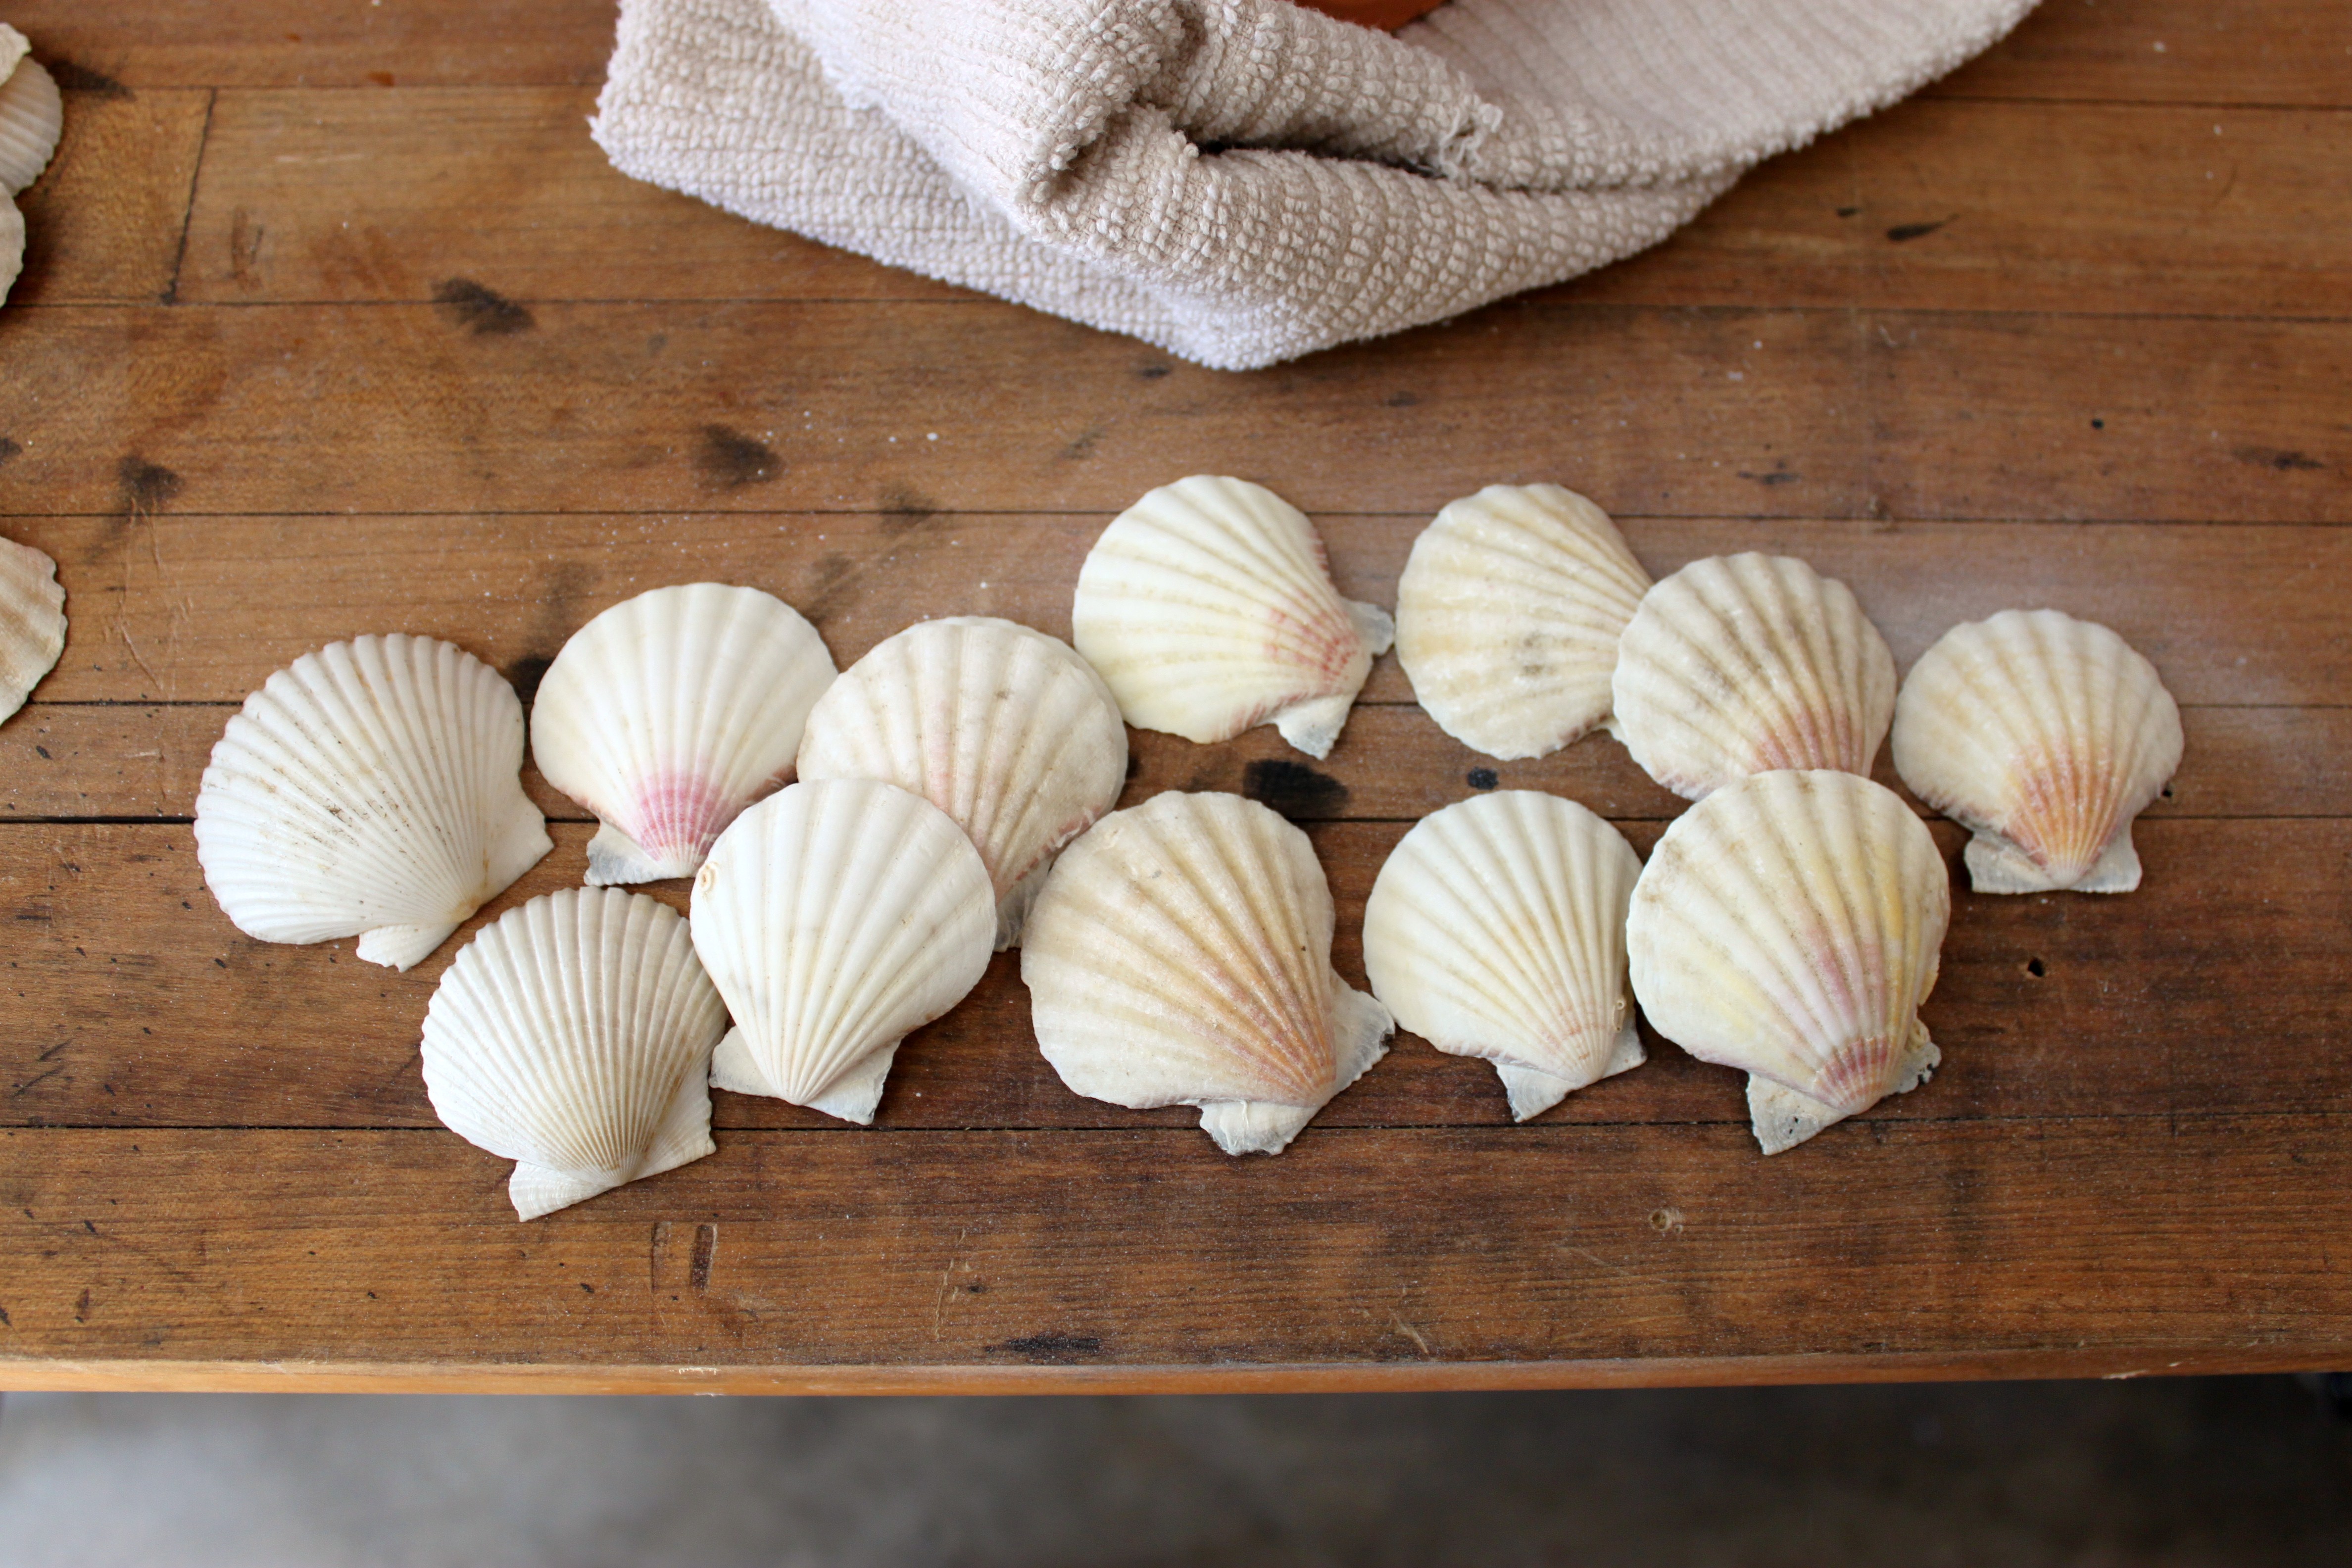
Also sorted through some of those tubSSSSSS and pulled out these beauties. Mostly white-ish, and nicely sun-bleached.

So that establishes my color story.
I want my shells to really stick to the terracotta, so I use Gorilla Glue White.

It’s a little bit runny, but sticks like MAD when it’s dries.
I glued a row of scallop shells along the top to hide the lip of the terra-cotta pot.
I lay them along the top overlapping just slightly.

The glue starts out runny but it dries pretty solid. No worries, because my spackle will cover all the drips.
Here’s my finished top edge.

Pretty good start, right?
After I glued them on I used a piece of blue painters tape to hold them in place till they dried.
Here’s the row of scallops that I applied to the bottom.

Then I just keep adding more shells to fill in the middle of my pot….sort of in a pattern,
……but not really.
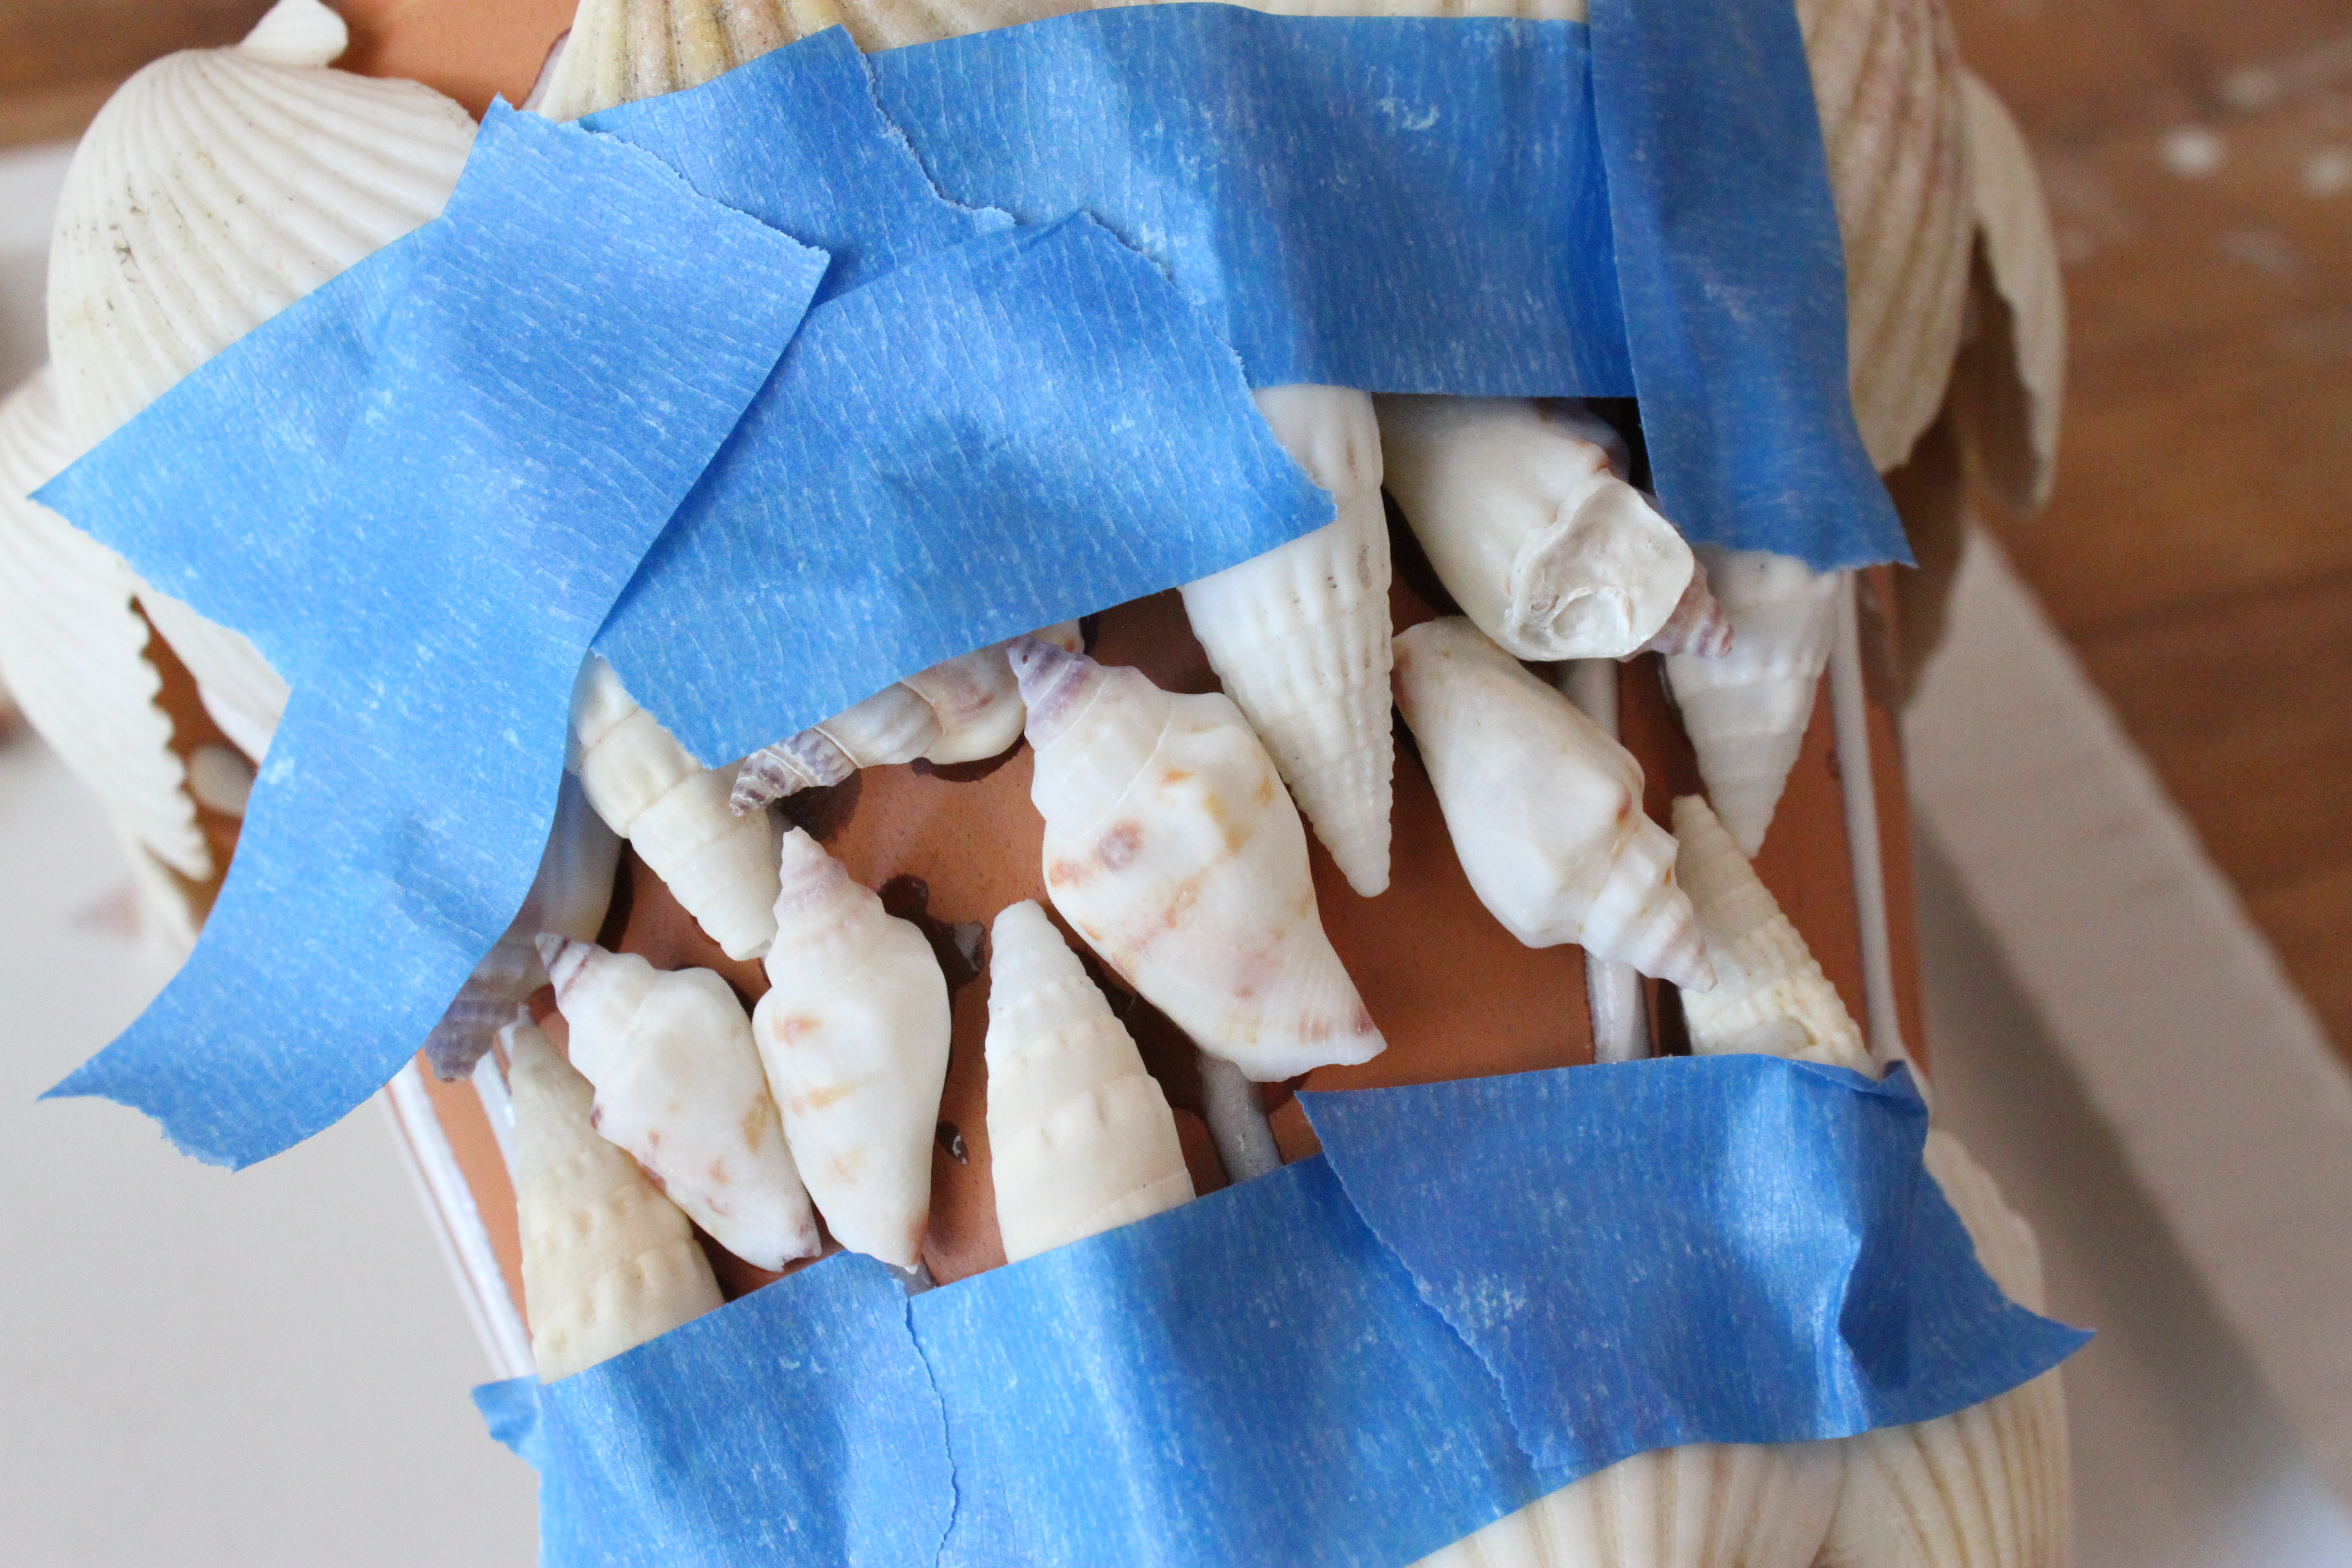
After the glue dries completely, I peel off the blue painters tape and find this…..

Looks pretty good. Don’t it?
Just wait…..it’s guna get a whole lot better.
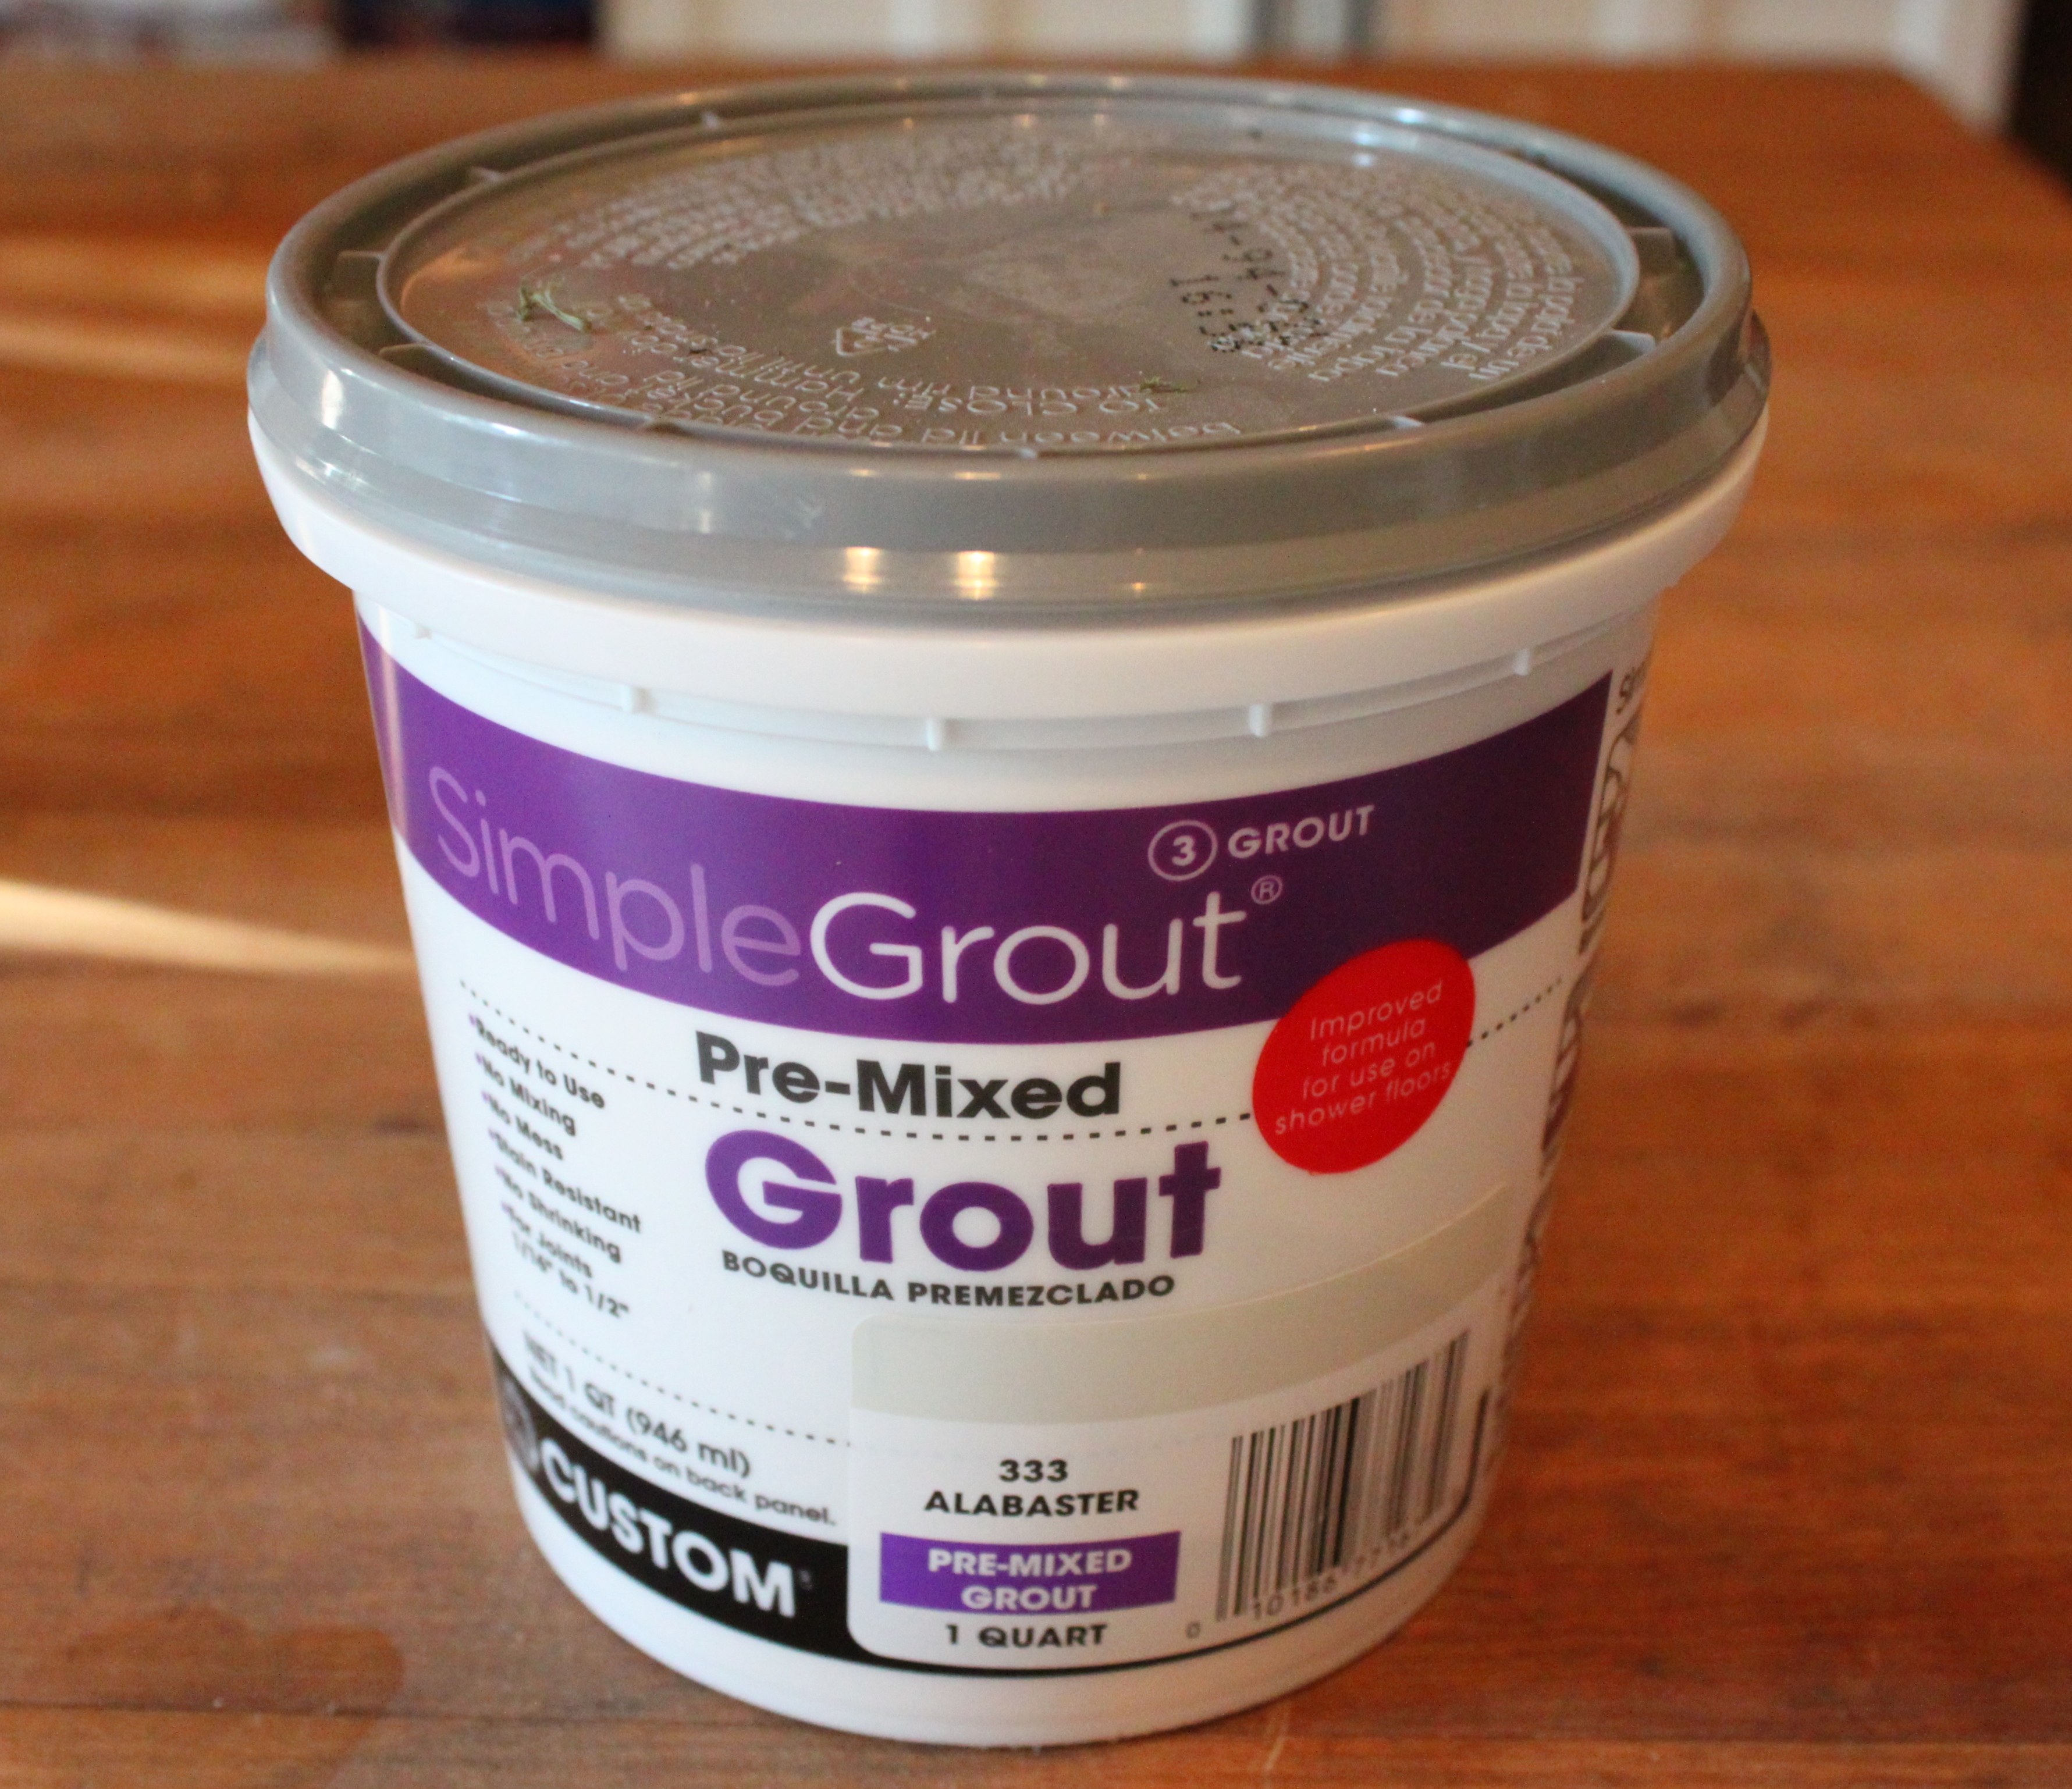
Premixed grout comes in a rainbow of colors. Bright White seemed a little too Bright. So I went with Alabaster.
I filled the corner of a Zip-Loc bag and gave it a small twist to hold it all in. Then I snip off the corner to make a pastry bag for “piping on” my grout.
Trust me, it’s a brilliant idea.

I “pipe” the grout on between all the shells…..and on any exposed terracotta surface.

It will look a little messy. Just be sure to immediately use a damp sponge to smooth out the grout and wipe the excess off the shells.
Be sure the shells are showing.

Let the pot dry for about 24 hours,
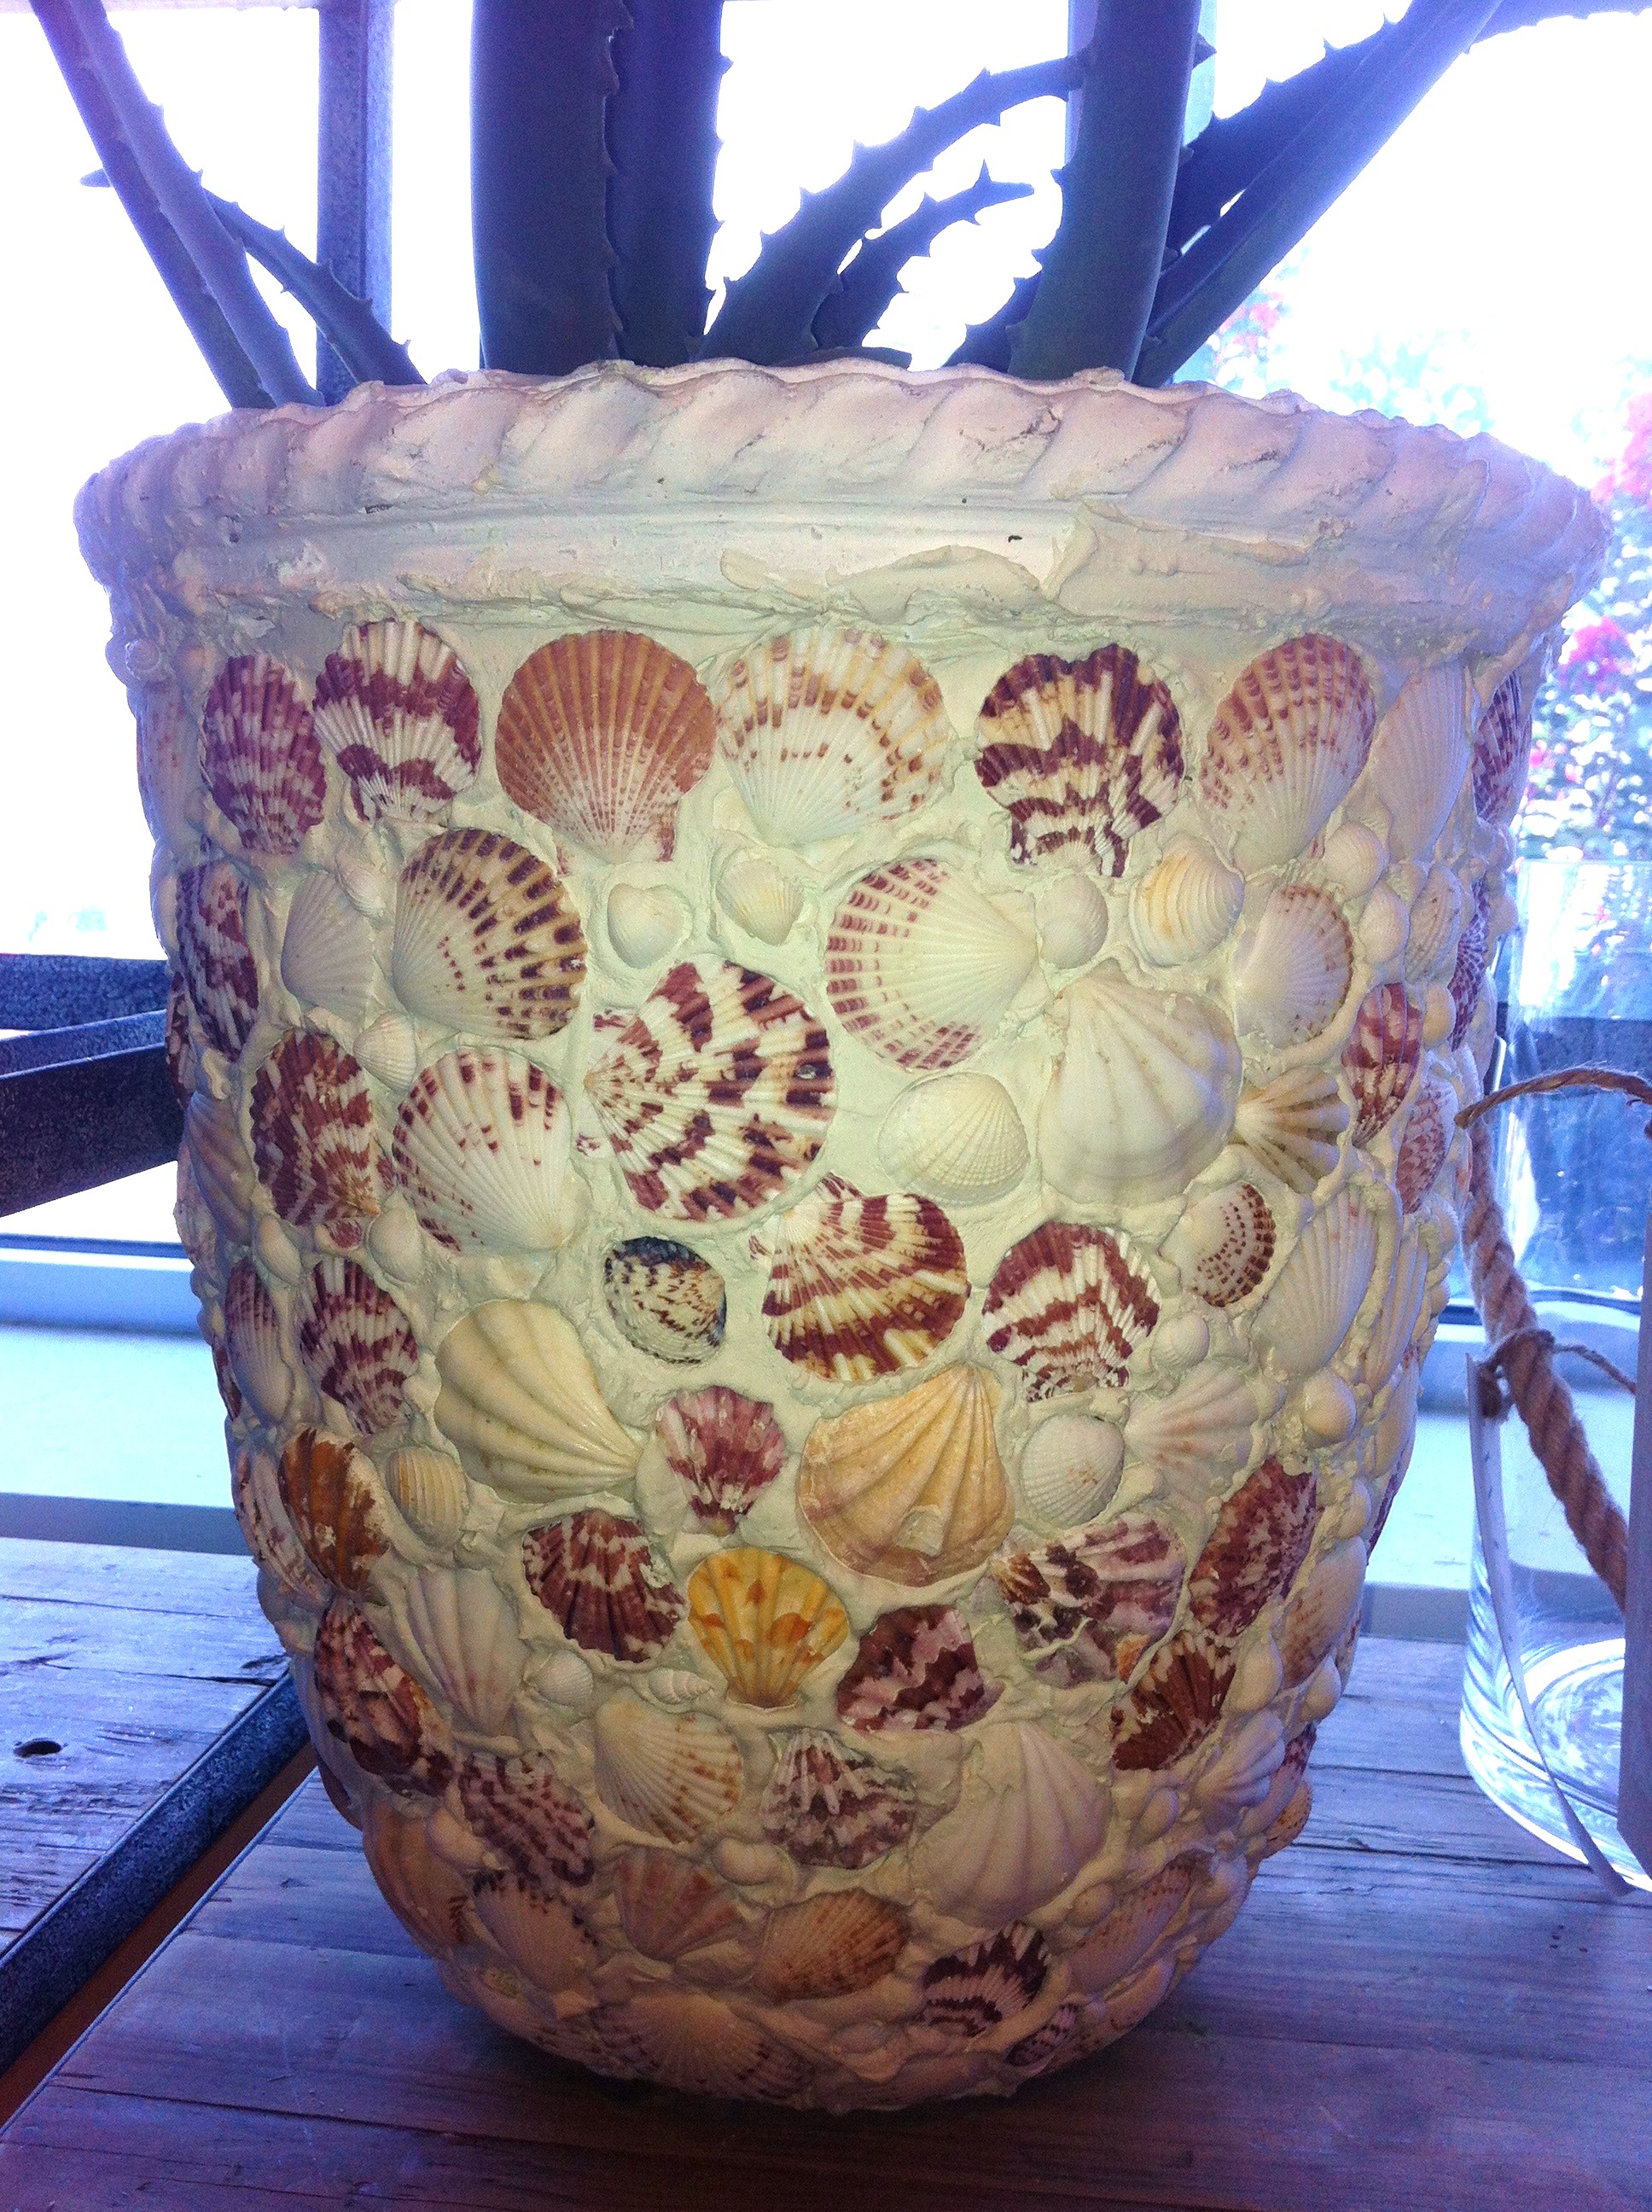
……..then put a plant in it.
And enjoy.

Think my shell flower-pot cost about 8 bucks. Not bad.
Plenty of grout left over to make a dozen more.
And the hardest part of the whole project?
……Waiting for the glue to dry.
When we were in Puerto Rico there was a young woman making mojitos from a cart on the street.
She used what looked like a small baseball bat to squish key limes, sugar cane, and Bacardi rum right in front of us.
In the heat of the island sun, we were drinking them as fast as she was producing them.
Almost faster.
Sure, it’s perfectly acceptable to drink them all year round, but mojitos always remind us of that trip….
….and summer.

Here’s everything you need to make mojitos at home:
Add a dozen, or so, mint leaves to your Mason jar.
Juice 2 limes on top of the mint, and then add the rinds – loosely chopped.

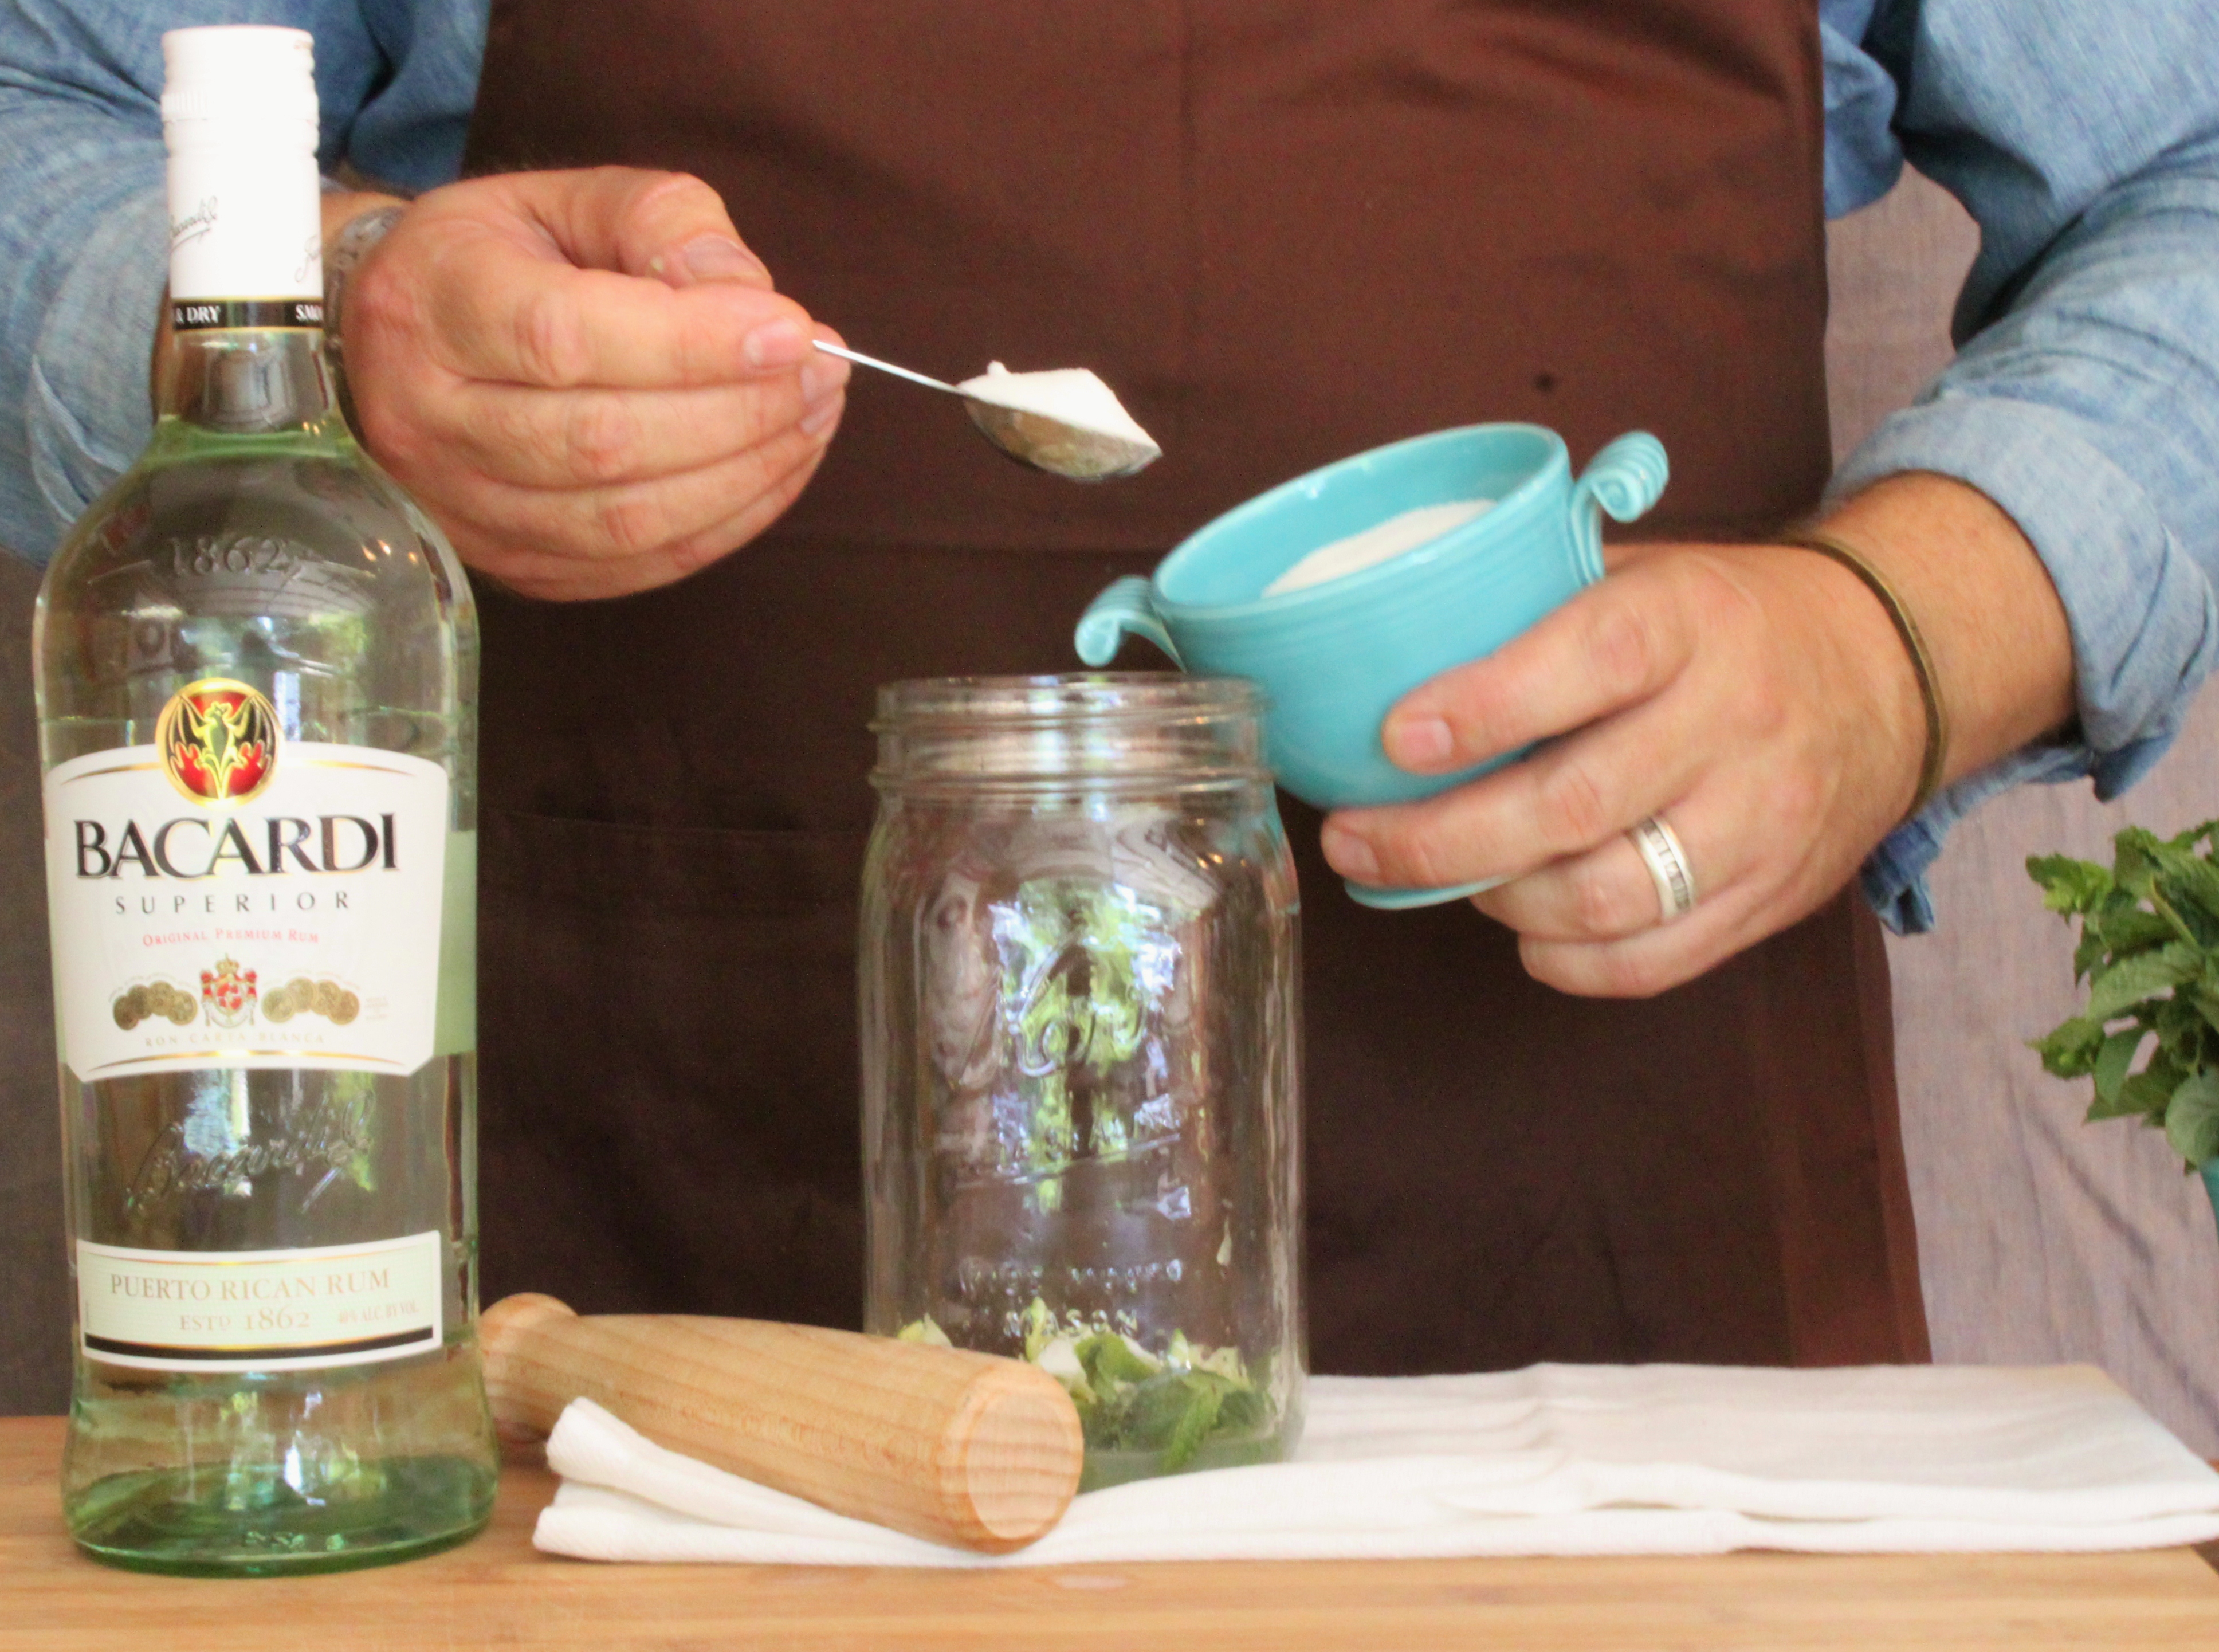
Add 2 heaping teaspoons of sugar.
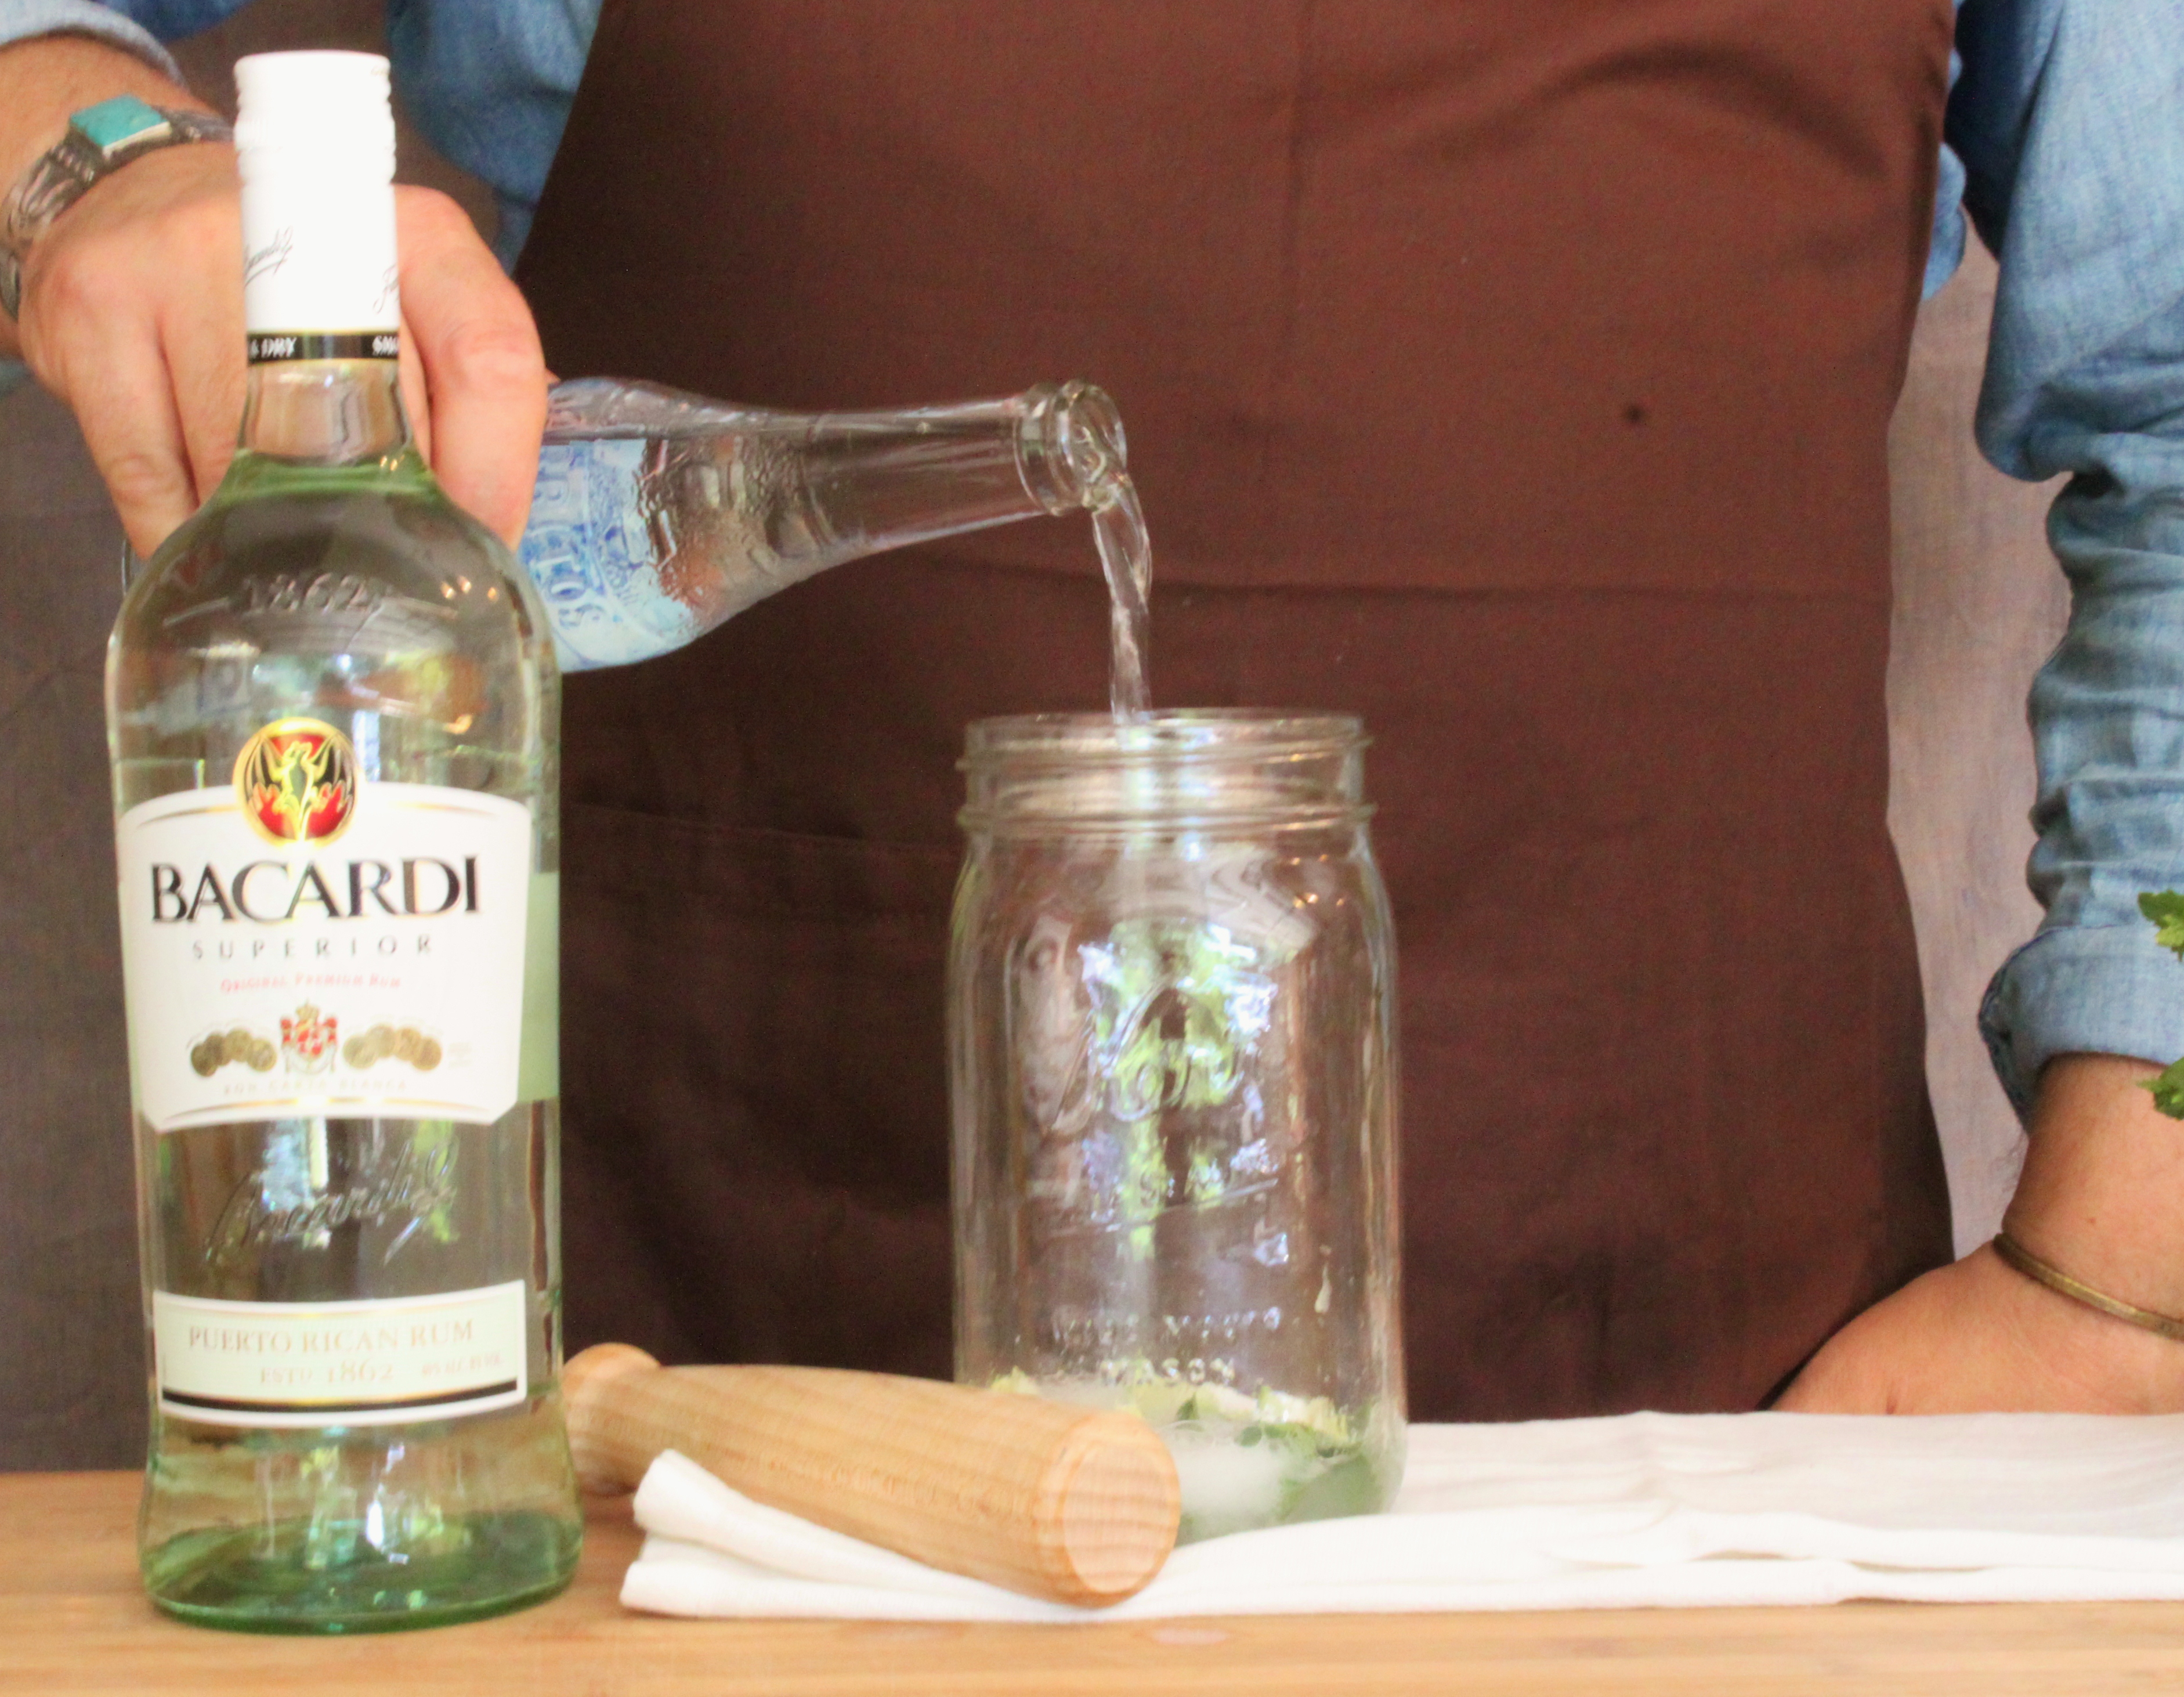
Then a splash of club soda.
Now use the muddler to “muddle” the mint and limes. Just push down gently and crush everything a few times. This really releases the mint and lime oils.

Now pour in 4 ounces, or maybe a little more, of white rum.

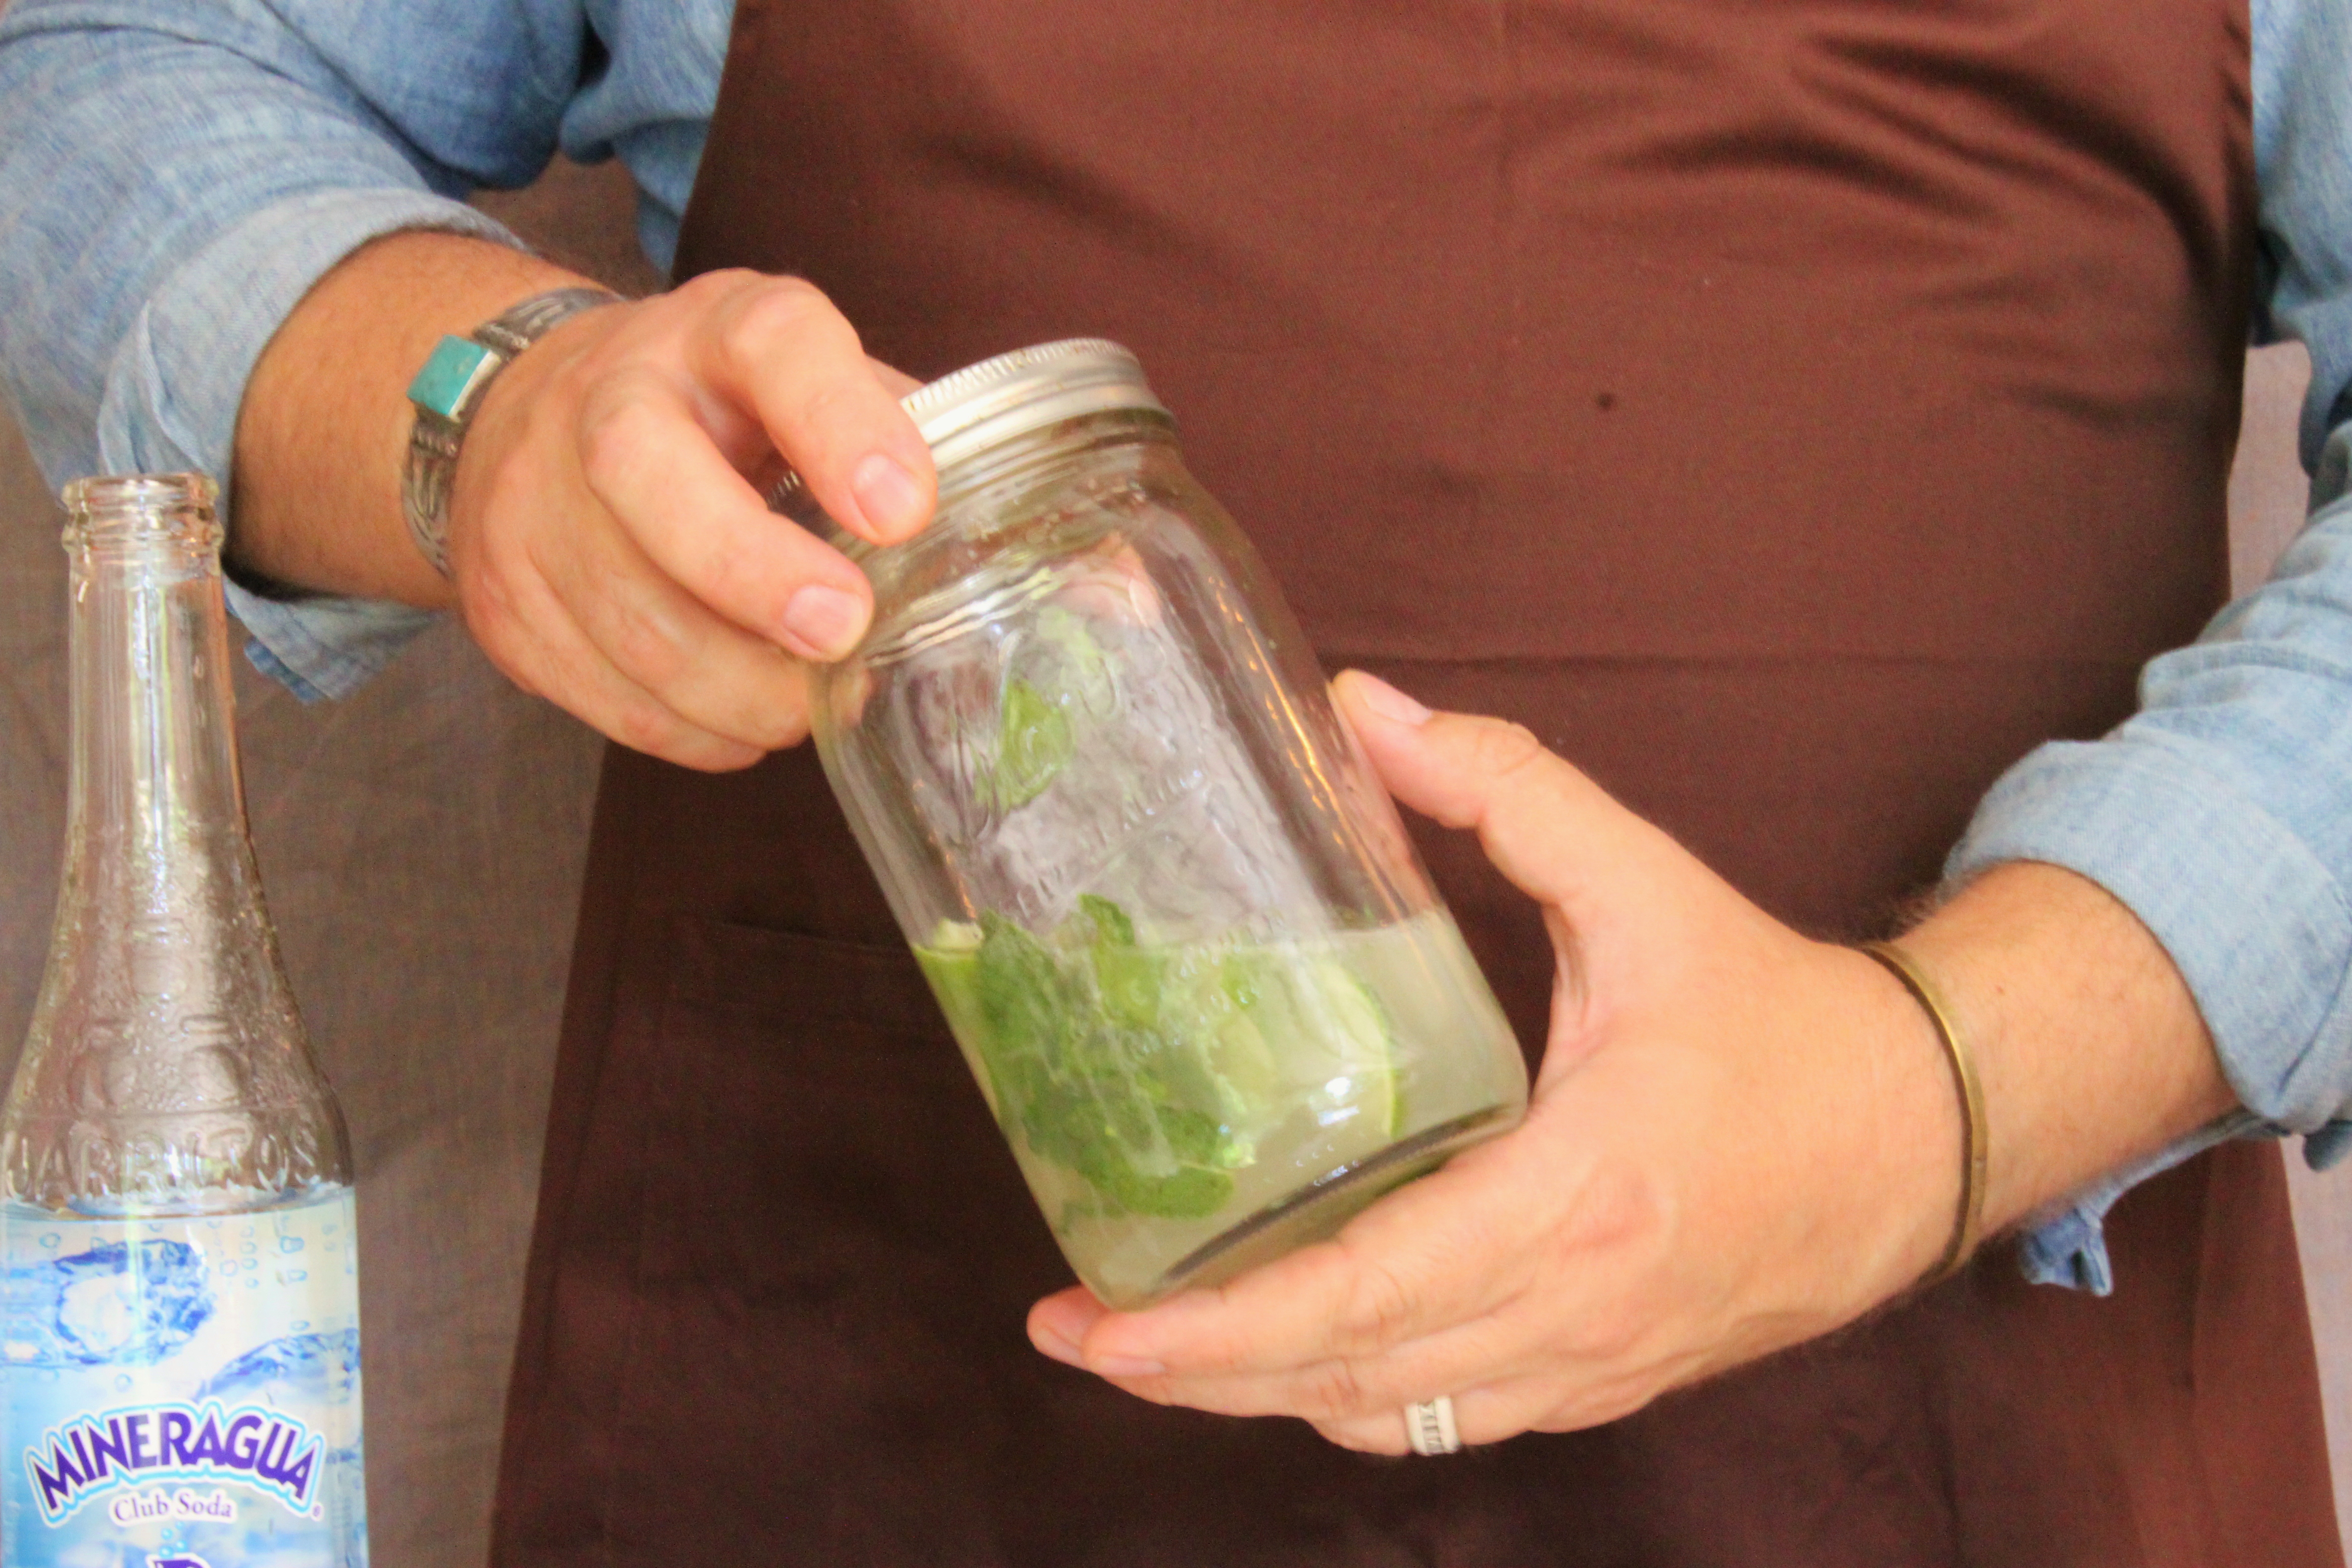
Put the lid tightly on your Mason jar and give everything a good shake.
We have an auto-matic ice maker built into the refrigerator, but these silicone ice trays were too good of an idea to pass up.
I add a few mint leaves to each one……wait a few hours……

…and we have mint-flavored ice cubes.

Perfect squares too.
Fill a couple of glasses with those square, mint ice cubes, pour over the muddled mint/lime/rum mixture……then top off with chilled club soda.

If you aren’t already on a Caribbean island…..

………you’ll feel just like you are.
Happy Summer Cocktail, y’all.
Technically, Banh-Mi means “sandwich” in Vietnamese. Something the Southeast Asian country was missing entirely until the French occupation of Vietnam introduced them to escargot, crepes, pate, and especially……baguettes.
With the bread, now the Vietnamese people could take their meals on the go. Pork, or chicken, and veggies were packed inside a softer, yet crisper, version of a French baguette.
Since we don’t have access to fresh baguettes……. why not tortillas? We love shakin’ up the rules every now and then…….
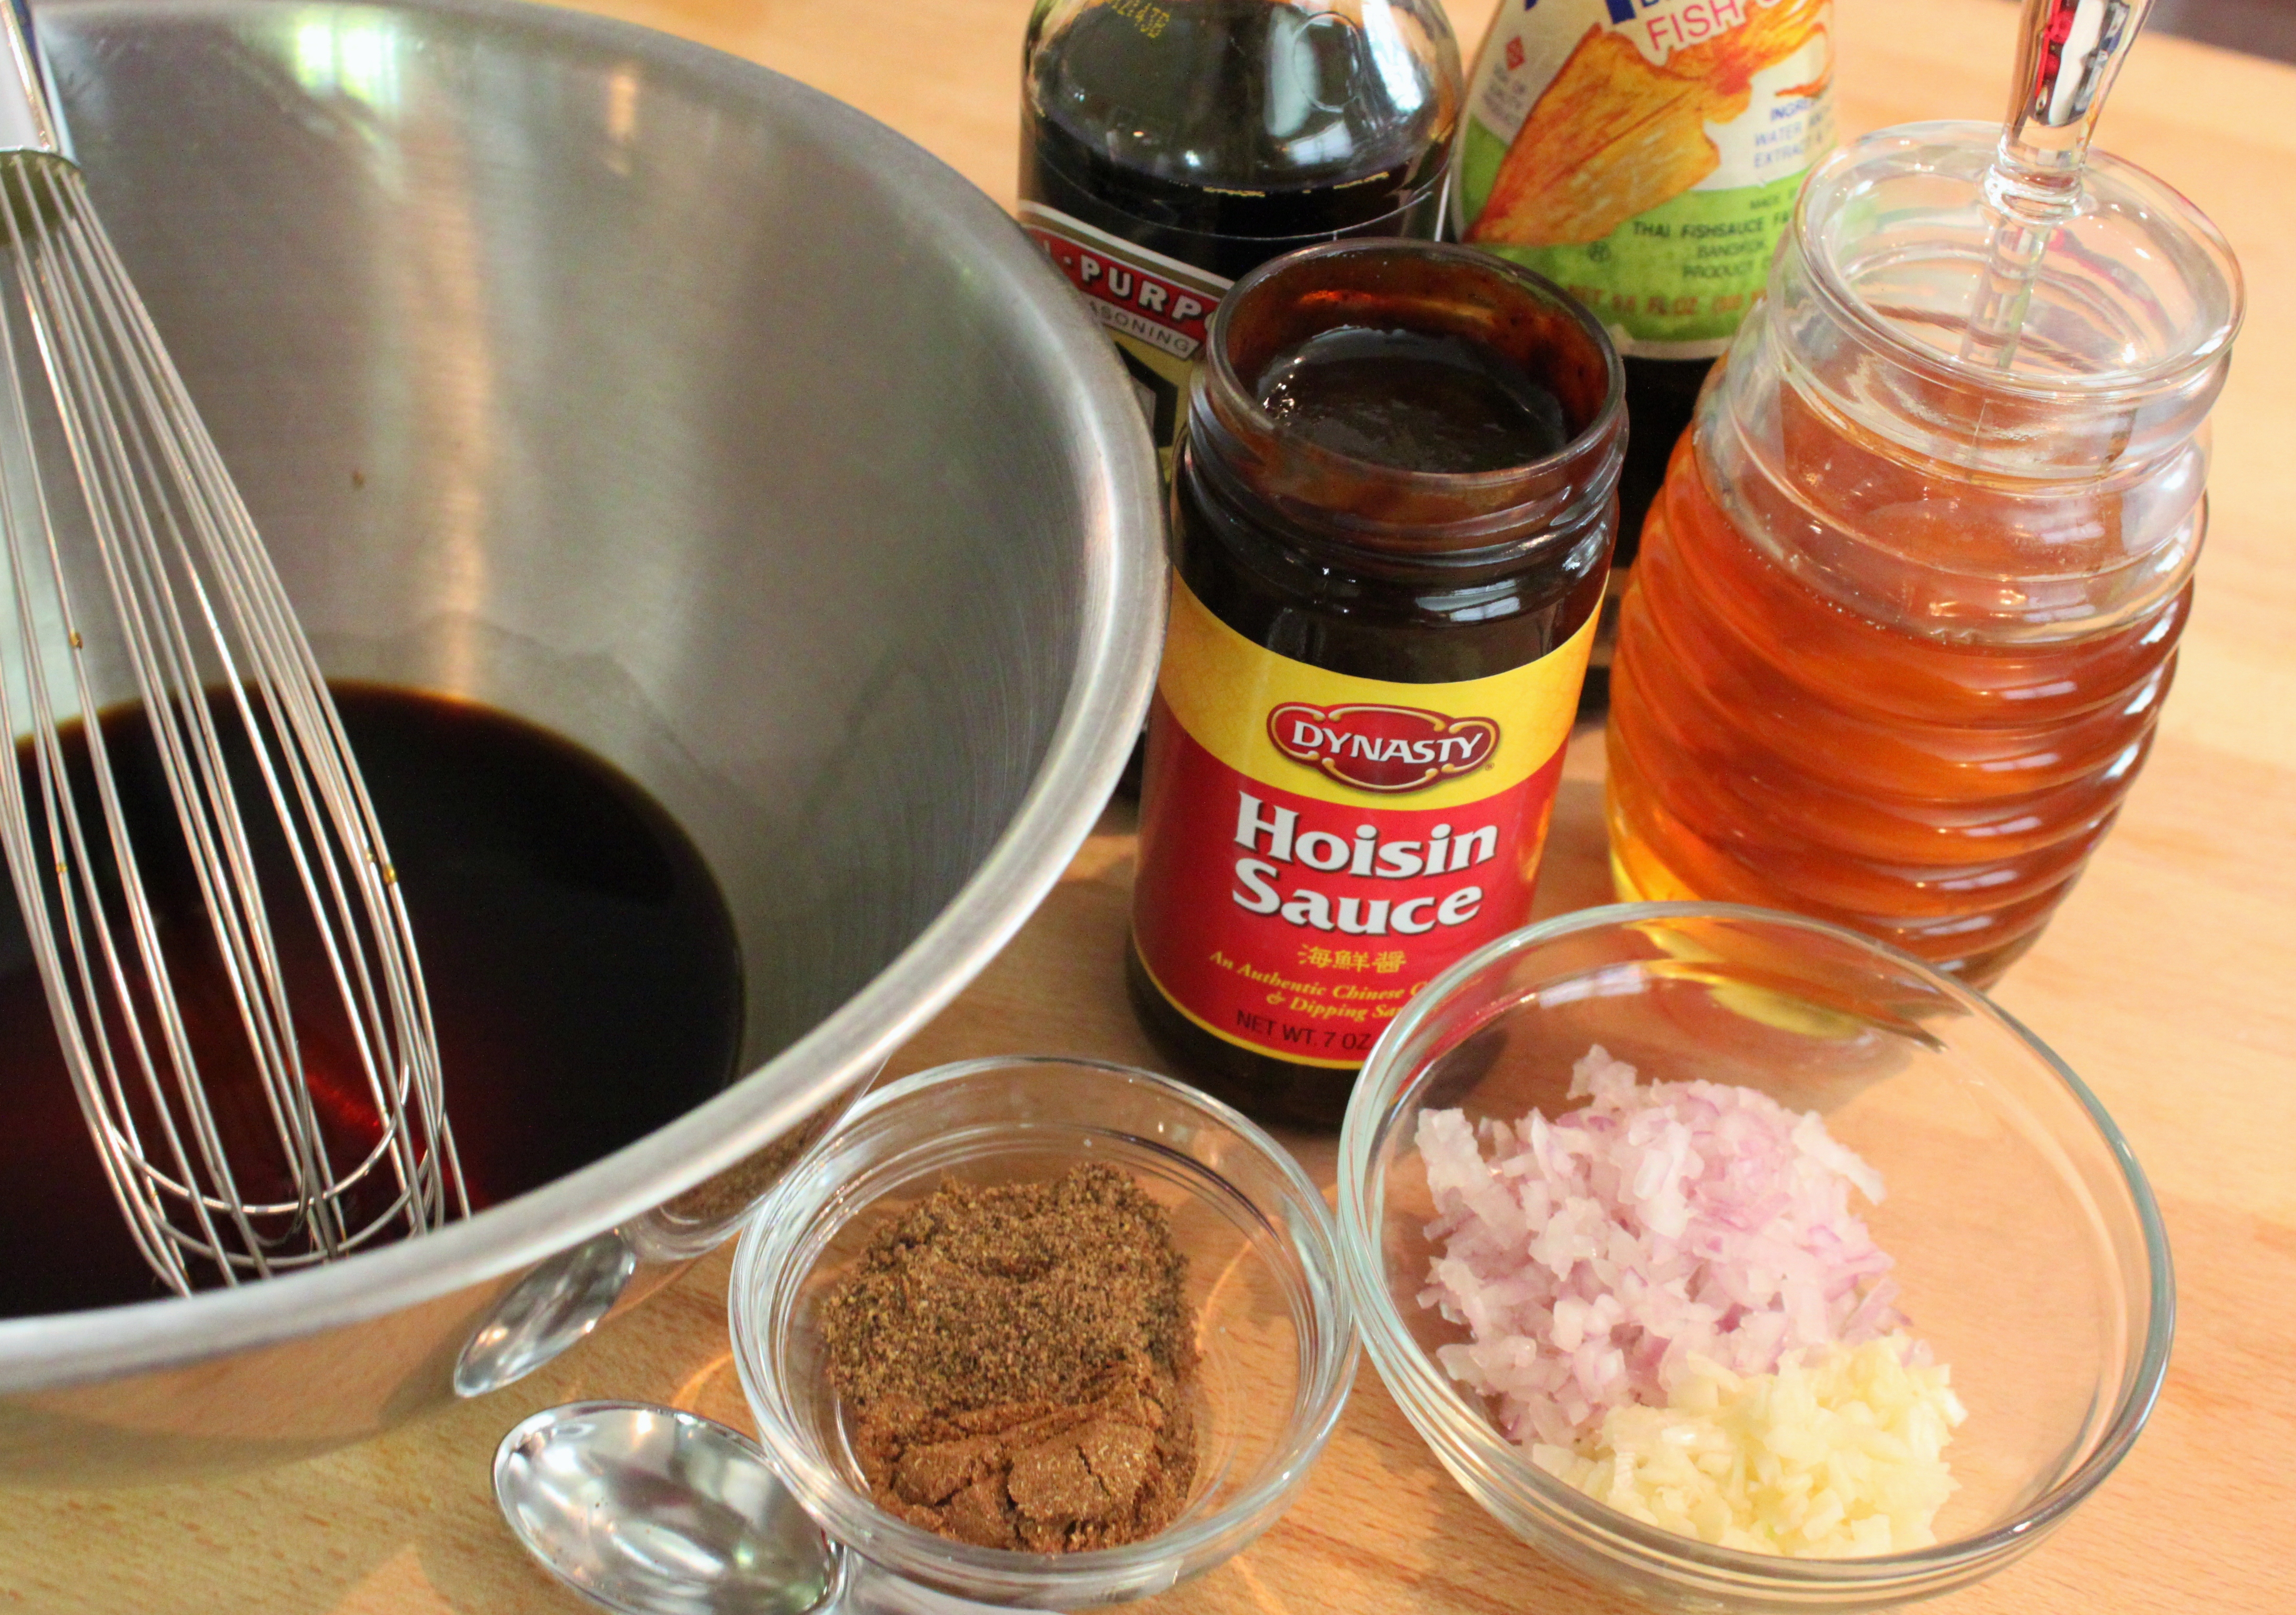
For the pork marinade;
5 spice powder and garam masala may not be staples in your spice cabinet, but they both should be. Black and red pepper, anise, cloves, cardamom, cinnamon, fennel. These aromatic spices mixed with the salty soy and sweet honey will blow your mind. (If they seem a little strong to you, only use half teaspoons of each)
Whisk everything together well.
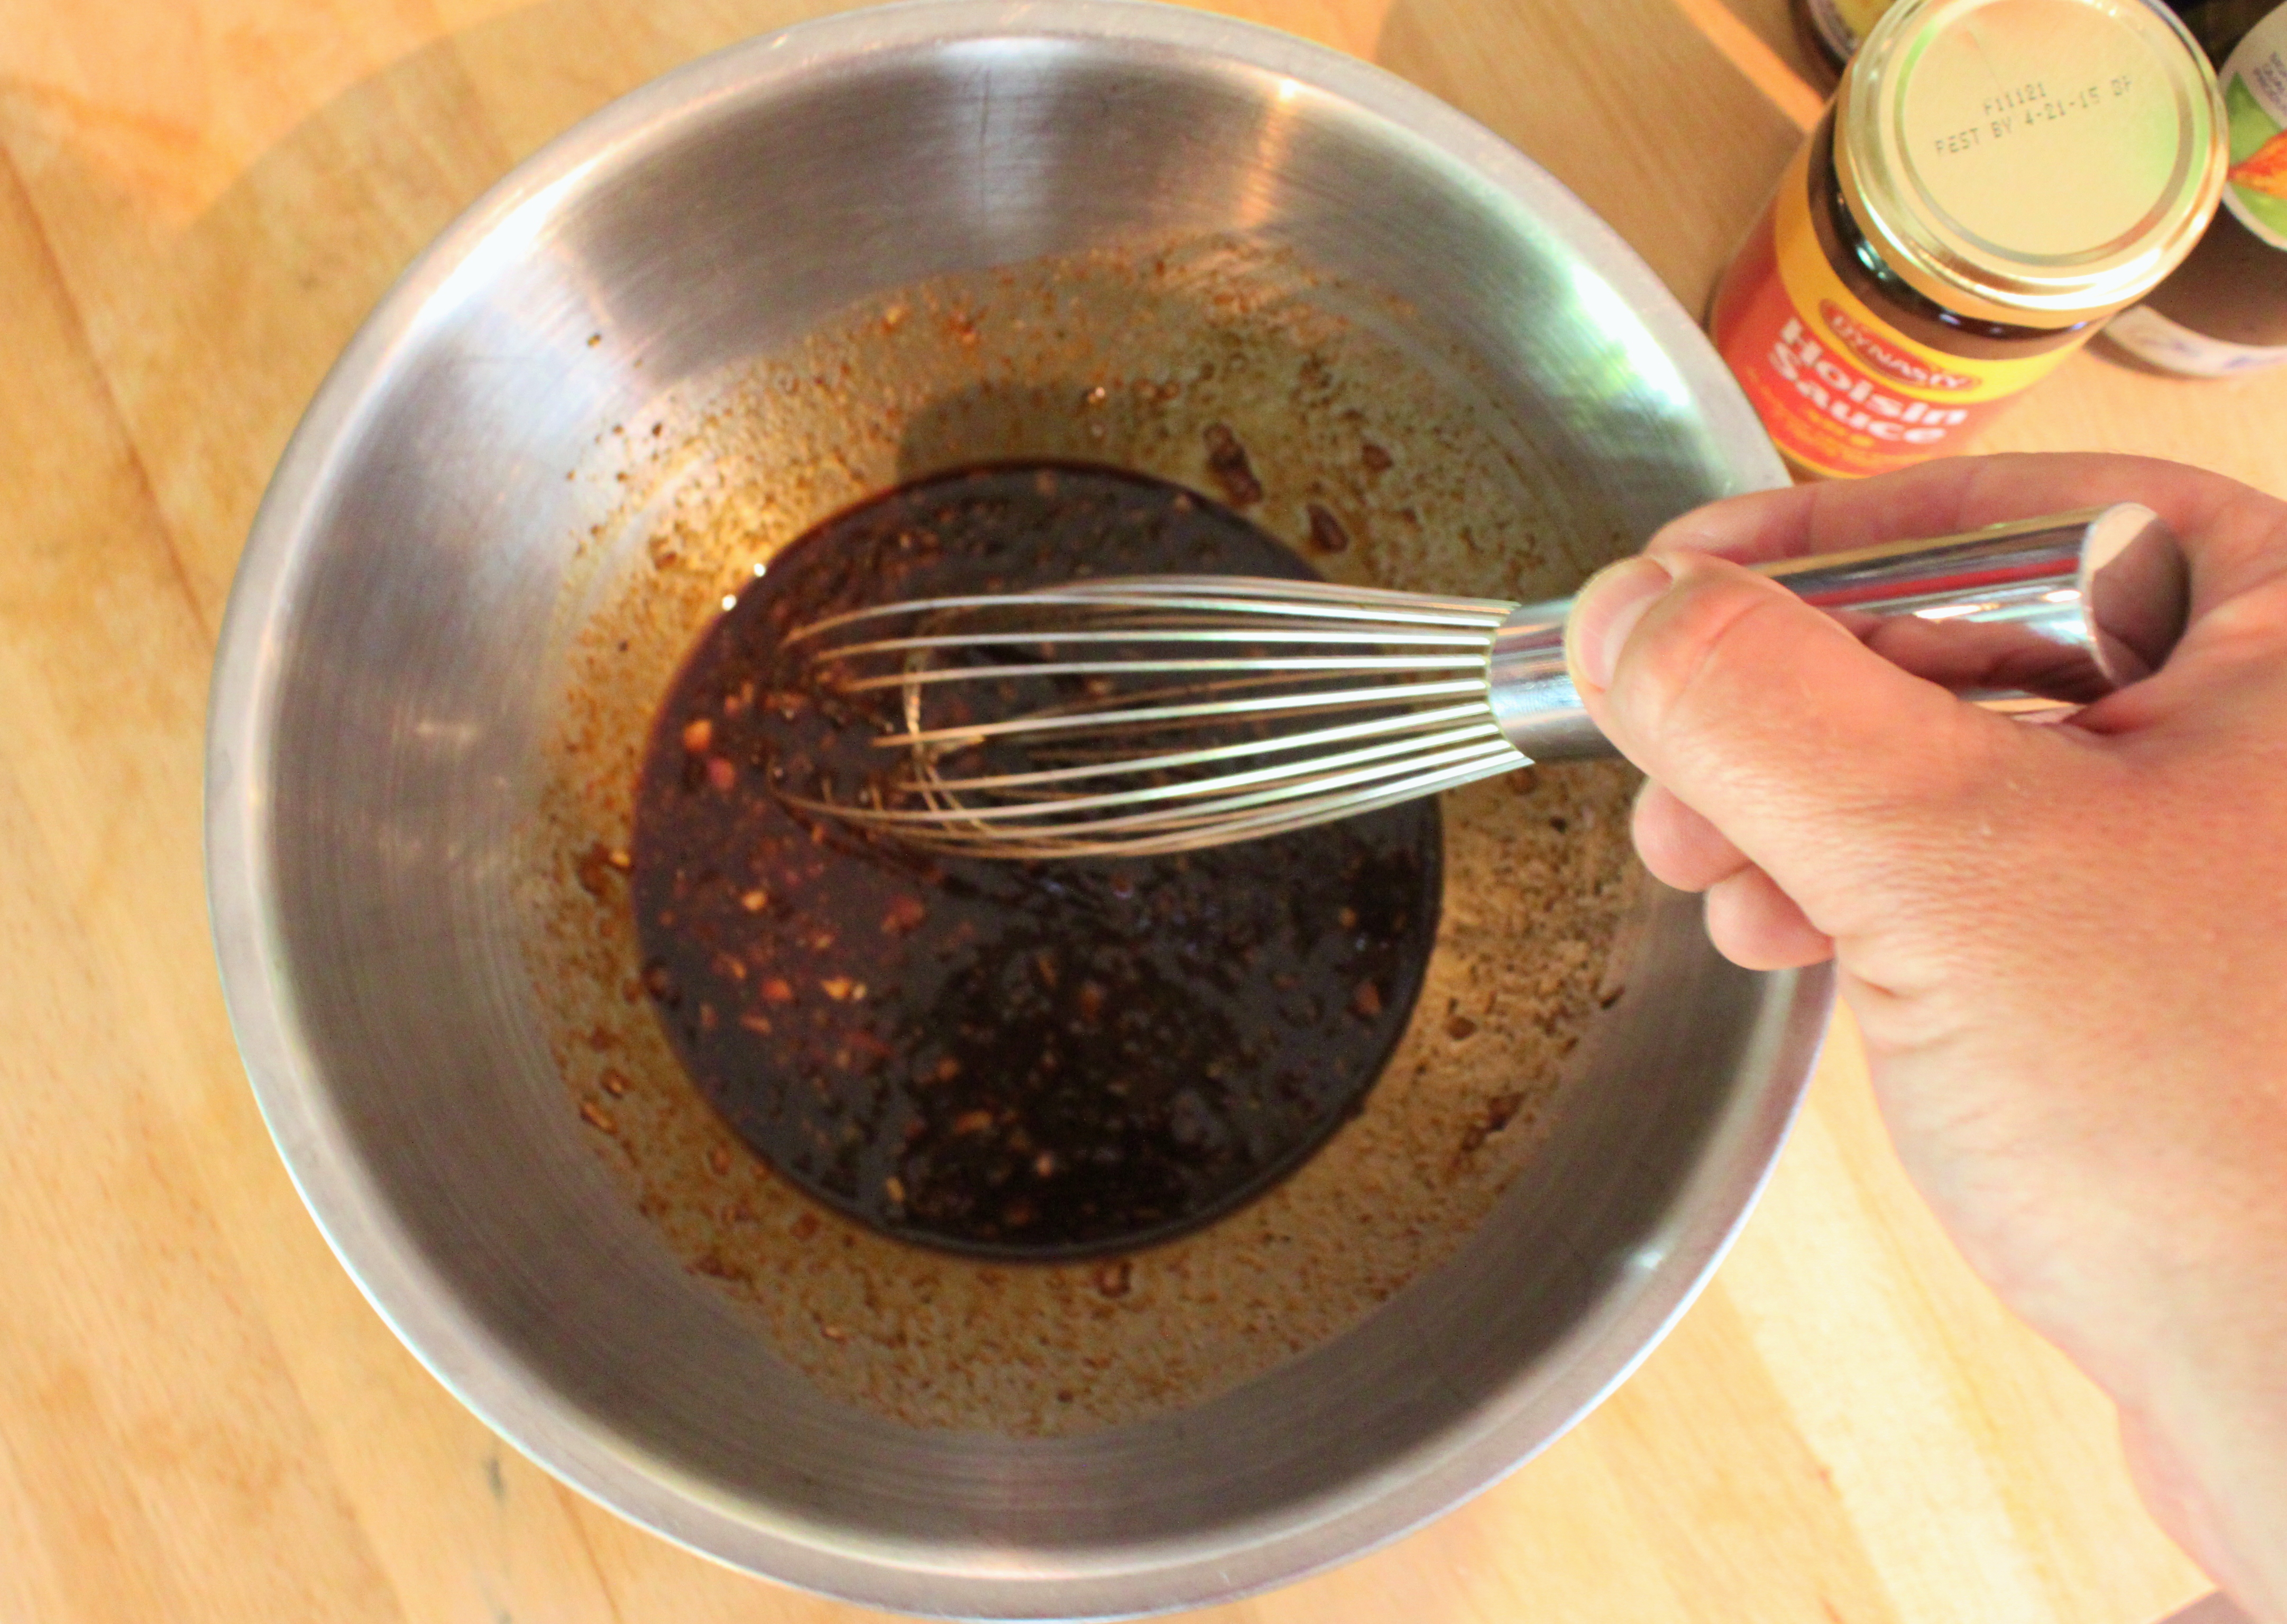
…and marinate about a pound and a half of pork.
I used boneless pork shoulder cut in strips, but chops would work just as well.

For the carrots and daikon radish;
Make a quick brine by whisking together:
Cut both into sticks and let them soak in the brine for at least 2 hours, but overnight is even better.

Wipe the excess marinade off the pork before you grill. Just takes a few minutes on each side.

Now you can start assembling your tacos.

Smear a little mayonnaise across the tortillas.

Then load them with all the goodies.
A squeeze of lime, and a few dollops of Sriracha, finish them off.

Banh-Mi in taco form…….


So,
What are y’all waiting for?
Go marinate some pork.

