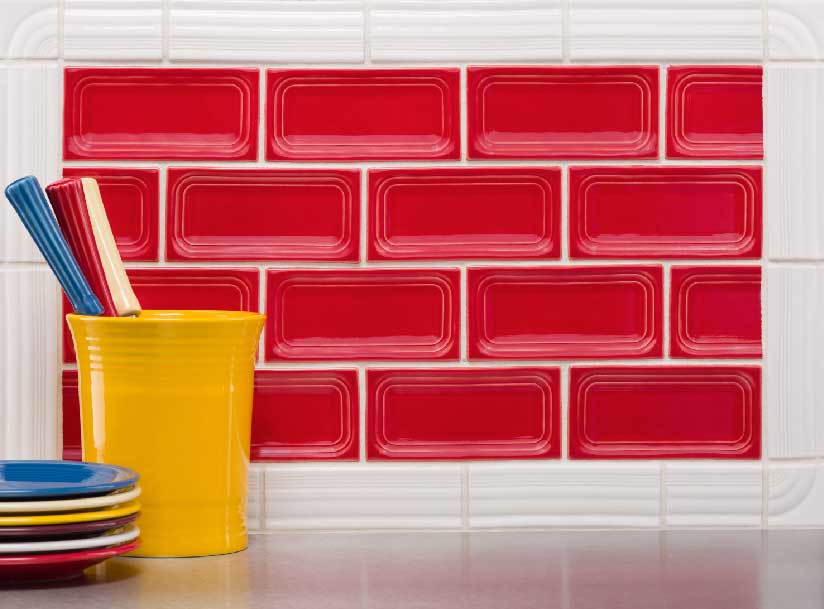
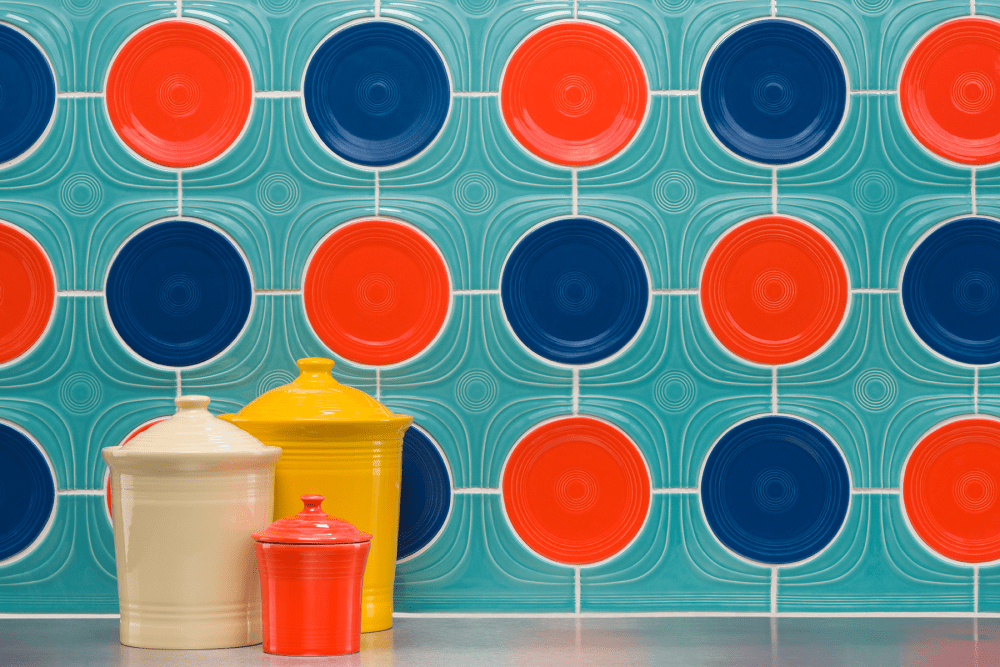
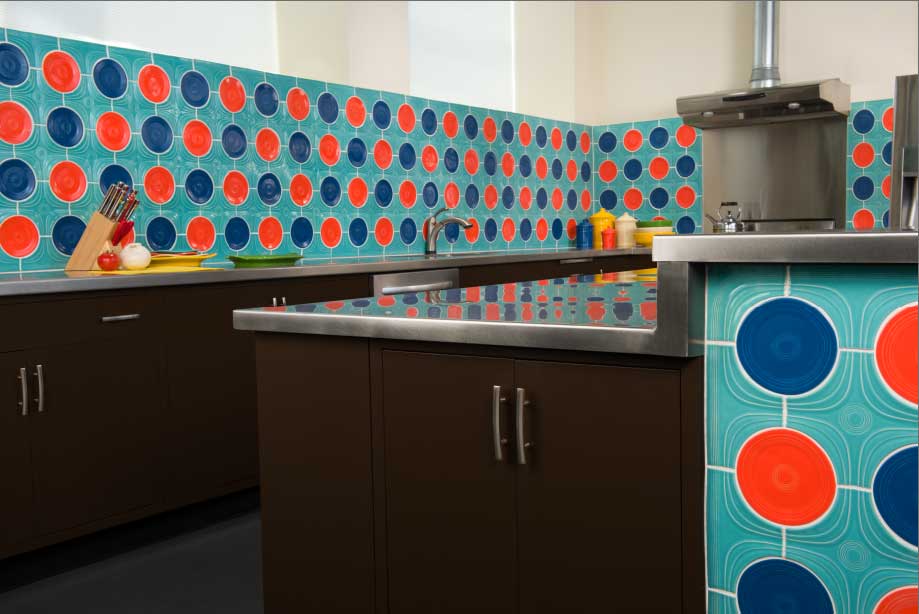
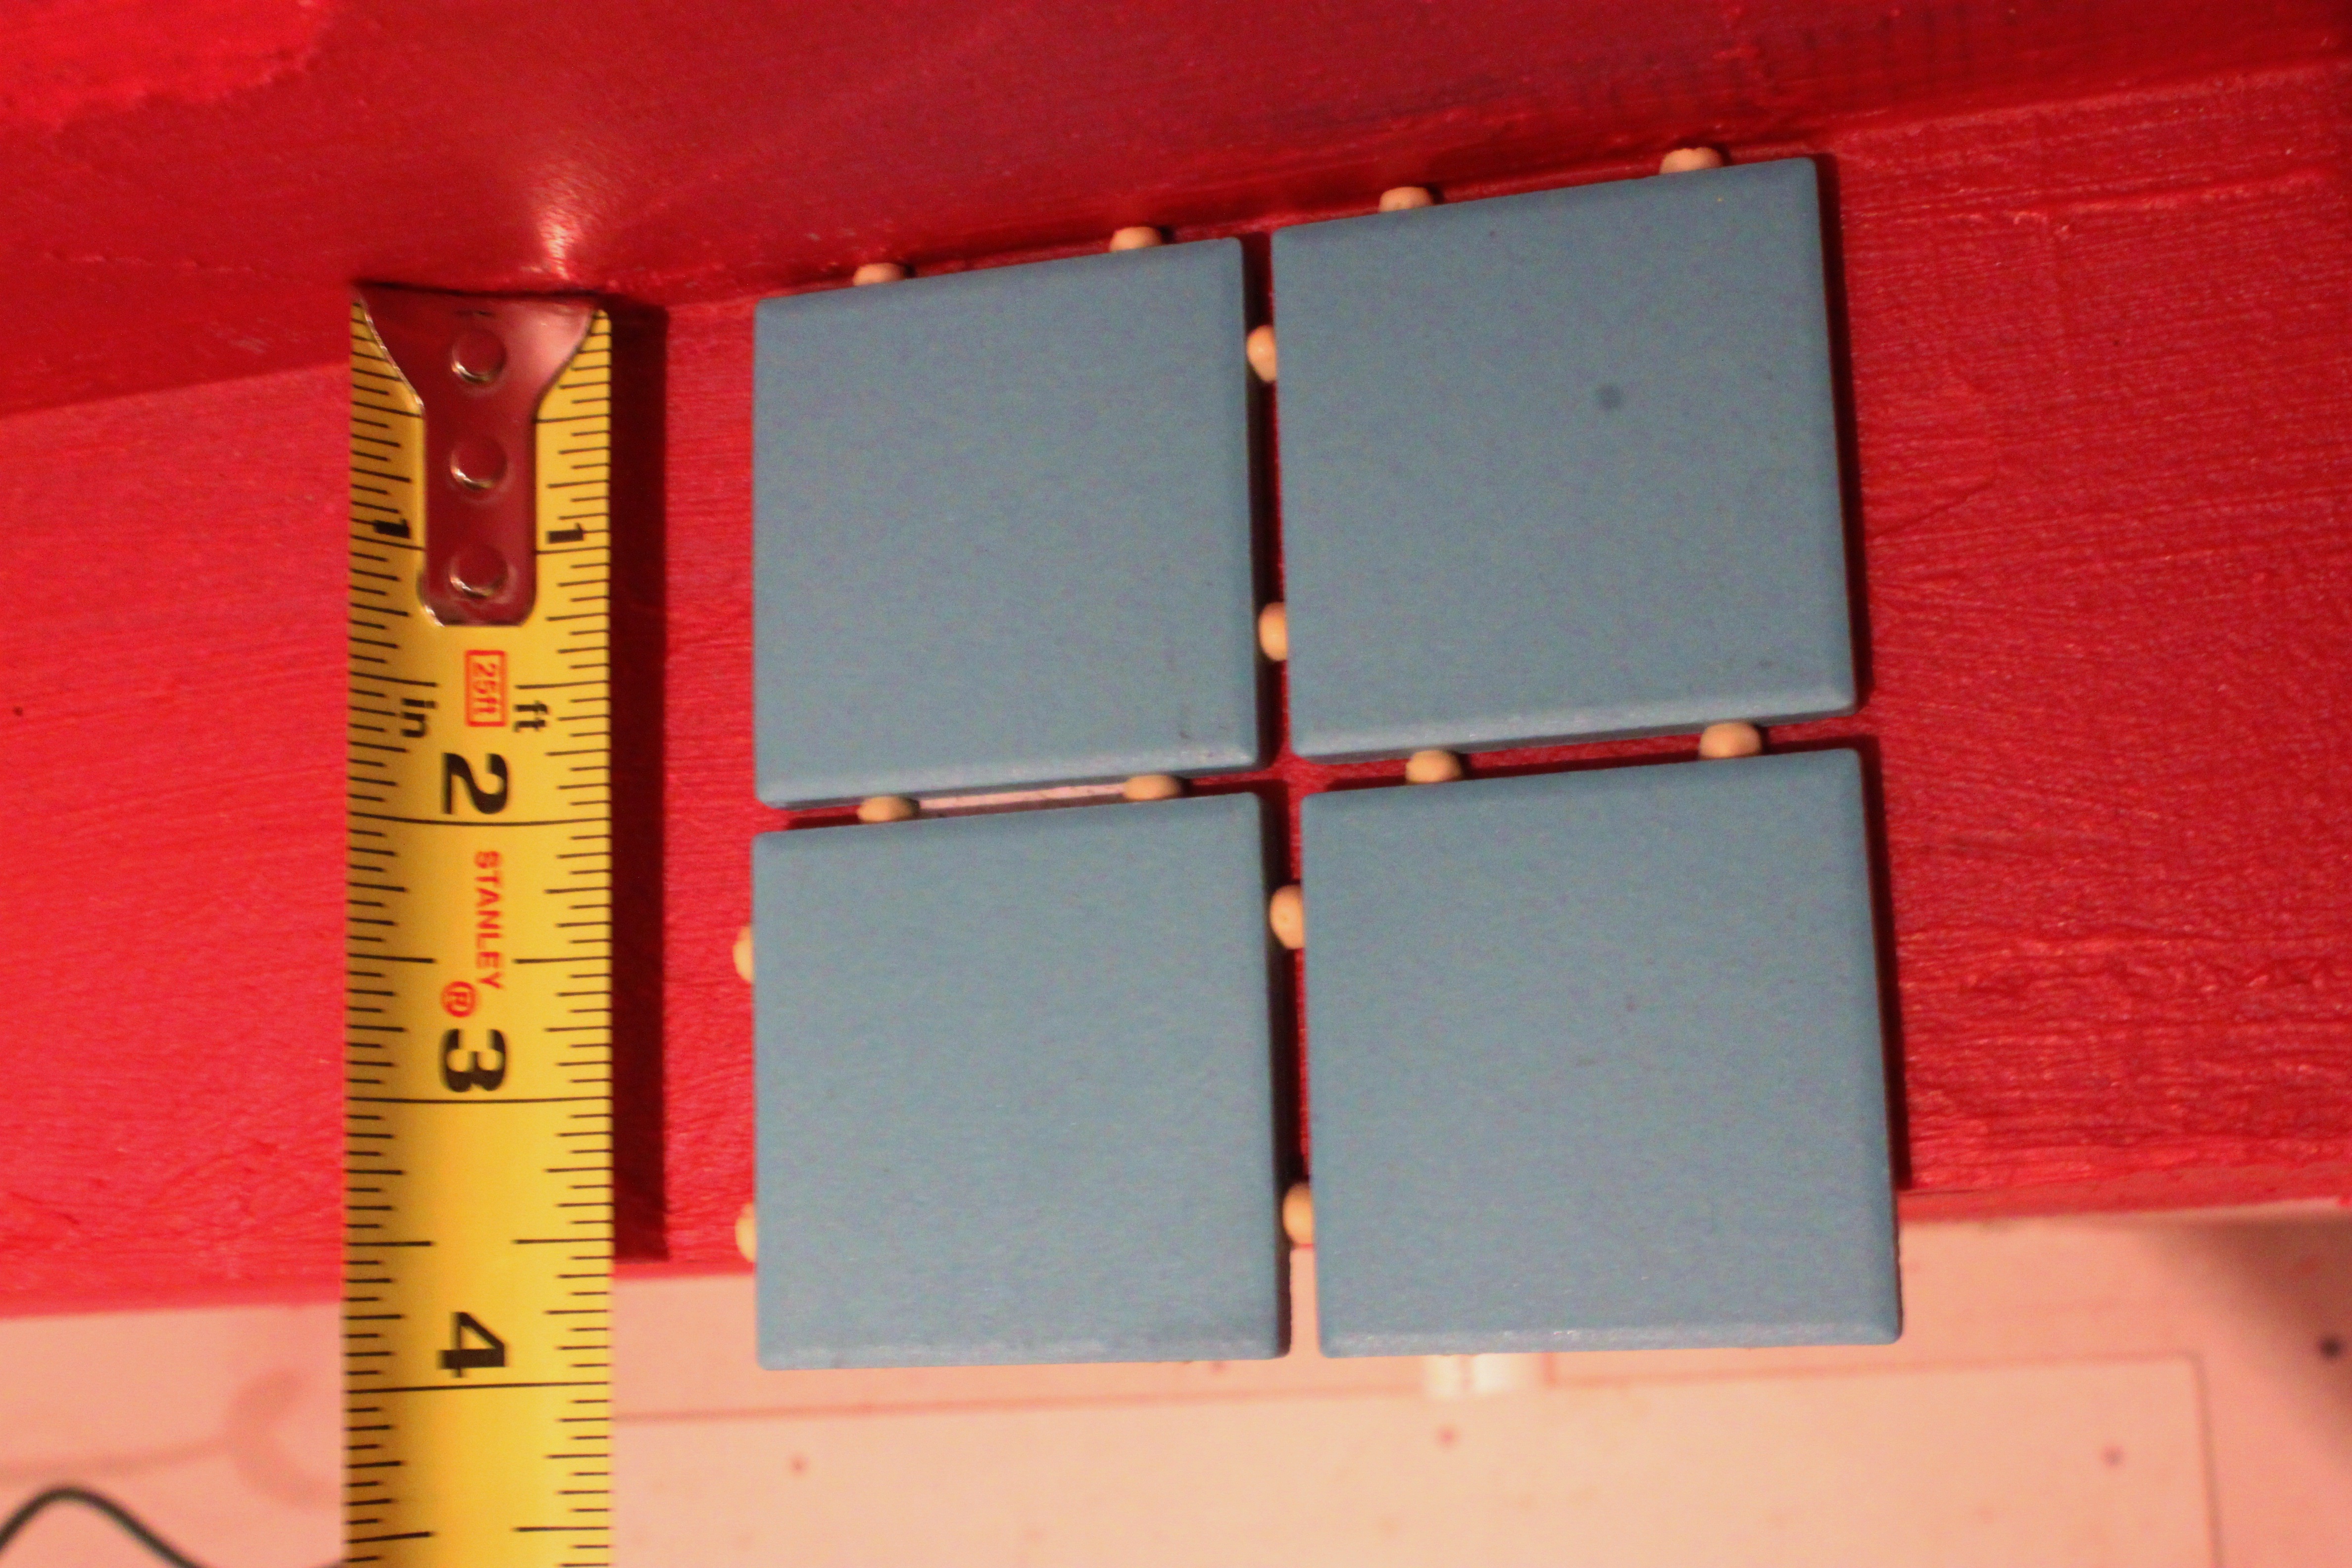
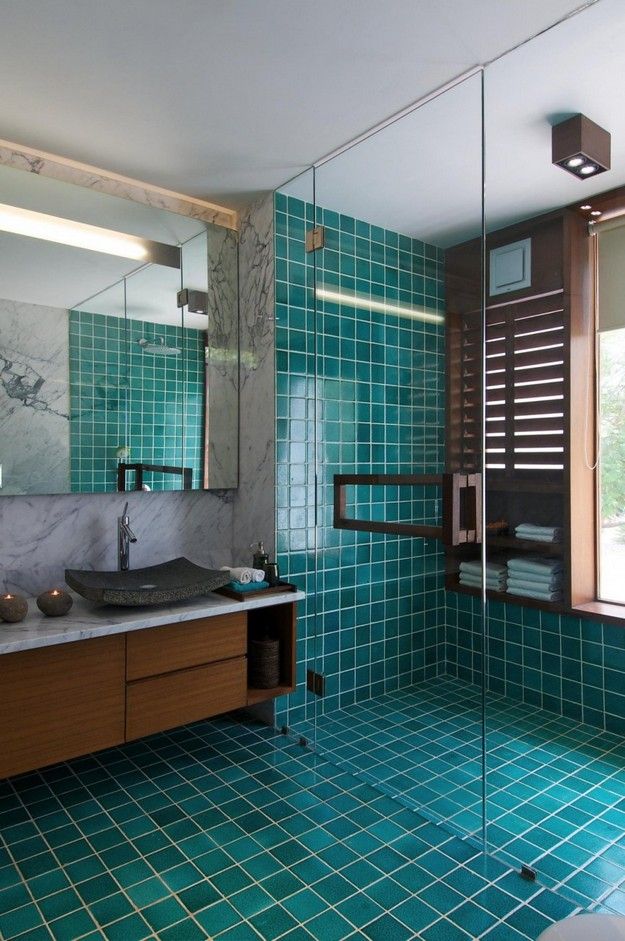
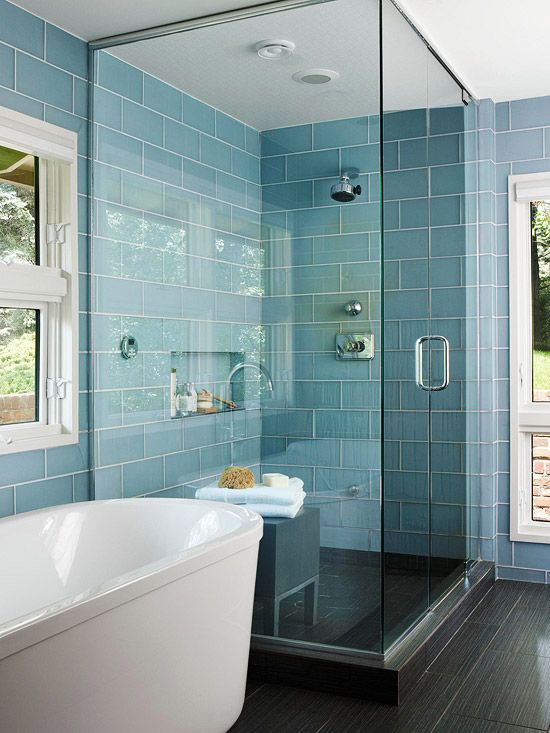
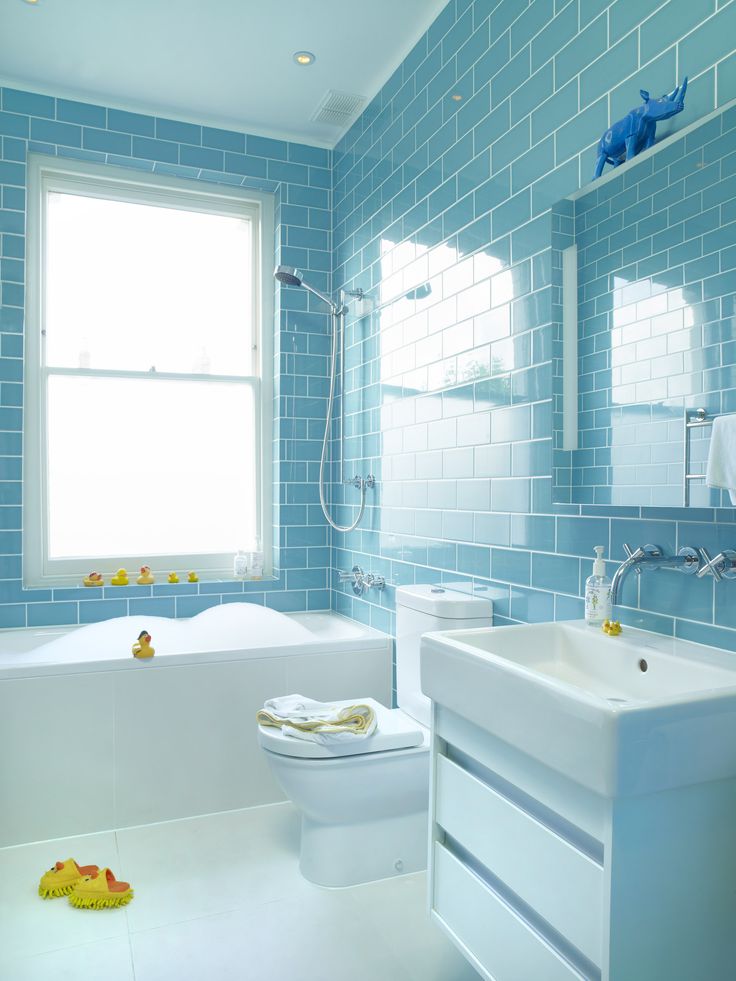
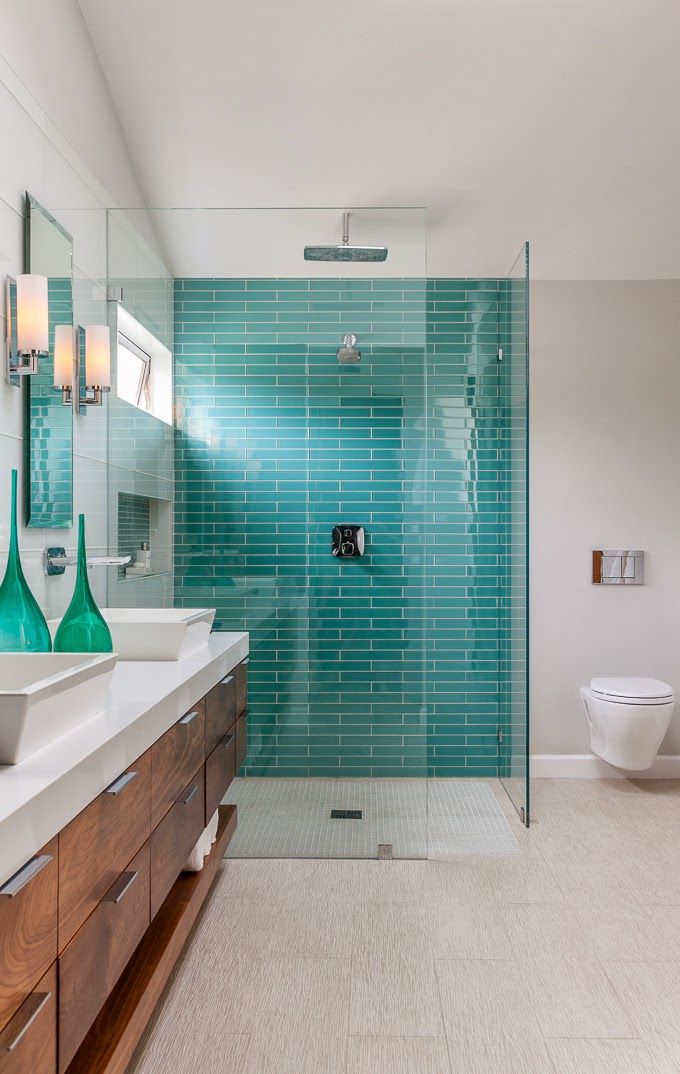
We put together a pile of the elements we were considering for our new master bathroom surfaces.

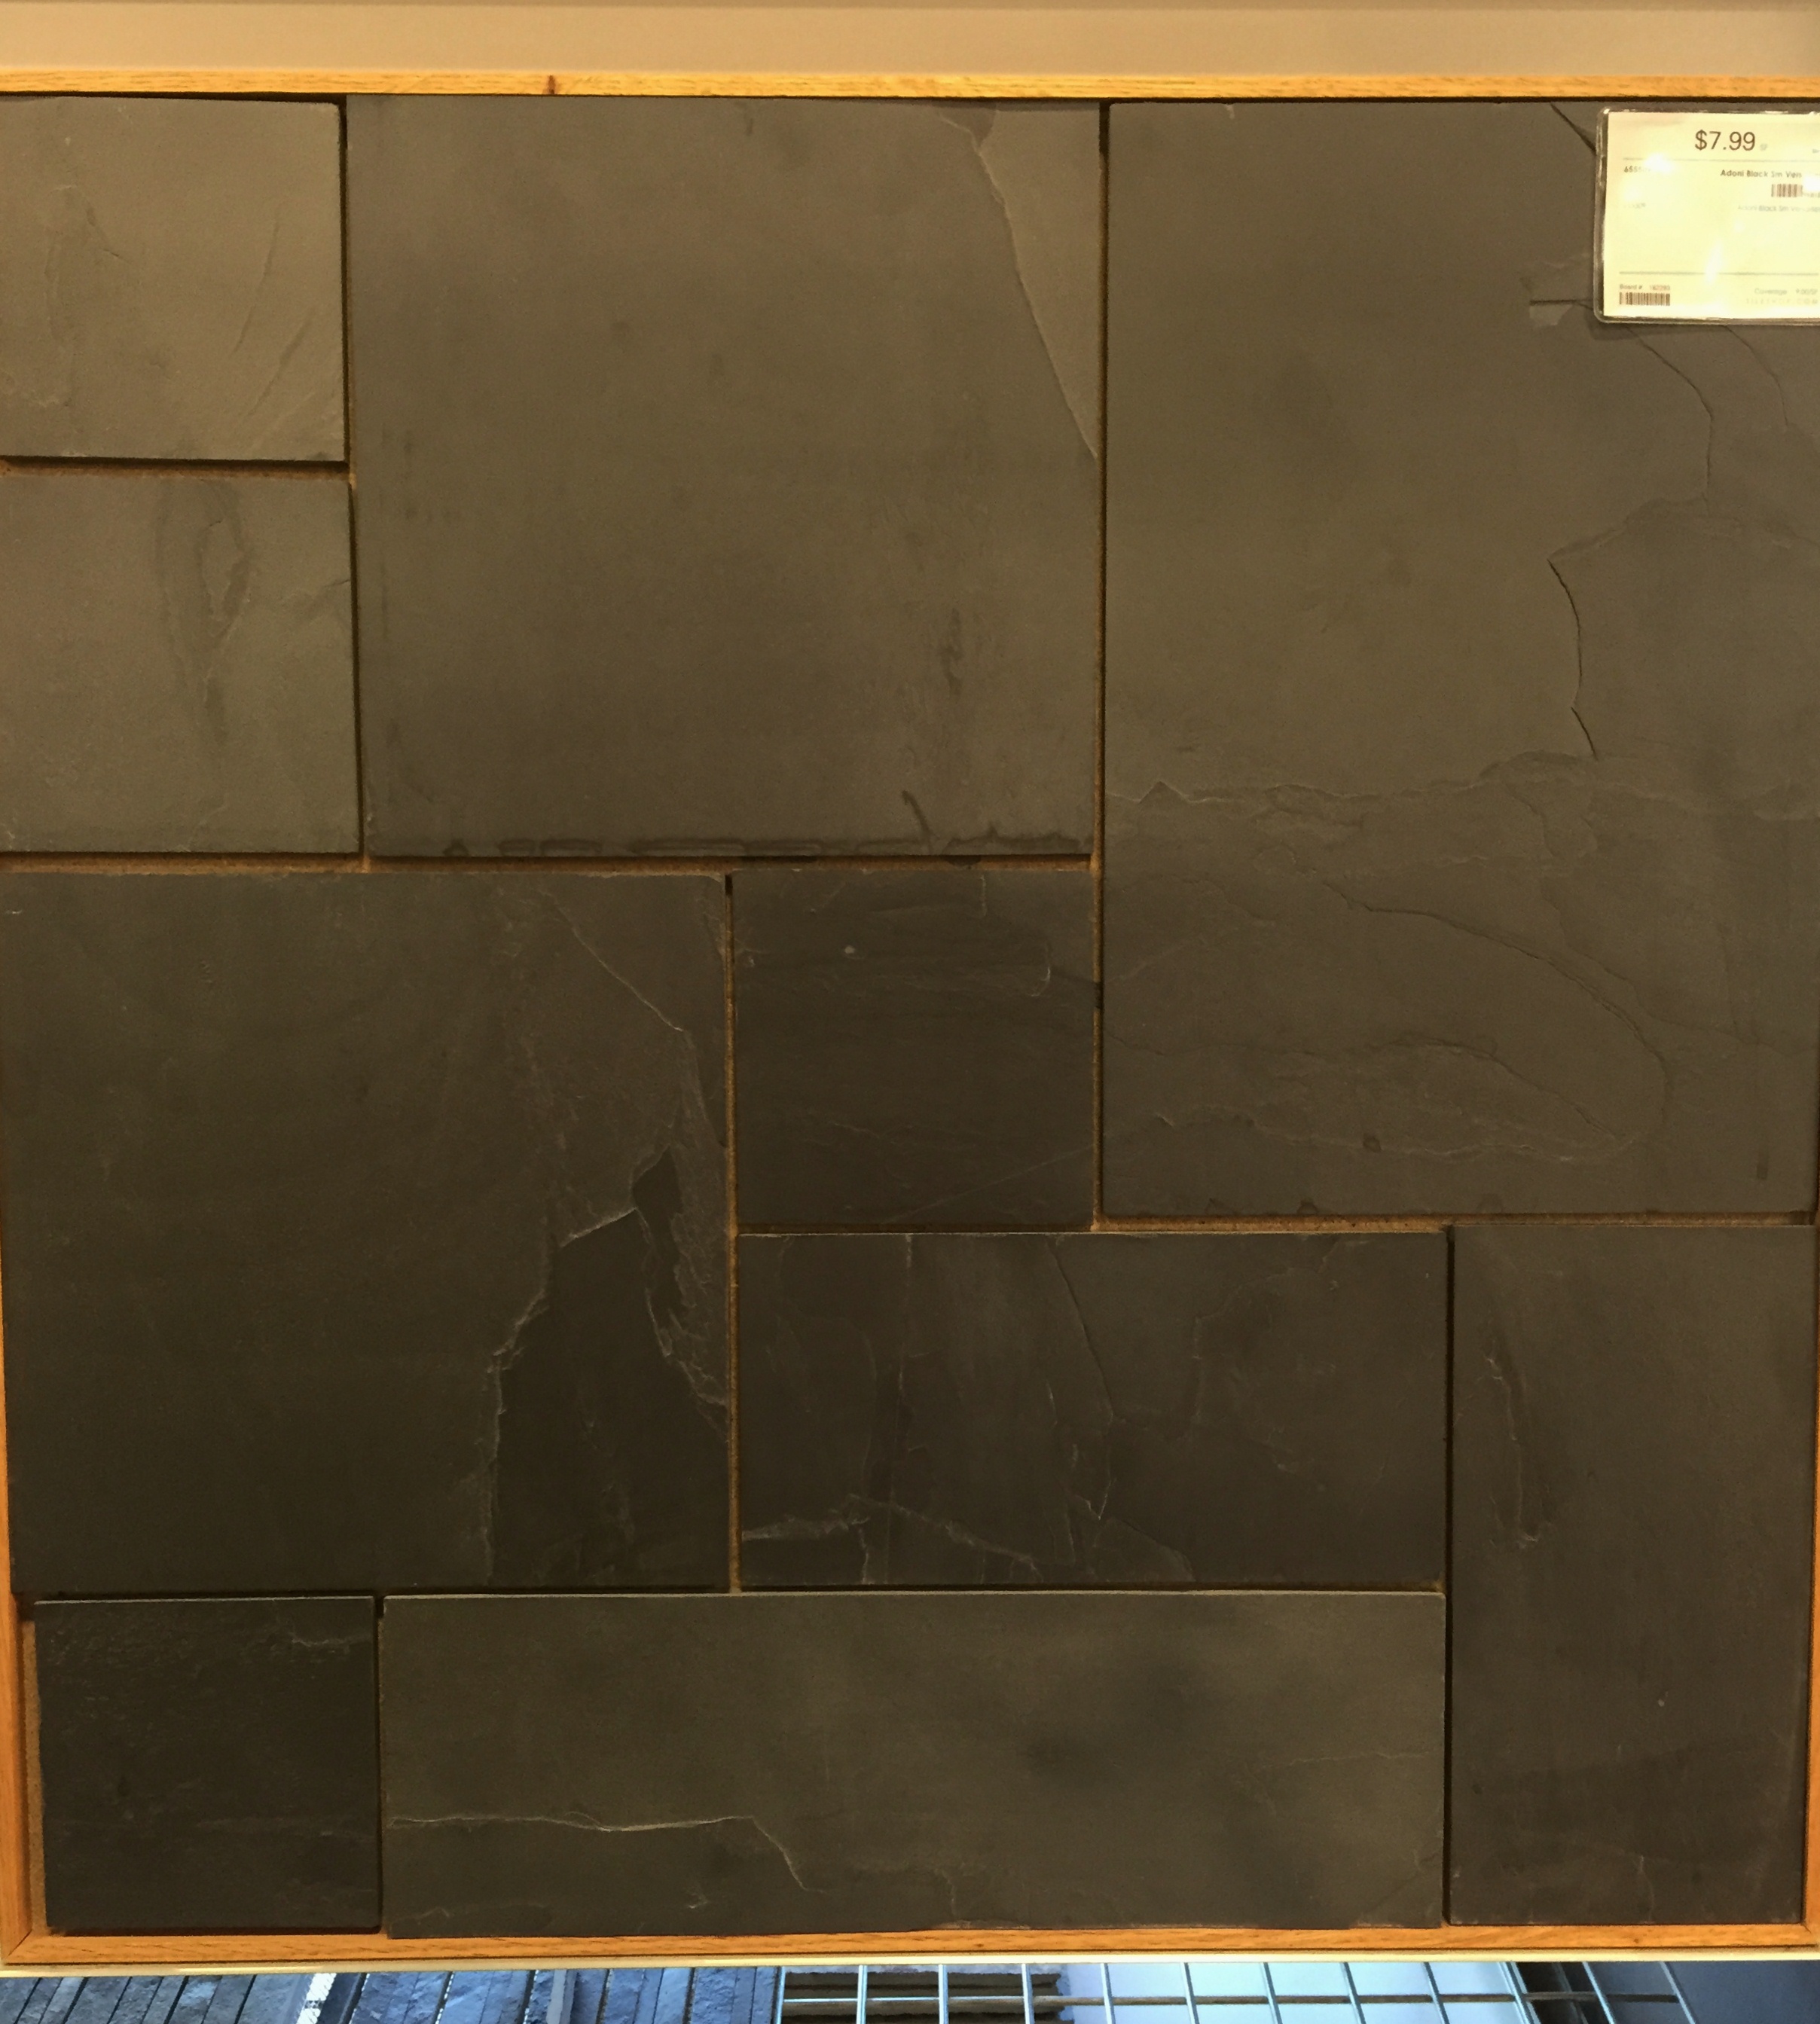
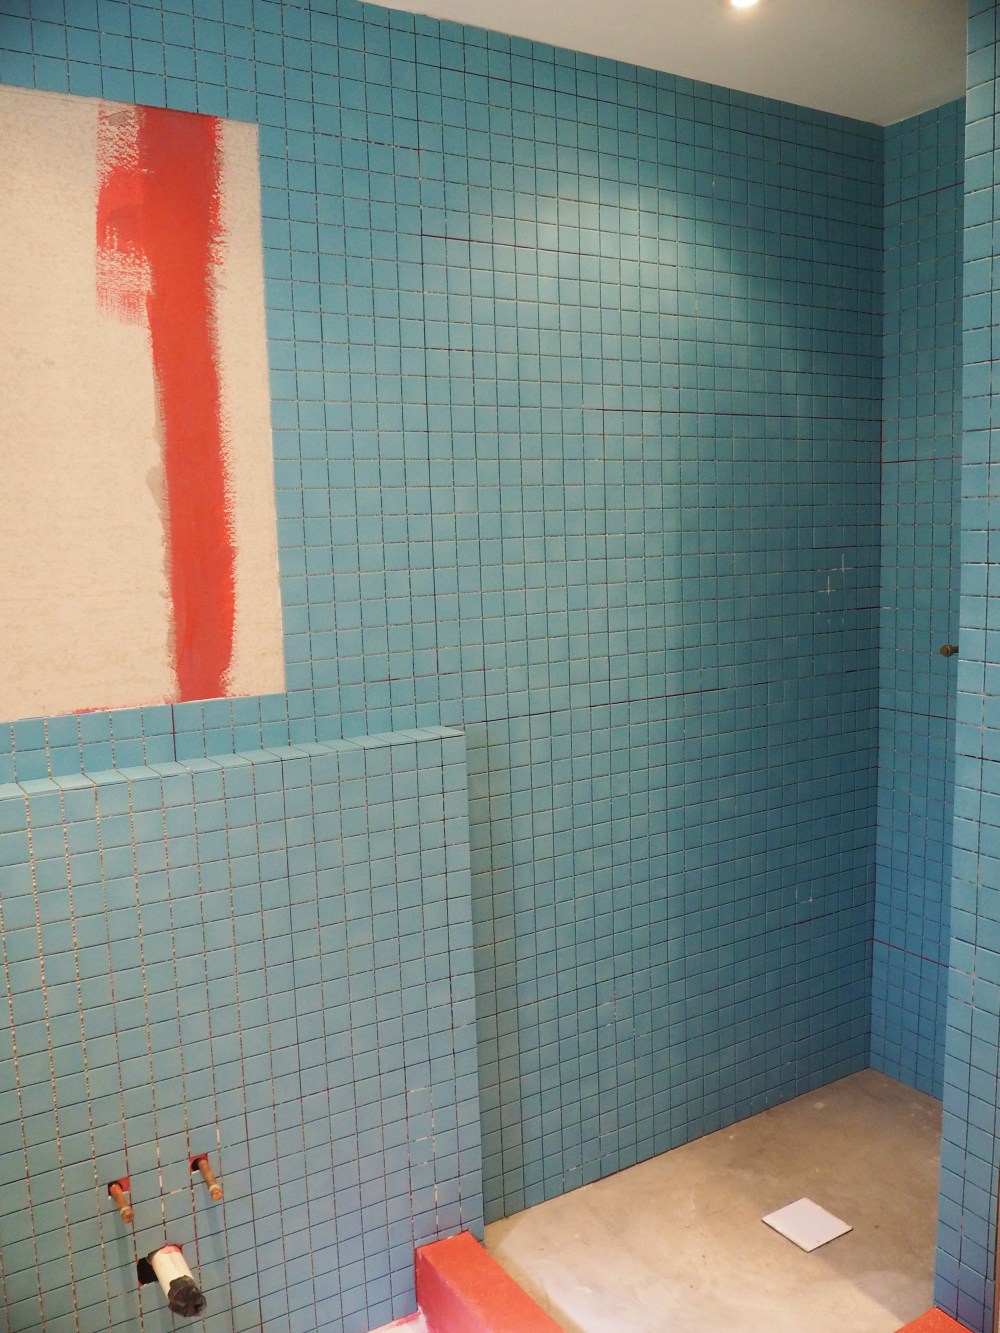
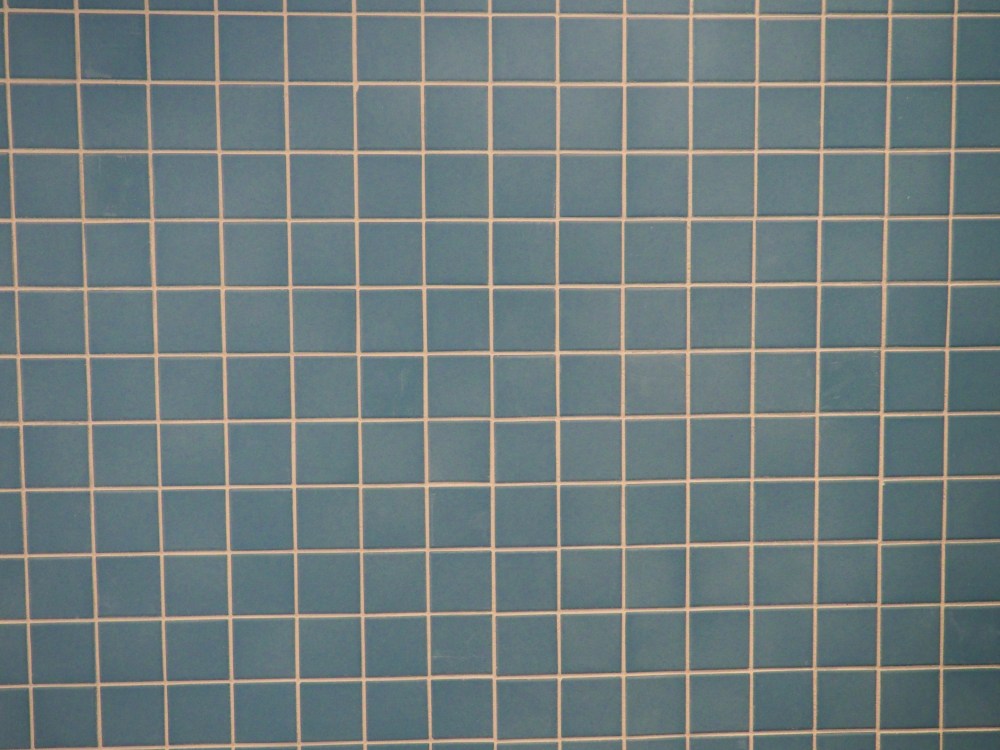
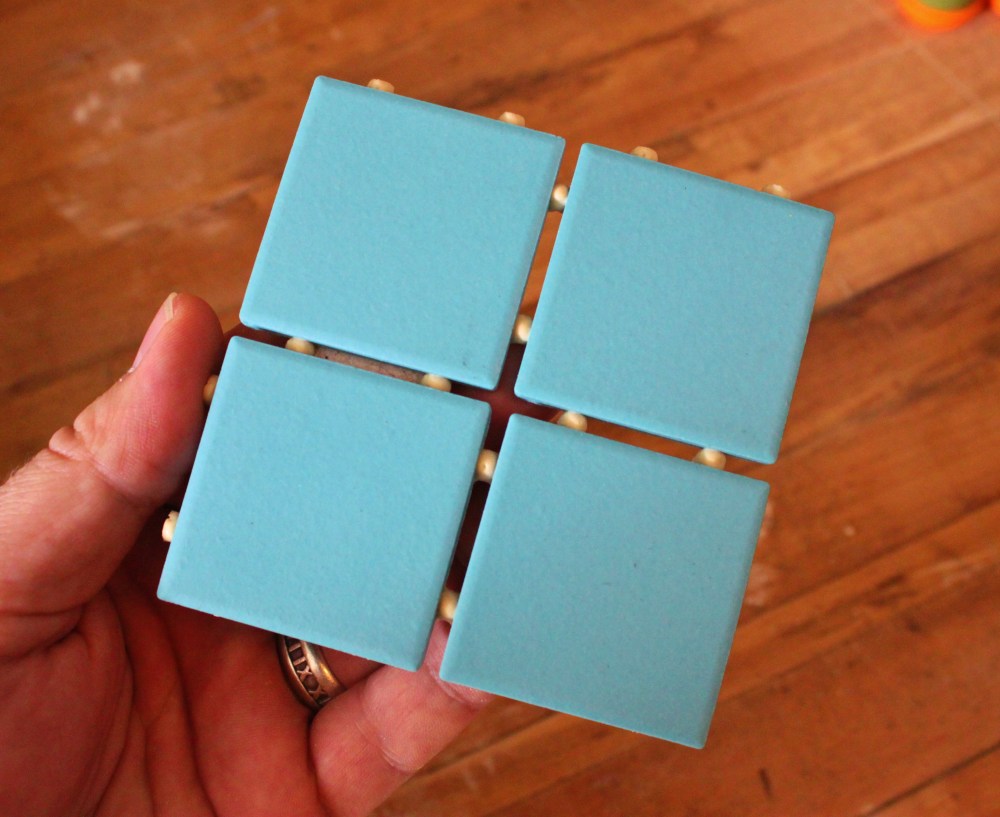
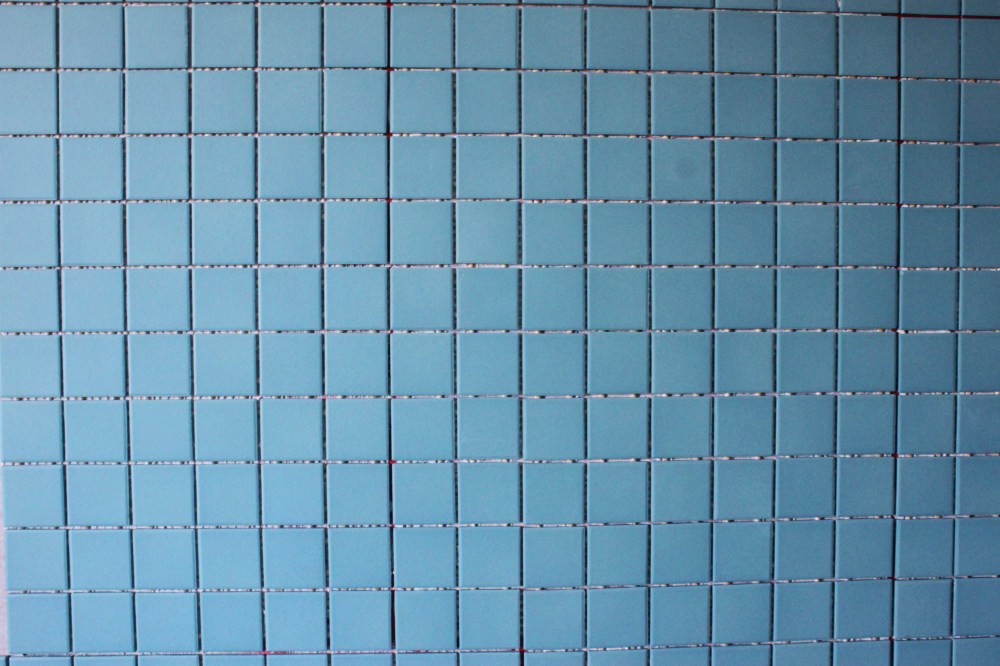
A couple different grey tiles (we choose the 12″ slate squares), turquoise tiles (we choose the 2″ unglazed ceramic), mink granite (left-over from our kitchen remodel that we thought we might use for the sink top), a brushed nickel switch plate (all the metal fixtures will be brushed nickel), and the wood floor in the connecting bedroom.
I’m not saying that we’re using all of these things….but this is where our inspiration is.
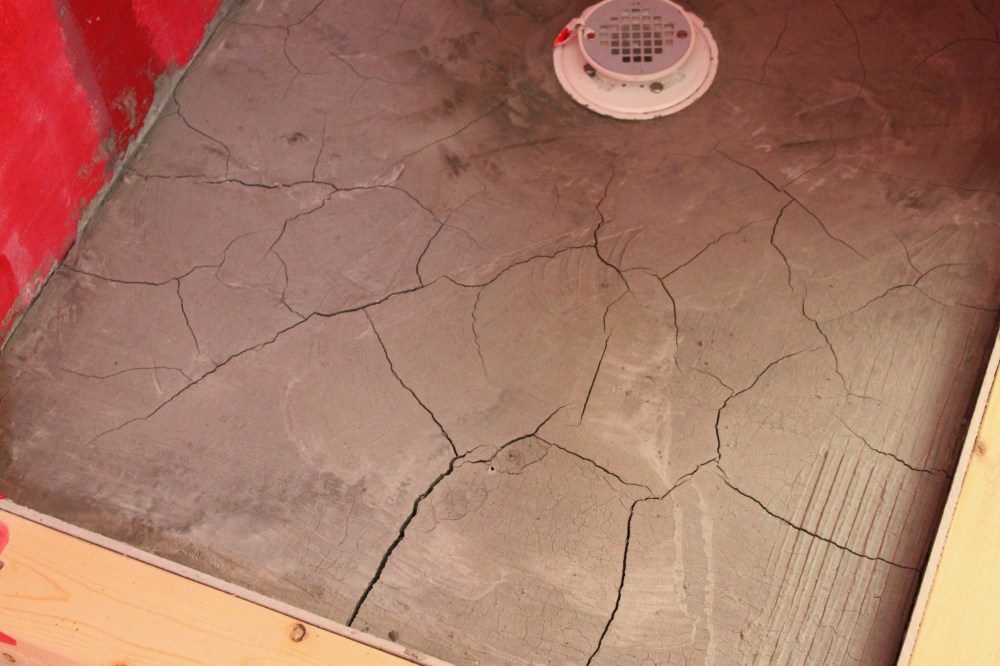
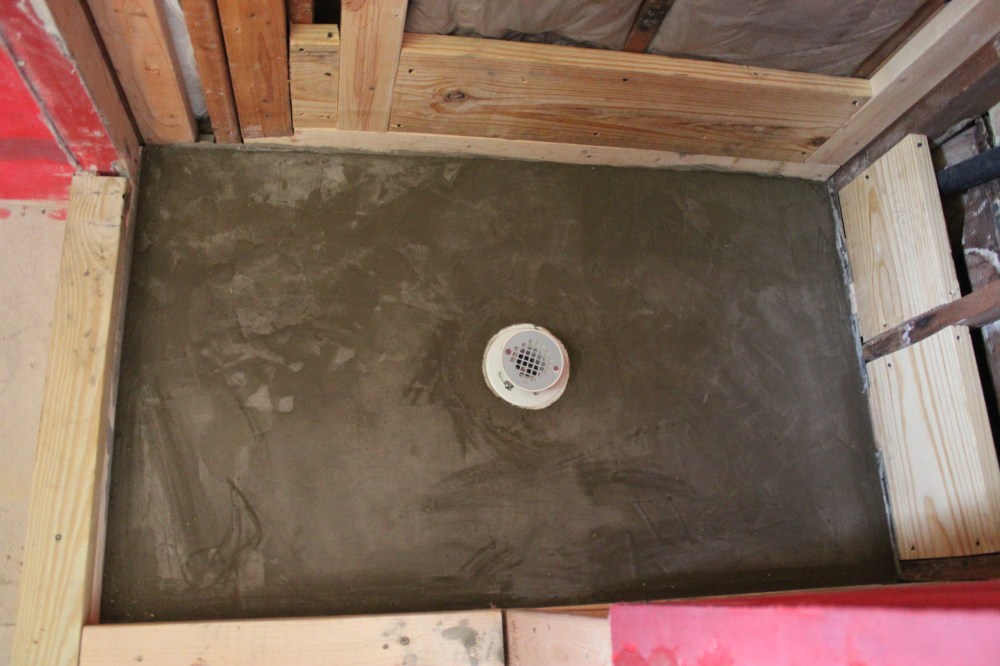
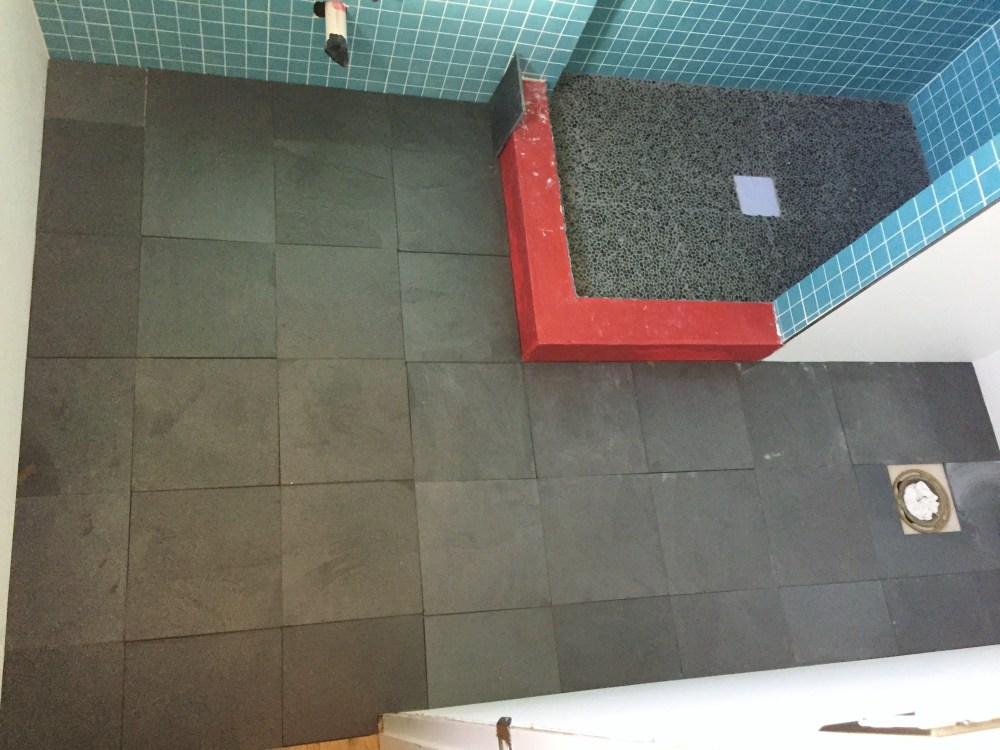
Grey pea-pebbles were picked first for the shower floor. Somehow, all our Caribbean hotel showers always have pebble floors…and a “modern, vacation feel” is what we want in this bathroom. Jamie installed them while I was out of town last month. (So there is just a finished picture, sorry)
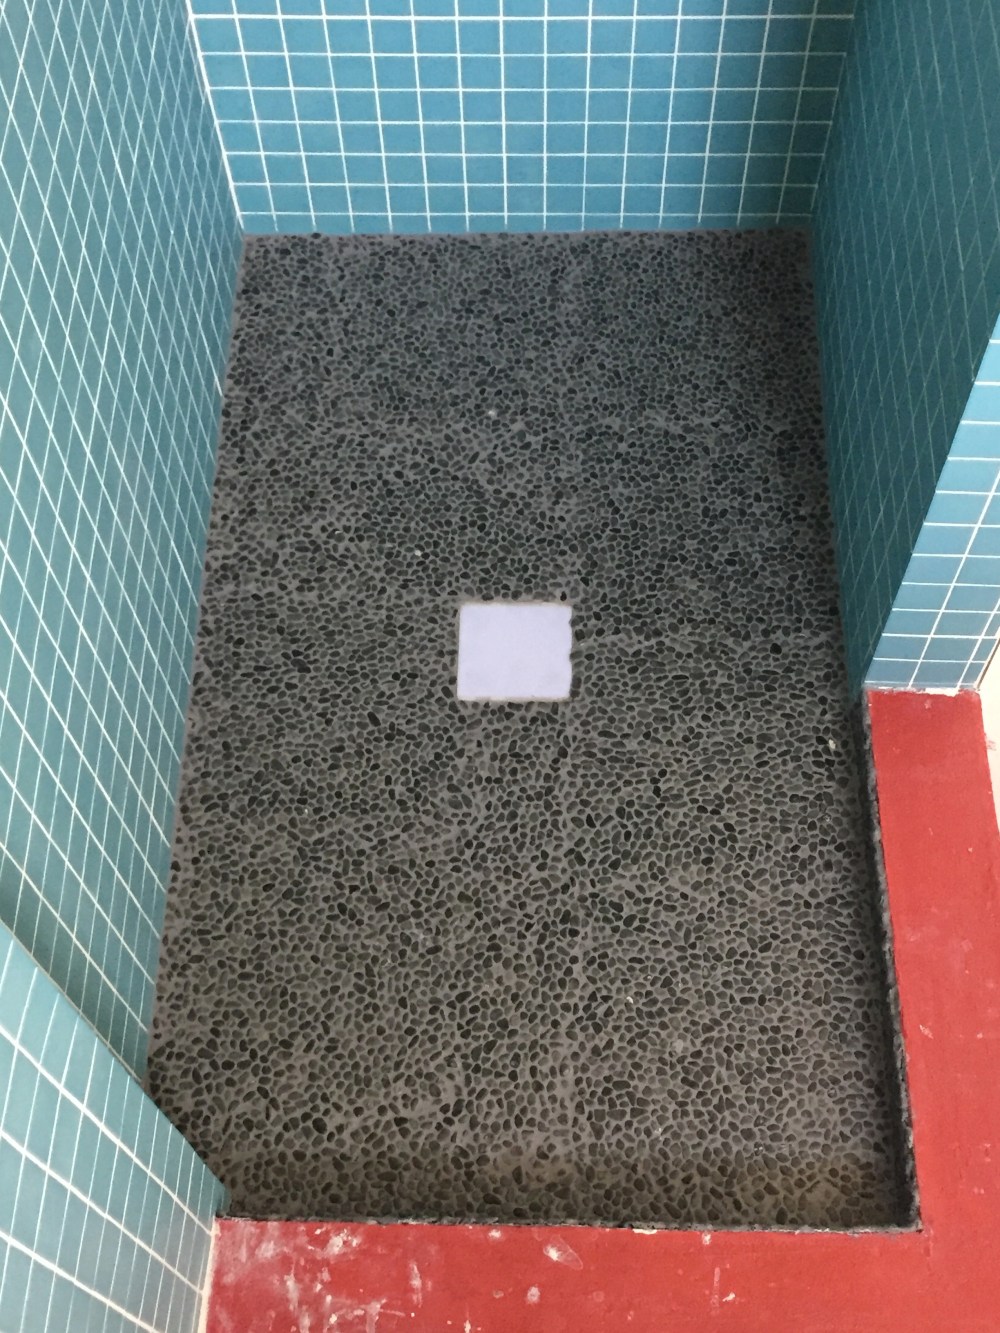
Looks good….but that grout is just a little lighter than I would have prefered.
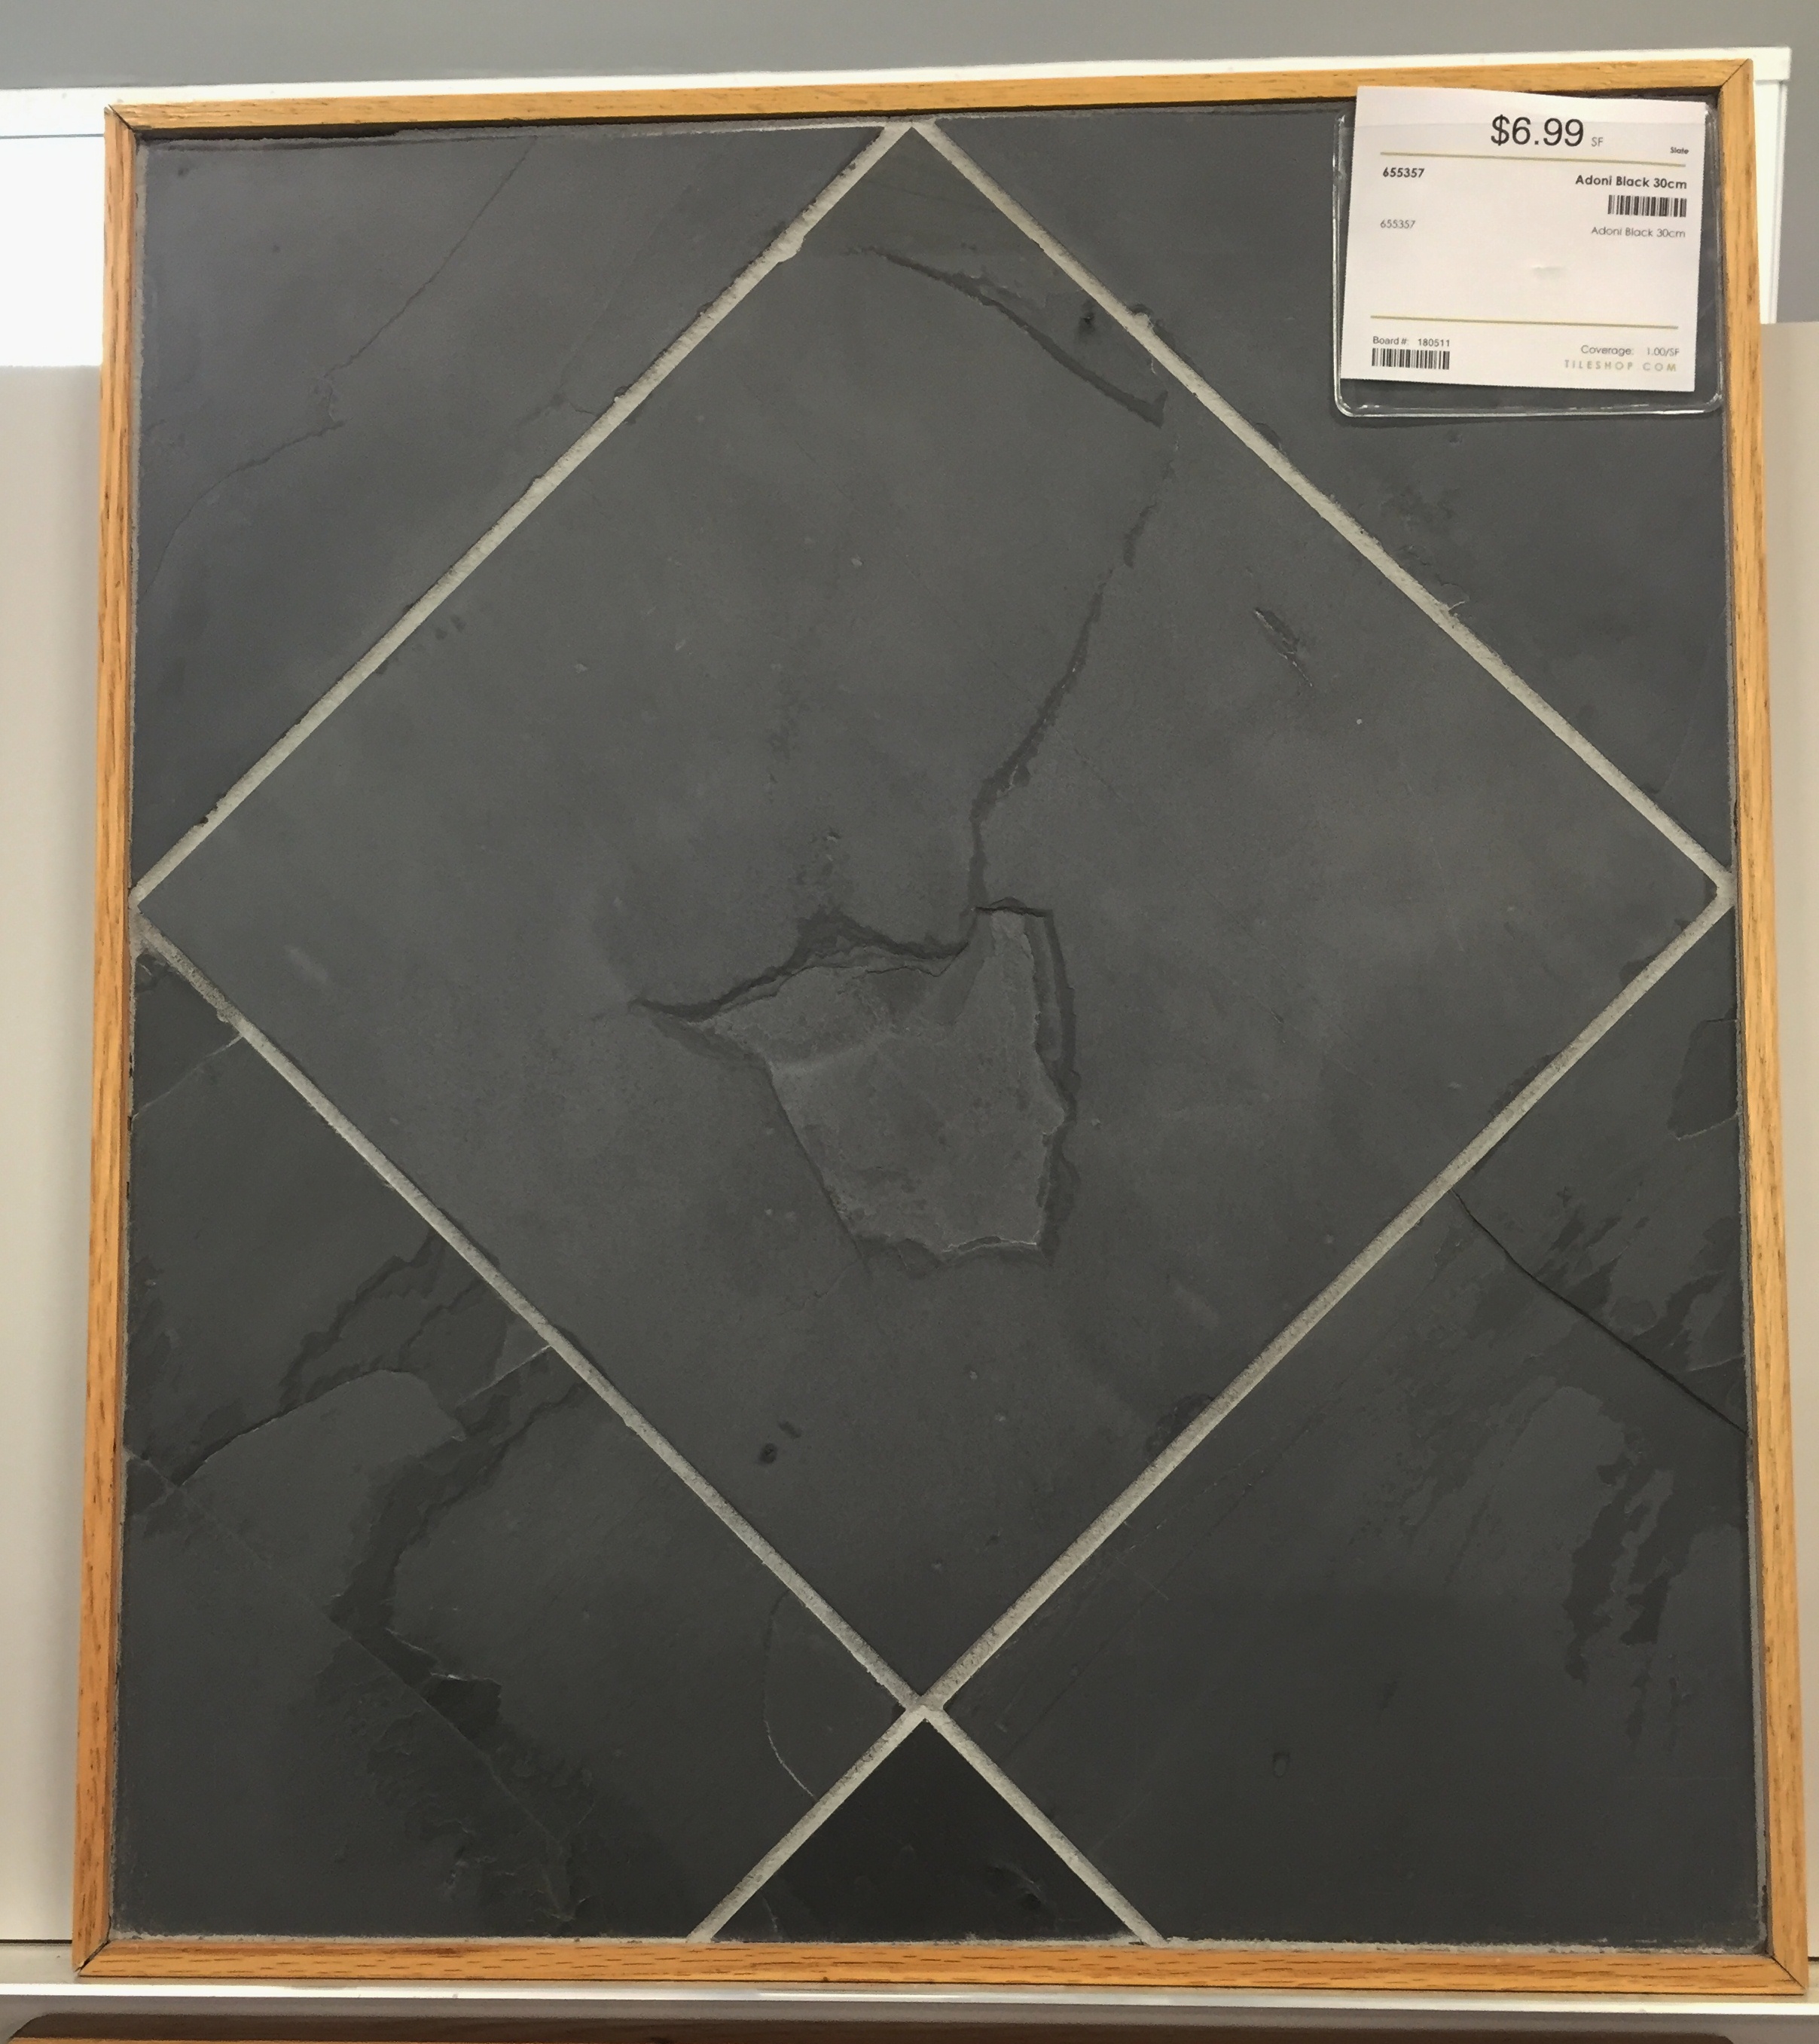
Now, to tackle the rest of the floor with the slate we showed you in the last post.
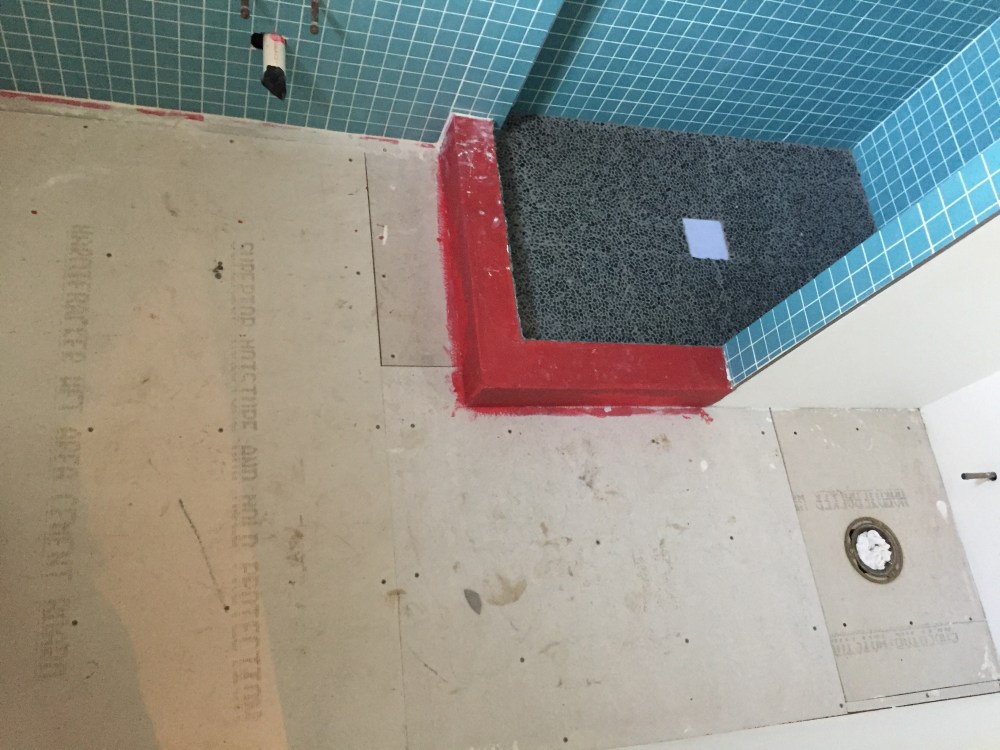
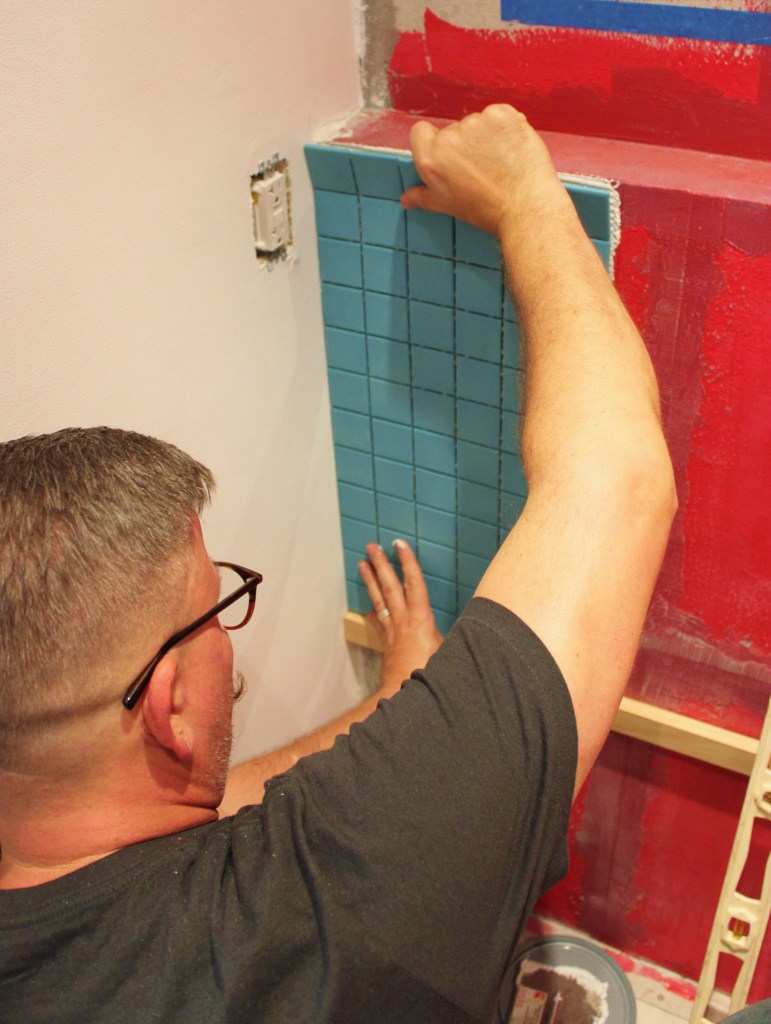
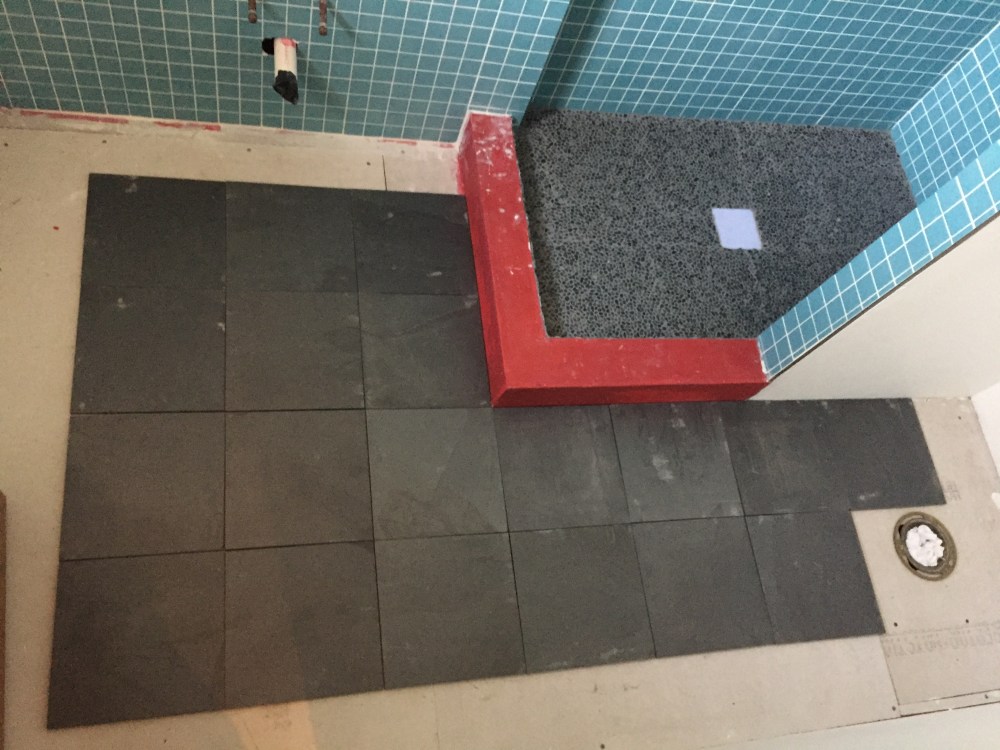
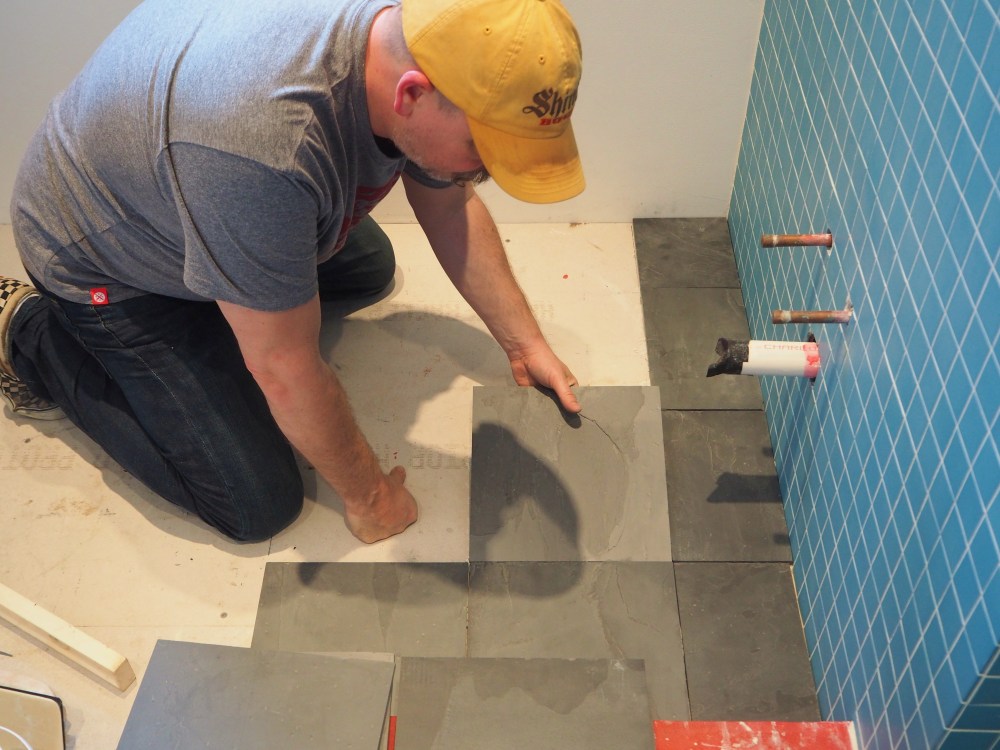
Using the corner of the shower as my starting point, I lay all the whole tiles in place.
Most professionals will tell you to logically start laying tiles off of a wall first, like a corner, but we want to make sure we see clean whole tiles in the middle of the room. So trust me……this is where we want to start.
(A good piece of advice we were given was to mix up the tiles from several different boxes. Natural stones will have slightly different shades….and we want those different shades dispersed evenly around the room.)
I then cut all the outer tiles to fit in our big floor puzzle.
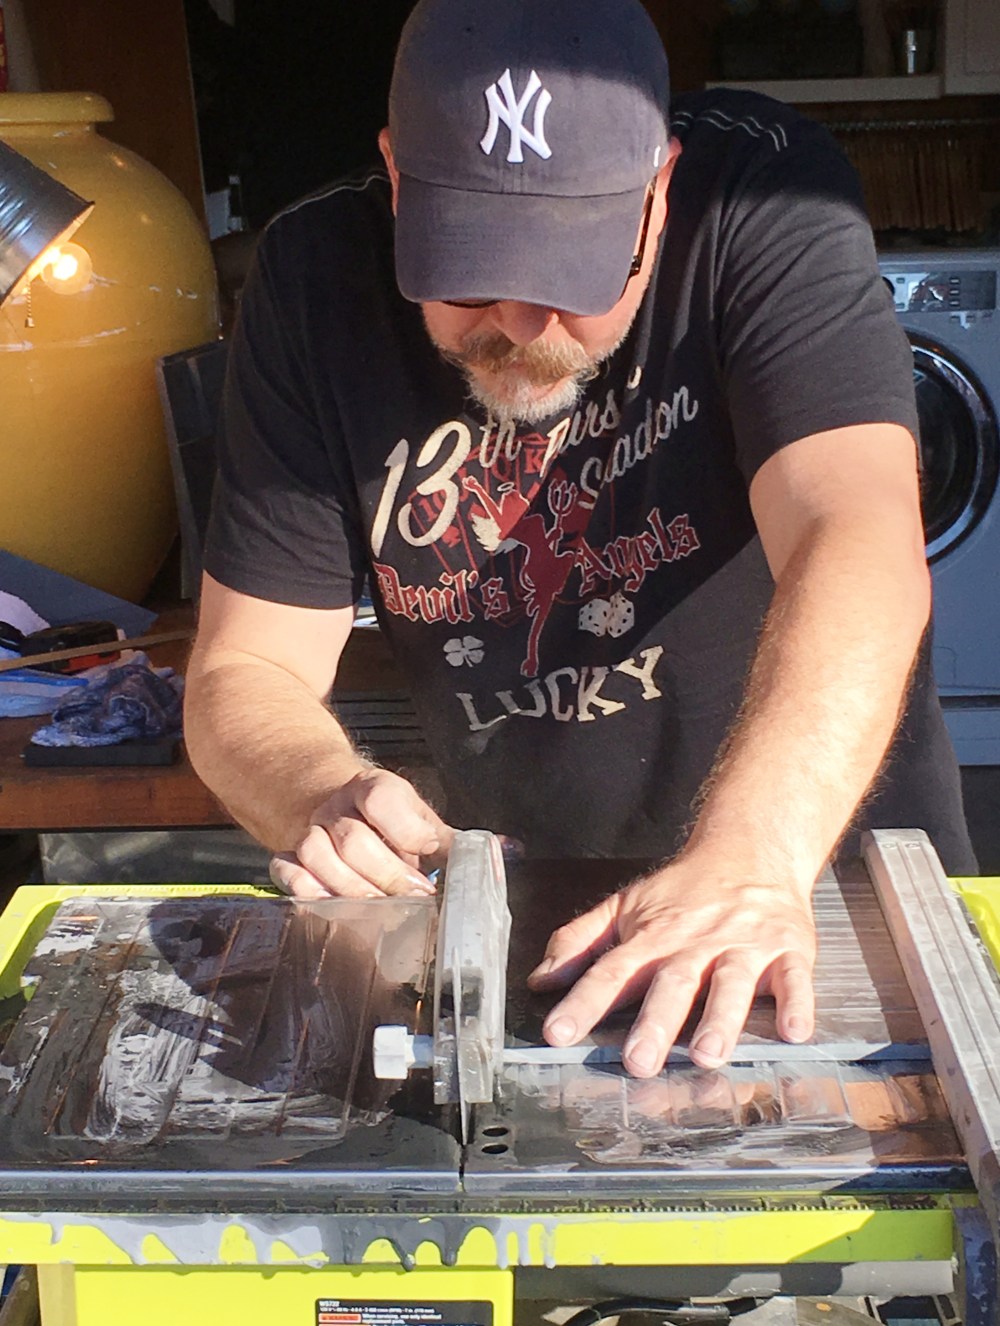
Here’s another great piece of advice from my dear friend Chuck: “If you’re buying a tile saw, buy a cheap one and then buy the most expensive tile blade that you can afford.”
That’s what I did. $80 saw – $45 blade. Genius
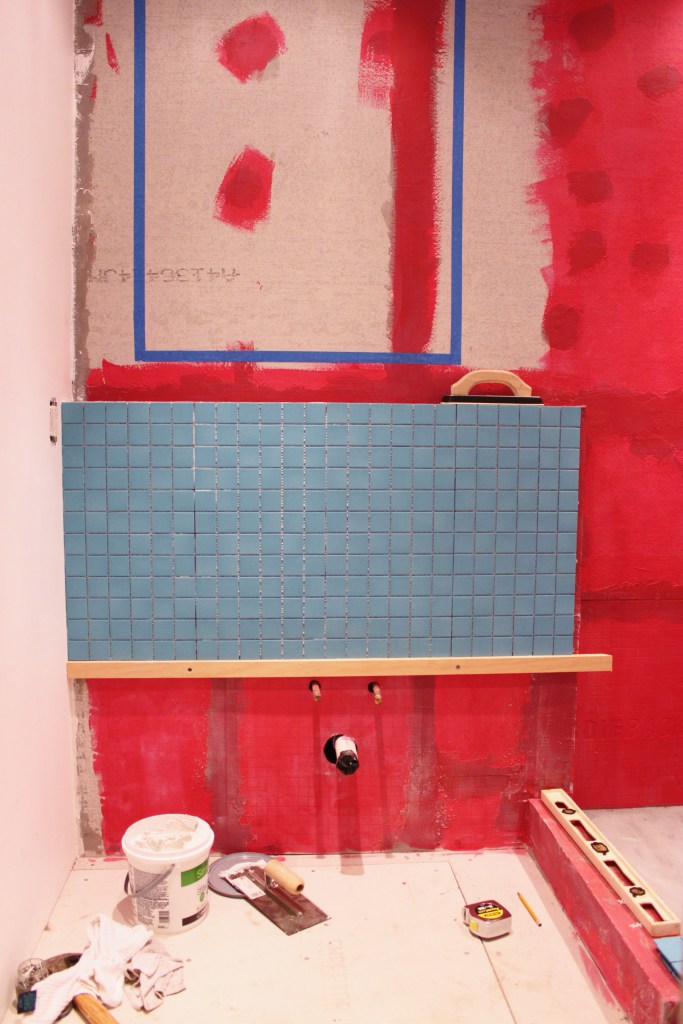
We dry-fit all of our slate pieces before I mortared them down to the floor.
Laying the tiles is actually pretty easy…..
….the tough part: Slate is a natural stone. So naturally, it arrives in a varying degree of thicknesses. Something that no one told us. Like a tile salesman, perhaps.
Here’s 2 pieces from the same box. (shakes head in frustration)
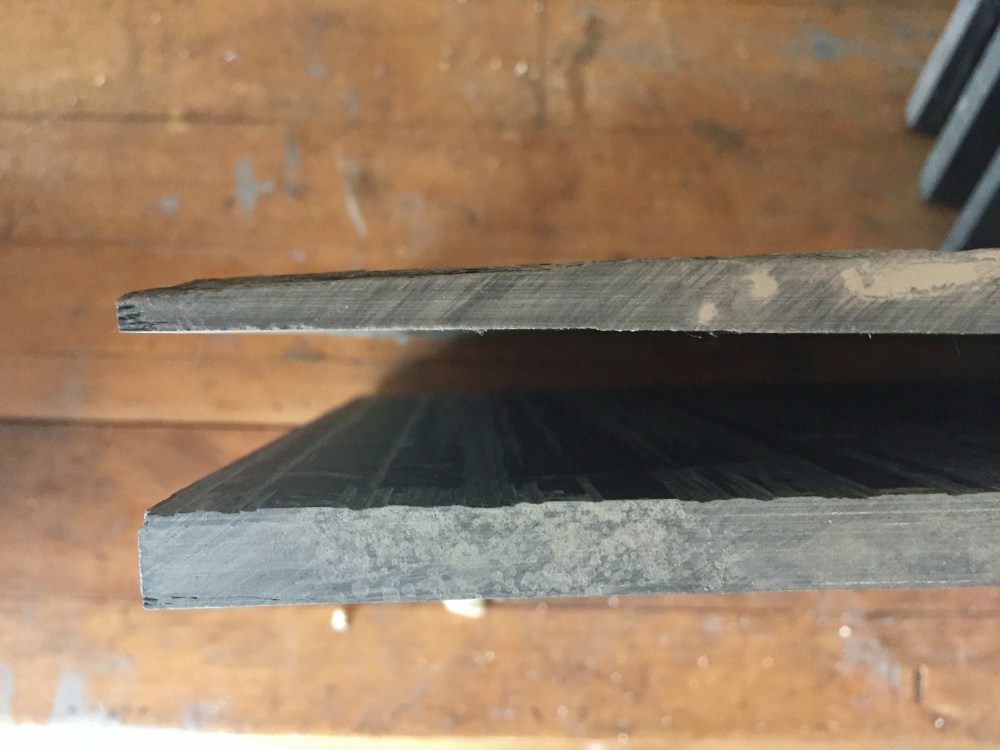
If y’all have been paying attention all this time…..we picked 2 of the hardest tiles to work with: 2 inch ceramic squares and natural slate. We now know why “flippers” use LARGE cheap ceramic tiles in bathrooms.
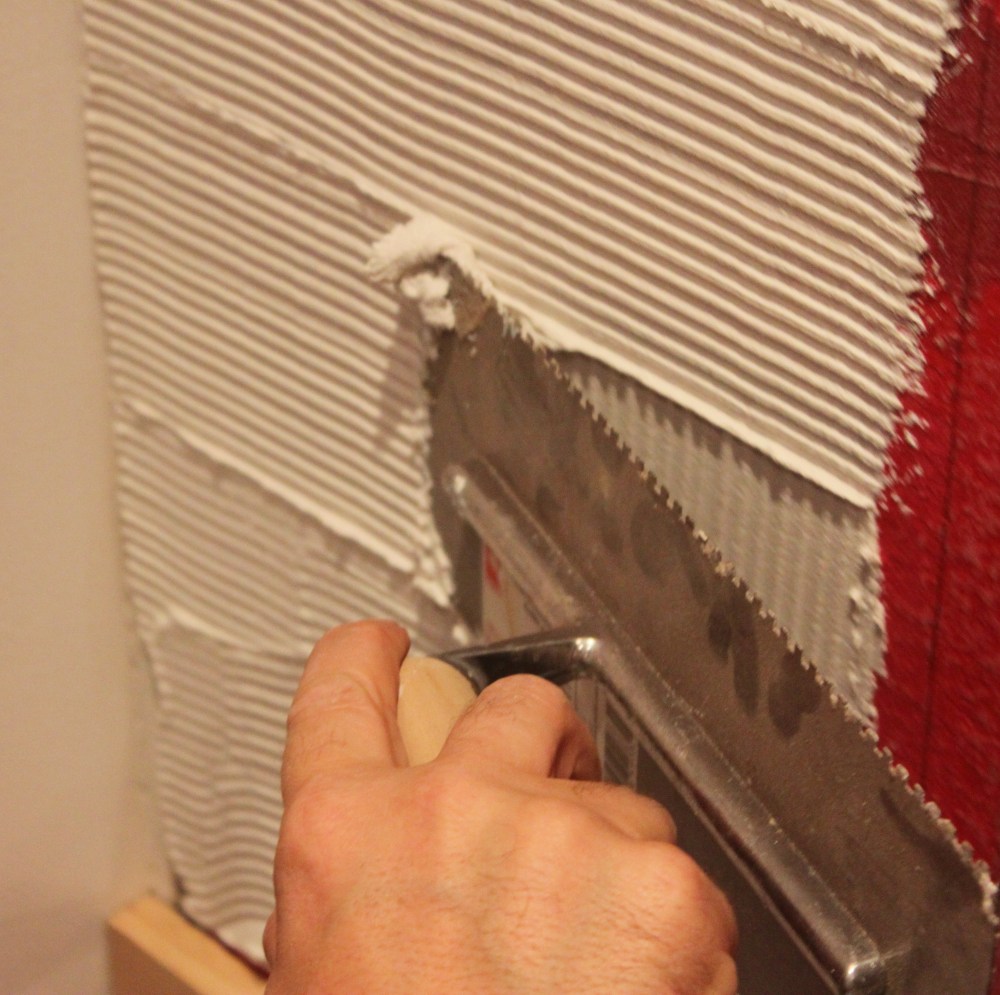
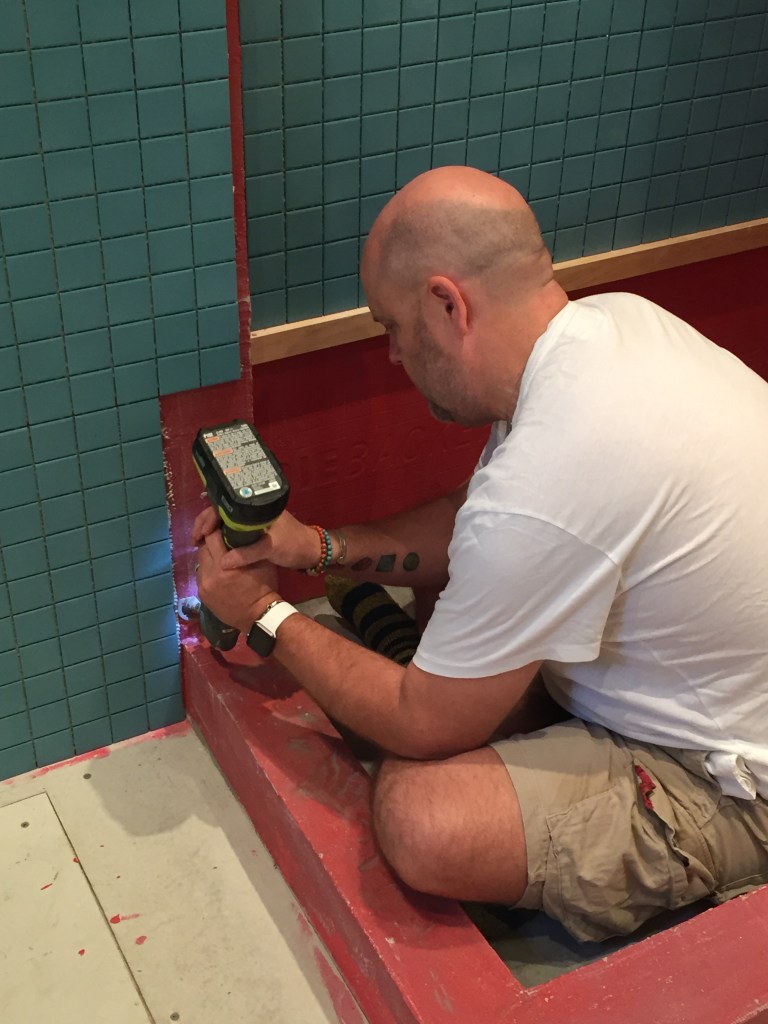
This just means that to compensate for the different thicknesses, I had to apply varying amounts of mortar. And use the HELL out of a level. Which I did.
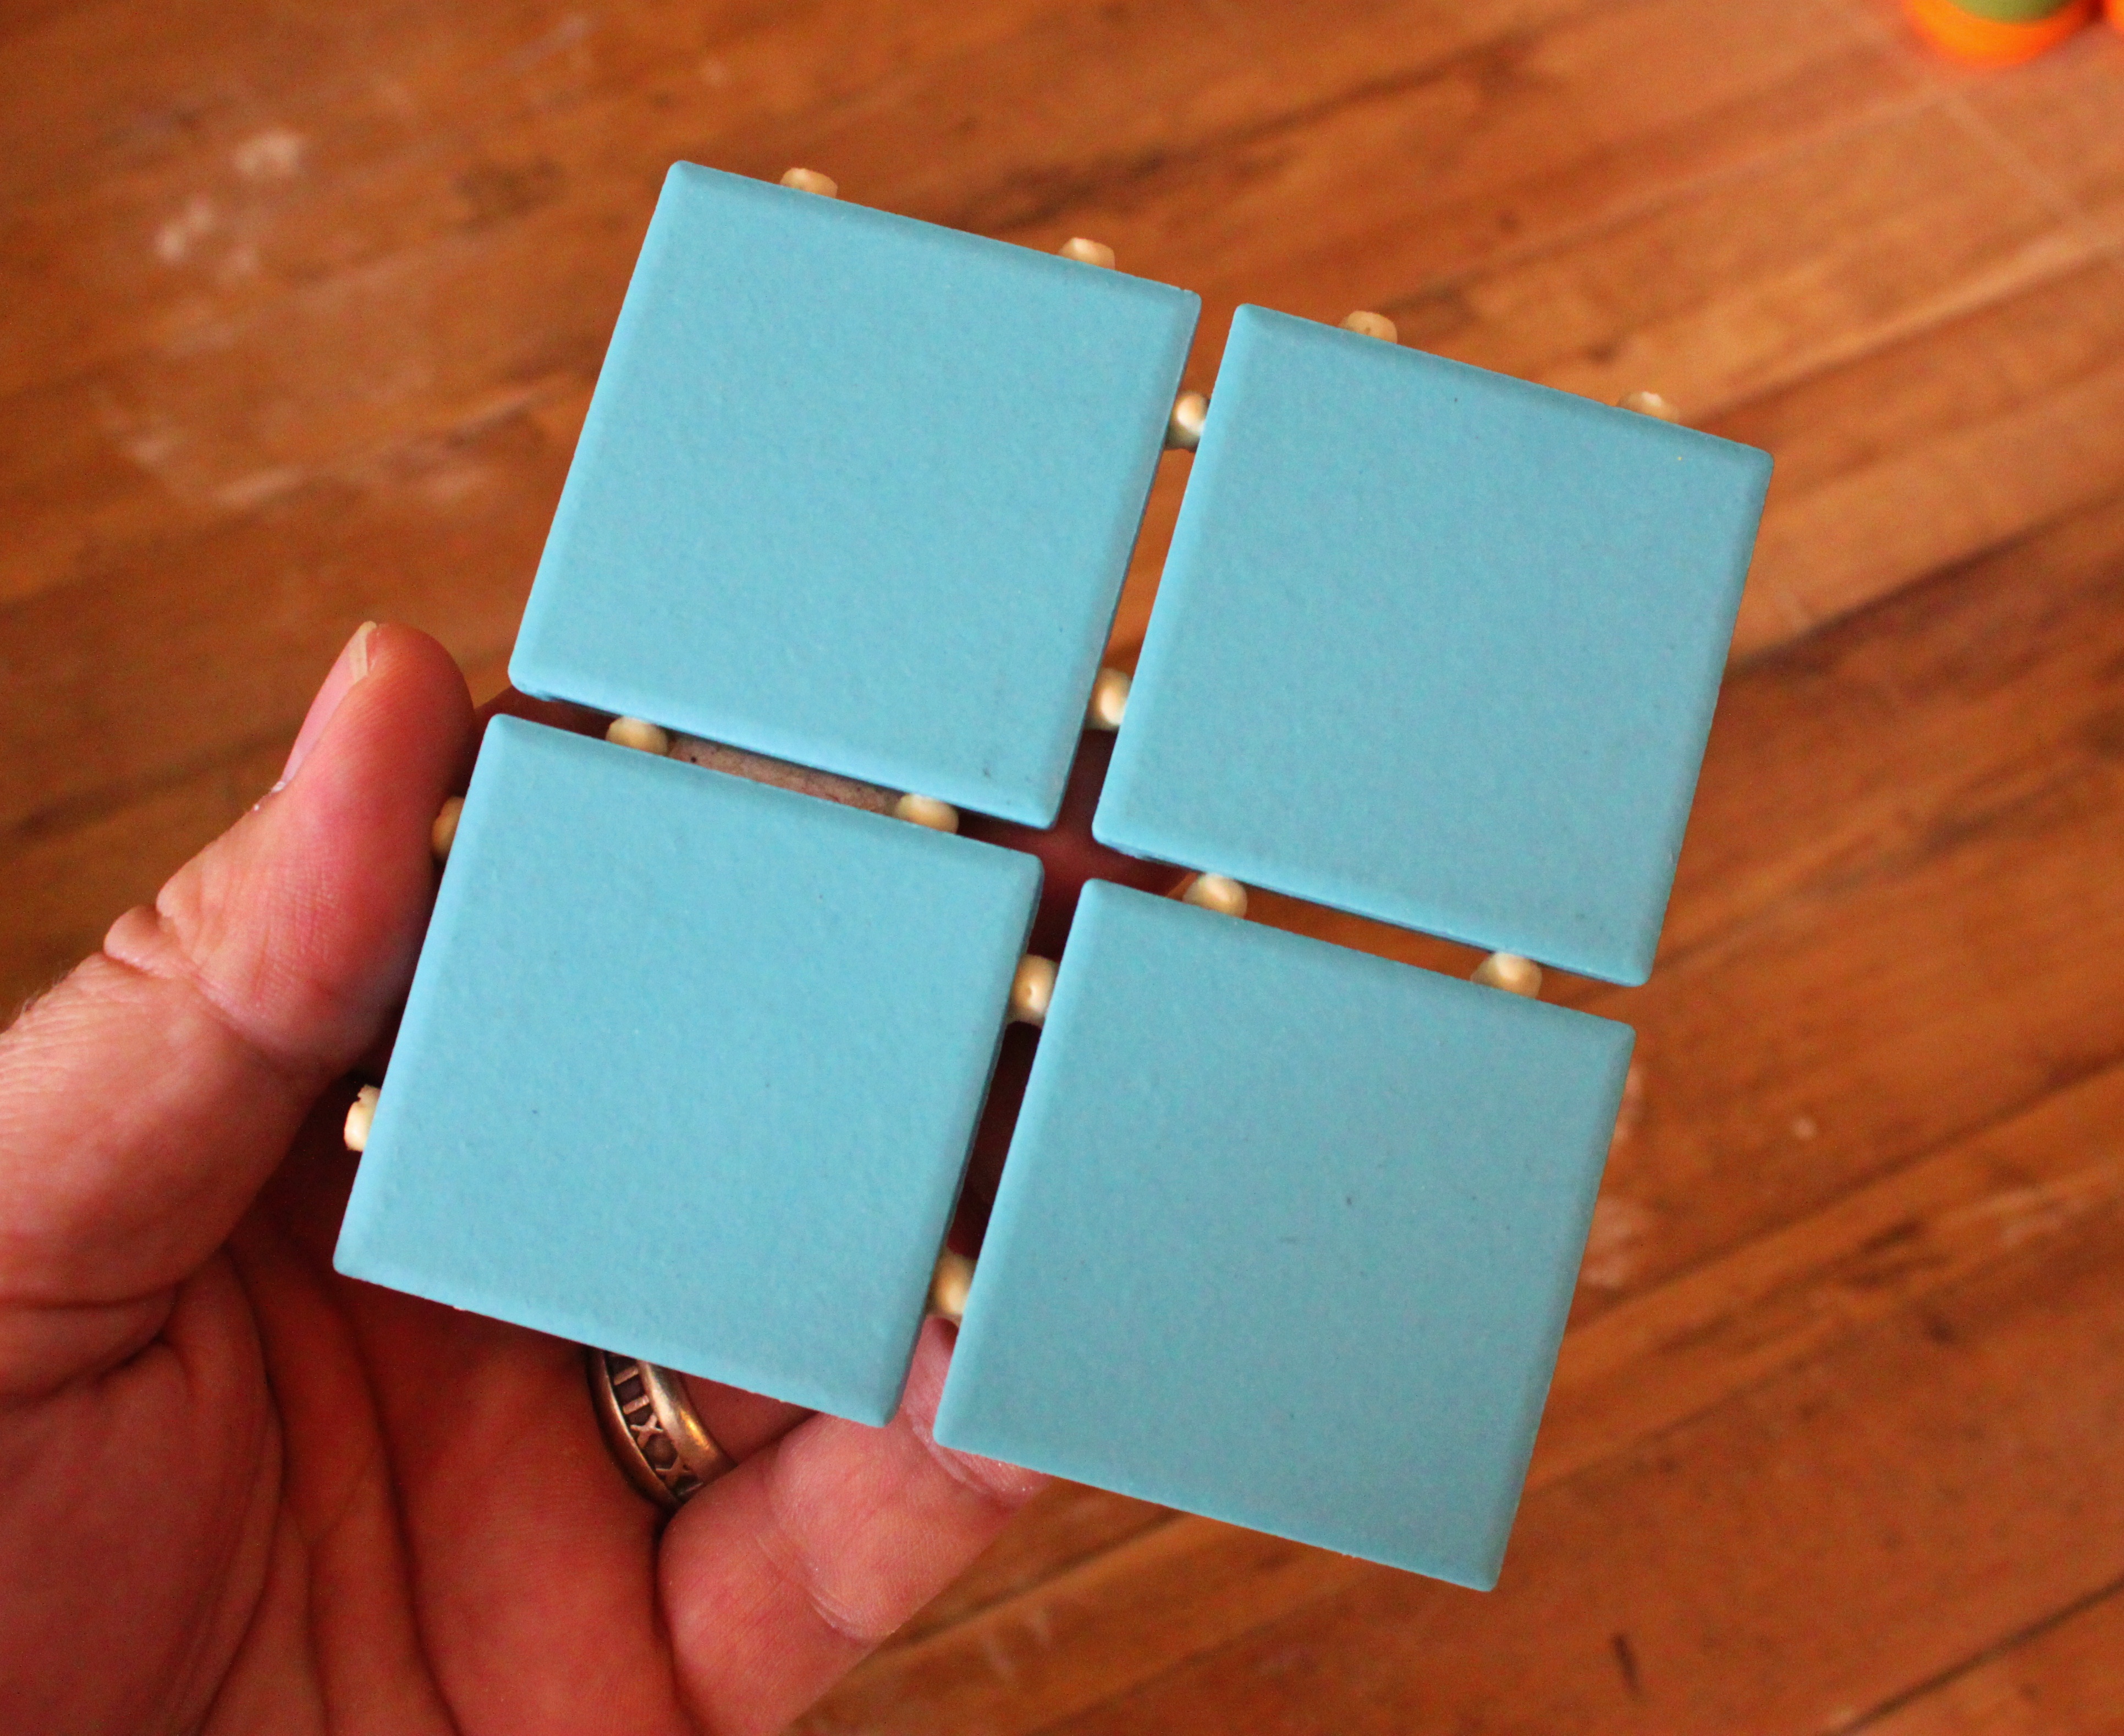
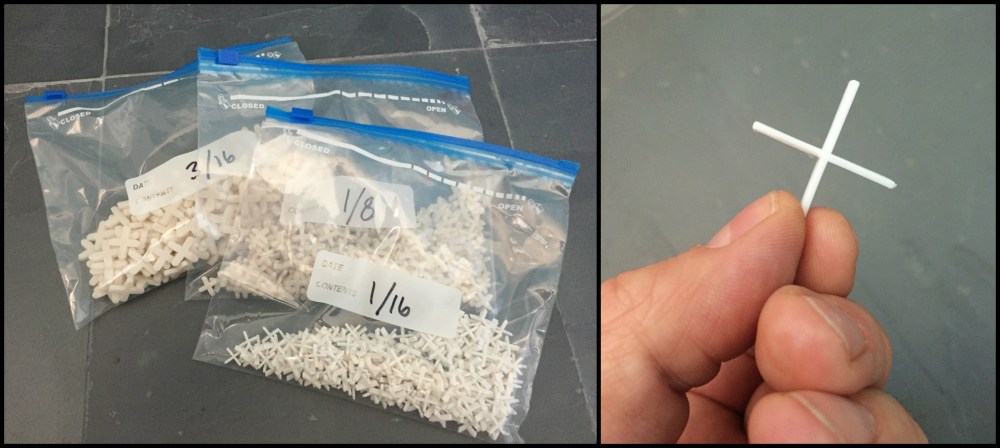
We didn’t really want much of a grout line, but apparently we’re required to have one, so we used the smallest spacers we could…just 1/16 of an inch. OOOhhh and these are designed to sit down inside the grout. That’s a plus.
Speaking of grout, remember how I didn’t like the “pearl grey” grout on the shower floor? When I started using it on our newly laid slate floor, not only was it just too light of a color……it was also sanded, and the sand scratched the slate. It didn’t say “sanded” on the label (or more specifically “nonsanded”) but it does have some kind of “grit”and was not recommended for natural stone. That’s strike 2 against the slate.
So we ran to Home Depot and bought a need-to-mix-yourself, unsanded grout in what we thought would be a better color match…..”charcoal”.
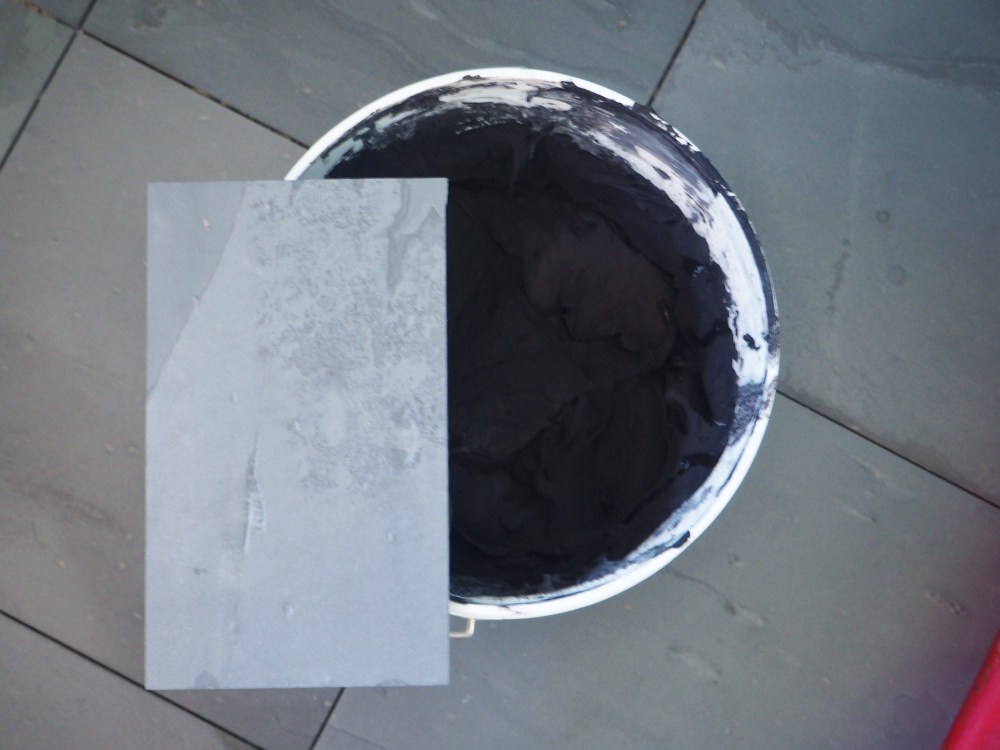
HHHmmmm, not particularly diggin’ this one either….
So we traipsed back to the Home Depot…and this trip returned with a different need-to-mix-yourself, unsanded grout…in “pewter”.
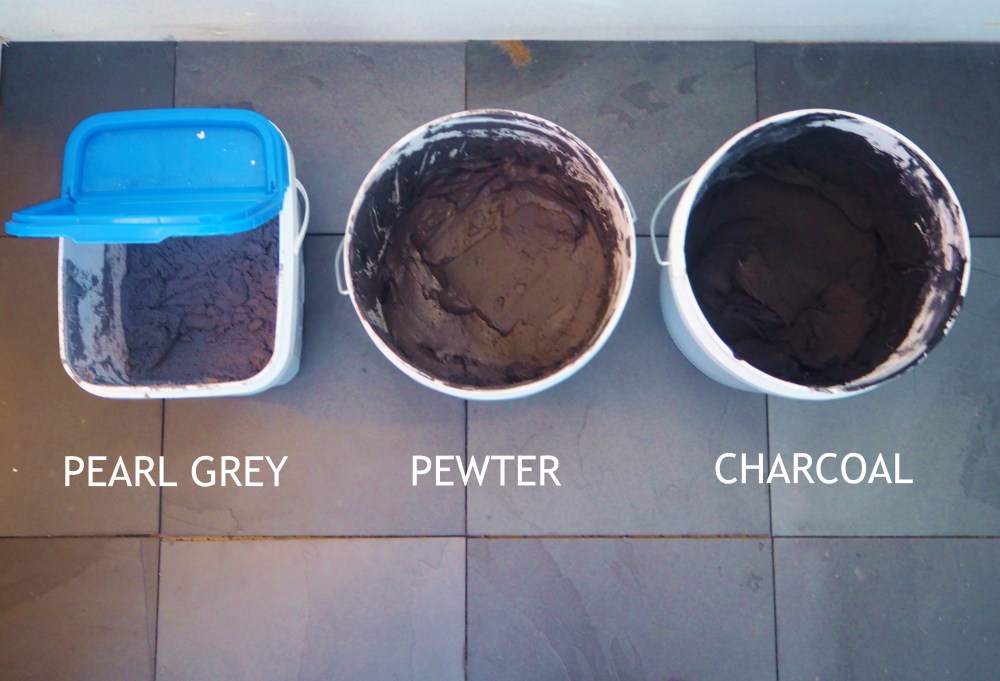
DING! DING! DING! We have a winner folks.
It may not look it in my photos, but it’s the best match to the slate.
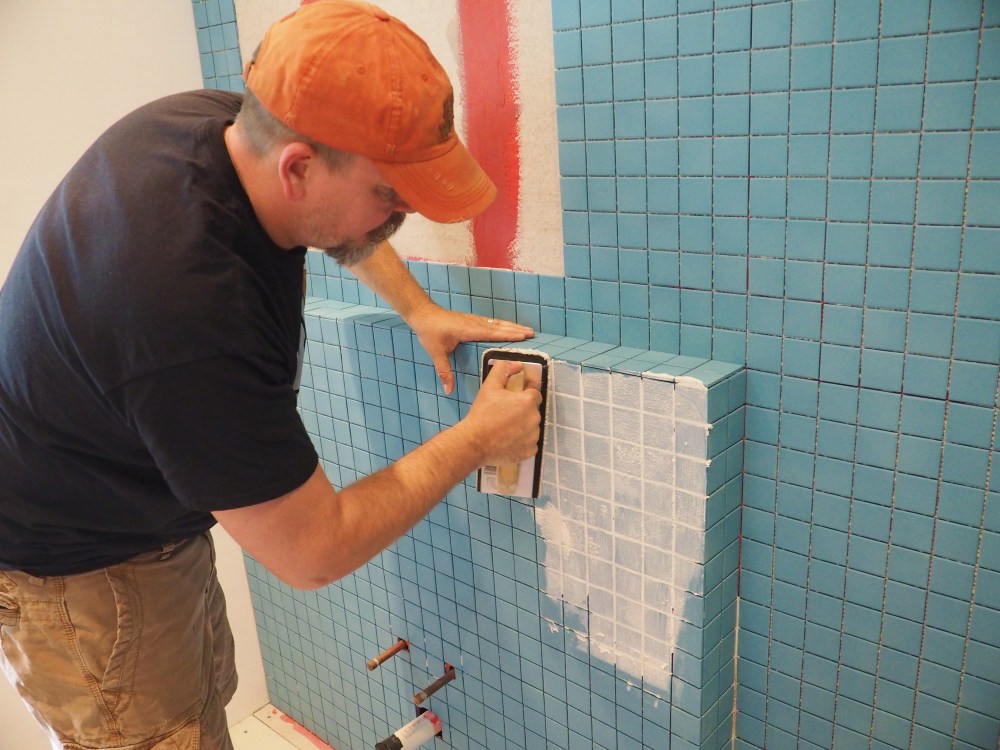
Grouting is a really messy process….especially with such skinny little grout lines…..you simply smear as much as you possibly can in between the tiles and then whipe away the extra before it sets.
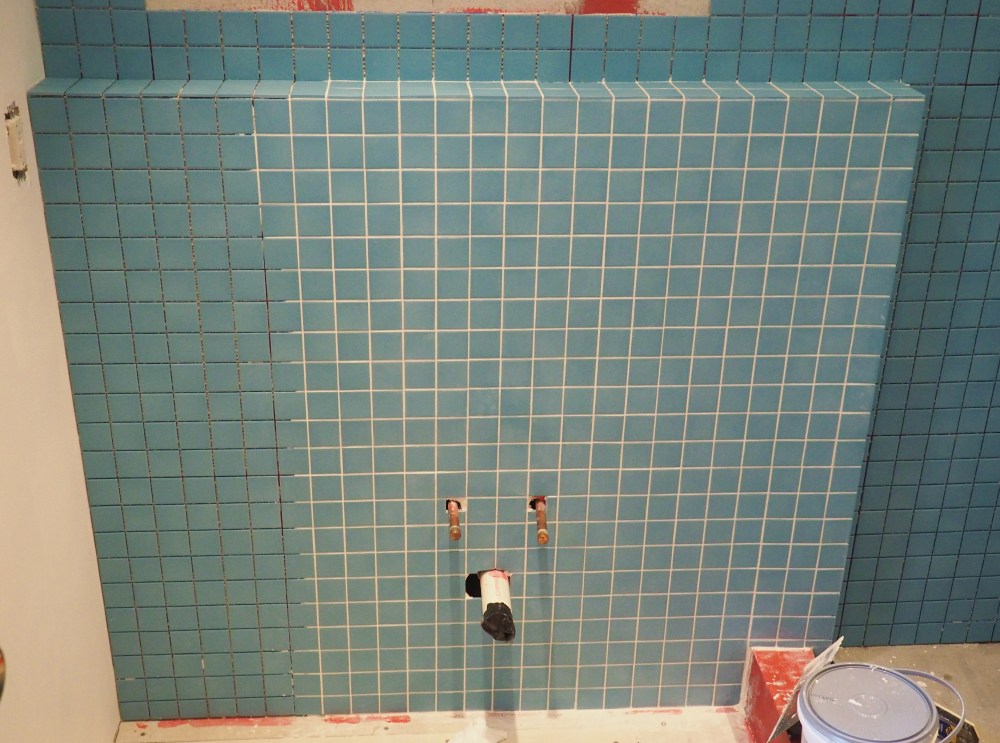
It takes buckets of fresh water and clean sponges….. and plenty of time to get to this point.
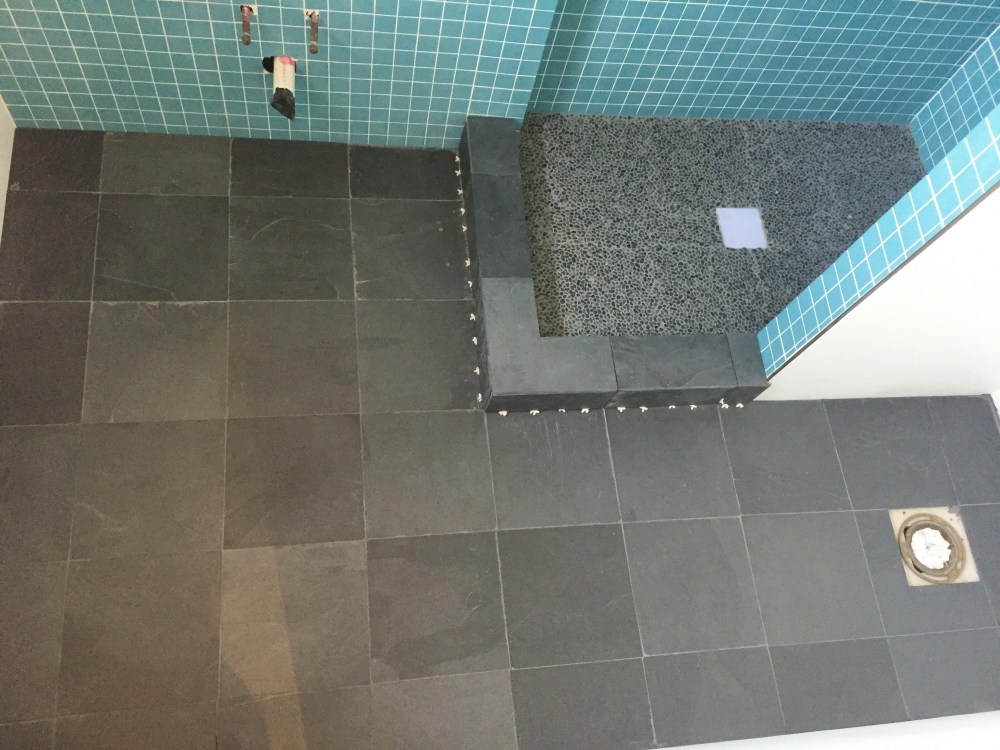
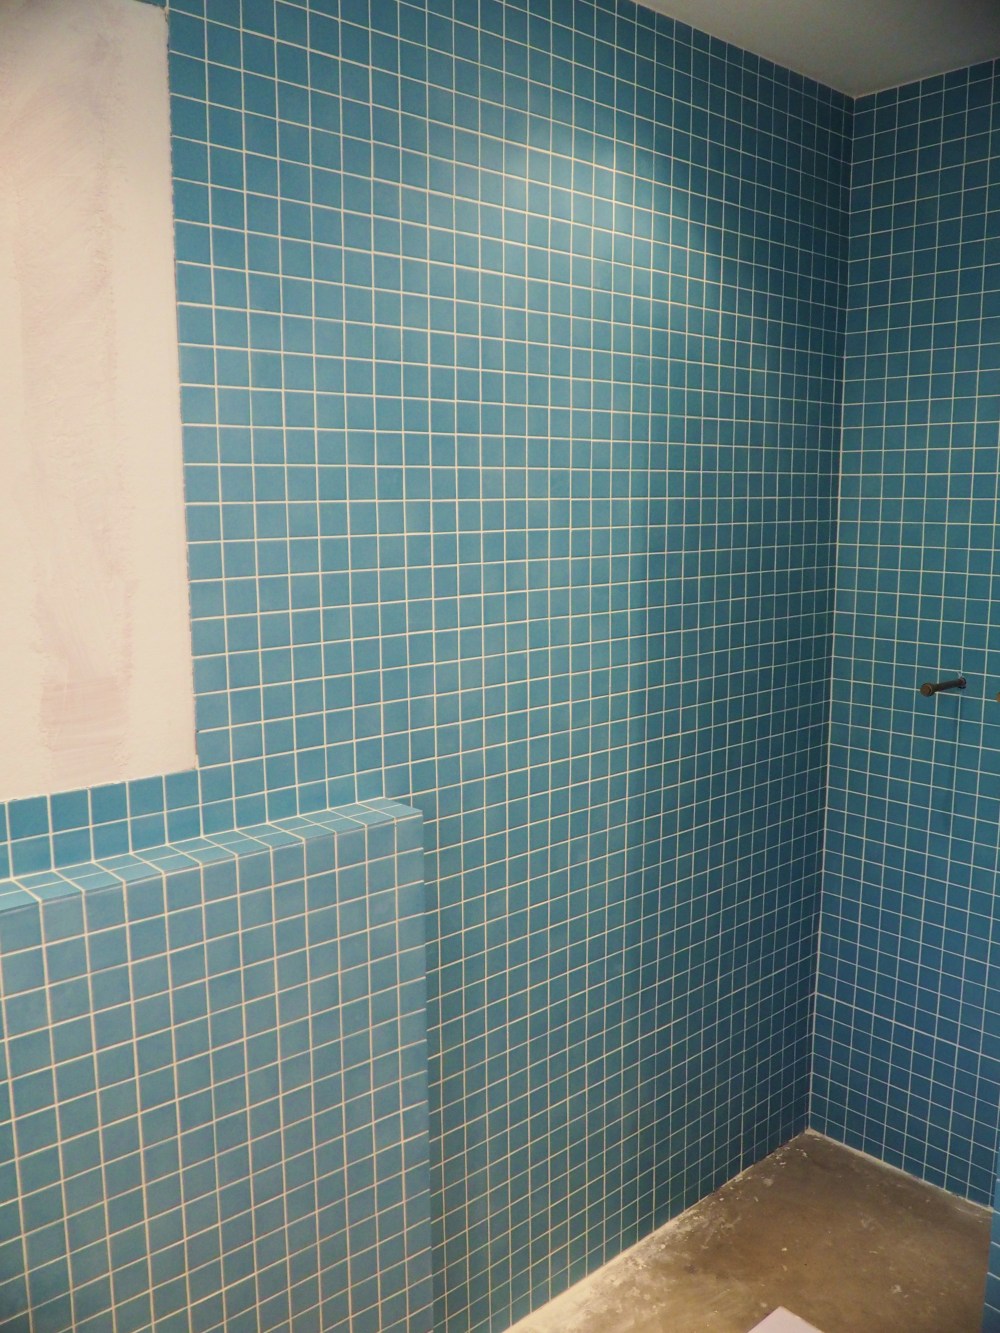
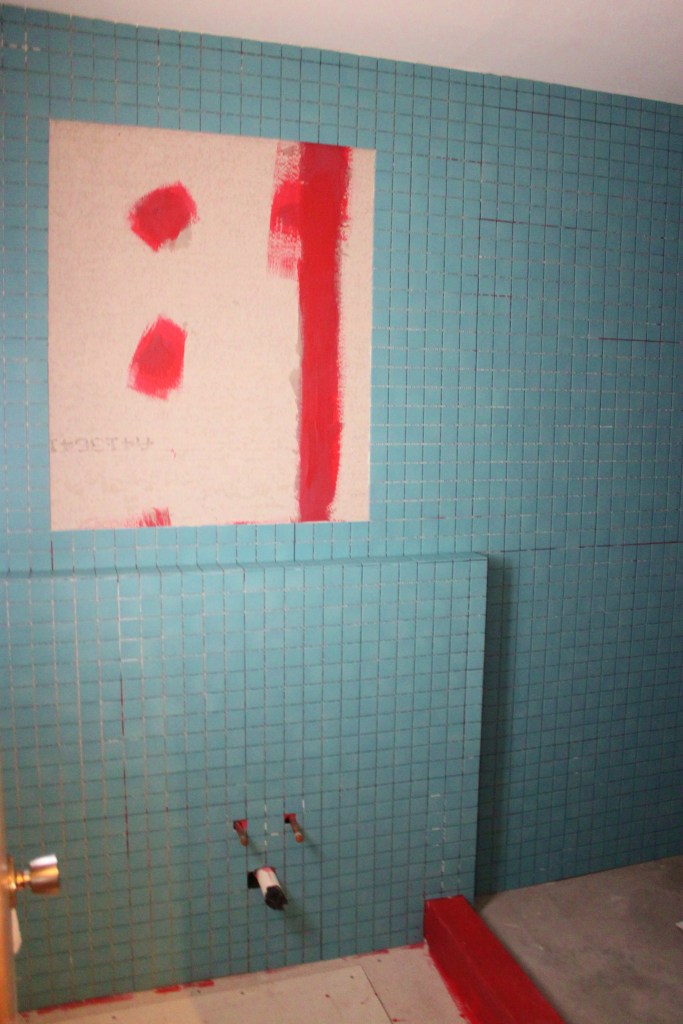
You’ll notice that I also tiled the shower “bump-up”, but at the time of this posting the mortar hadn’t dried enough for me to grout. But we were so excited to share the progress, so that’ll have to wait until next weekend.
After that, I simply have to attach baseboards and repaint the white walls, they aren’t the bright white they were a year ago, and then we call a plumber to install the toilet and shower.
There’s light, ladies and gentleman, at the end of this 2 year-long tunnel…..
Stay tuned…