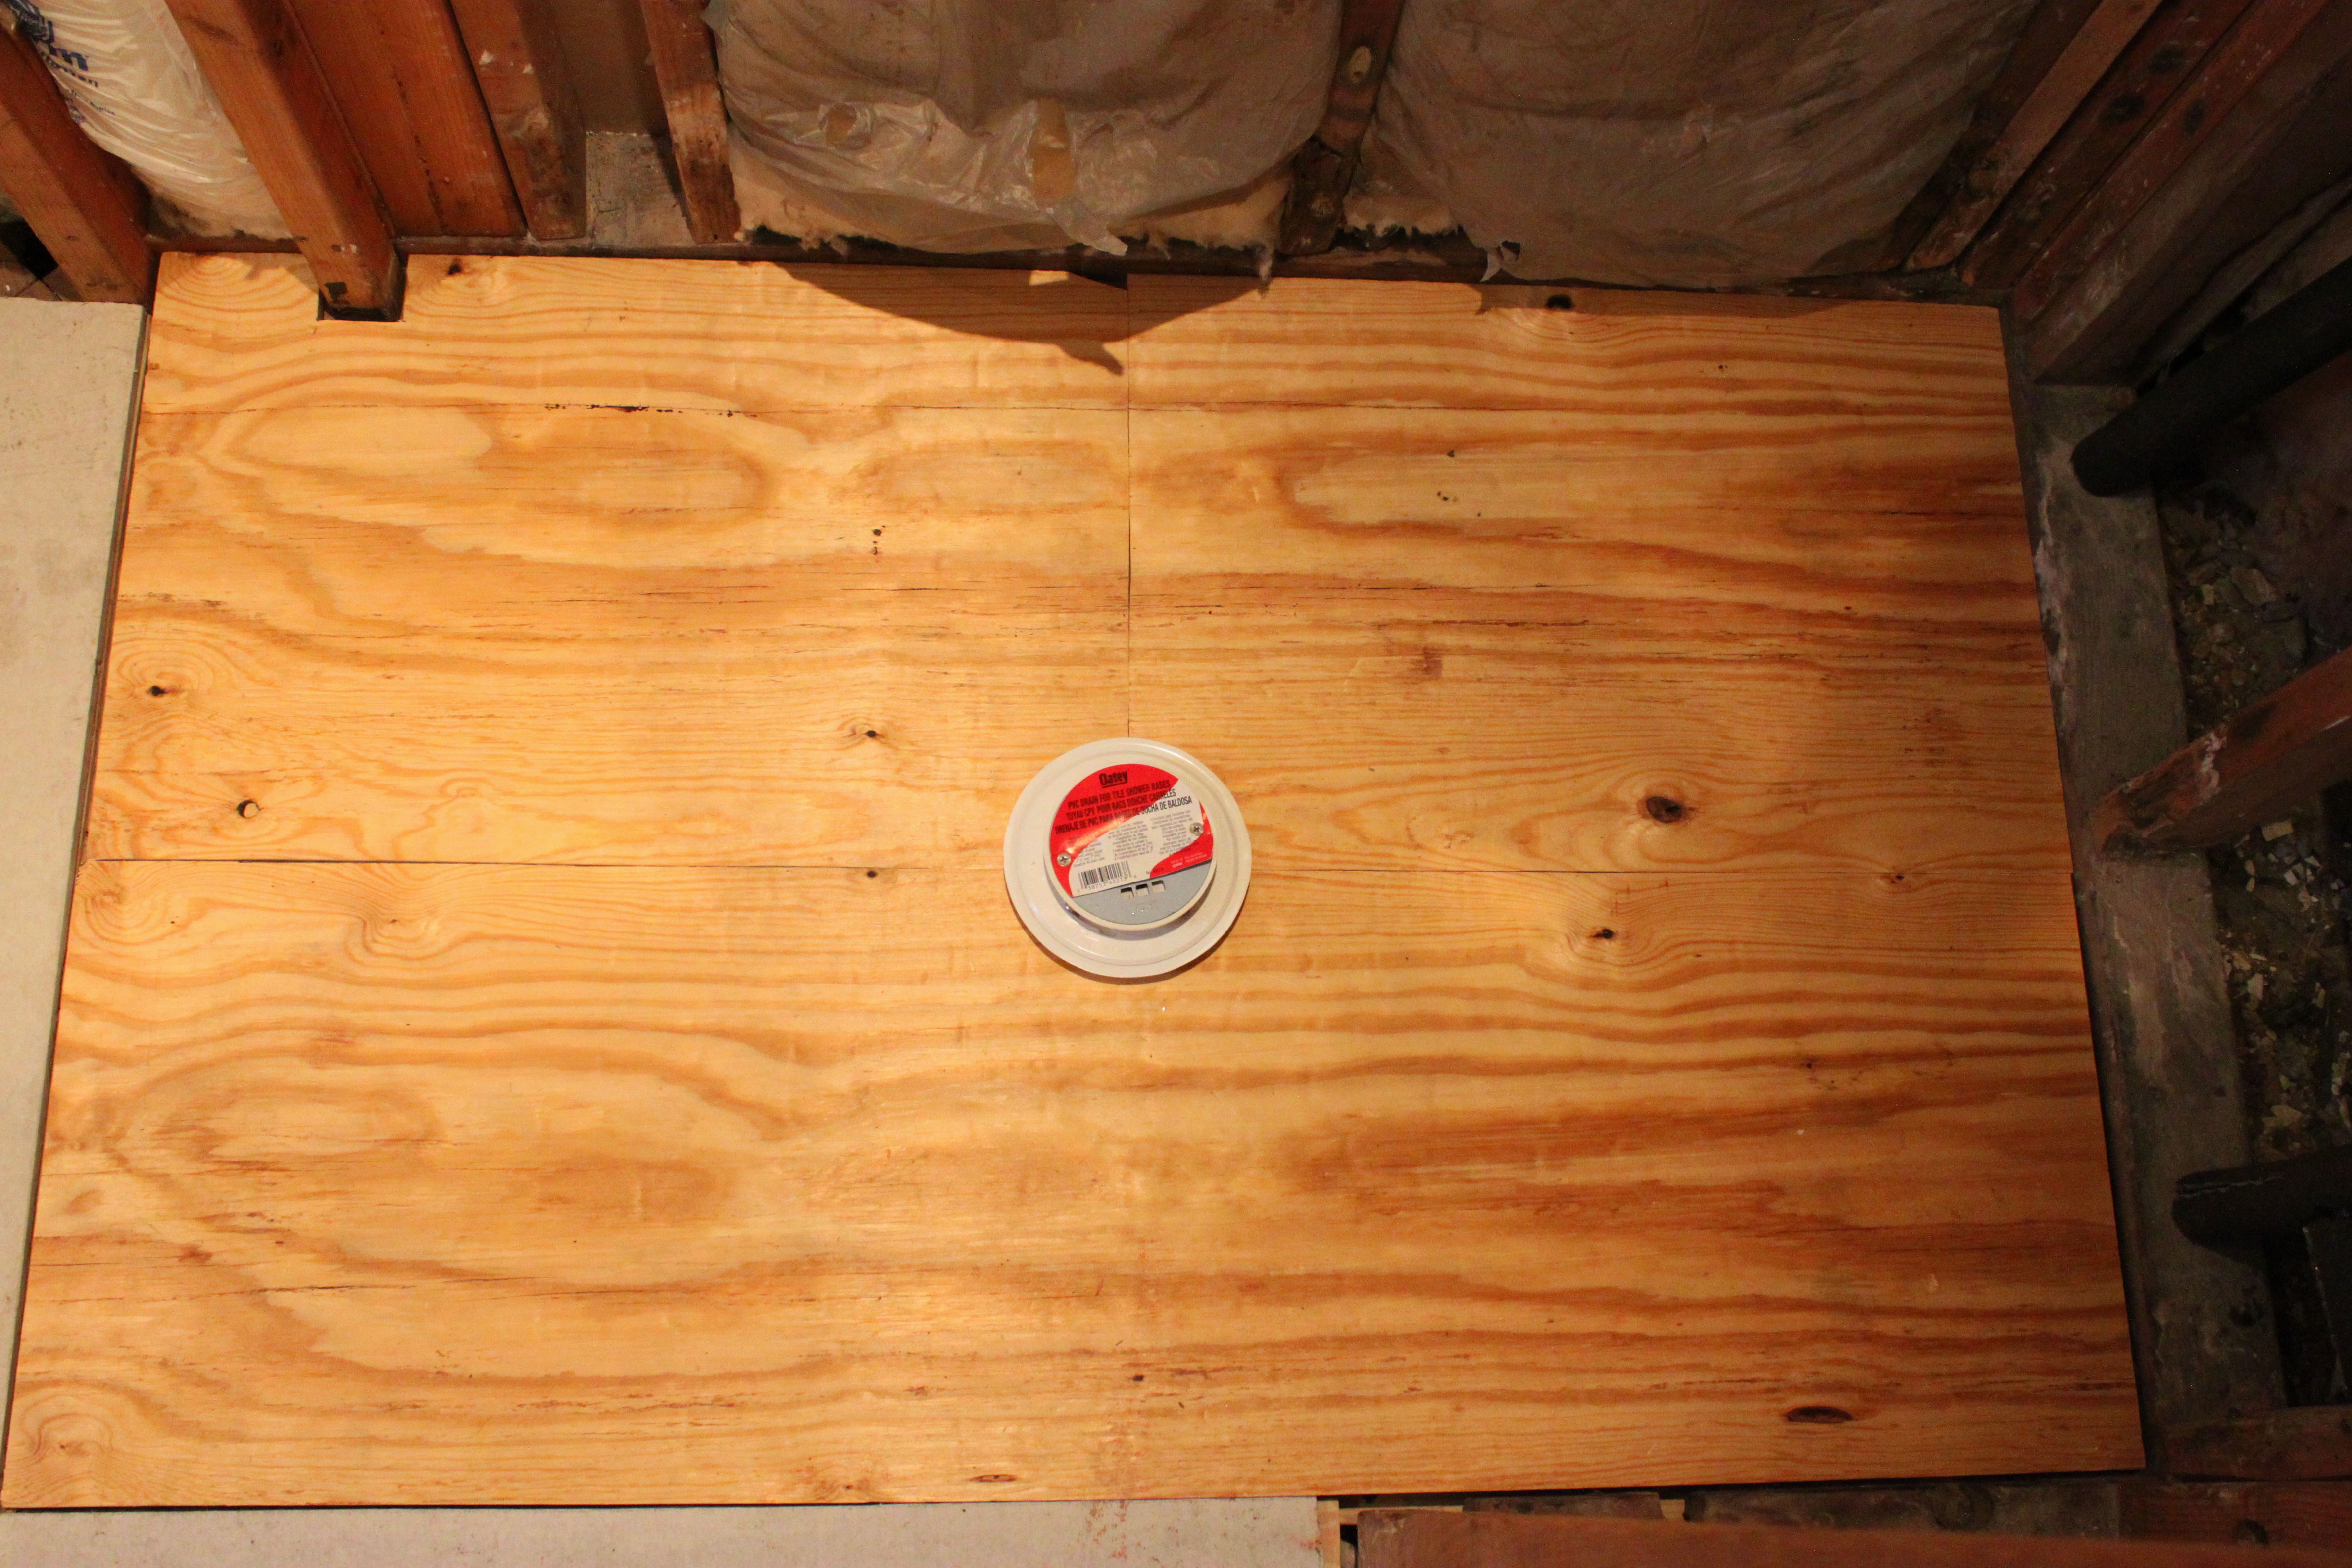
When we last left off, we were in need a shower pan in our master bathroom shower. (The shower pan is the concrete sub-floor of the shower)
That’s right, we’re working on the master bathroom remodel again……
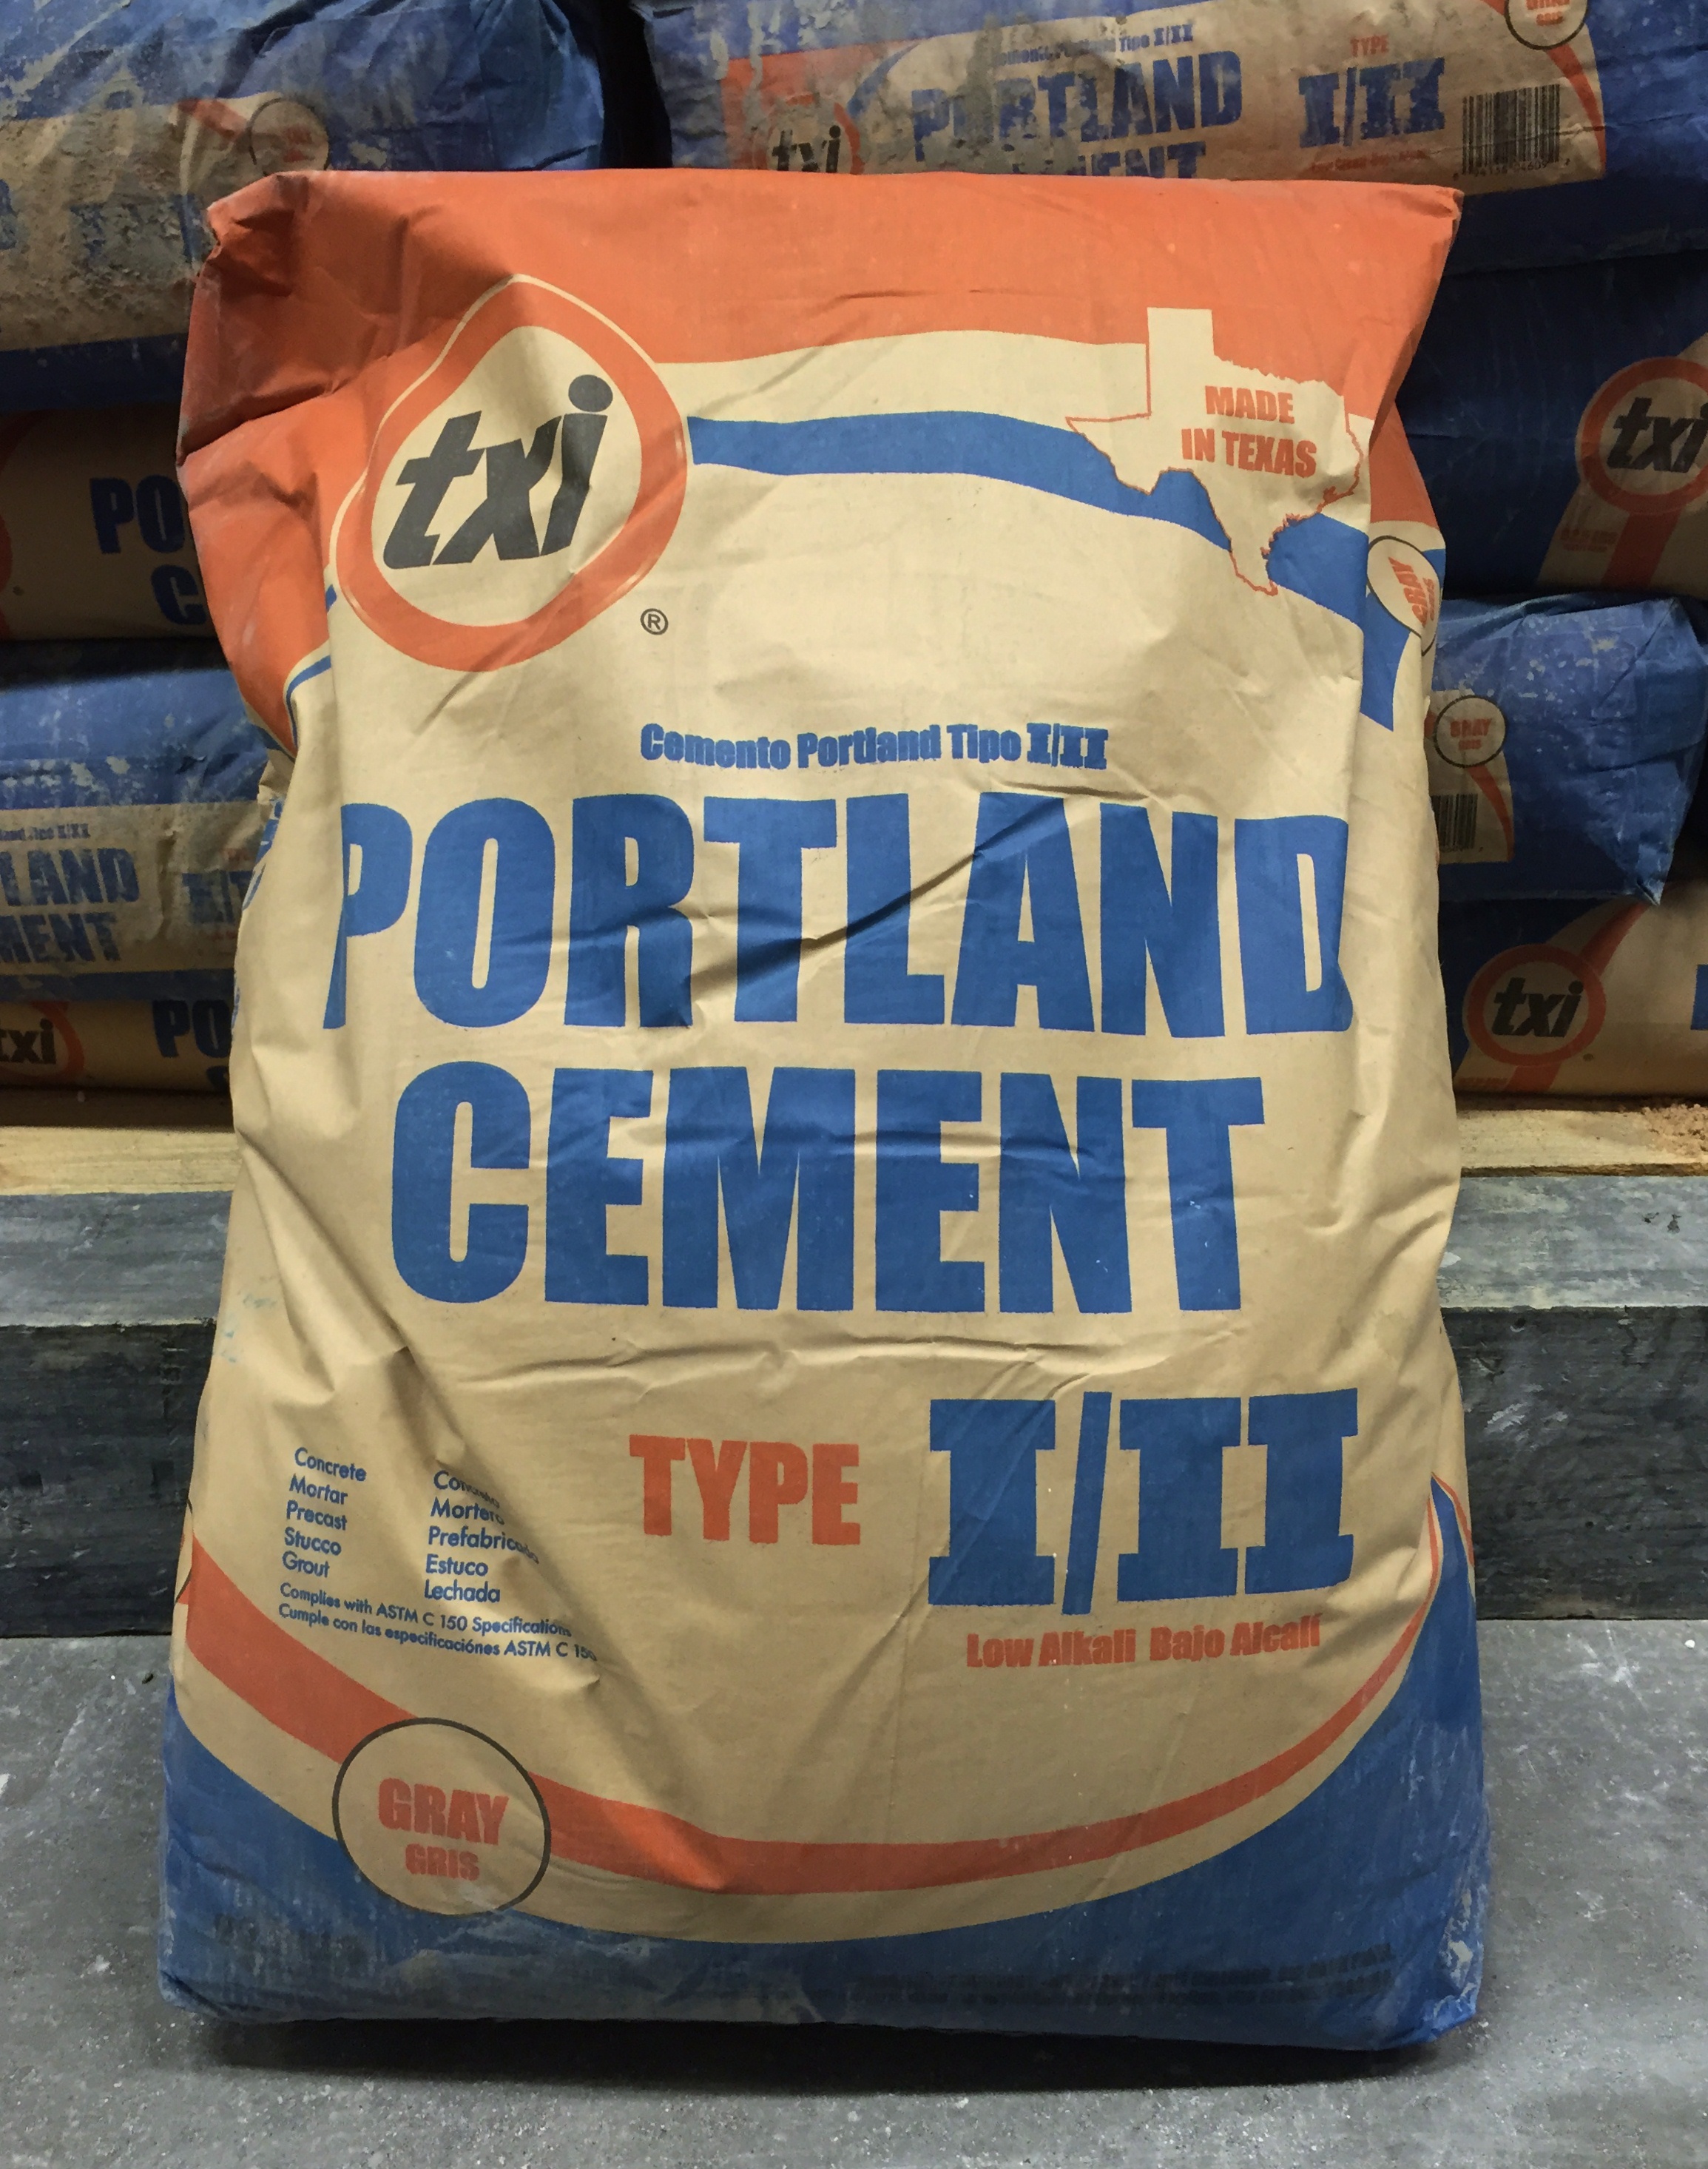
After quite a bit of ill-advised* research from a website that shall not be named, we settled on Portland Cement for our shower pan.
*(Foreshadowing)
We know that the slope of the pan should be about 1/4″ for every foot away from the drain the pan is.
This keeps the water running towards the drain.
….So to aid in this, Jamie got us a laser level.

He held it at about 1 inch up on the walls and we marked it with a chalk line all around.
Our drain is about 3/4″ above the floor and that 1/4″ slope should take the edges up to about an inch.

Seems about right.
I added water to the dry Portland Cement mix a little at a time, never add dry mix to water – always the other way around, and stirred it with a hoe.

We mixed it until it was about the consistency of peanut butter.
This was a little bit of a bitch.
It’s thick, and hard work. (Not sure how we got a blurry action shot, because this was a slow process…….especially for 2 guys not used to any actual manual labor)

When we felt it was just right,
I plopped a few scoops into the back-end of the shower and started working it with a trowel towards the drain……The drain I covered with painter’s tape so nothing falls in the hole and clogs it…..

….making sure I kept that slight dip towards the drain.
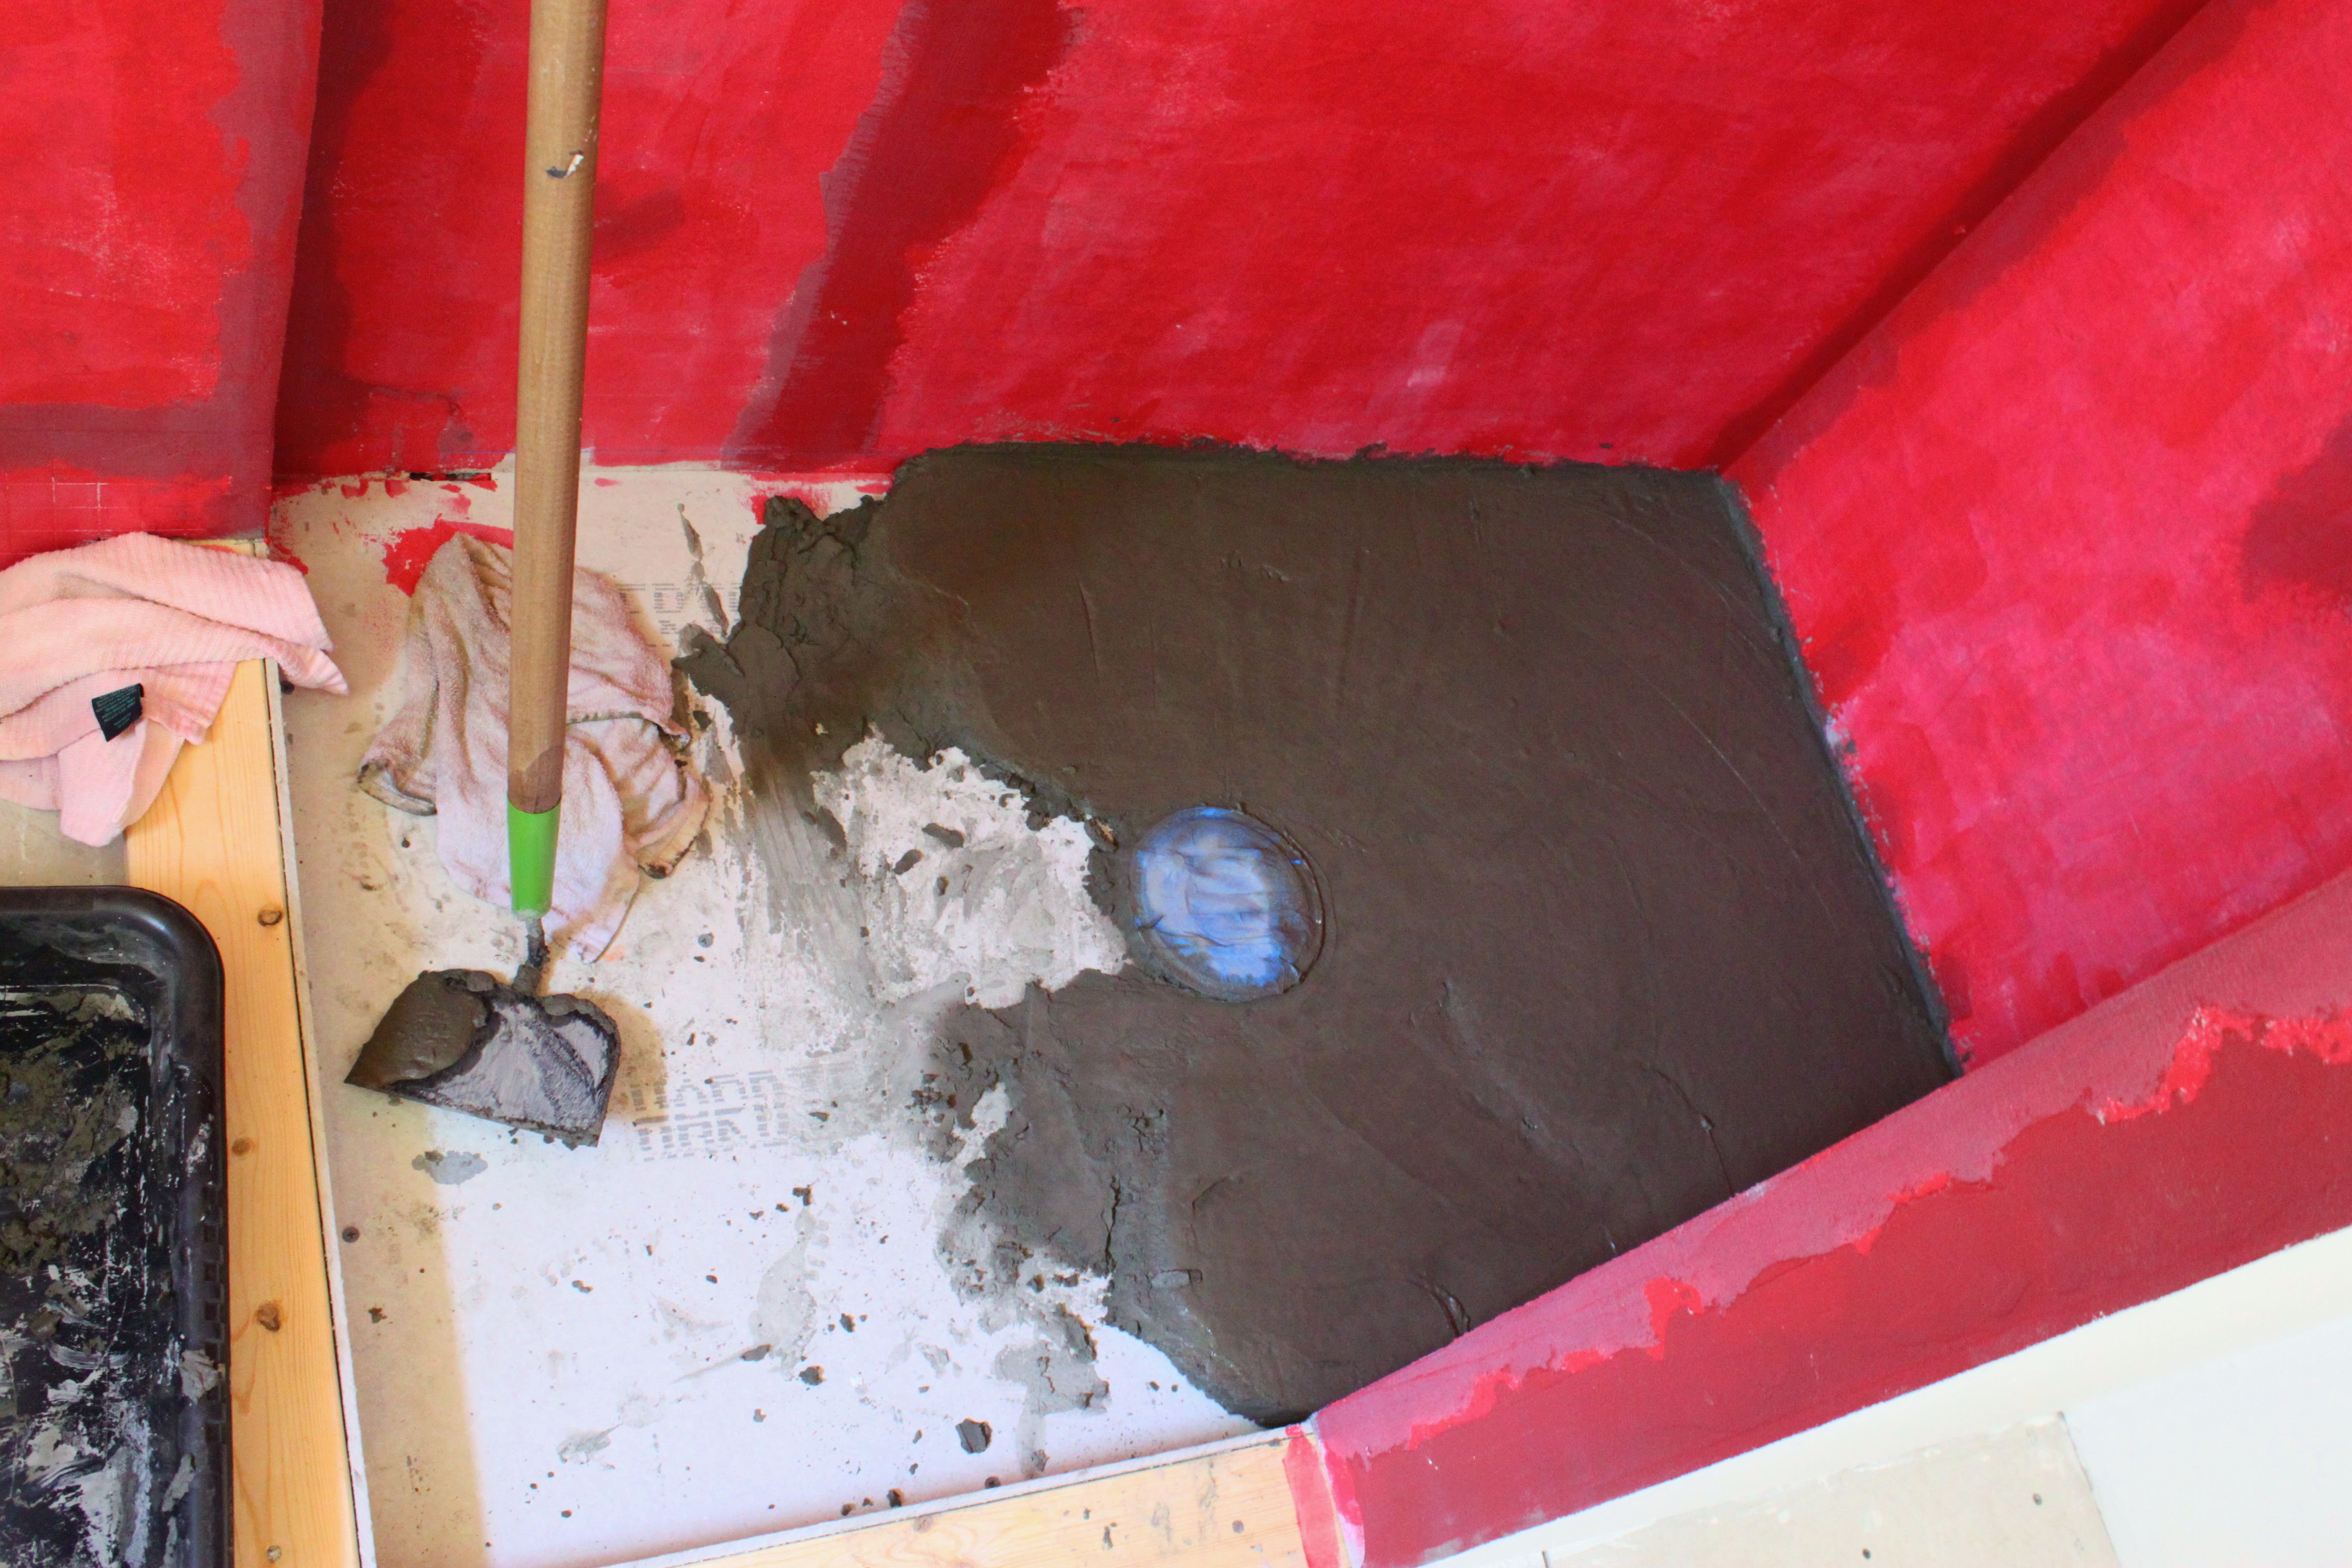
It really went a lot faster than I was expecting it to….and I was pretty damn proud of our work.
Took exactly 1 50-pound bag too.

Absolutely beautiful,
Or so we thought…….
Y’all are not gunna believe what happens next…….