A few of you may remember that just a couple of weeks ago I posted about my intentions of building an accent wall in our master bedroom. At said time, I may possibly have mentioned that it would be very cool to make this wall from reclaimed shipping pallets. Well ya know what? Pallets are kinda nasty. Lord knows that we tried, I filled Jamie’s new car with an alley full of them. I even spent a couple of hours in the driveway prying rusty nails out of this pile…..And what was left was really not that pretty. Not pretty at all…..Every board was a hot mess of different colors, thicknesses, smells…..etc. I know that pallet related crafts are very trendy right now, upcycling and all that, but they just didn’t have that “Modern” look that we wanted.
So we scrapped that idea and went in a slightly different direction….with new wood. 1×8 pine planks…The cheap ones, I swear. It’s the knots that make it look so AWESOME. They weren’t free like the pallets would have been, but the entire project (wood, stain, toggle screws…can’t think of anything else) was only about $125.
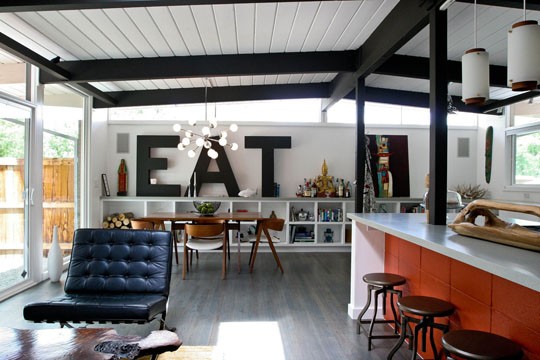
TAAAA DAAAA!!!! Almost looks like a picture from a catalog.

You might recall that 2 years ago the master bedroom looked like this. Not anymore…just look at all that Spectacularness…..
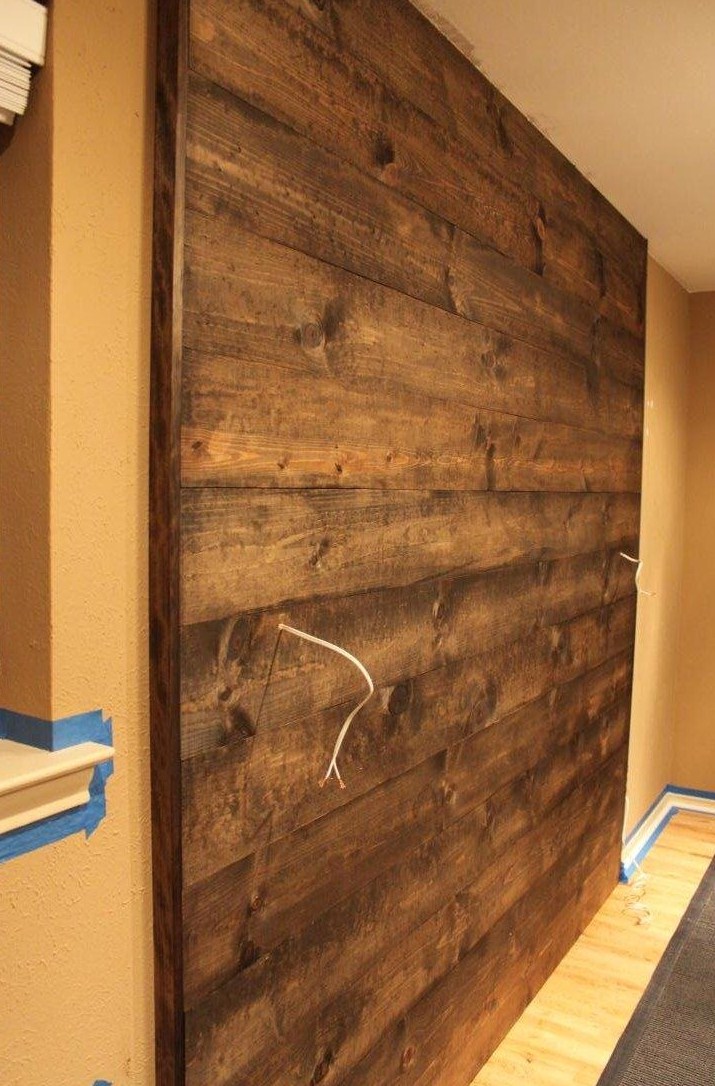
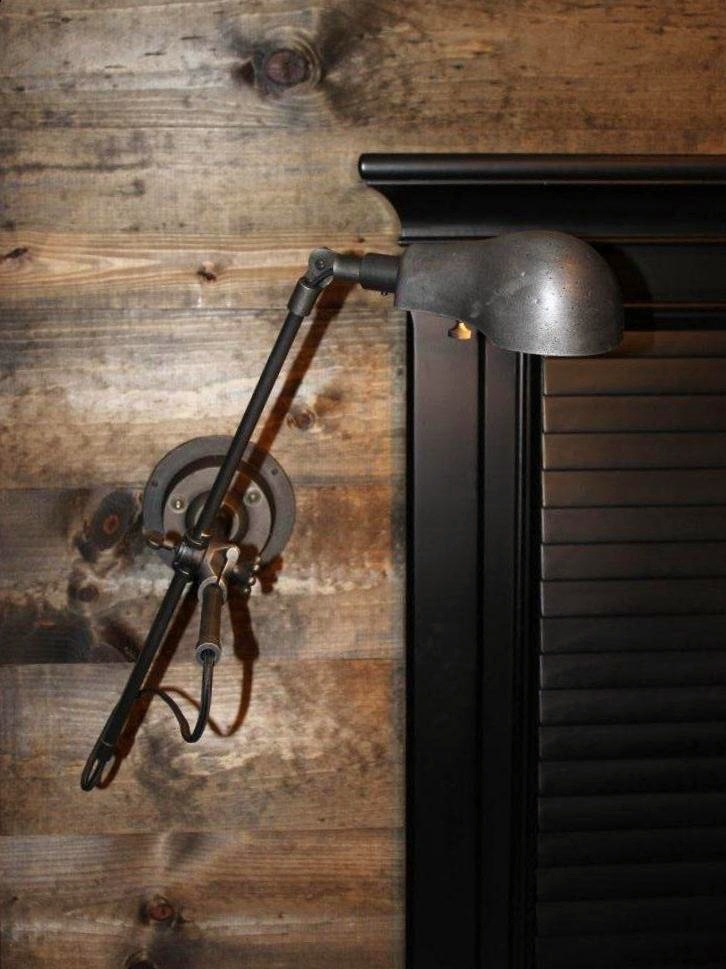
It all started with those groovy 1900s Pharmacy Sconces from Restoration Hardware. They are supposed to be hardwired, and they’re heavy as hell. I’m never very excited about hard wiring a 30 pound light fixture to drywall….soooo the wood accent wall idea was born…. almost like a second headboard. A lot of people don’t know that you can put a plug on a hardwire light fixture. Just sayin’.
I first had to determine where on the side of the bed they would fit. We only had 8 feet of board width to work with. Because we didn’t want to have to cut any boards, and a 10 foot board would have been off-centered from the headboard because of that small window. The 8 foot planks gave us 18 inches of wood on either side of the bed to center our new sconces. Just enough room

RH shows them pointing down, but I think they look way better with the light on top of the fixture.
Working with the 8 foot that pine planks come in, we measured out 8 feet of wall and toggle screwed 1X4s too attach our planks to. The smaller pieces are where the lamps will be. Since they are so heavy, we added these planks to screw them into.

The only problem with that is that there isn’t a space to run the power behind the boards. After all this work, I don’t want to see a cord running down the front of our beautiful wall. So I carved a little channel into the boards and ran my power cable (actually an extension cord with the female end cut off ) through. I hot glued the hell out of it to keep it in place. My brother teases me that my tool box is more like a “craft kit” because no handy man would use a hot-glue gun. Trust me on this one folks, it is a lifesaver sometimes. Buy a hot glue gun…the big one. I’m not sure why they even bother making the small glue guns.

We started nailing the planks from the top down, because those are really the first ones anyone will see. This is the first time we used the nail gun since replacing the stolen one last November. True story here, when we were in H-Depot to replace our stolen air compressor/nail gun, I complained so much about how expensive it was for both pieces…that the sales girl (Sharday – but not spelled nearly this phonetically ) offered to just give me a discontinued floor-model nail gun if I would just buy an air compressor and leave. I took her up on her offer.
Here’s that new nail gun in action….Well sort of “action”. You get the idea. To keep the boards as pristine as possible, I only shot nails in the bottoms and sides. Occasionally I would nail one on the face if it was particularly warped, but I’ll bet you can’t find any holes. The only holes are the 2 we made to run our power wires through.

I didn’t take long at all before we had this….Slight gap on the top right, and slight gap on the left bottom…..but who really even see them? You didn’t, ’till I pointed them out.

I trimmed the edges with strips of 1×2 to frame off the wall. I notched out the bottoms to fit around the baseboard and leave just enough room for the power cord to escape.
See…
We bought 3 stains – Ebony, Jacobean, and a water-based Ebony. We were both leaning toward one of the ebonys…and wouldn’t you know it? It was the Jacobean that we both agreed on…almost immediately after testing all 3. It looked perfect against our headboard…and didn’t make the room feel like the big black box that we were dreading. Black rug, Black bed, Black dressers…etc.
It’s a little known secret of staining that if you moisten the wood first, it will absorb the stain and spread it easily. I’ll be the first to let you that the stain will go on so much smoother if you do this. Just wipe the whole mess down with a damp rag. Go on, wipe. I know it doesn’t make much sense with an oil based stain….but for some reason it works.
So on went the oil-based Jacobean, old rag, rubber gloves, rubbed with the grain, slightly moistened wood….You get the idea.

Maybe about 15 minutes later, we had this.

Breath Taking……..
We pushed the bed into place and wired the lamps with the little cords I left sticking through. I prolly need to say that these were NOT plugged in at this time. I know it seems silly, but I don’t want anyone sending me warnings about electricity safety. I know better than that, Sheesh. After all, I’m wiring light fixtures with slashed extension cords and a glue gun…..Ahhh, I think I know what I’m doing.

I wired my fixture together with wire caps AND electrical tape. The tape isn’t so much for safety, but just to keep everything attached while I cram it all into the back of my swing arm lamp. It’s a real pain to wire a fixture together then have to disassemble it because the wires came loose. There is also that ever-so-slight possibility of electrocution too.
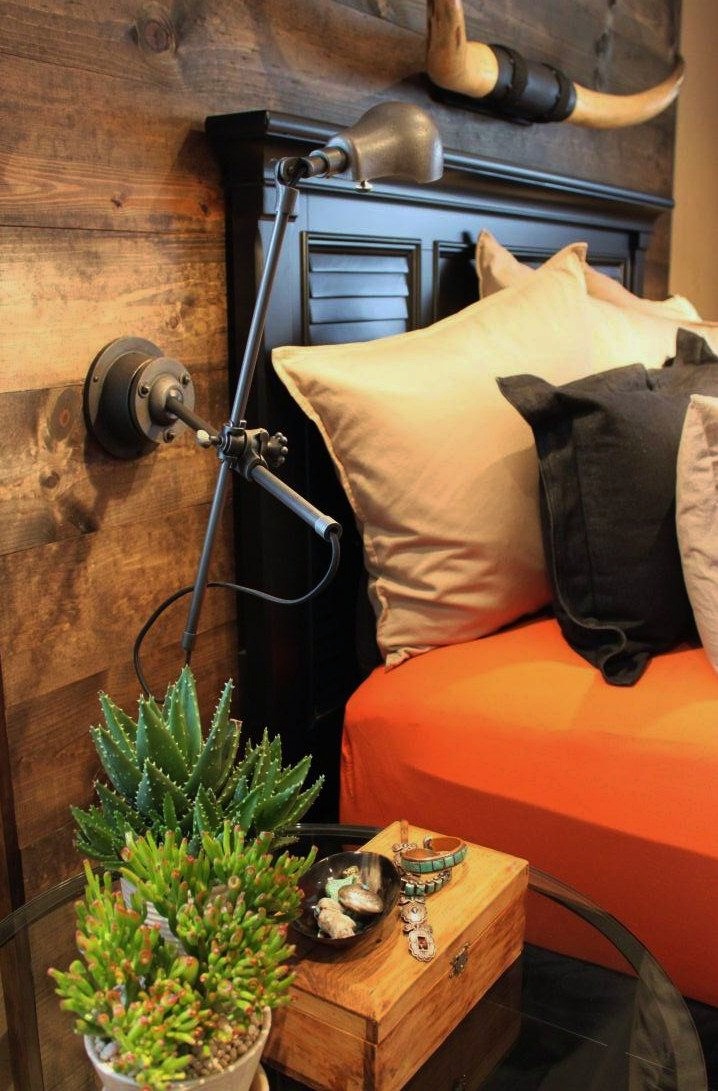
And there we have our new lamps….. One on each side of the bed.
I build sets for a living, among numerous other talents that I have, so I gave this project a couple of hours. Far from it . We started around 10 AM, and about 10:30 that night we were struggling to get the room “Sleep-able”. The only Home Depot trip was for stain, we bought all the lumber the day before. For time clarity, I have to also add that with the furniture out of the room this was the perfect opportunity to finish installing quarter round, the missing trim piece over my closet, and paint all the trim that wasn’t white, white.
Jamie pulled the orange jersey sheets from the cupboard and I loved the way they looked with the wall so much, that we used them for the photo shoot. “Juicy”, ain’t they?

And here’s the little guy that started the whole project…..
We love the look of this project so much that we have been looking at other places in the house where we can add a beautiful wood accent wall.
Of course, we could use that pile of dingy old pallet wood in the garage. Or not….