
I’m not a carpenter.
I am a set builder. Sets that are temporary, and really only have to look good from the front. They honestly don’t even have to be functional. (Usually they aren’t)
I think that I’m pretty good at it. That confidence has possibly gone to my head a little, and after this project, I have a new-found appreciation for true carpenters.
I know that I make everything look easy, it’s a gift, but building the 2X4 frame for this beast kinda kicked my behind.
Let’s start at the beginning……
For a few years now, we have been living with the “dog sofa” in our breakfast nook. It’s covered in a rug because it’s, well, a “dog sofa”…. and it’s kinda gross.

In my last few houses, my old dog Faust slept on this sofa every night. That’s when it was at the foot of my bed. In this house, and with a new dog, it’s been parked under that window. Harley doesn’t have any interest in it.
We love it.
It’s the perfect place to curl up, nestled in the pillows with coffee and a bowl of cereal, and surf those morning emails.
But we need something bigger, cleaner, and with storage.
I started with the dimensions of the frame, I sketched something like this….So I knew how much wood to buy.

…….and to get an idea for the size of the 2 doors on the seat that will open so we can keep stuff in there.
Function/Storage…..what could be better?
I gently pulled off the baseboards so my banquette will be flush with the wall. (Look at all those previous paint colors; antique white, turquoise, and another shade of turquoise)

Because storage is the ultimate goal, before I attached anything to anything, I “dry fit” my pieces around a tub to make sure there is plenty of room inside.

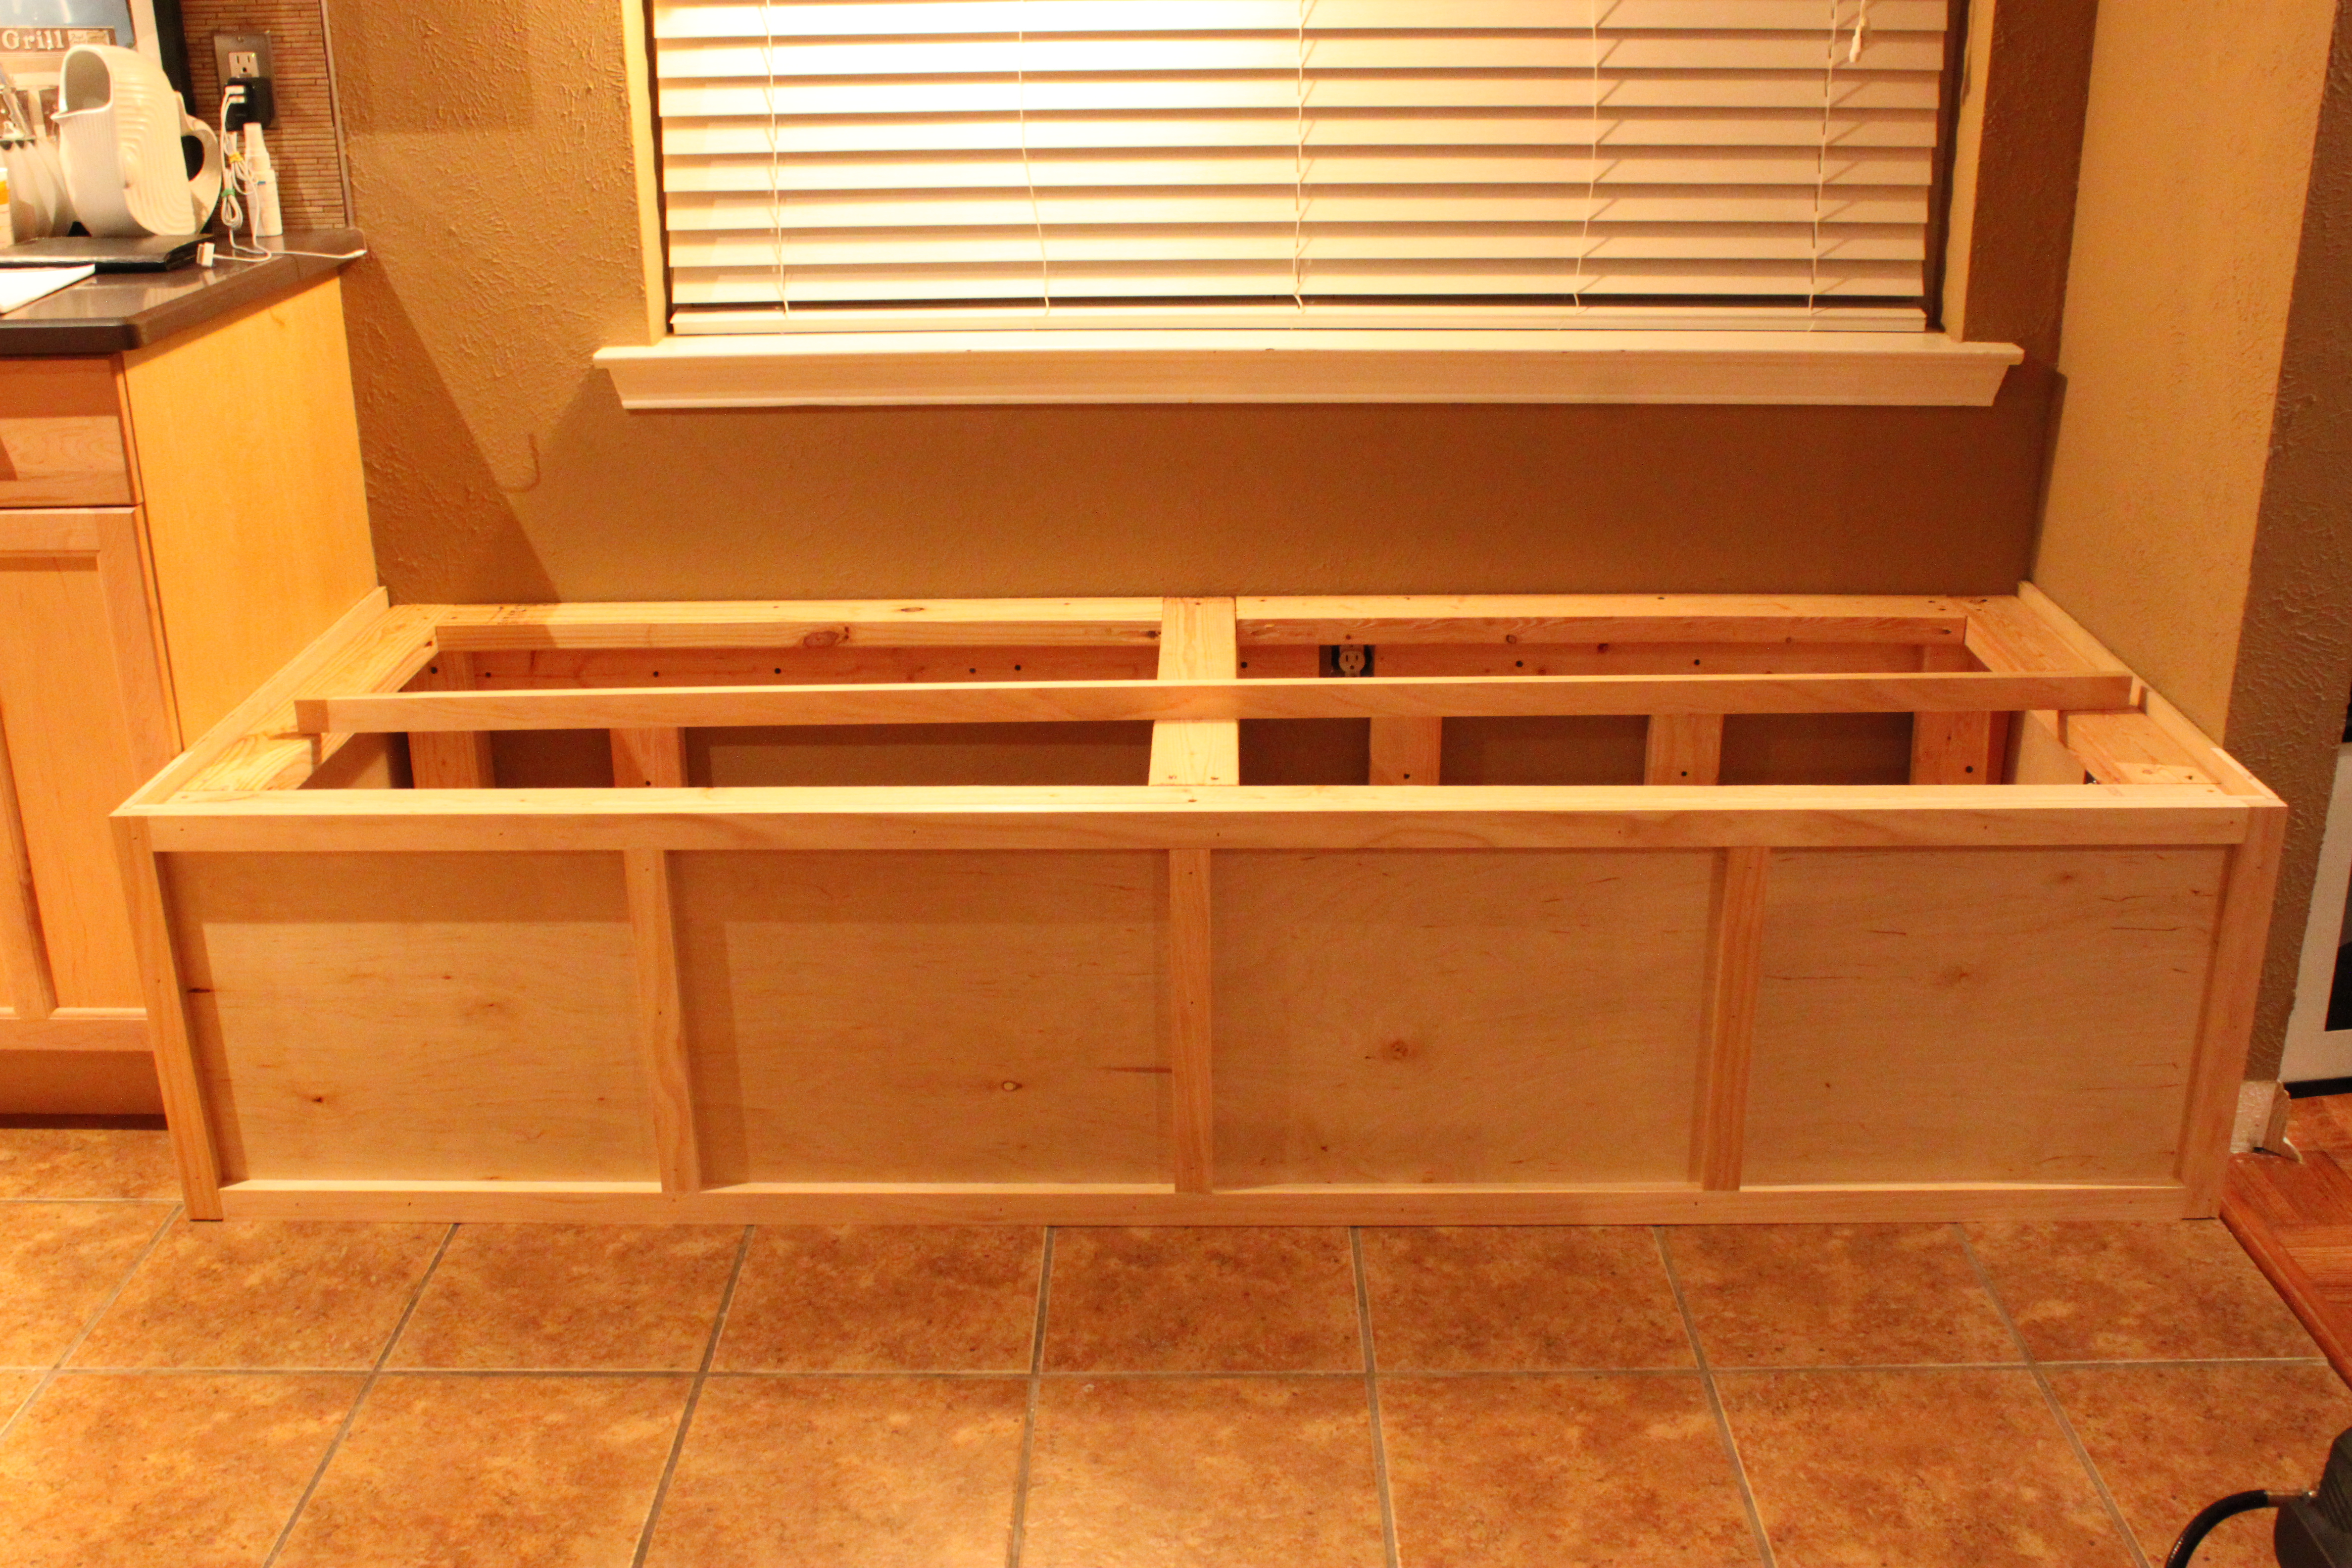
I lay out the structure for my front and attached all my 2 X 4’s with drywall screws.

On the ends, I added a piece that will connect to my sides.

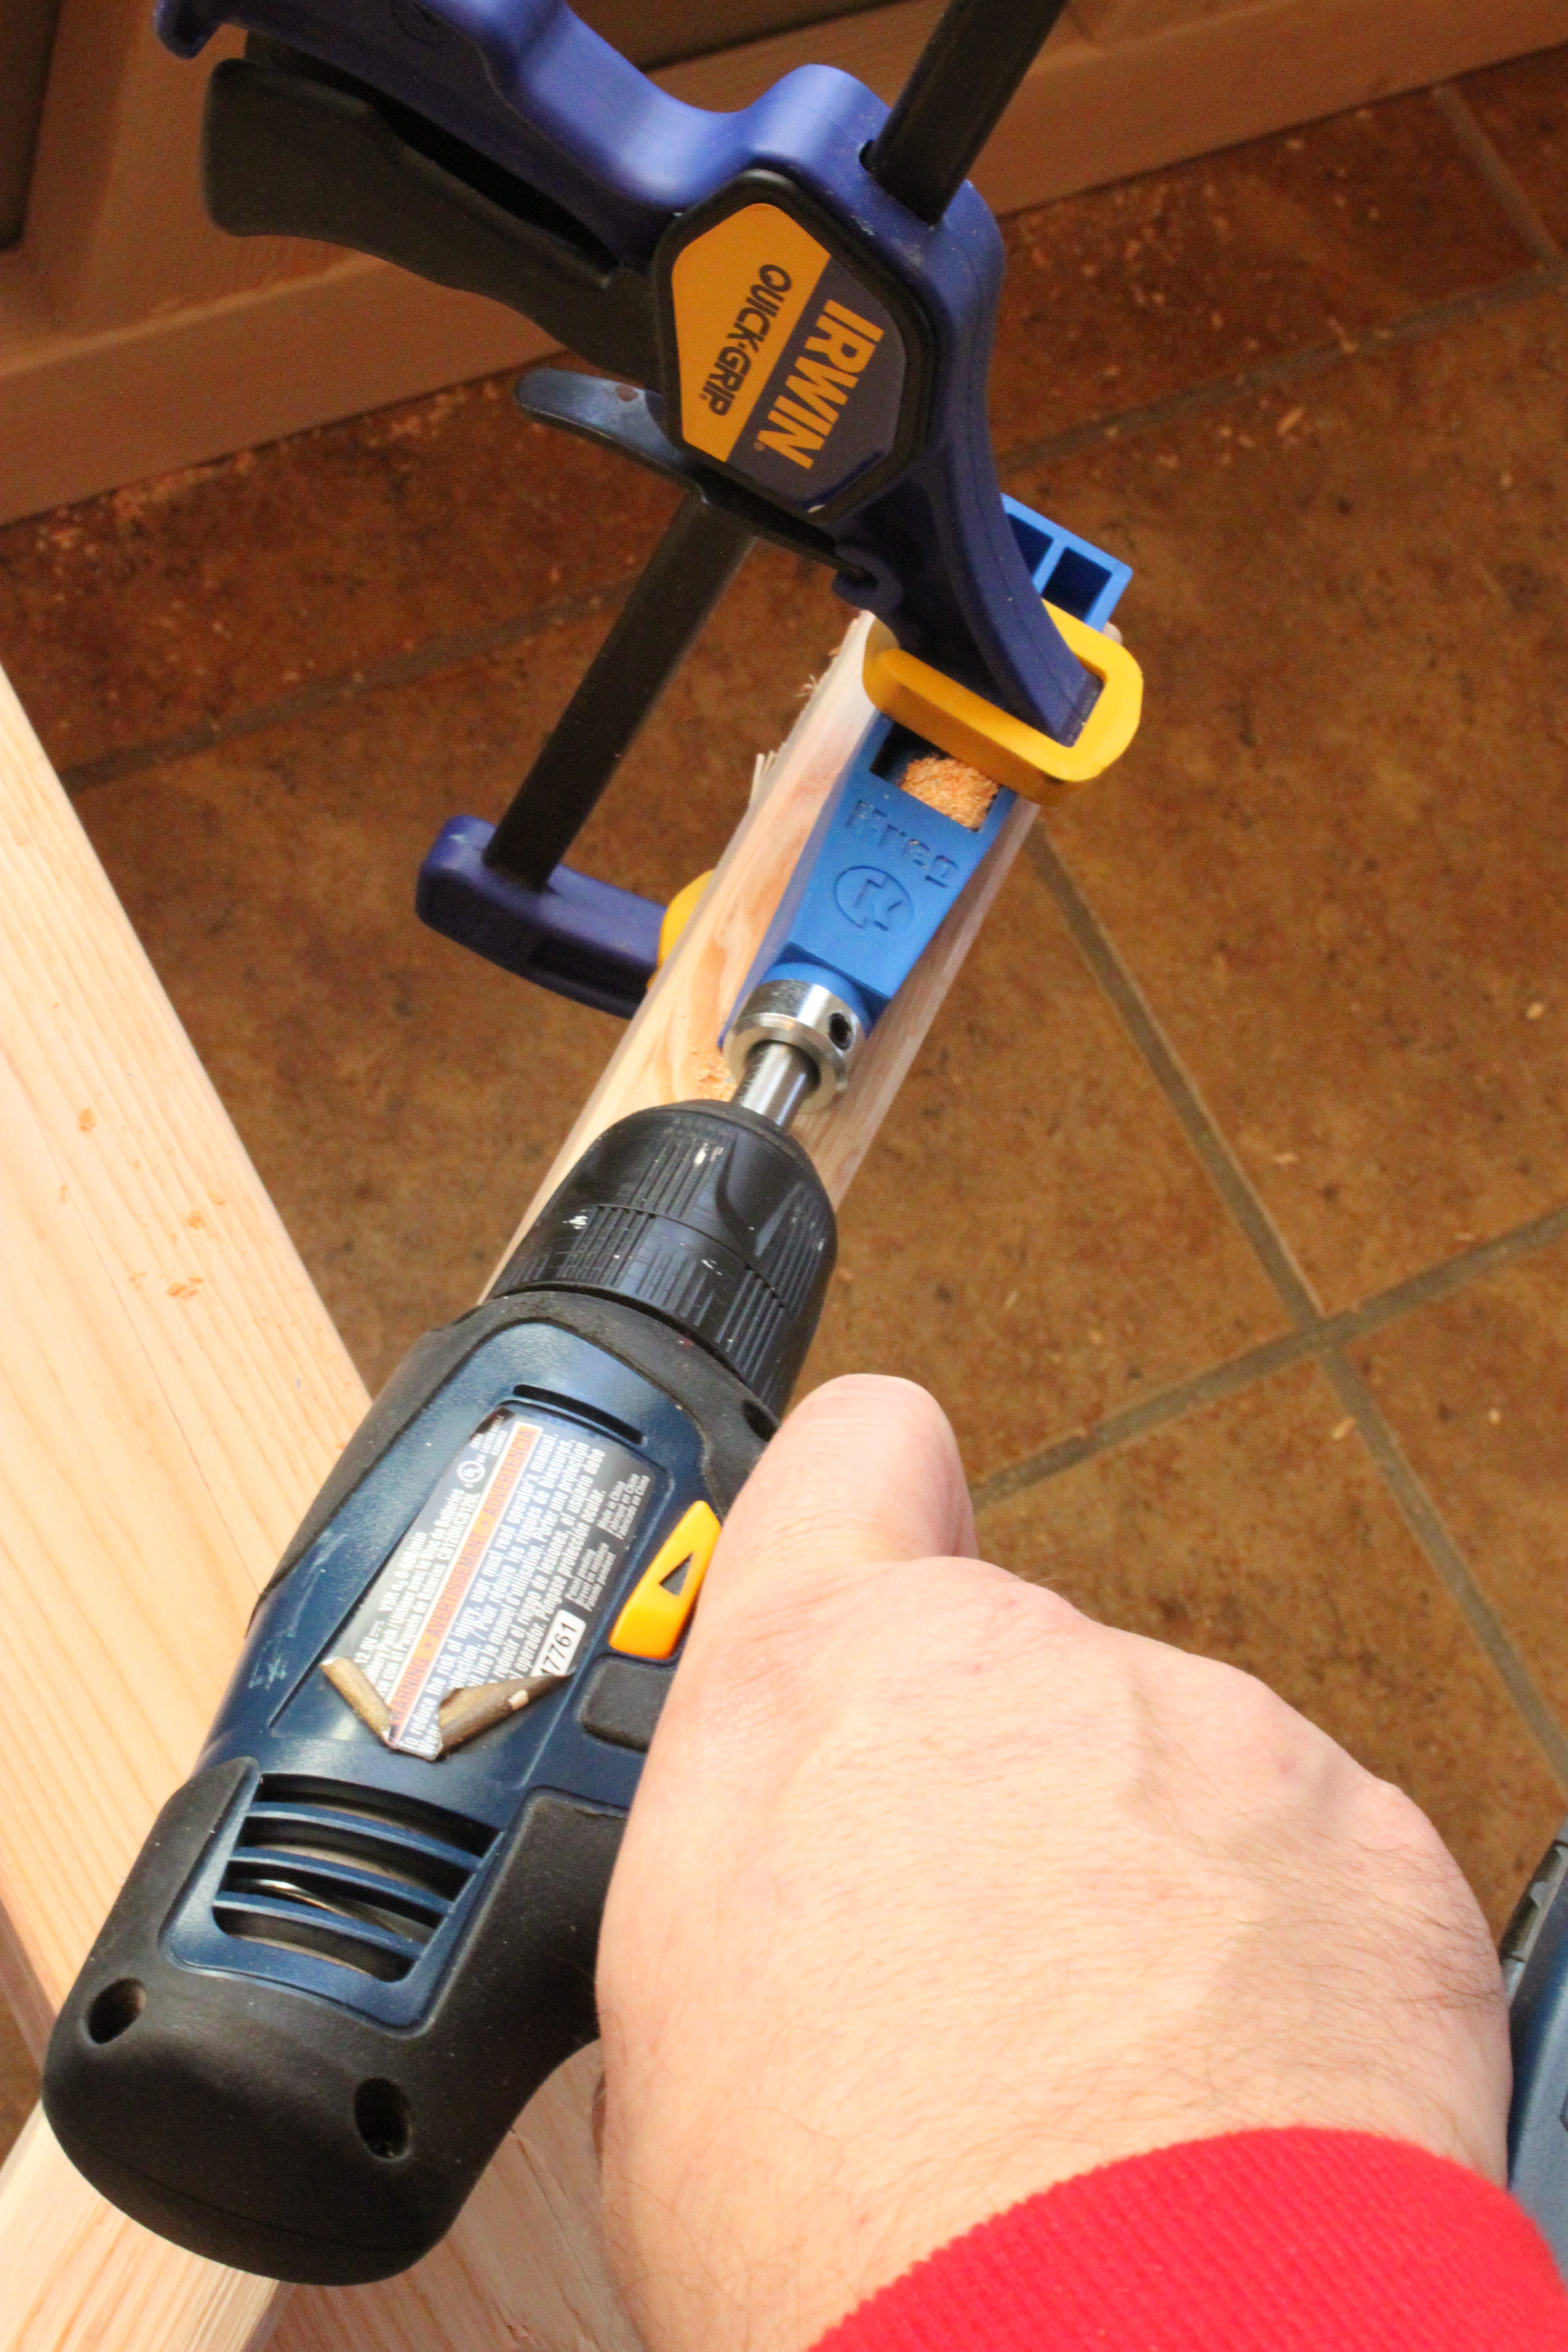
With an angled drill guide clamped on, I made pilot holes to connect my corners with drywall screws and add even more support.
This is the part where I went crazy adding more and more 2X4 pieces in every possible configuration……
Since I didn’t want to destroy the side of the existing kitchen cabinets, or the tile floor, I only attached my banquette pieces to the back wall.
If we really had to, I could unscrew the back pieces and the whole unit would gently slide forward leaving just a few drywall holes to patch.

This is right where I want my bubble to be.
Perfect.

I cut to fit 2 panels of birch plywood to cover the front and tacked them on with brads…..

…and used 1 X 2’s as trim pieces to hide all my edges.
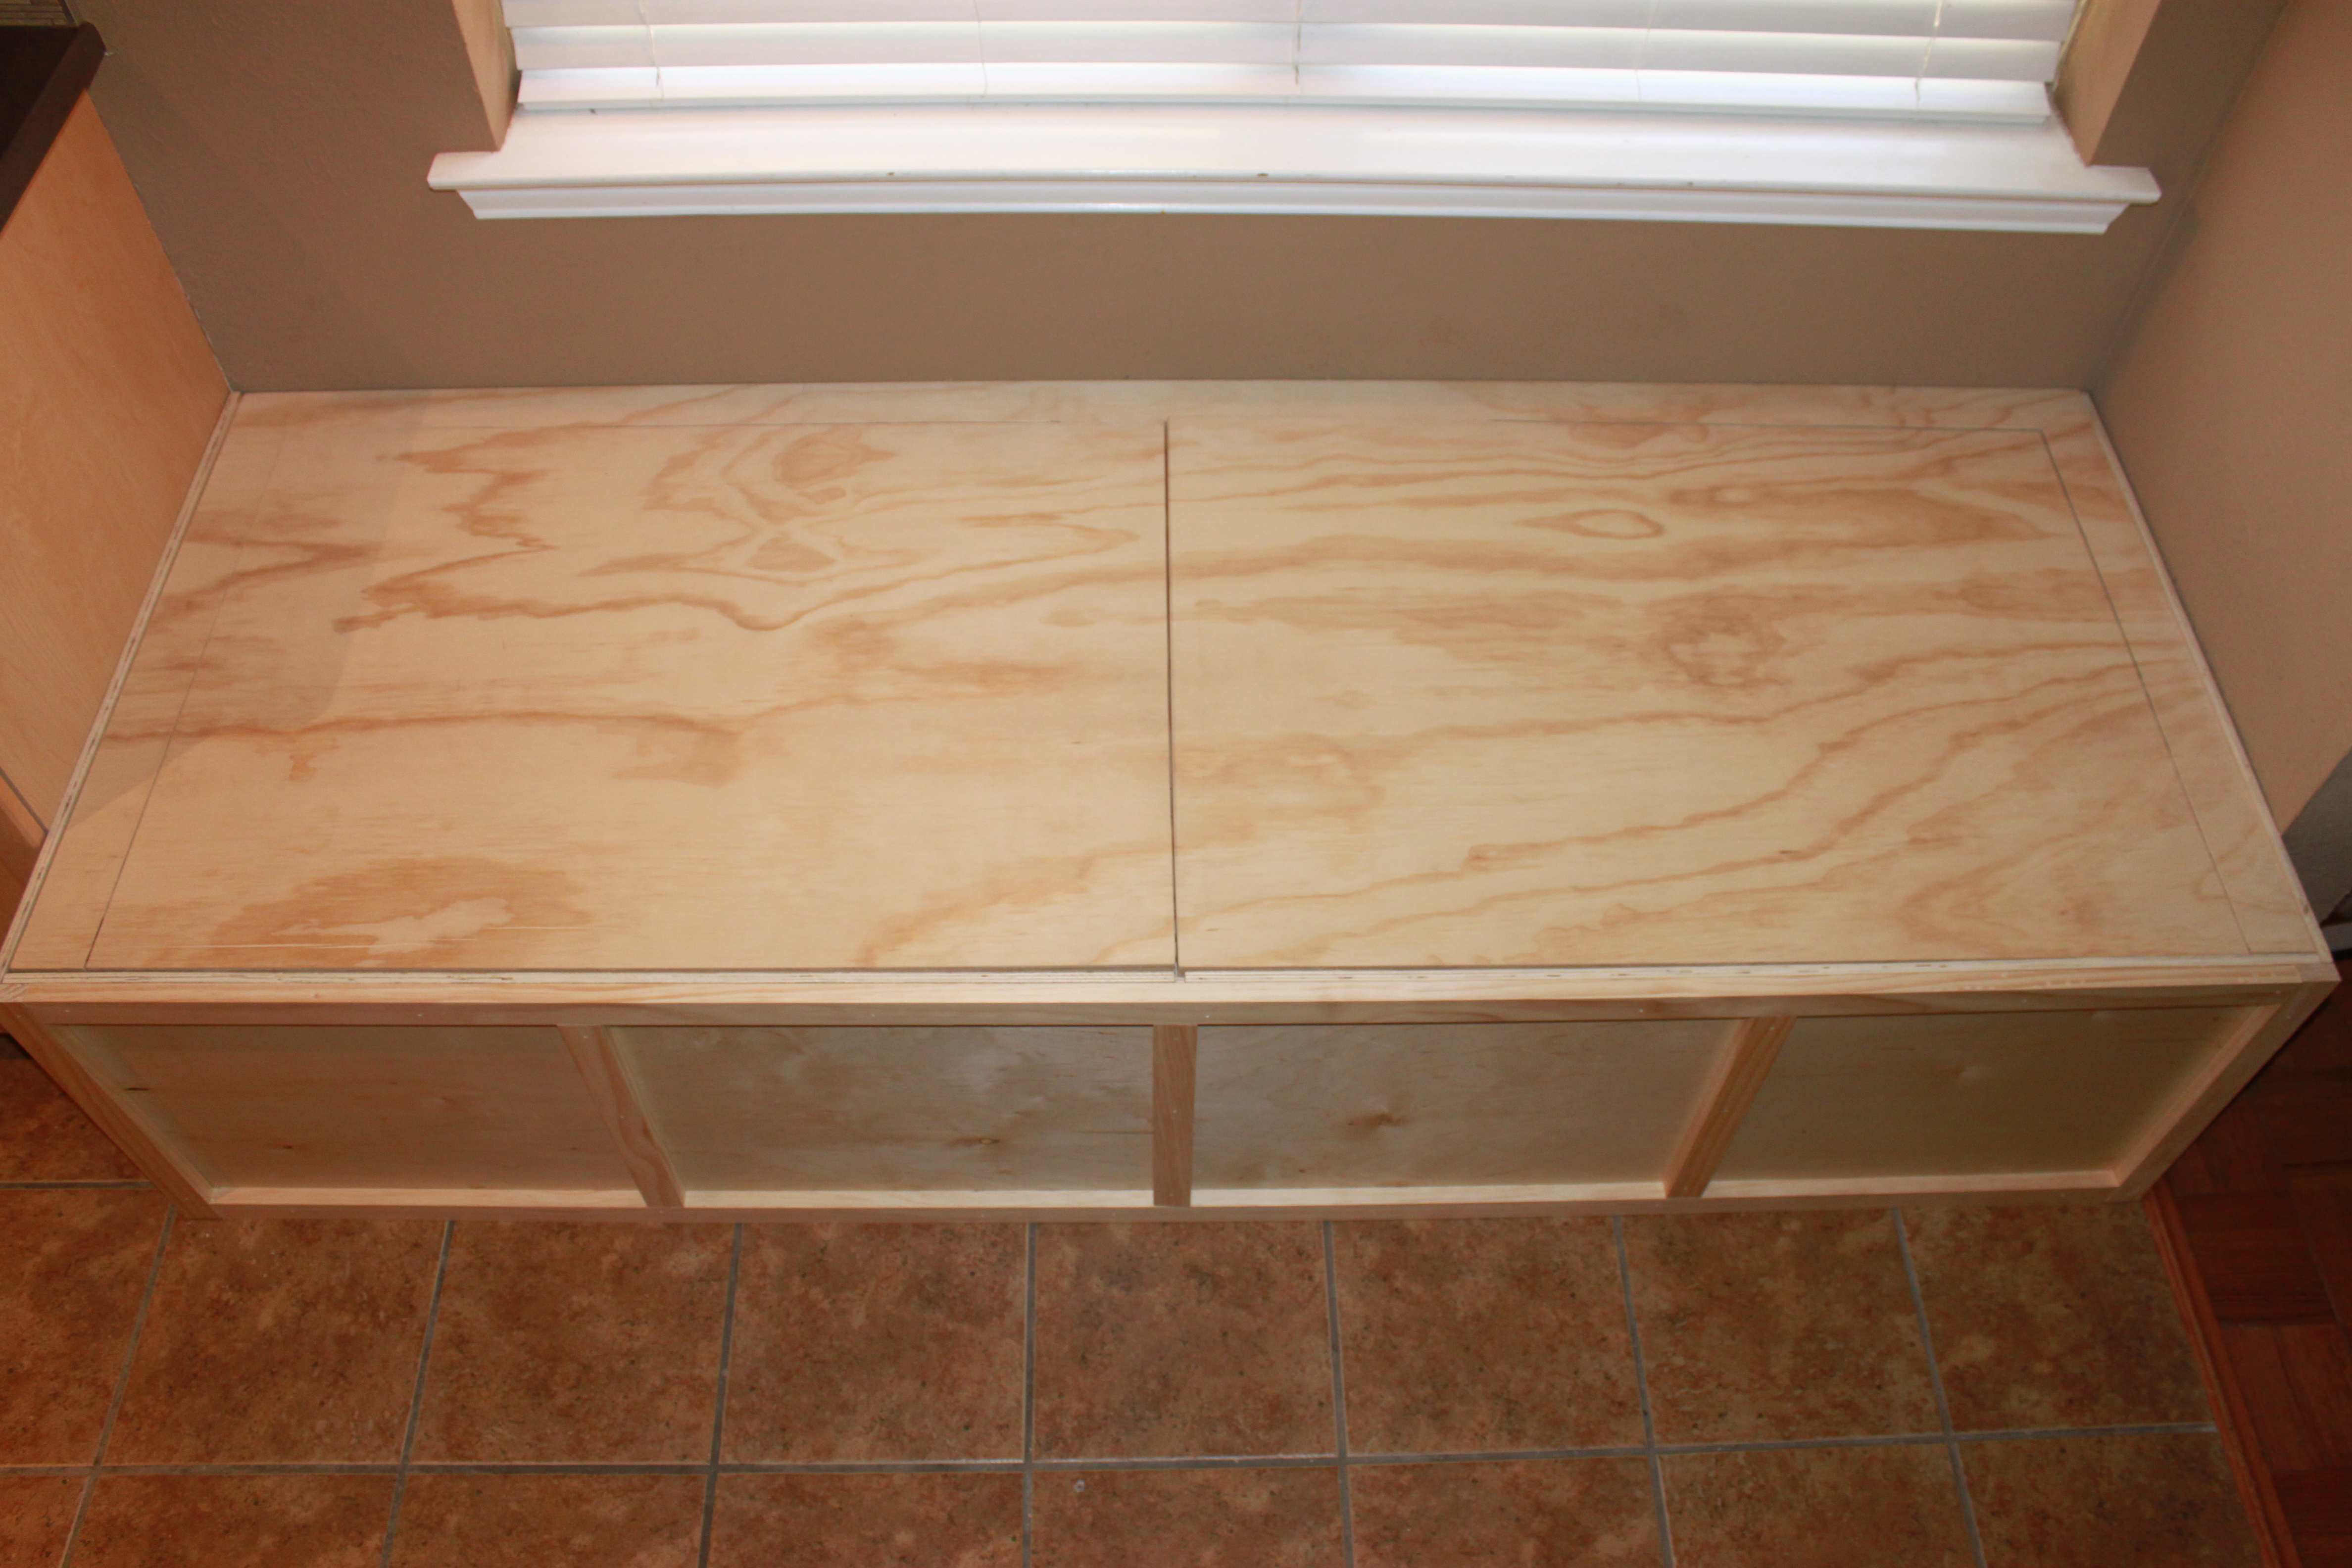
For the top we grabbed a sheet of 1 inch thick pine plywood from Home Depot and they cut it down for us to 81 1/2 by 29 1/2.
It almost fit perfectly inside the top….

I would have shaved off a corner, but I knew that once we cut those 27 X 38 inch doors….everything would fit just perfectly.
And it did.
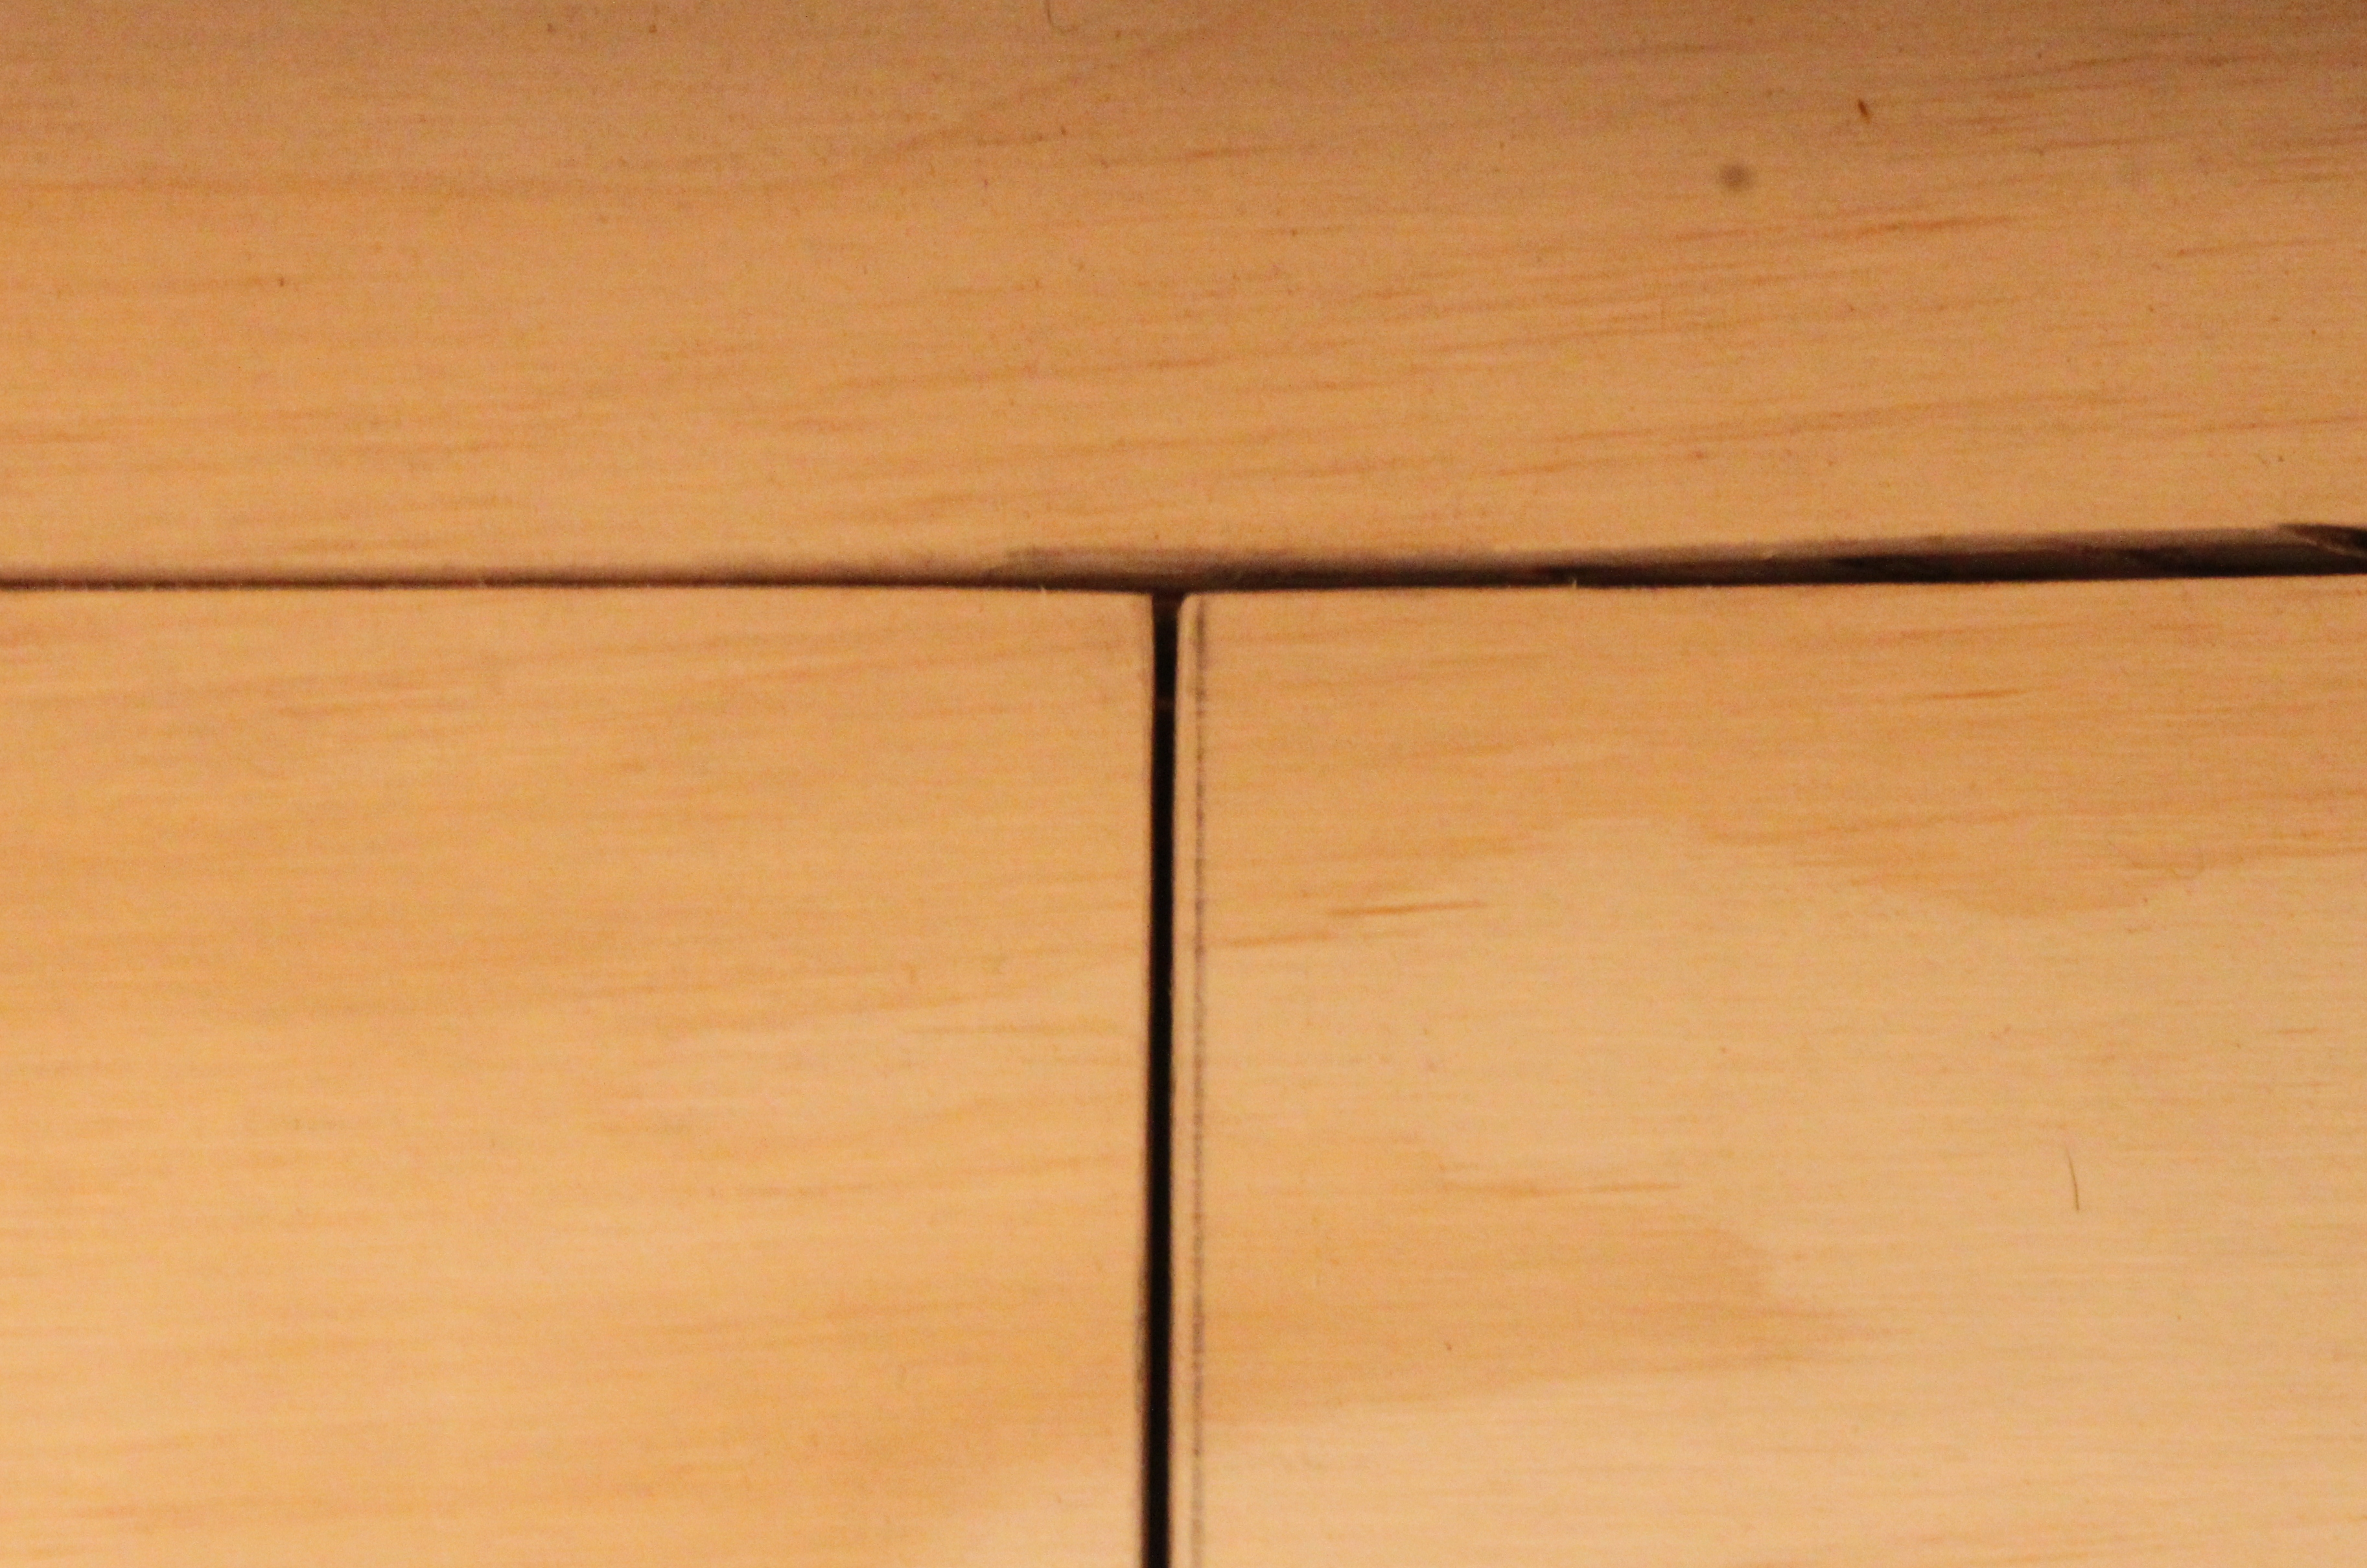
I used a combination of hand-held circular saw and a jig saw to cut these. (a saw blade cut will take about 1/4 inch off…..so always adjust accordingly)
There’s going to be a cushion on the top, and no one will really ever see it….but I gave the whole banquette a coat of satin polyurethane anyway.
Piano hinges were screwed across the back of each lid, and then I drilled a finger hole in each with a 1 inch paddle bit.

My banquette front is pretty similar looking to the birch cabinet doors we already had in the kitchen…
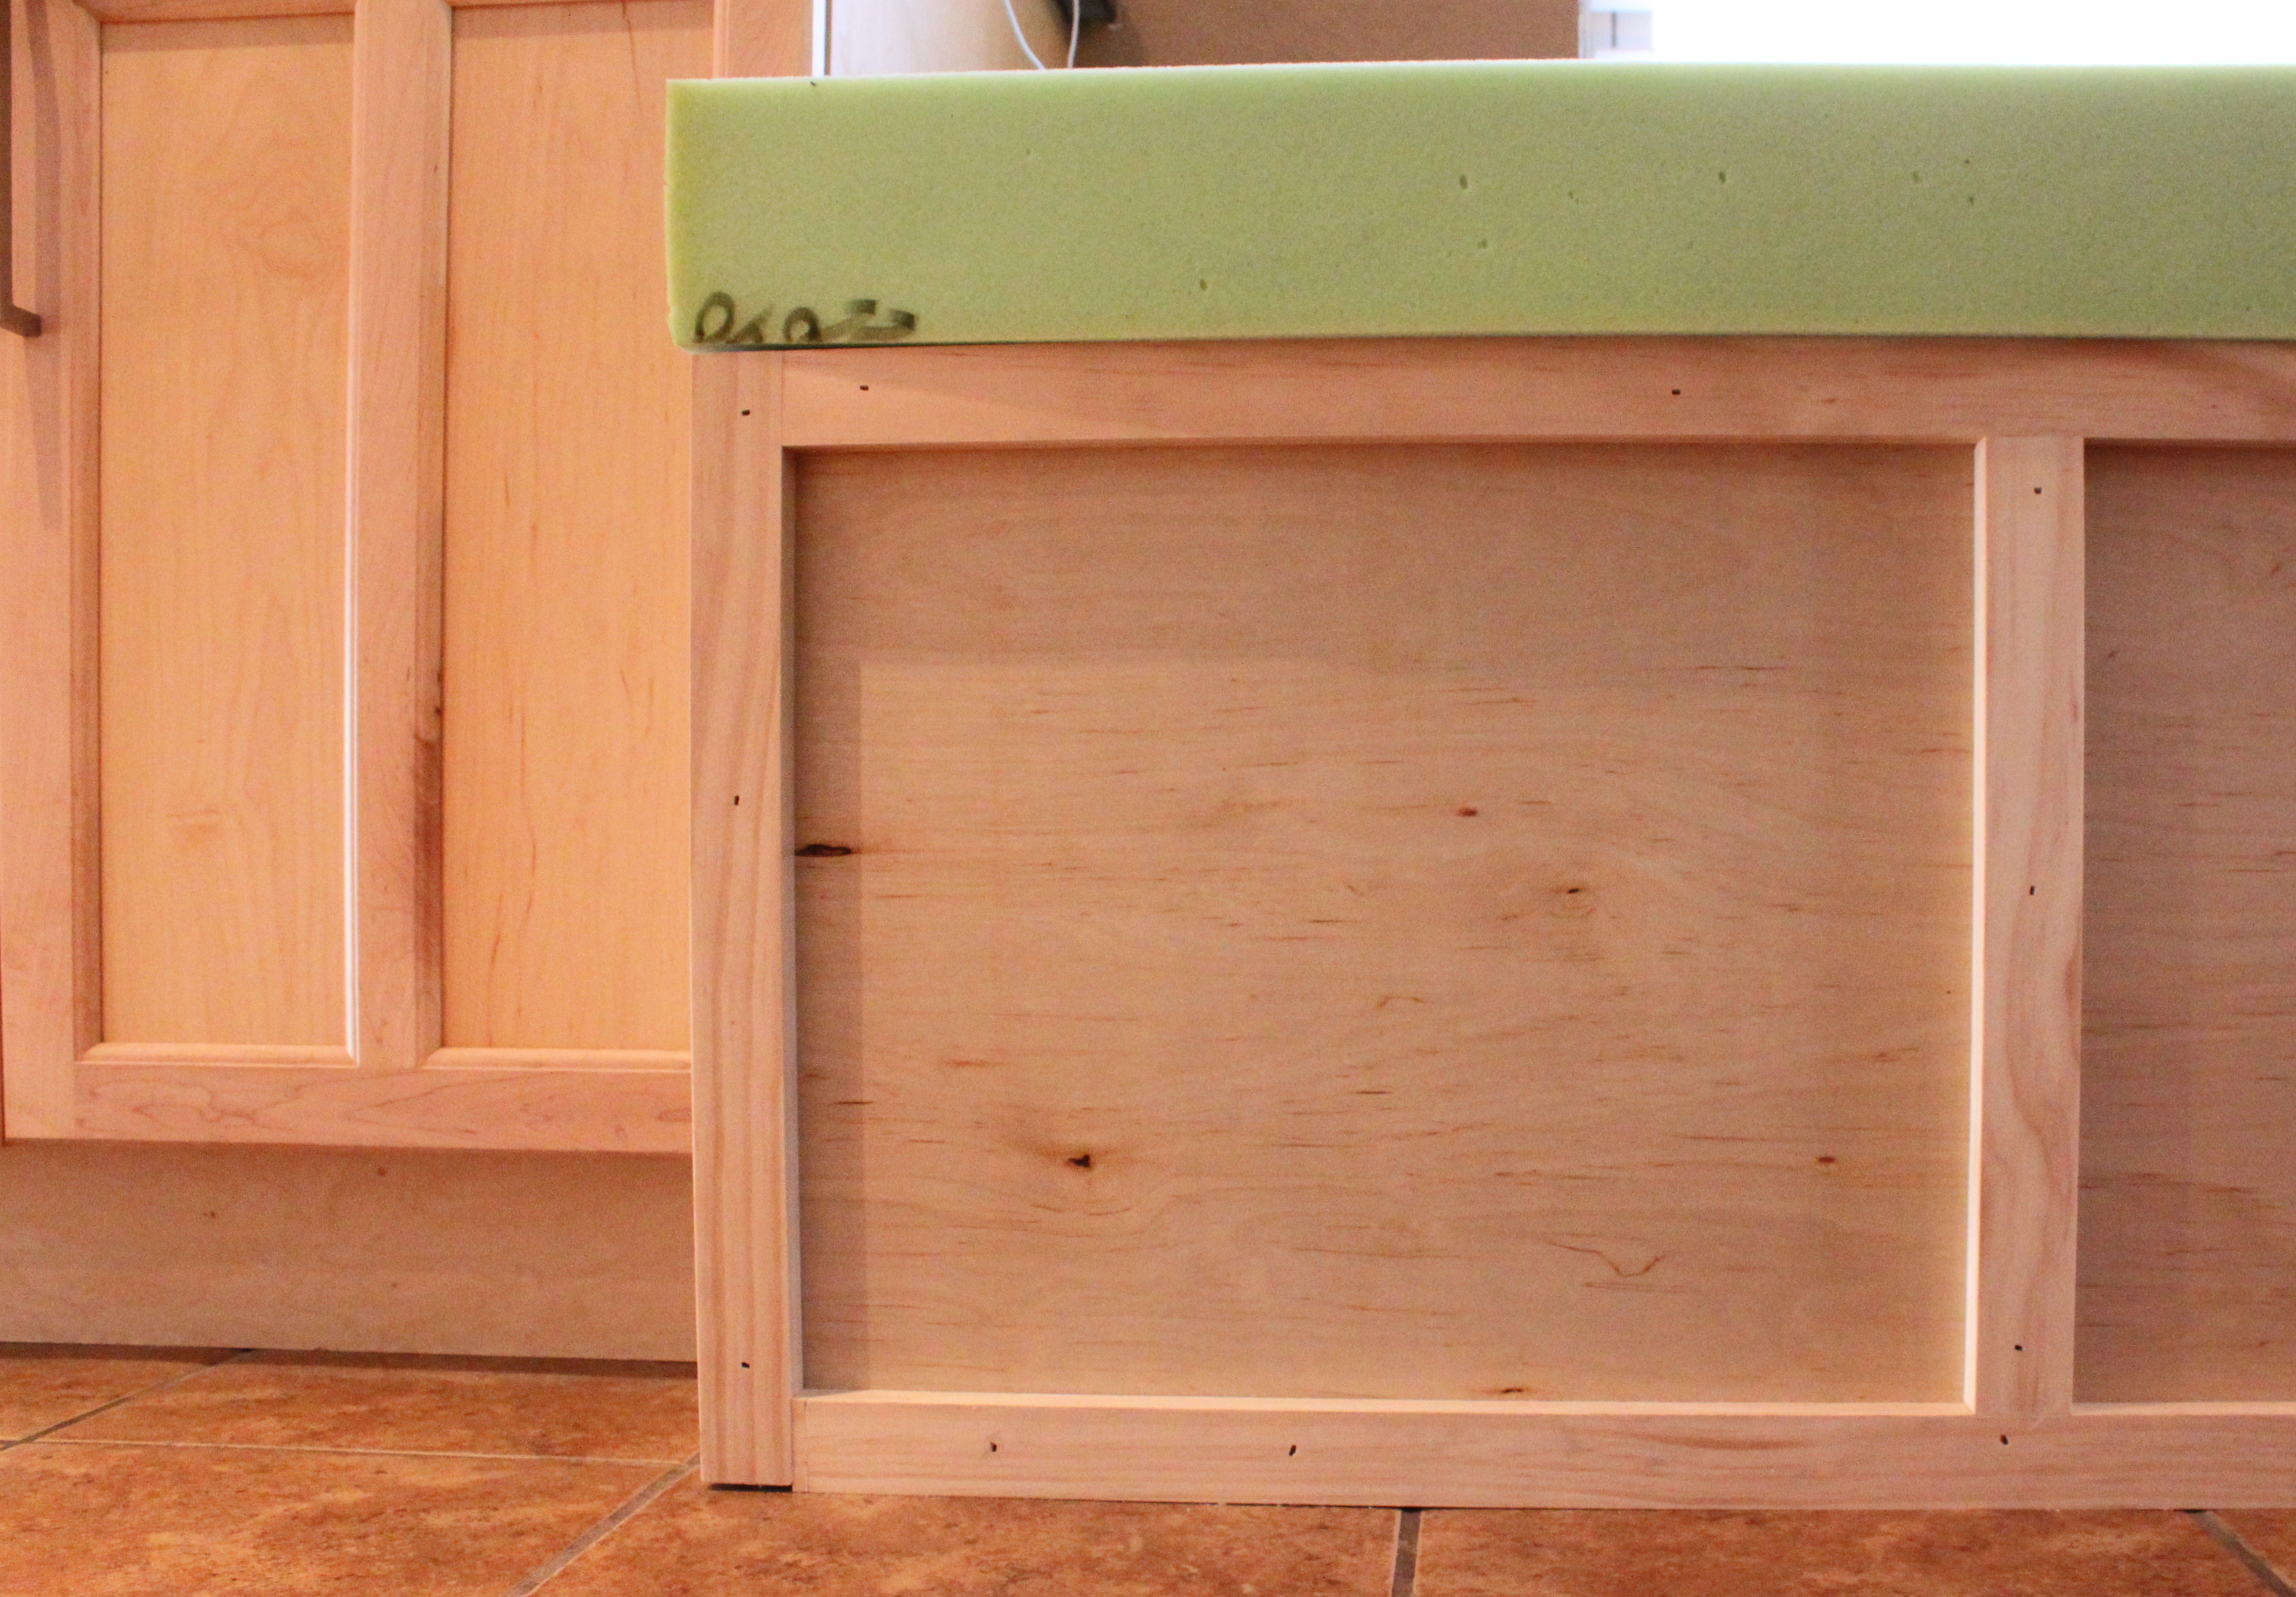
I just needed to add a little quarter round trim to finish them off……OOhhhh, and I fill all my nail holes with blond spackle.
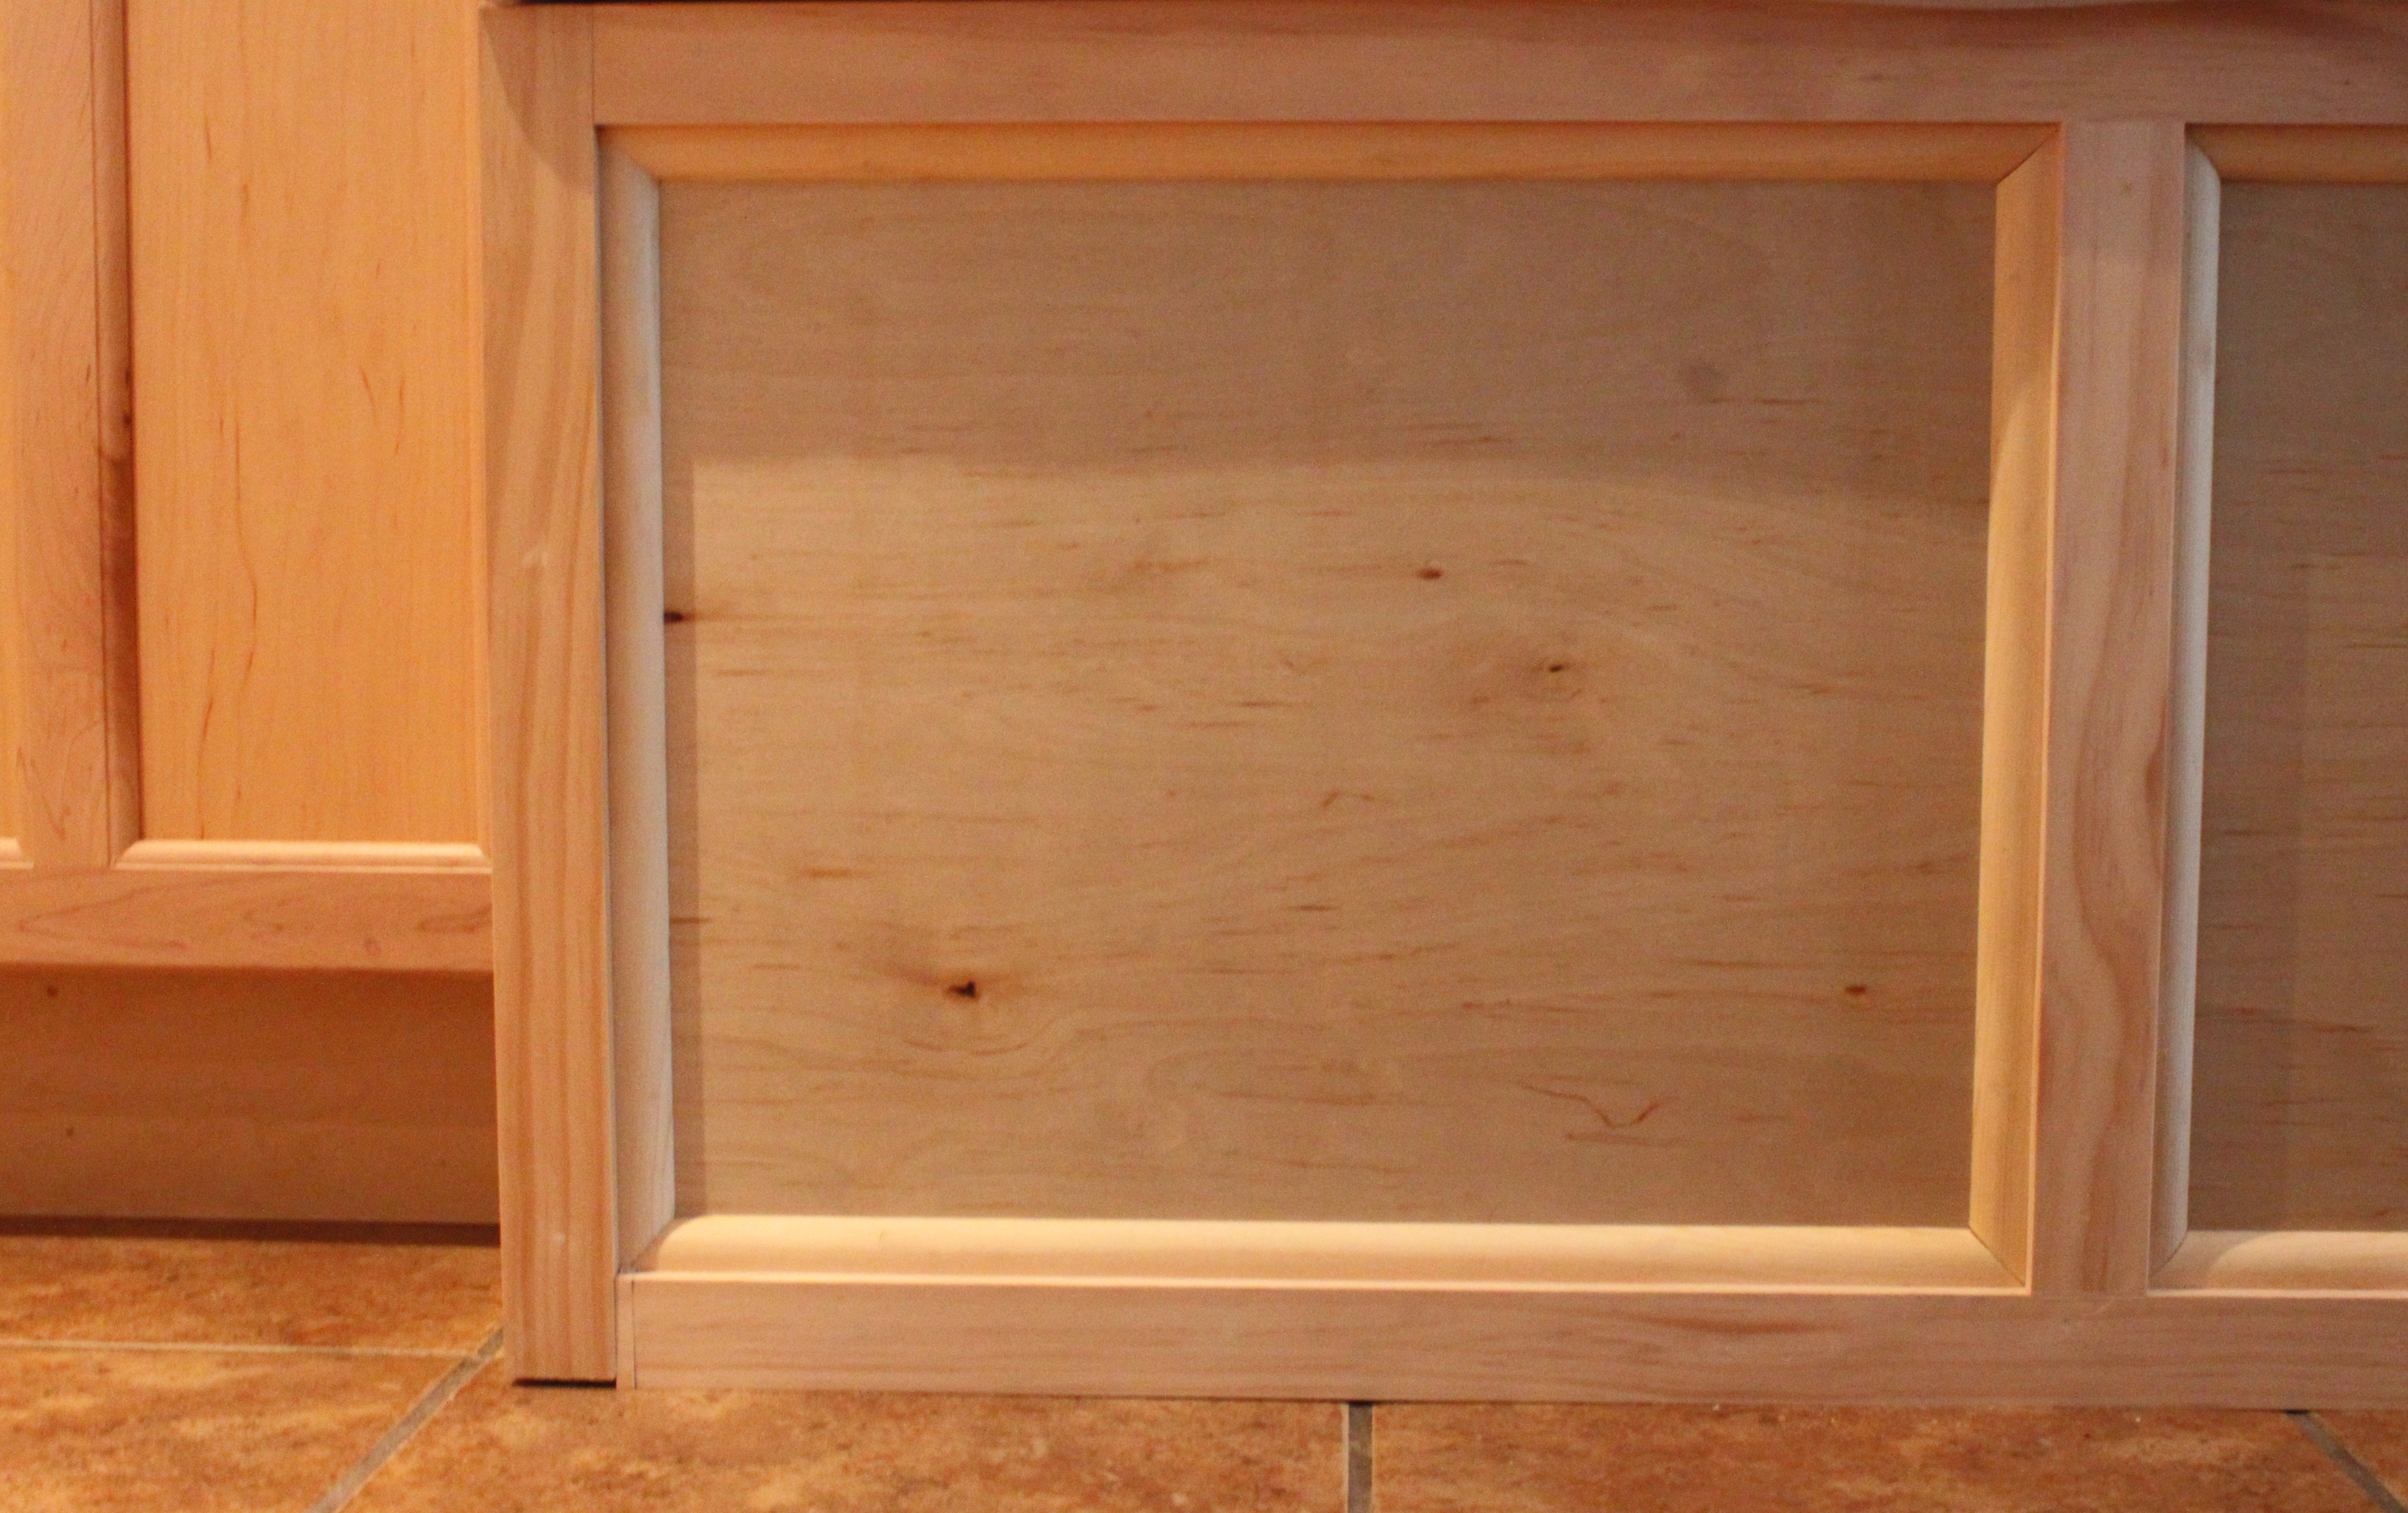
Much better, right?
This is the first step in moving my glass Christmas ornament hoard collection from the master bath shower….and they all fit. (With room to add a few more over the years. Yeah)
That’s why the 2X4 frame had to be extra sturdy.
How terrible would it be if it collapsed in the middle of a party?

Yeppers, Tough project,
With spectacular results.
And Big too……
It’s almost the size of a twin bed.

The banquette cushion, that’s a whole other post. Jamie just wrapped it in a drop cloth for now…but we have big plans for a cover.
Big plans for the master bathroom too.
Now that the shower is no longer being used for ornament storage, we can start demolition on the master bathroom…..
Of course, only after I explain in great, lengthy detail the story of the banquette cushion.
Stay tuned…..


