
I’ve never been a fan of Christmas tree skirts.
I mean, they’re perfectly fine for some people. (Ladies mostly) but I prefer the illusion of a potted tree, maybe resting inside of a bucket, or a basket, or crate, or even a whiskey barrel.…
Like we’ve done for the past 7 years.
But, this year; New Christmas tree = new container = new idea.
I started in my slightly hoarded garage. With a stack of wood scraps.
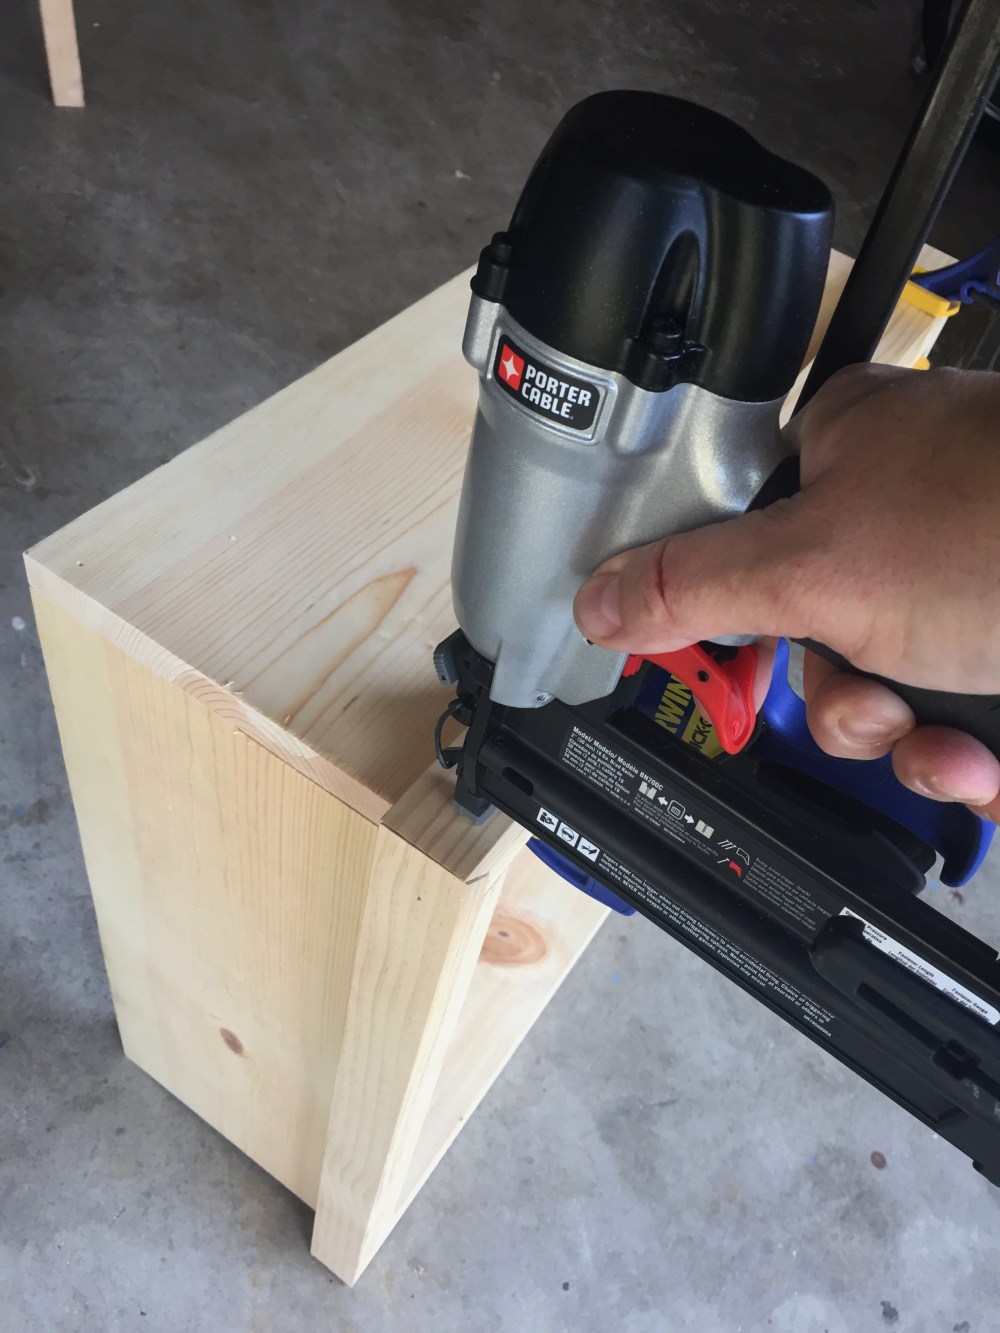
I cut a pine 1X10 into 4 equal sides of 20″ and used a brad nailer to attach them overlapping like so. My tree stand is about 18 inches wide. So 19 inches inside my box should be exactly enough to hide it, and all the ugly extension cords, quite nicely

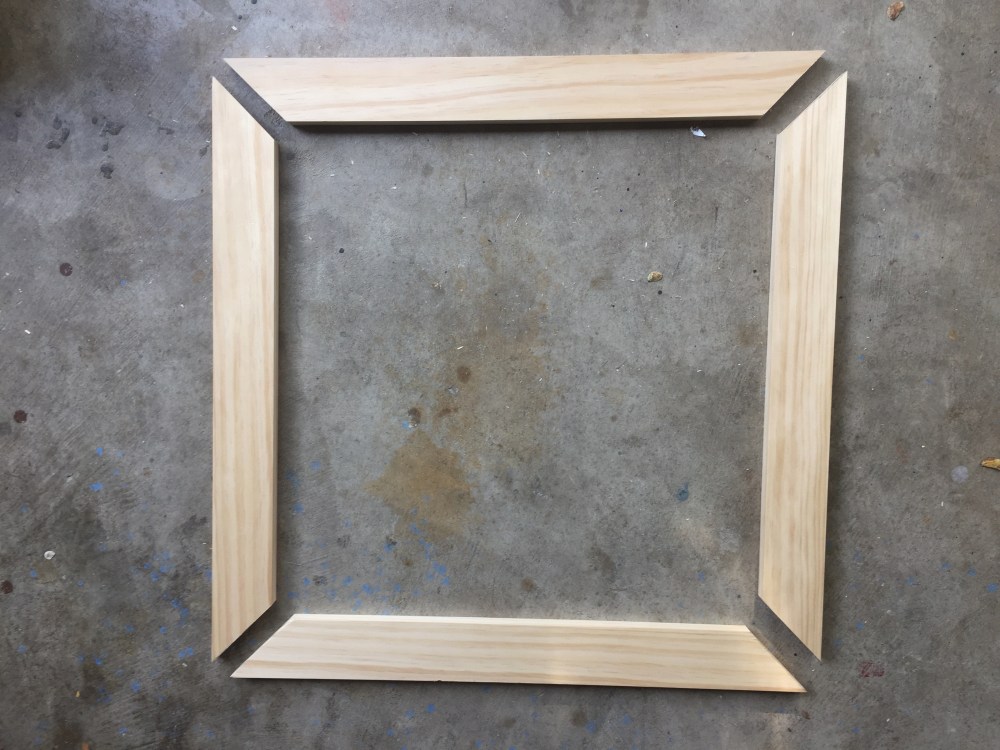
Once the basic box was made, I found a handful of 1X2 to use a trim. I cut 8 of them at 22 1/4″, with a 45 degree beveled angle.

I used a brad nailer to attach the trim pieces to the bottom edge of my box with the beveled corners lining up over the sems.
I repeated the process along the top edge with the 4 other 22 1/4″ trim pieces.

I wanted a lip on the top of my box, and since I had a 1X3 board……1X3 it is. These 4 pieces I cut to 24 1/4″. Again, I mitered all the edges at 45 degree angles….like so.
And then attached them to the top edge with that handy brad nailer like so.

Looking down on my box, this trim gives it a nice clean finish. I know that you’re thinking; “That thing needs a bottom.” But it doesn’t. Trust me….that’s just extra work.

I used a wood filler to fill all the holes from the brads. This isn’t really necessary, especially if your finished box will look aged. But I would recommend this if you’re going to paint it a solid color. Your choice.

Speaking of painting, Jamie had suggested that it would look really cool if the tree was coming from a stack of old Coke crates…..like these,

Well, it just so happens that I had a quart of what I would consider “Coca-Cola” red……Ralph Lauren “Stateroom Red” actually. In flat latex.
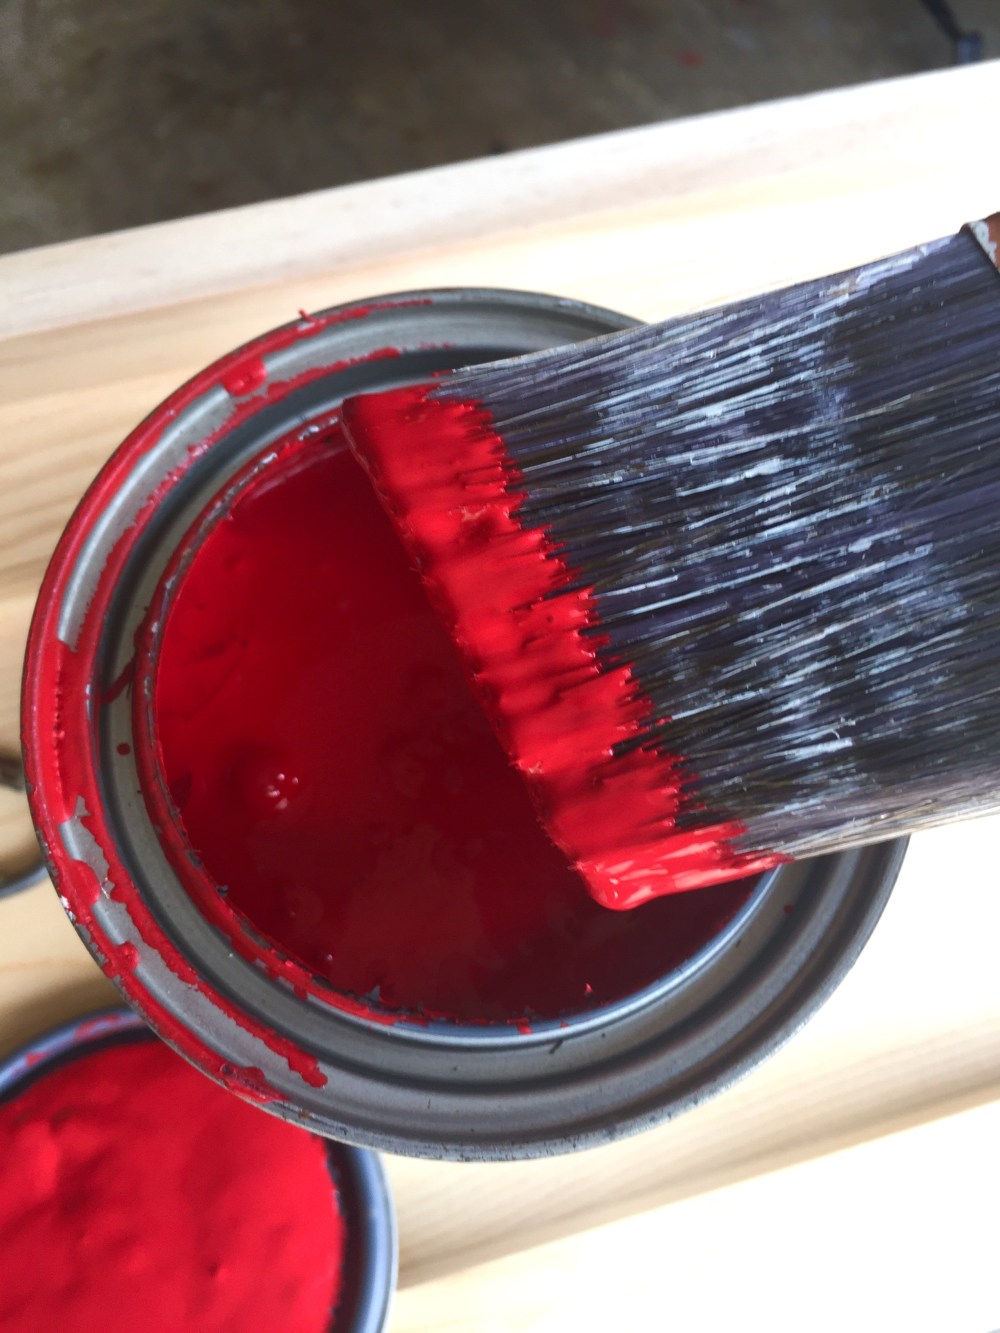
If you’ve never dry-brushed something before, I think the technique is pretty self-explanatory. You simply apply as little paint as humanly possible to the surface with a brush. I want the finished box to look weathered and rough, so this is pretty close to perfect for me.
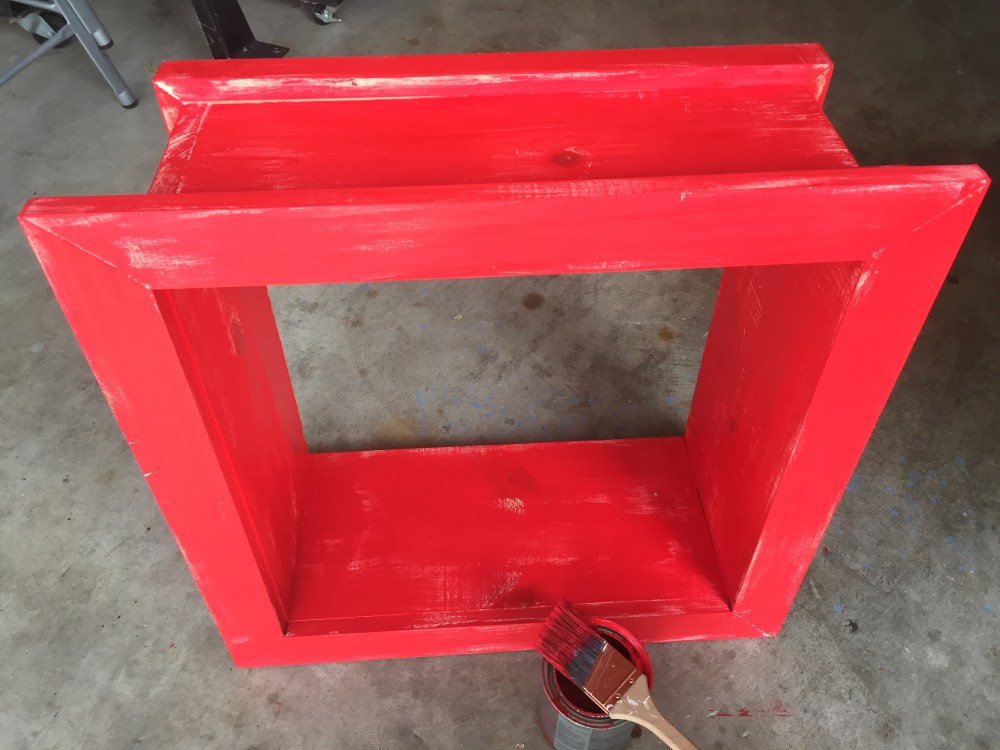
Well, almost perfect. Just to make it look even more aged, I roughed it up more with some 80 grit sandpaper.

The sandpaper really exposed all the edges to the natural pine underneath, kinda like on my inspiration Coke crates.

And there you have it, a finished box for the bottom of our Christmas tree.

Way more, much better.

