
When we stumbled on this barrel full of vintage yardsticks at one of our favorite junk shops, Curiosities in Lakewood…….
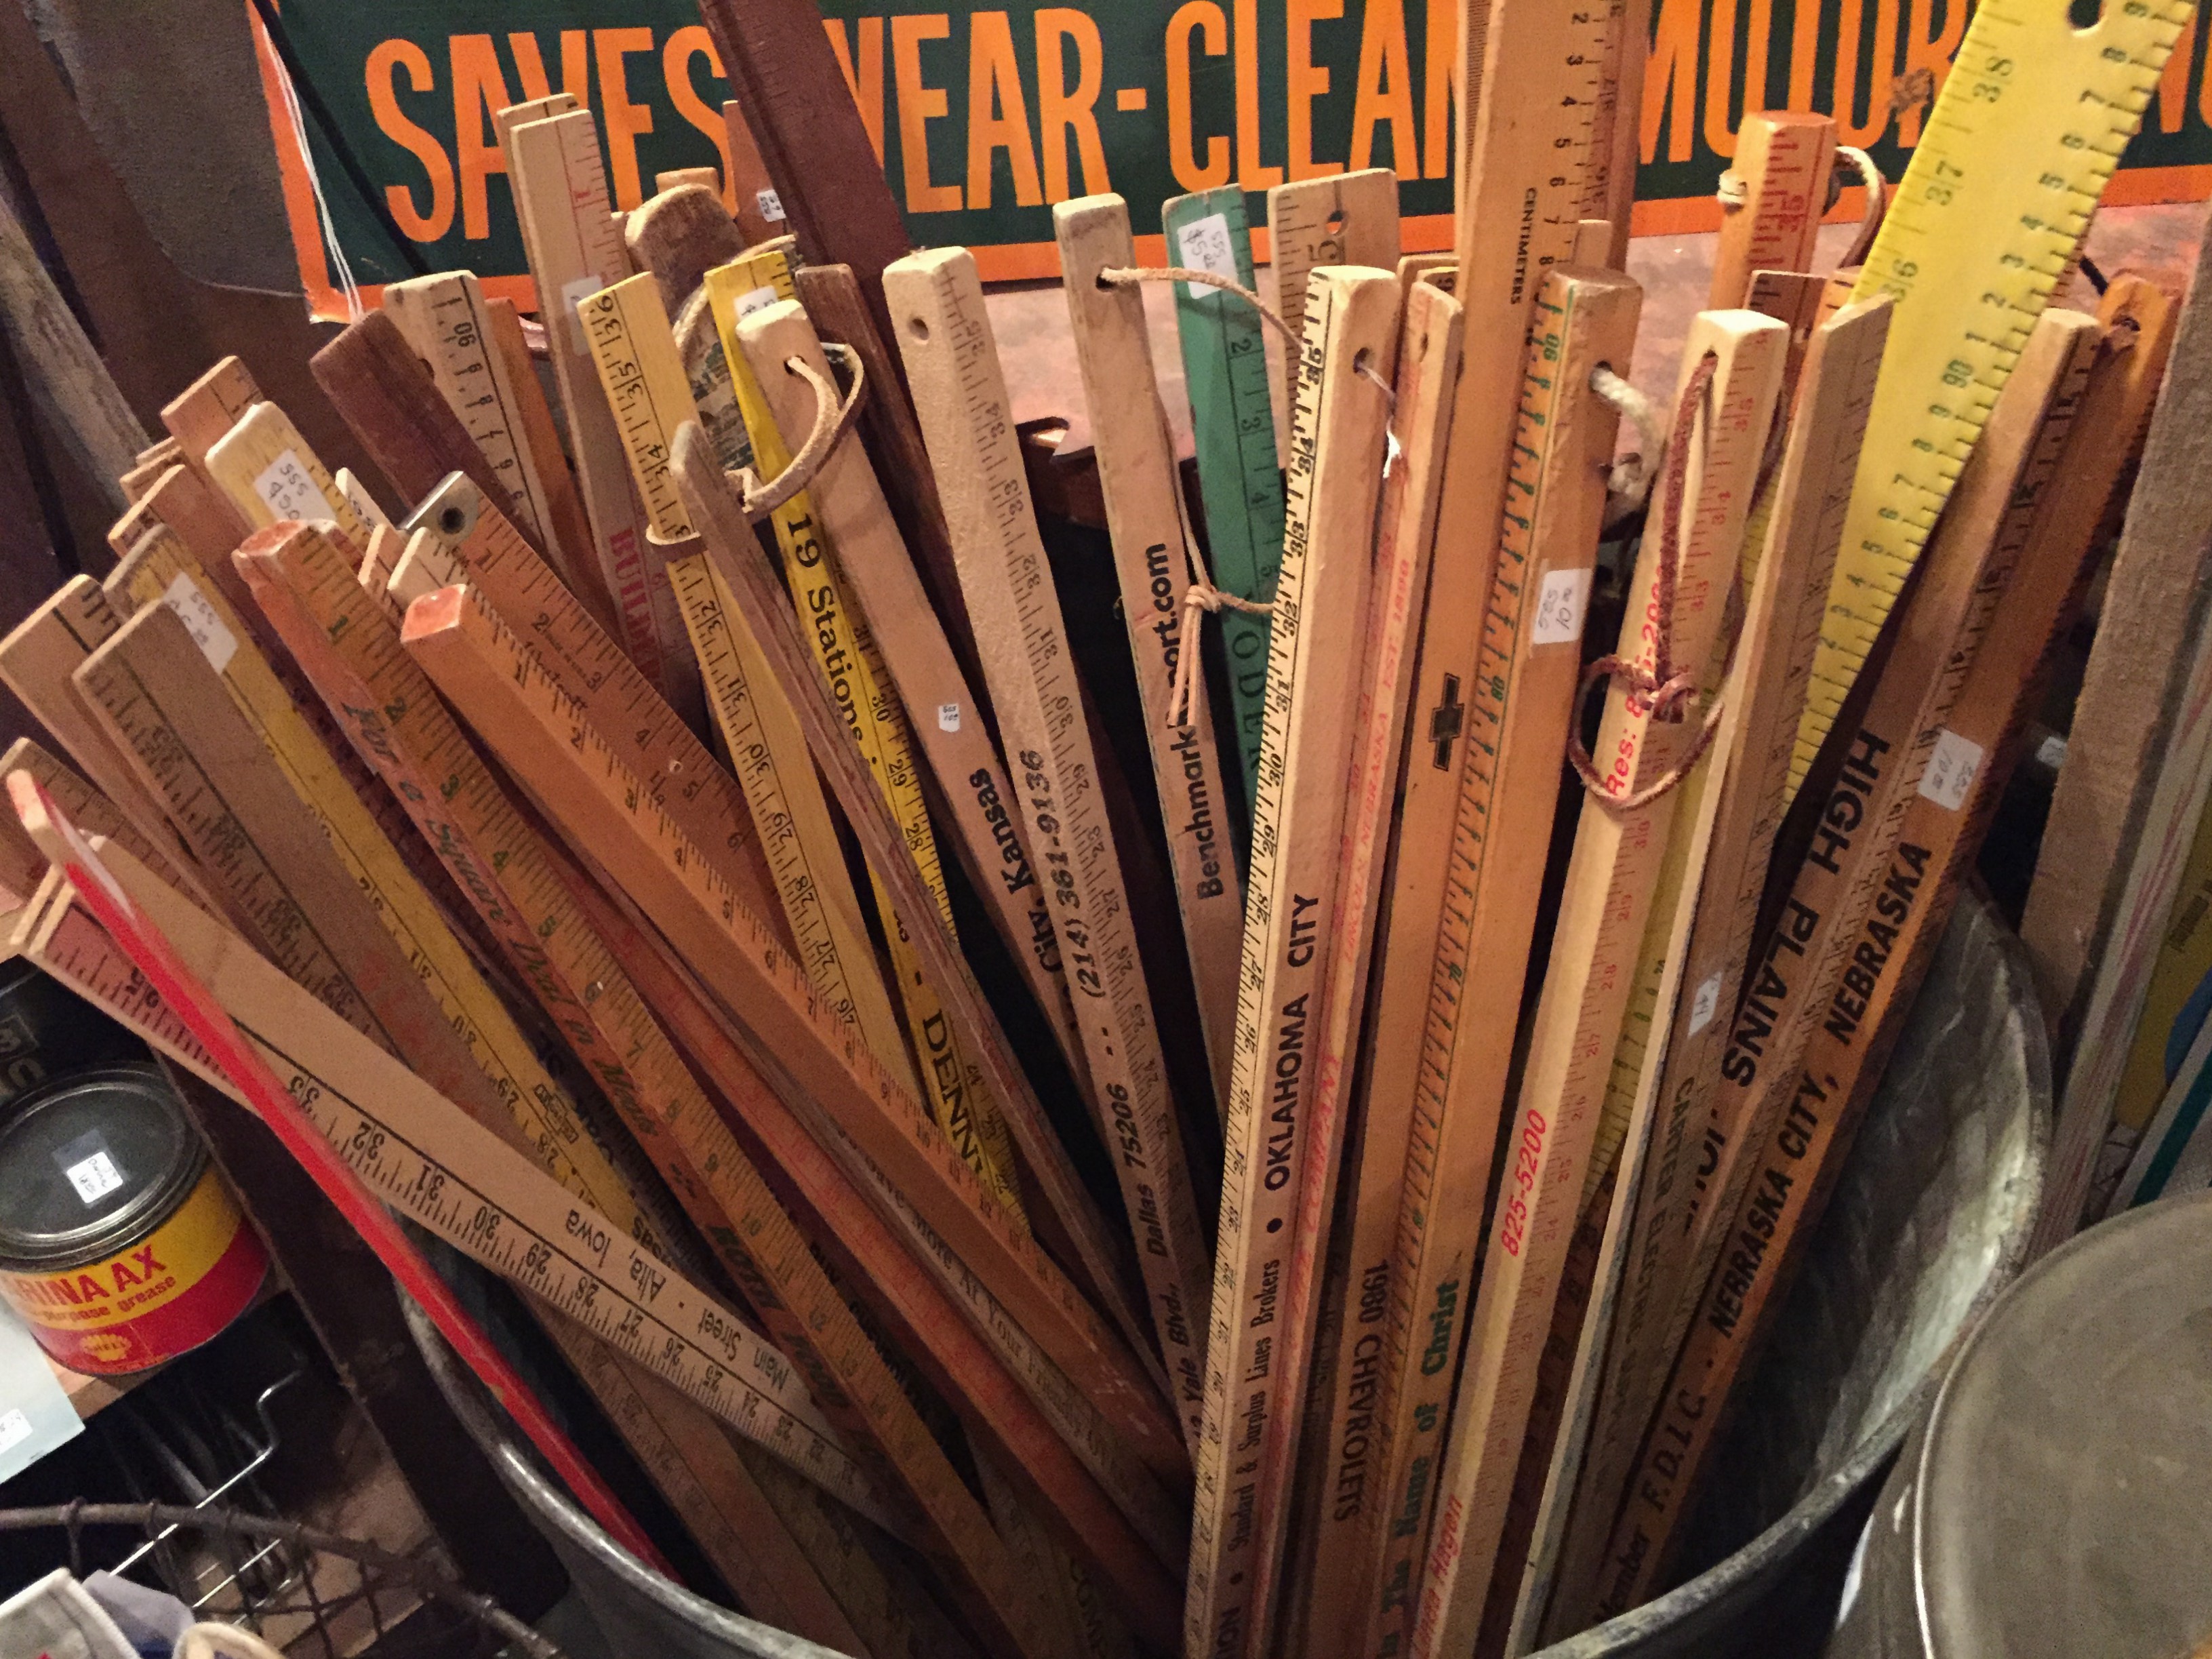
….how on earth could we pass them up?
And just a couple bucks each. I’m there.
We’re also constantly picking-up these cheap Ribba frames from Ikea….

We just never know when we might have a framing emergency. Or possibly a brilliant idea.
Like…..Yardstick Picture Frames
Here’s what ya need to make your own…..

Basically, the yardsticks are just cut & glued to the edges of the frames…..
The question is, “To miter, or not to miter?”
Sure, mitering is a little more time-consuming, and you certainly don’t have to, but look at the difference it makes.

I say miter.
If you’ve never used a miter box before, you should get one. They’re about 15 bucks from the Home Depot….with the saw included.
The box hugs the edge of the work table to keep it steady…..

…..and guides the saw in perfect 45 degree cuts.

The yardsticks are pretty soft and cut easily. Just be sure to cut all the pieces just slightly longer than you measure. You can always trim/sand a little off.
Smooth the edges with a little rub of 220 grit sandpaper.

Put together the sides before the top.

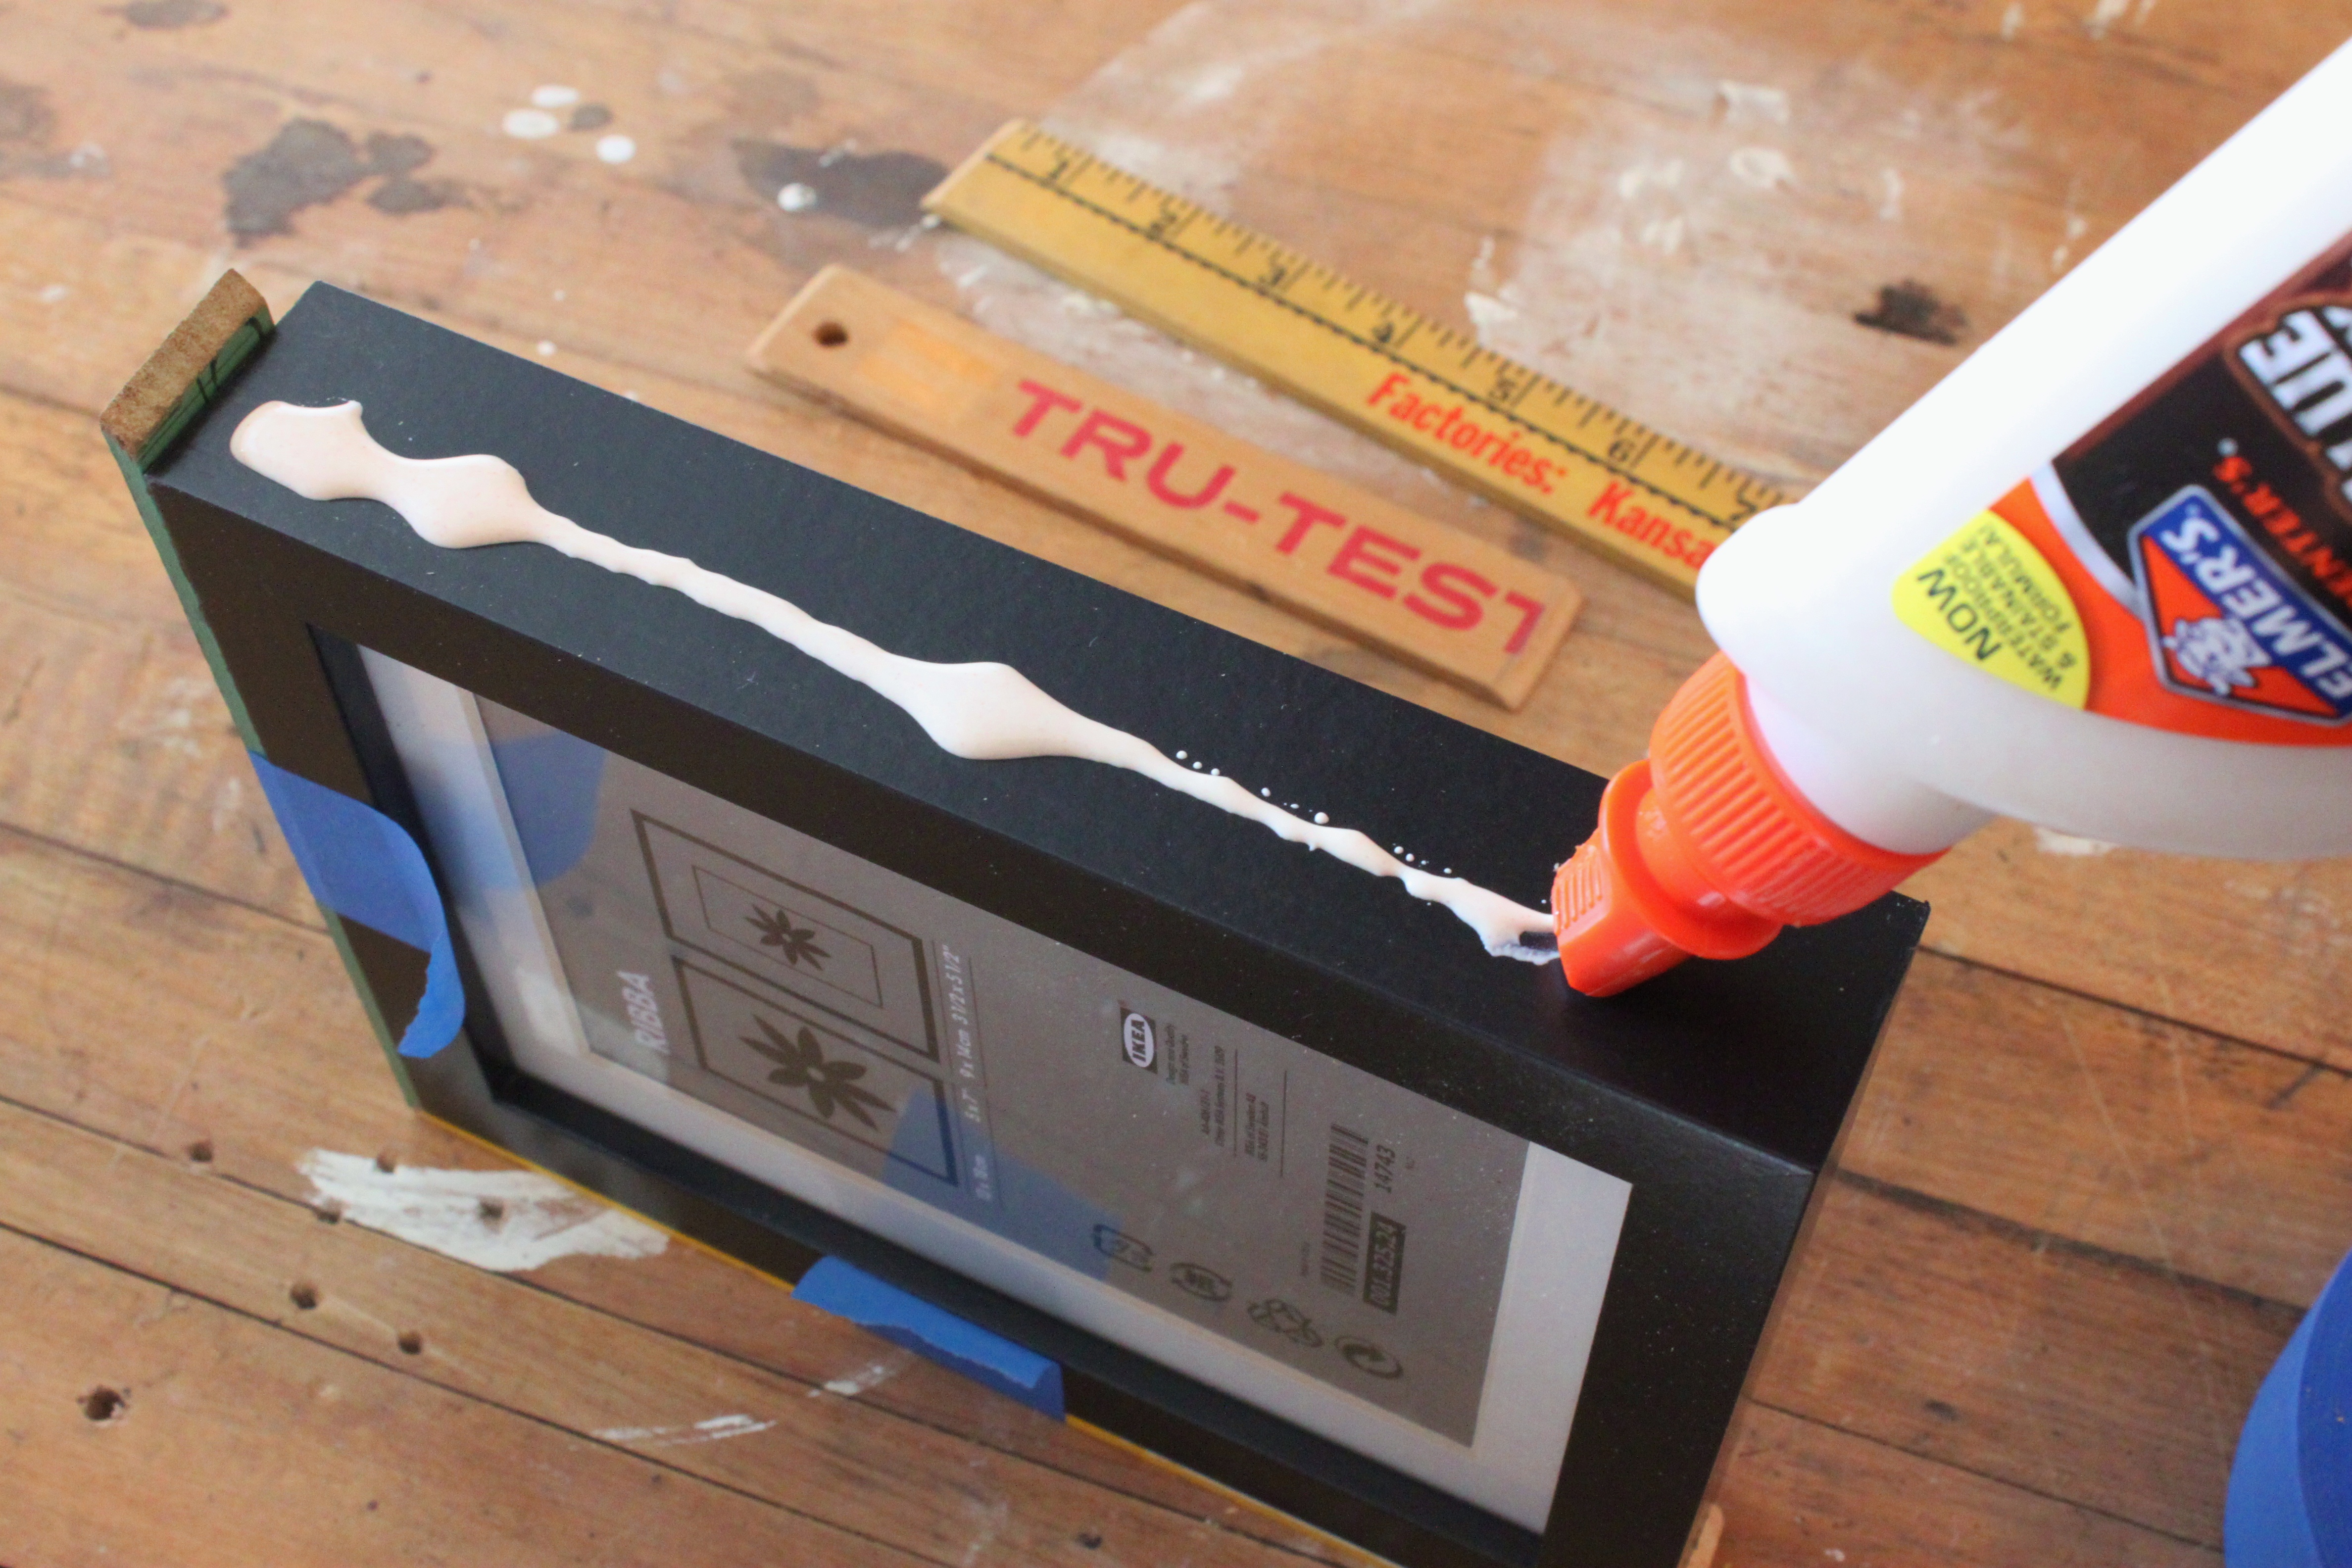
Run a line of wood glue along the edge of the frame. (But probably not as much as I used here)
Elmer’s Wood Glue is the best. It dries clear and washes-up with just soap and water.
Hold the yardstick pieces in place with strips of blue painter’s tape until they are dry.
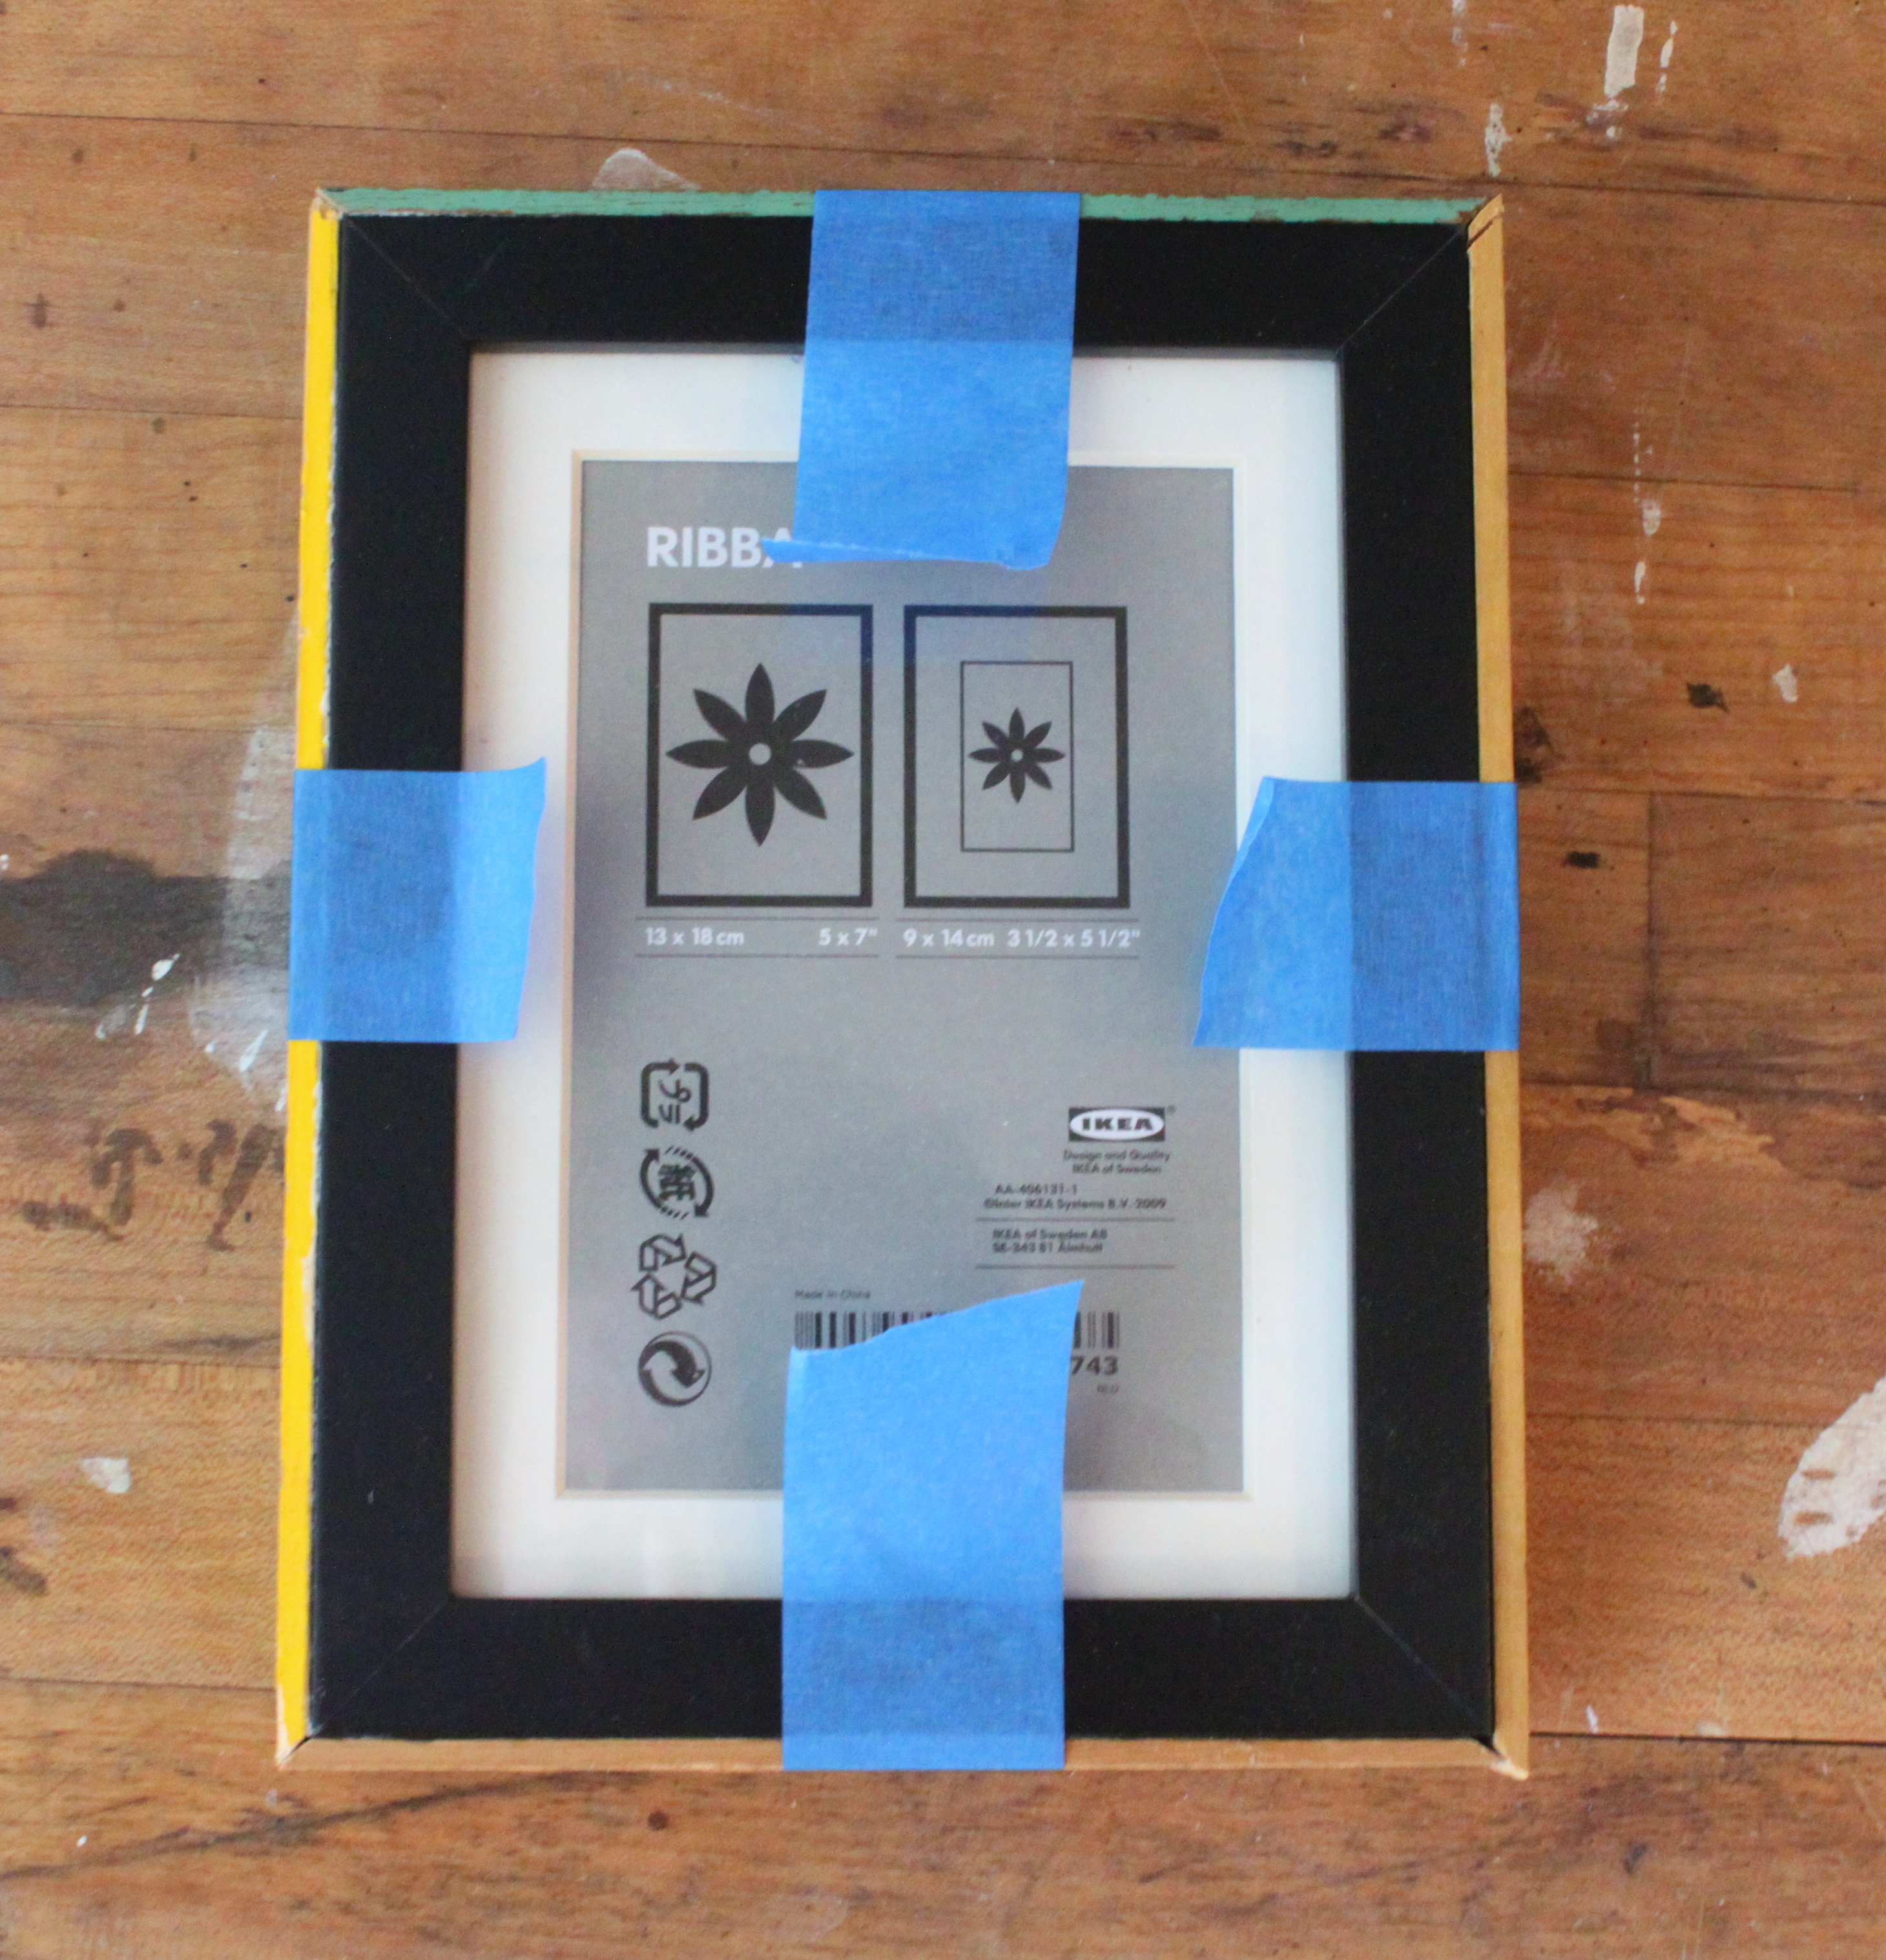
Be sure to “dry-fit” the pieces before gluing. Remember, you can always trim them as needed.

Now, what do we frame in them?
I’m in love with this booth at White Elephant Antiques. Mostly old school flash cards, books, and game boards.

For just a couple bucks each, I got an old linen Dallas postcard, and a flash card of a Springer Spaniel.
Perfect for these bright, colorful frames.


We thought that class pictures would look great too.
Awesome idea for a Father’s day gift, or a favorite teacher …..
Or even in a little boy’s room.
And quite possibly in the Dallas home of two BIG boys….
Happy crafting,


Love the frames + the neat booth at the antiques shop!
Knew you’d like both, Kay!!!!
Love your posts!
Aww shucks, Thanks Carole…….I love having you to read them…..
So cute! I will have to check out these places. Interesting goodies you found there.
Fabulous! As usual, guys! Love crafting! Great post!
Love this. I think this could be a fantastic project for my middle sister who works as a pre-school coop teacher and has been doing it for years, with perhaps a special photograph in it.
I will need to find a local source of these, and especially the colorful yardsticks like you found as I think they are very cool, and well, colorful.
It was those crayon colors that I loved too………the idea for the frames came a few weeks later…….
I adore the crayon colors too and these look wonderful! Great job!
Love these! And I’m glad to know I’m not the only one who stocks up on Ikea frames. We’re not hoarders, we’re ‘plan-ahead-for-the-next-craft’ers.
“Plan ahead for the next craft”! Love that……and I’m not anal-retentive, I’m “detail-oriented”
Any chance you have any 2 1/4″ wide yardsticks? Need for a counter top trim?
Sorry, but no. Have you tried Etsy? or Ebay?
Pingback: Tipping Into The Weekend: Always remember to P.L.a.Y. - DSW Dailies