
Without a doubt our tool shed brings more visitors to our humble little blog than any other project we’ve done.
About 500 – 600 visitors a day, seriously.
…..and then each one of them asks where we bought it without bothering to read the post. (insert eye roll)
Skymall Magazine, 10 years ago… Sorry, they don’t make them anymore.
Well, our sad little shed has seen better days. (same with that potting bench).

It’s cute,
…but not very functional.
In fact, it’s too short to fit standard garden tools in.
I’d always planned on building a bigger, better shed; just haven’t had the time.
When I heard that I wouldn’t be working for the month of July, I knew exactly what project I would tackle next.
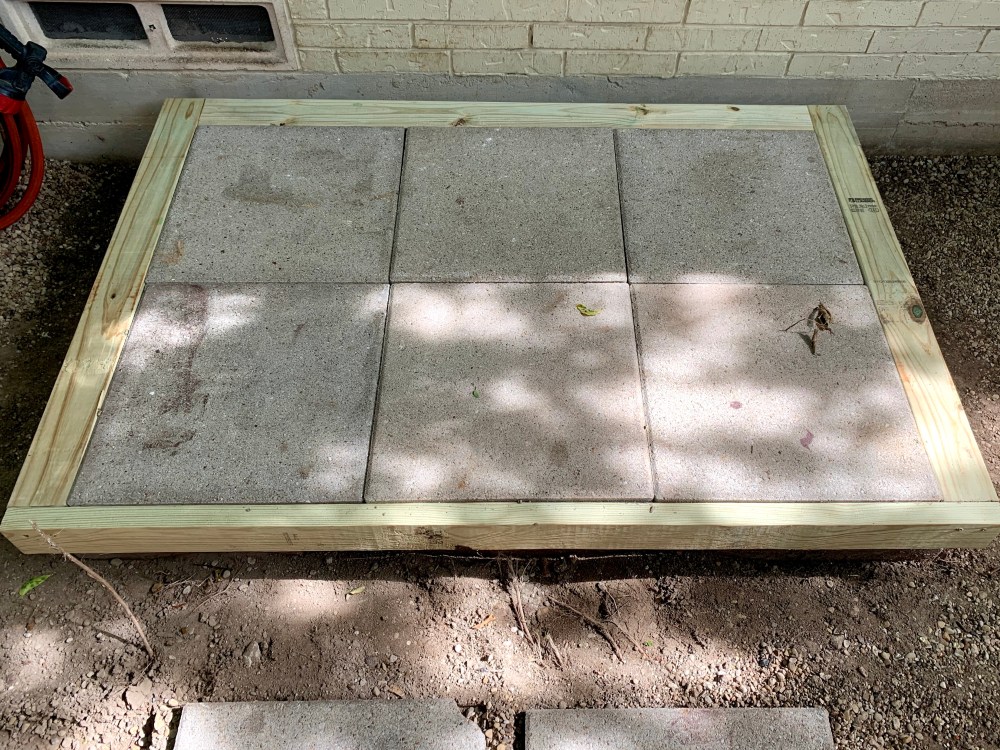
Started with a new base – I reused the concrete pavers from the path as the floor; I plan on replacing all the small ones with 24 inch squares – I just set them inside a frame made of preasure-treated 2X4s.
Like so…
It should be noted here that my construction skills are akin to a 10-year-old building a tree house; not a lot of premeasuring, or planning of any kind really, I just start screwing boards together.
(Always use screws for projects like this. They make it easier to go backwards.)
I knew that the whole structure needed to be tall enough to accommodate tools, so I started the back wall at seven feet.

Now it will easily hold…. a standard garden rake.
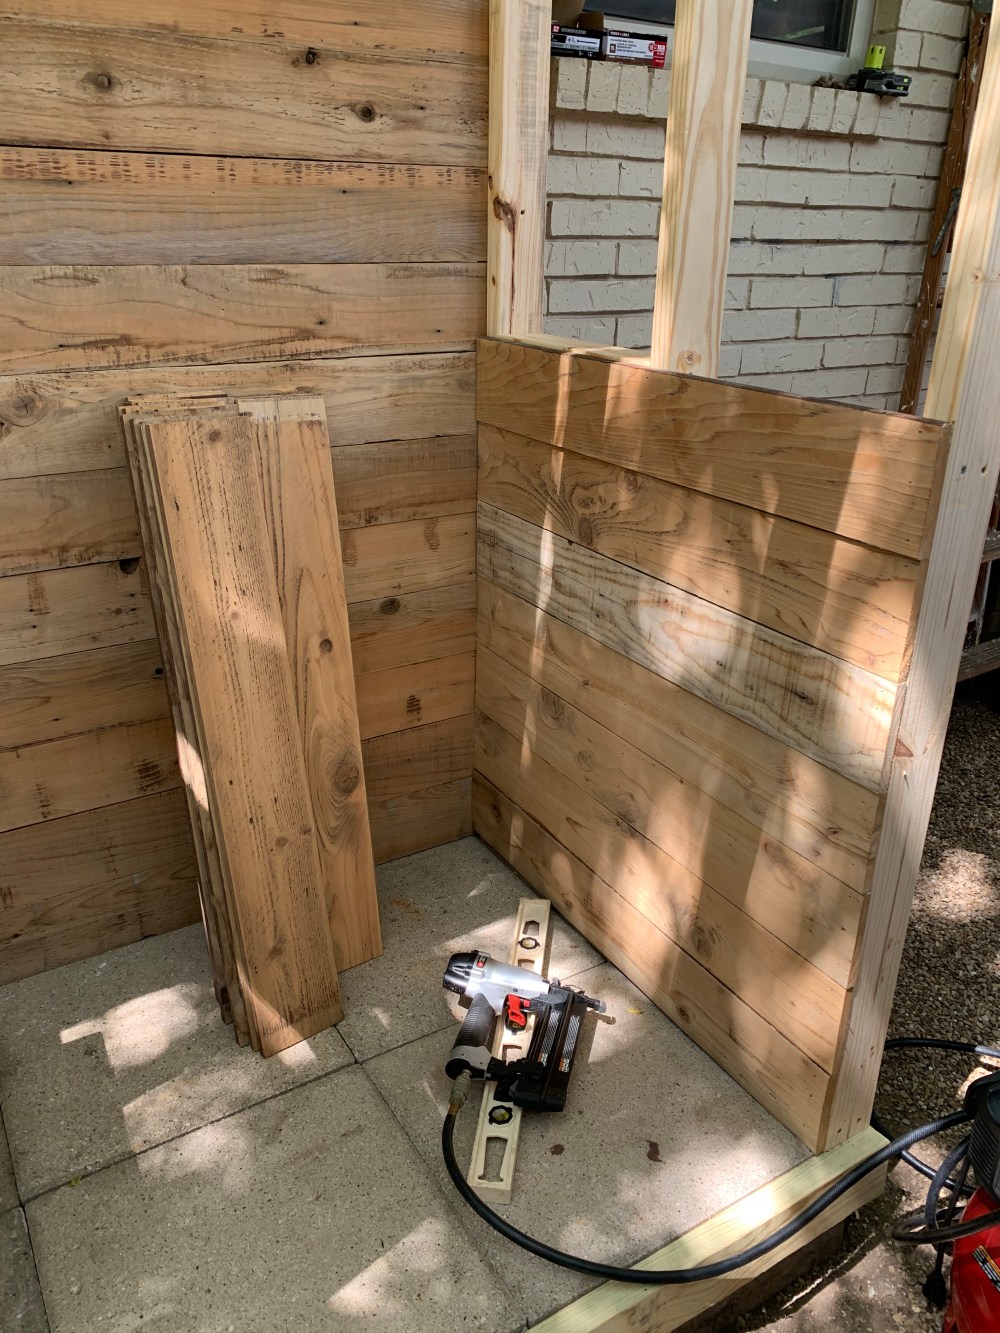
I’ve been replacing the aged boards on the cedar fence for the past few weeks and had a stockpile of the old stained cedar that I just couldn’t bare to toss.
Jamie used a power sander to sand the stain off of most of them…

And what was underneath was just too beautiful to not use somewhere.
So I used them to line the inside of my shed.

Or the back wall, anyway.
Then I built the 2X4 frames for the sides…

…and added a roof support.

Yes, I realize that I’m shaking up the proper order of construction… Most people would build the whole frame first before worrying about the inside walls.
But I got so excited seeing the progress.
Isn’t it just beautiful?

It rained the night after I took this picture….
So I should probably figure out the roof.
We had the whole roof replaced on the house about 2 years ago, it was leaking in several spots, and they left us a couple boxes of shingles.
Easy peasy, I just nailed a couple rows on top of a sheet of plywood.

I do love consistency.
Miss the old tin roof.…. but I LOVE consistency even more.
Then I added new cedar trim to the outside of the shed with rough fencing cedar.

….and stained everything – except the inside – Behr “Russet” semi-transparent stain.
To match the fence of course.

Consistency.
The doors were next. I actually made door frames from some scrap wood we had in the garage.

I filled them with cedar slats just like…. wait a minute.
I missed a step.
Let’s back up a few weeks.
I’ve never been too thrilled with seeing our air conditioner from the deck.

I understand the importance of these machines – especially during a Texas summer – I just don’t want to see it.
And to think, we moved it to this current location. It used to be in the middle of the backyard directly under the master bedroom window. A pretty inconvenient spot since we planned on building a deck stretched across the entire back of the house. And one day French doors from the master bedroom out on to that deck….
But I digress,
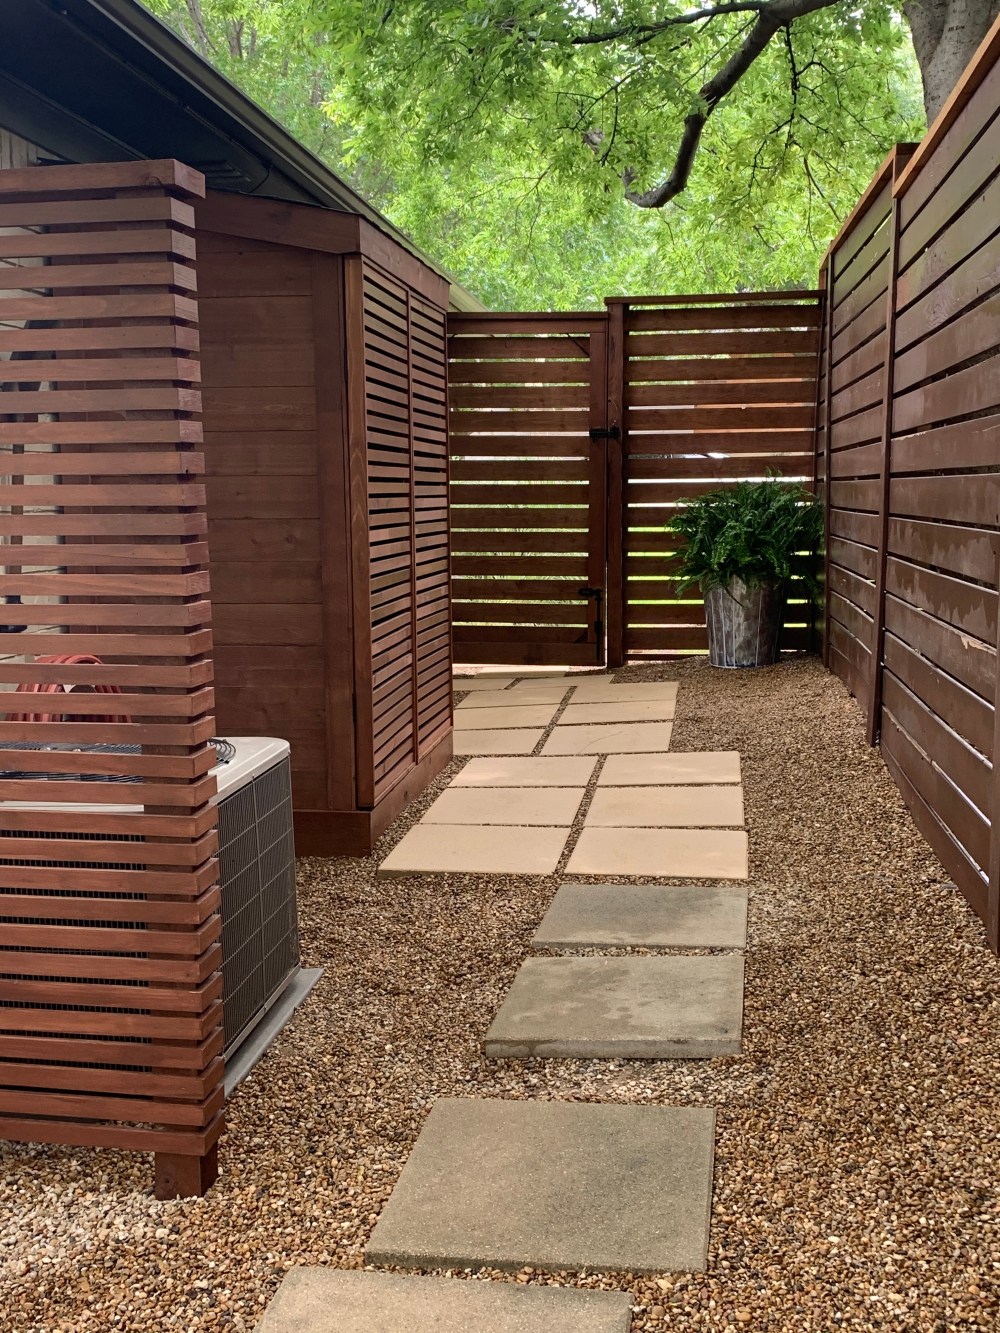
Back in June I built a 4 1/2 foot by 6 1/2 foot louvered privacy screen to hide the beast.
I started by setting a cedar post in concrete; something I’ve never done before.
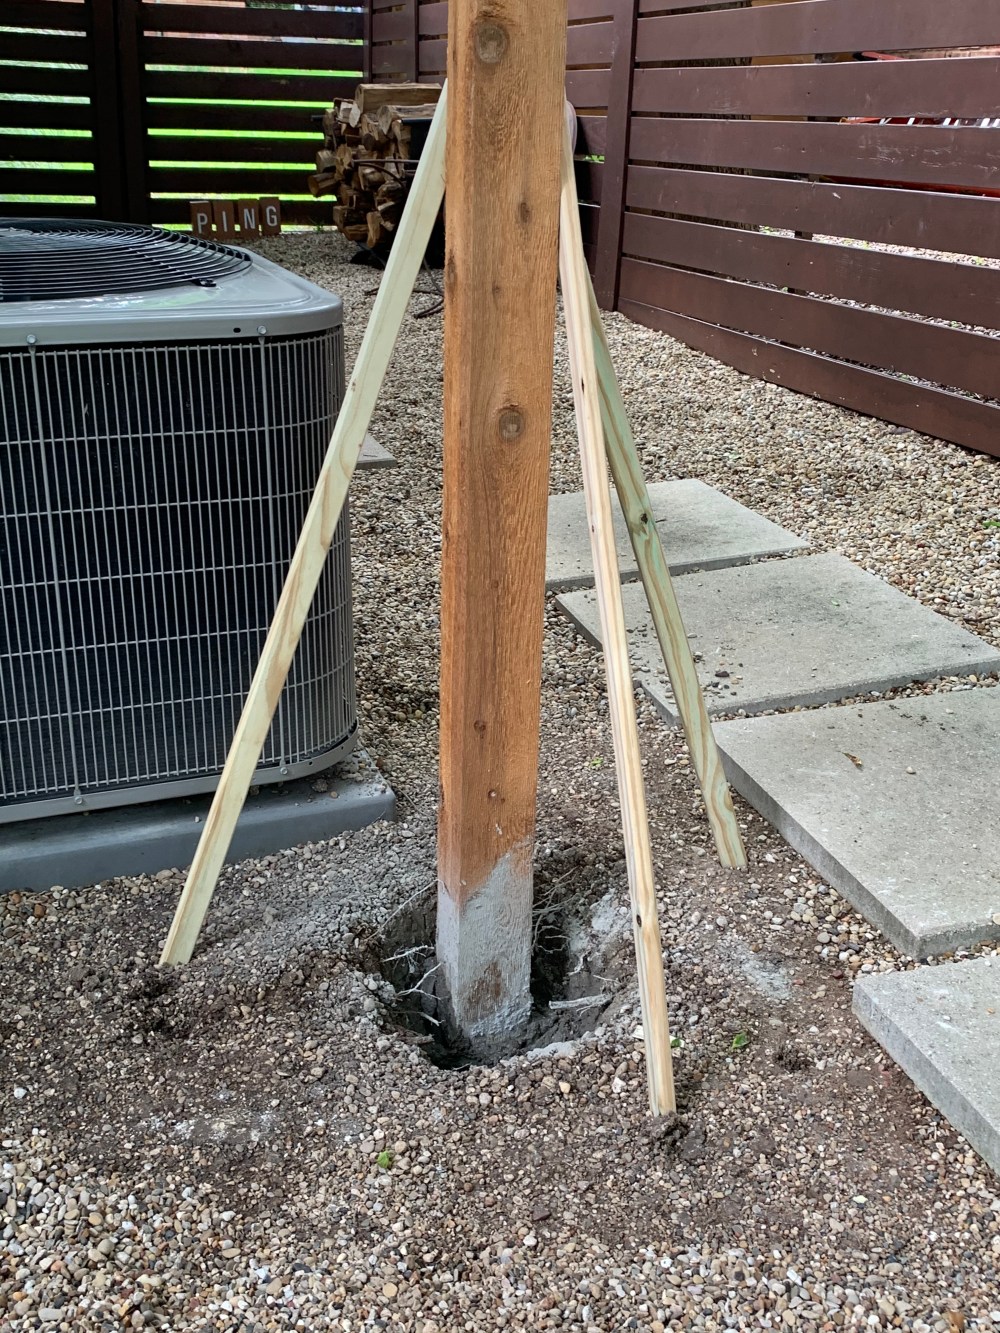
The other side is a 2X4 mounted to the corner of the house.
Of course, at the same height as my new post.
I just ran 1X2 cedar strips across….

… and caped it with a chunky 2X6 cedar plank.
Like so,
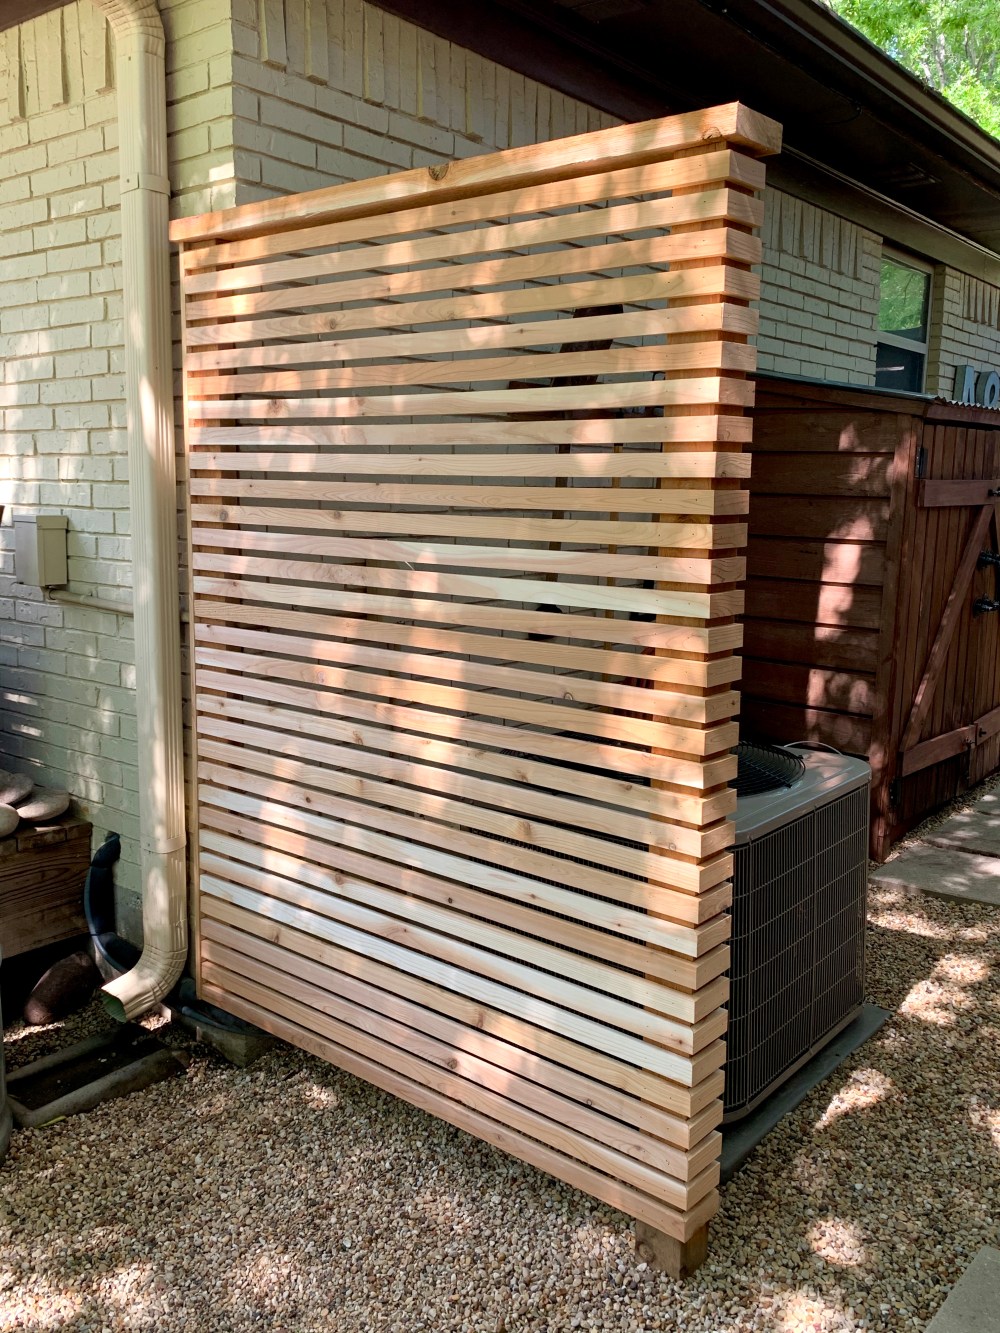
Still lets plenty of air flow to the unit…
AND
…keeps me from seeing the ugly thing from the deck.

I louvered my shed doors with the same 1X2 cedar strips.
Like so,
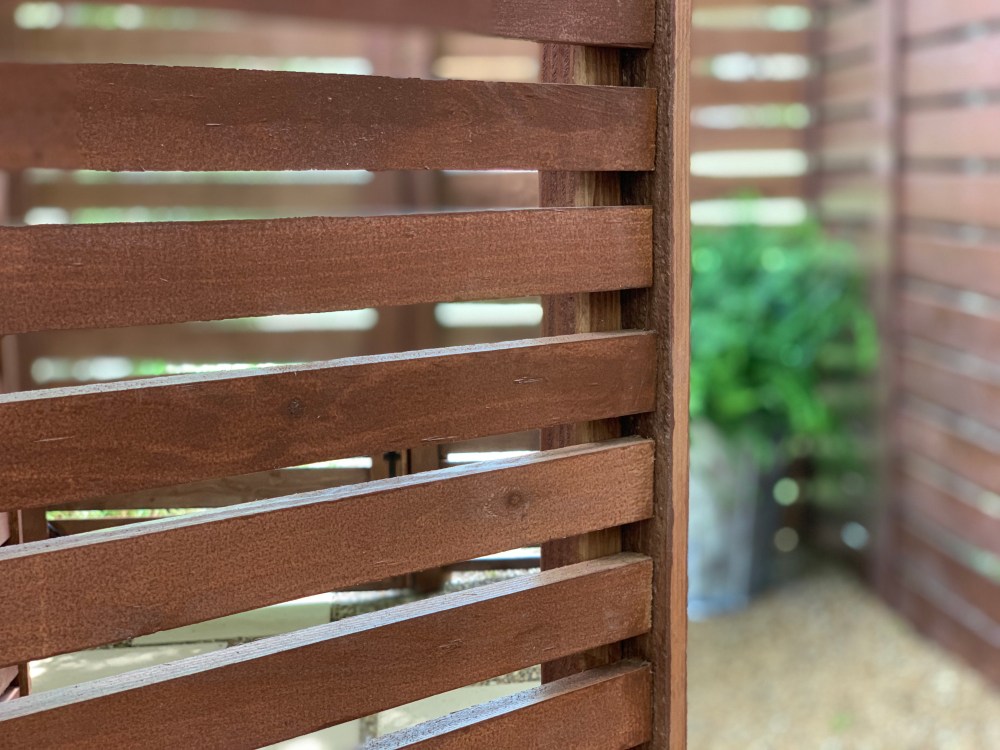
Consistency
They aren’t my best work, and will probably get updated in the next year or so, but they look fine for now.
So let’s not dwell on them for too long and move on to the potting bench.
Here’s the view of the old potting bench looking in from the side gate about 7 years ago…

And the same space about 3 weeks ago…

I know, I know….. it’s pretty embarrassing.
It may just look like a dumping ground, but we honestly do use this space for repotting orchids for the bathrooms and propagating cacti and succelents.
The bench in the top picture is a kitchen island from Ikea. I think y’all know just how long that Swedish plywood/cardboard hybrid thing lasted in the Texas elements…
Maybe a year.
The second potting bench I found in a neighbor’s trash pile; I think it’s the metal frame for a desk. I planned on posting about my find, how we painted it and built the wood top, but I never got around to it. Besides, it was just too short to use as a proper potting bench.
Back to the street it went. (Actually, I gave it to a friend)
Building my own bench, I can customize the height – a standard table is about 30 inches tall, my potting bench will be closer to 40 inches.
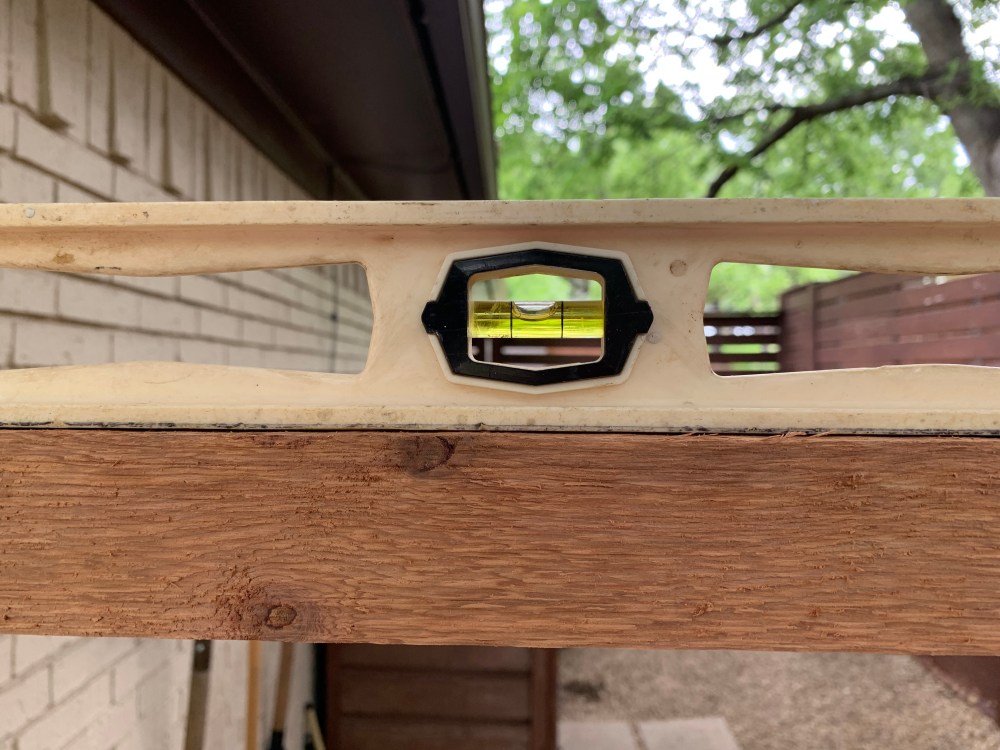
I started with a row of 4X4 cedar posts along the wall, with a couple 2X4s connecting them.
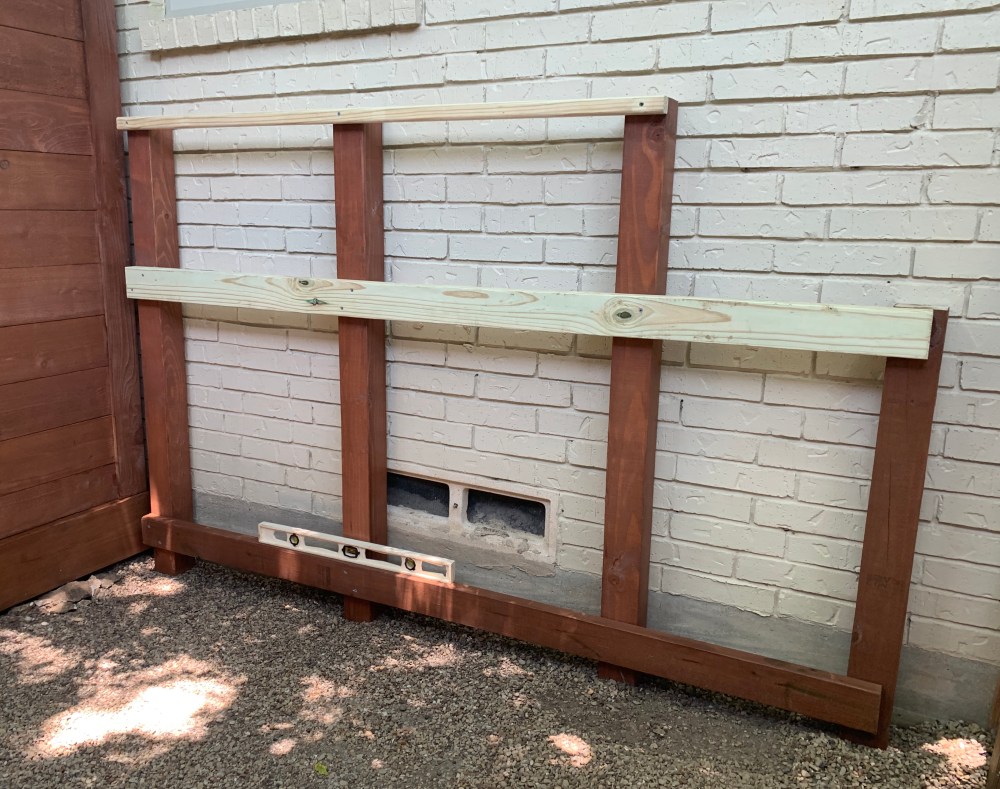
It looks like the posts are attached to the house, but they aren’t. The whole piece is freestanding. And since the yard slopes, each post is a slightly different length.
That’s why there’s a level in almost every picture.
So in theory, I could move it. But I’d never want to because on a flat surface this thing would angle drastically down to the right.
In the same vane as the tool shed, there was no real plan, I just kinda kept building it…

…mostly out of scrap lumber we had in the garage, staining each piece as I went.
For the lower shelves I used pressure-treated 2X2s.

They’re strong enough to hold heavy pots, and also won’t rot in the elements.

Plus, they pair up pretty nicely with the louvered doors I made for the shed.
See?

Consistency
Now, let’s see what all this looks like with a bunch of crap piled on it.

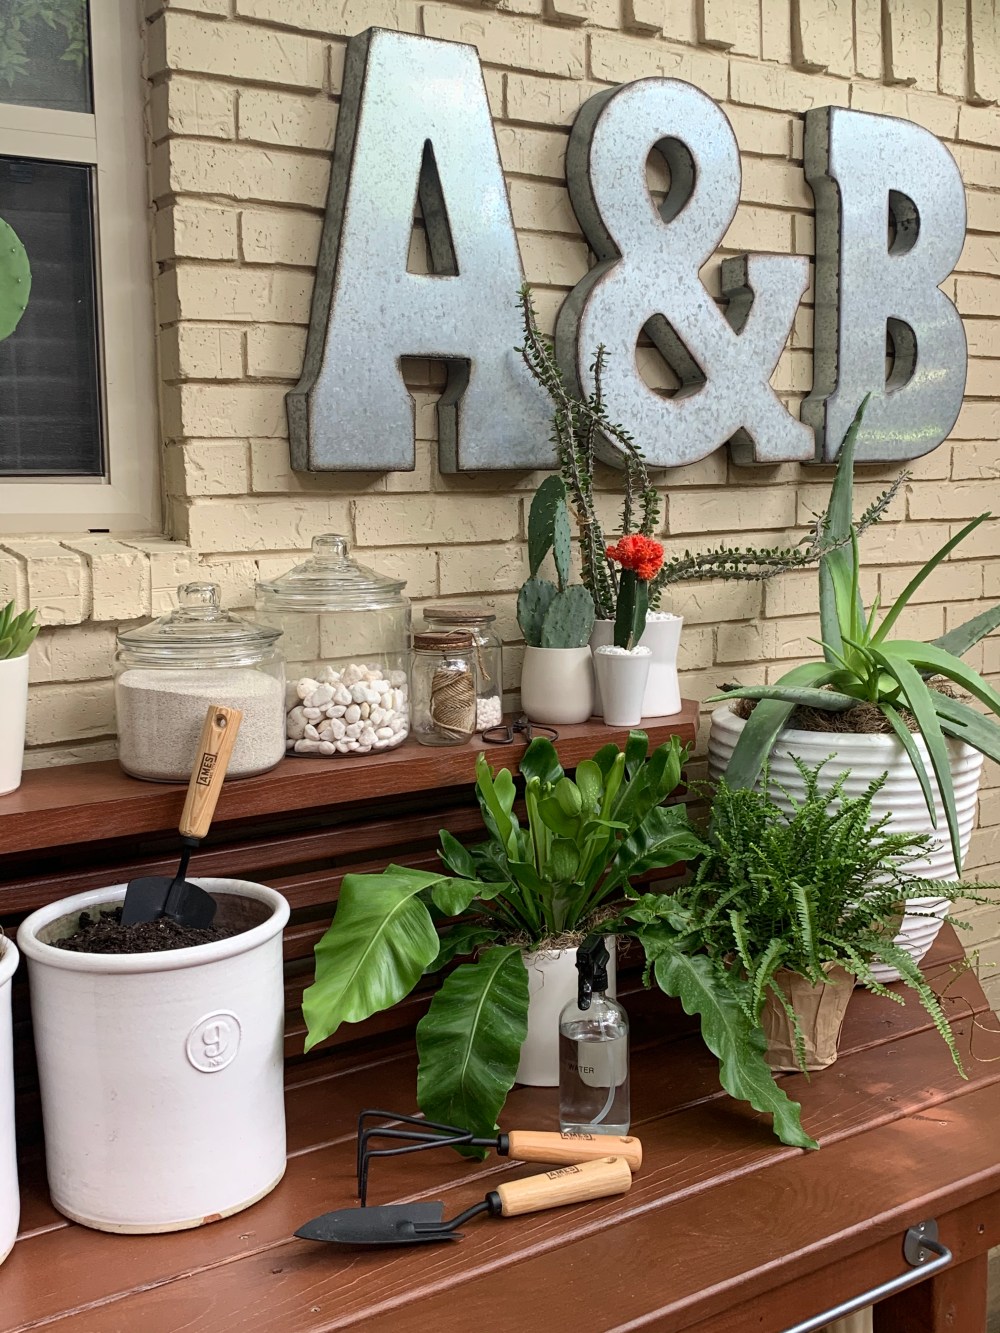


Such an improvement.
Wanna see the organizational perfection happening inside the tool shed?
I know you do.
BA-BAM!

Isn’t it just yard tool heaven?
A place for everything, and everything in its place.
Way, more, much better than what we had before.
On to the next project.

