
It’s been 3 years since we had our horizontal fence built.
One of our very first posts, if ya care to see it here.
It’s cedar, and cedar isn’t forever. So it’s no surprise that both gates are staring to droop a little.

Ok, maybe they droop a lot……

Time to see what we can do about that.
We started with a Homax Easy Gate Kit from the Home Depot

Jamie took all the old slats off, they were just screwed on, and set them aside because most of them are all going right back on. (or possibly on another project)
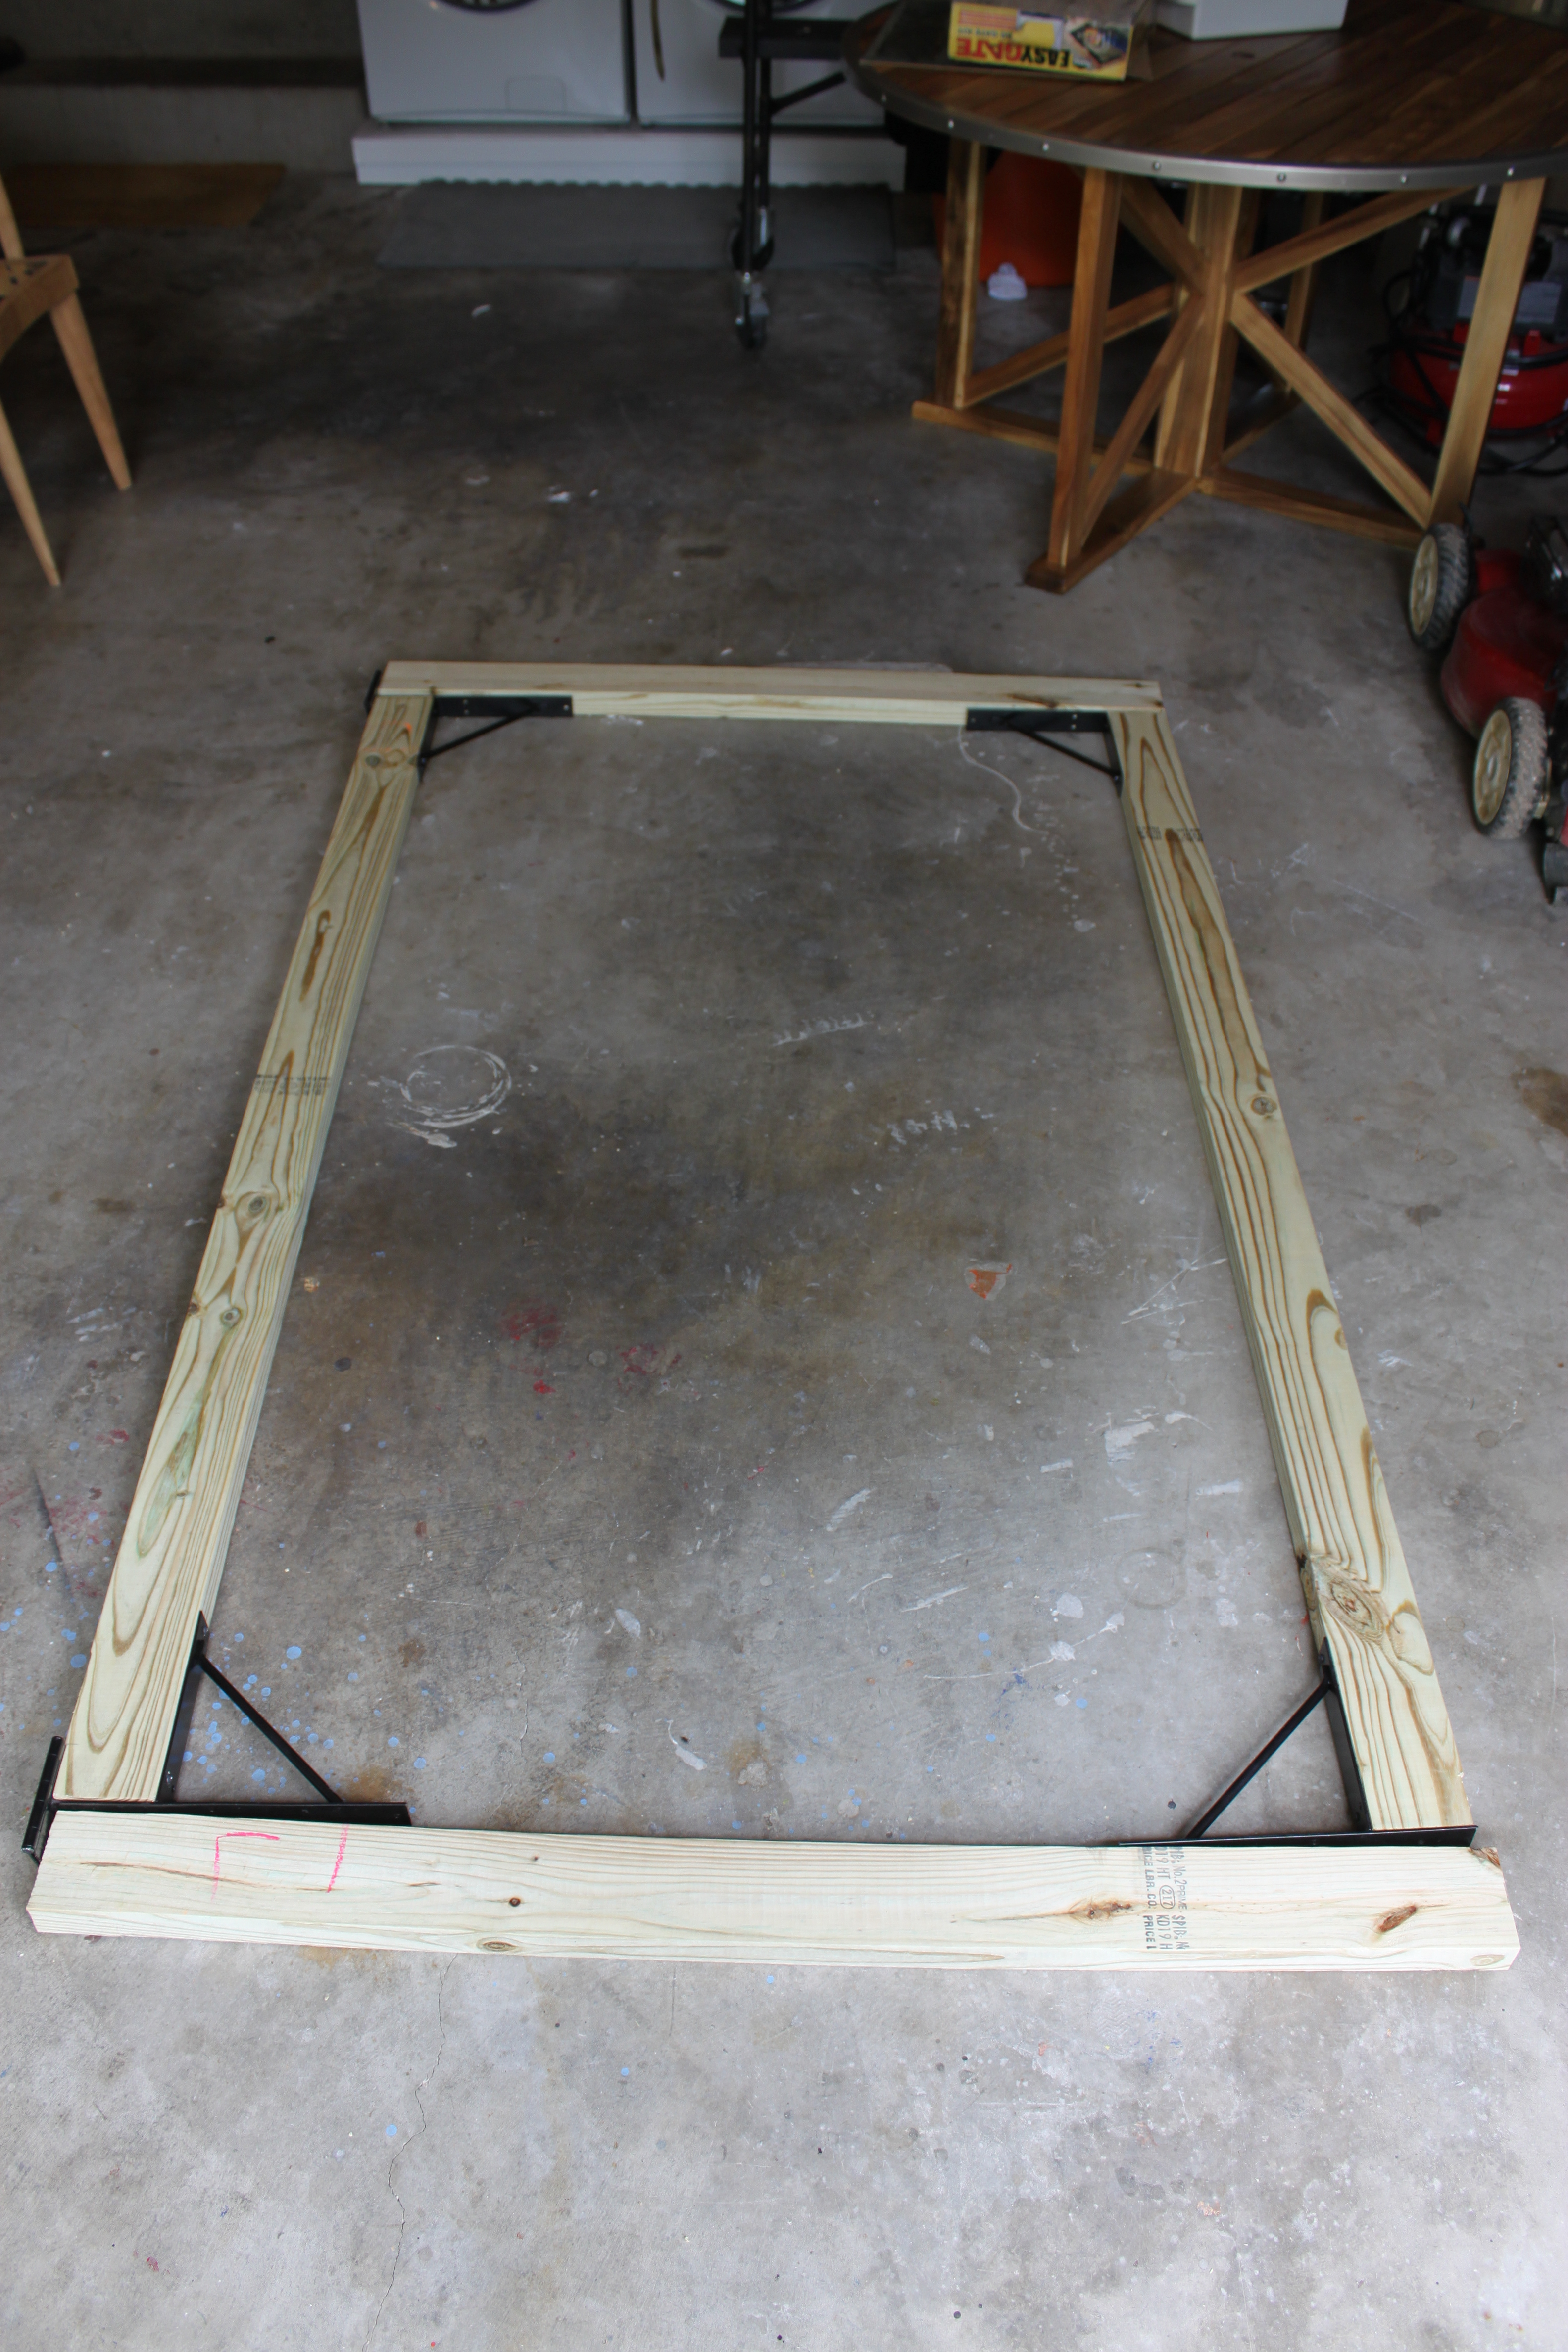
We cut new pressure treated 2 X 4’s, a bit taller this time. Almost 7 feet. I’d always thought that the old gate was just a little short so we took it up to the height of the fence.
The fence kit simply screws on to the 2 X 4’s……
I attached the whole frame together on the floor of the garage to keep all the pieces level.
It’s not a good idea to build the gate while hanging. Or it will be wonky.
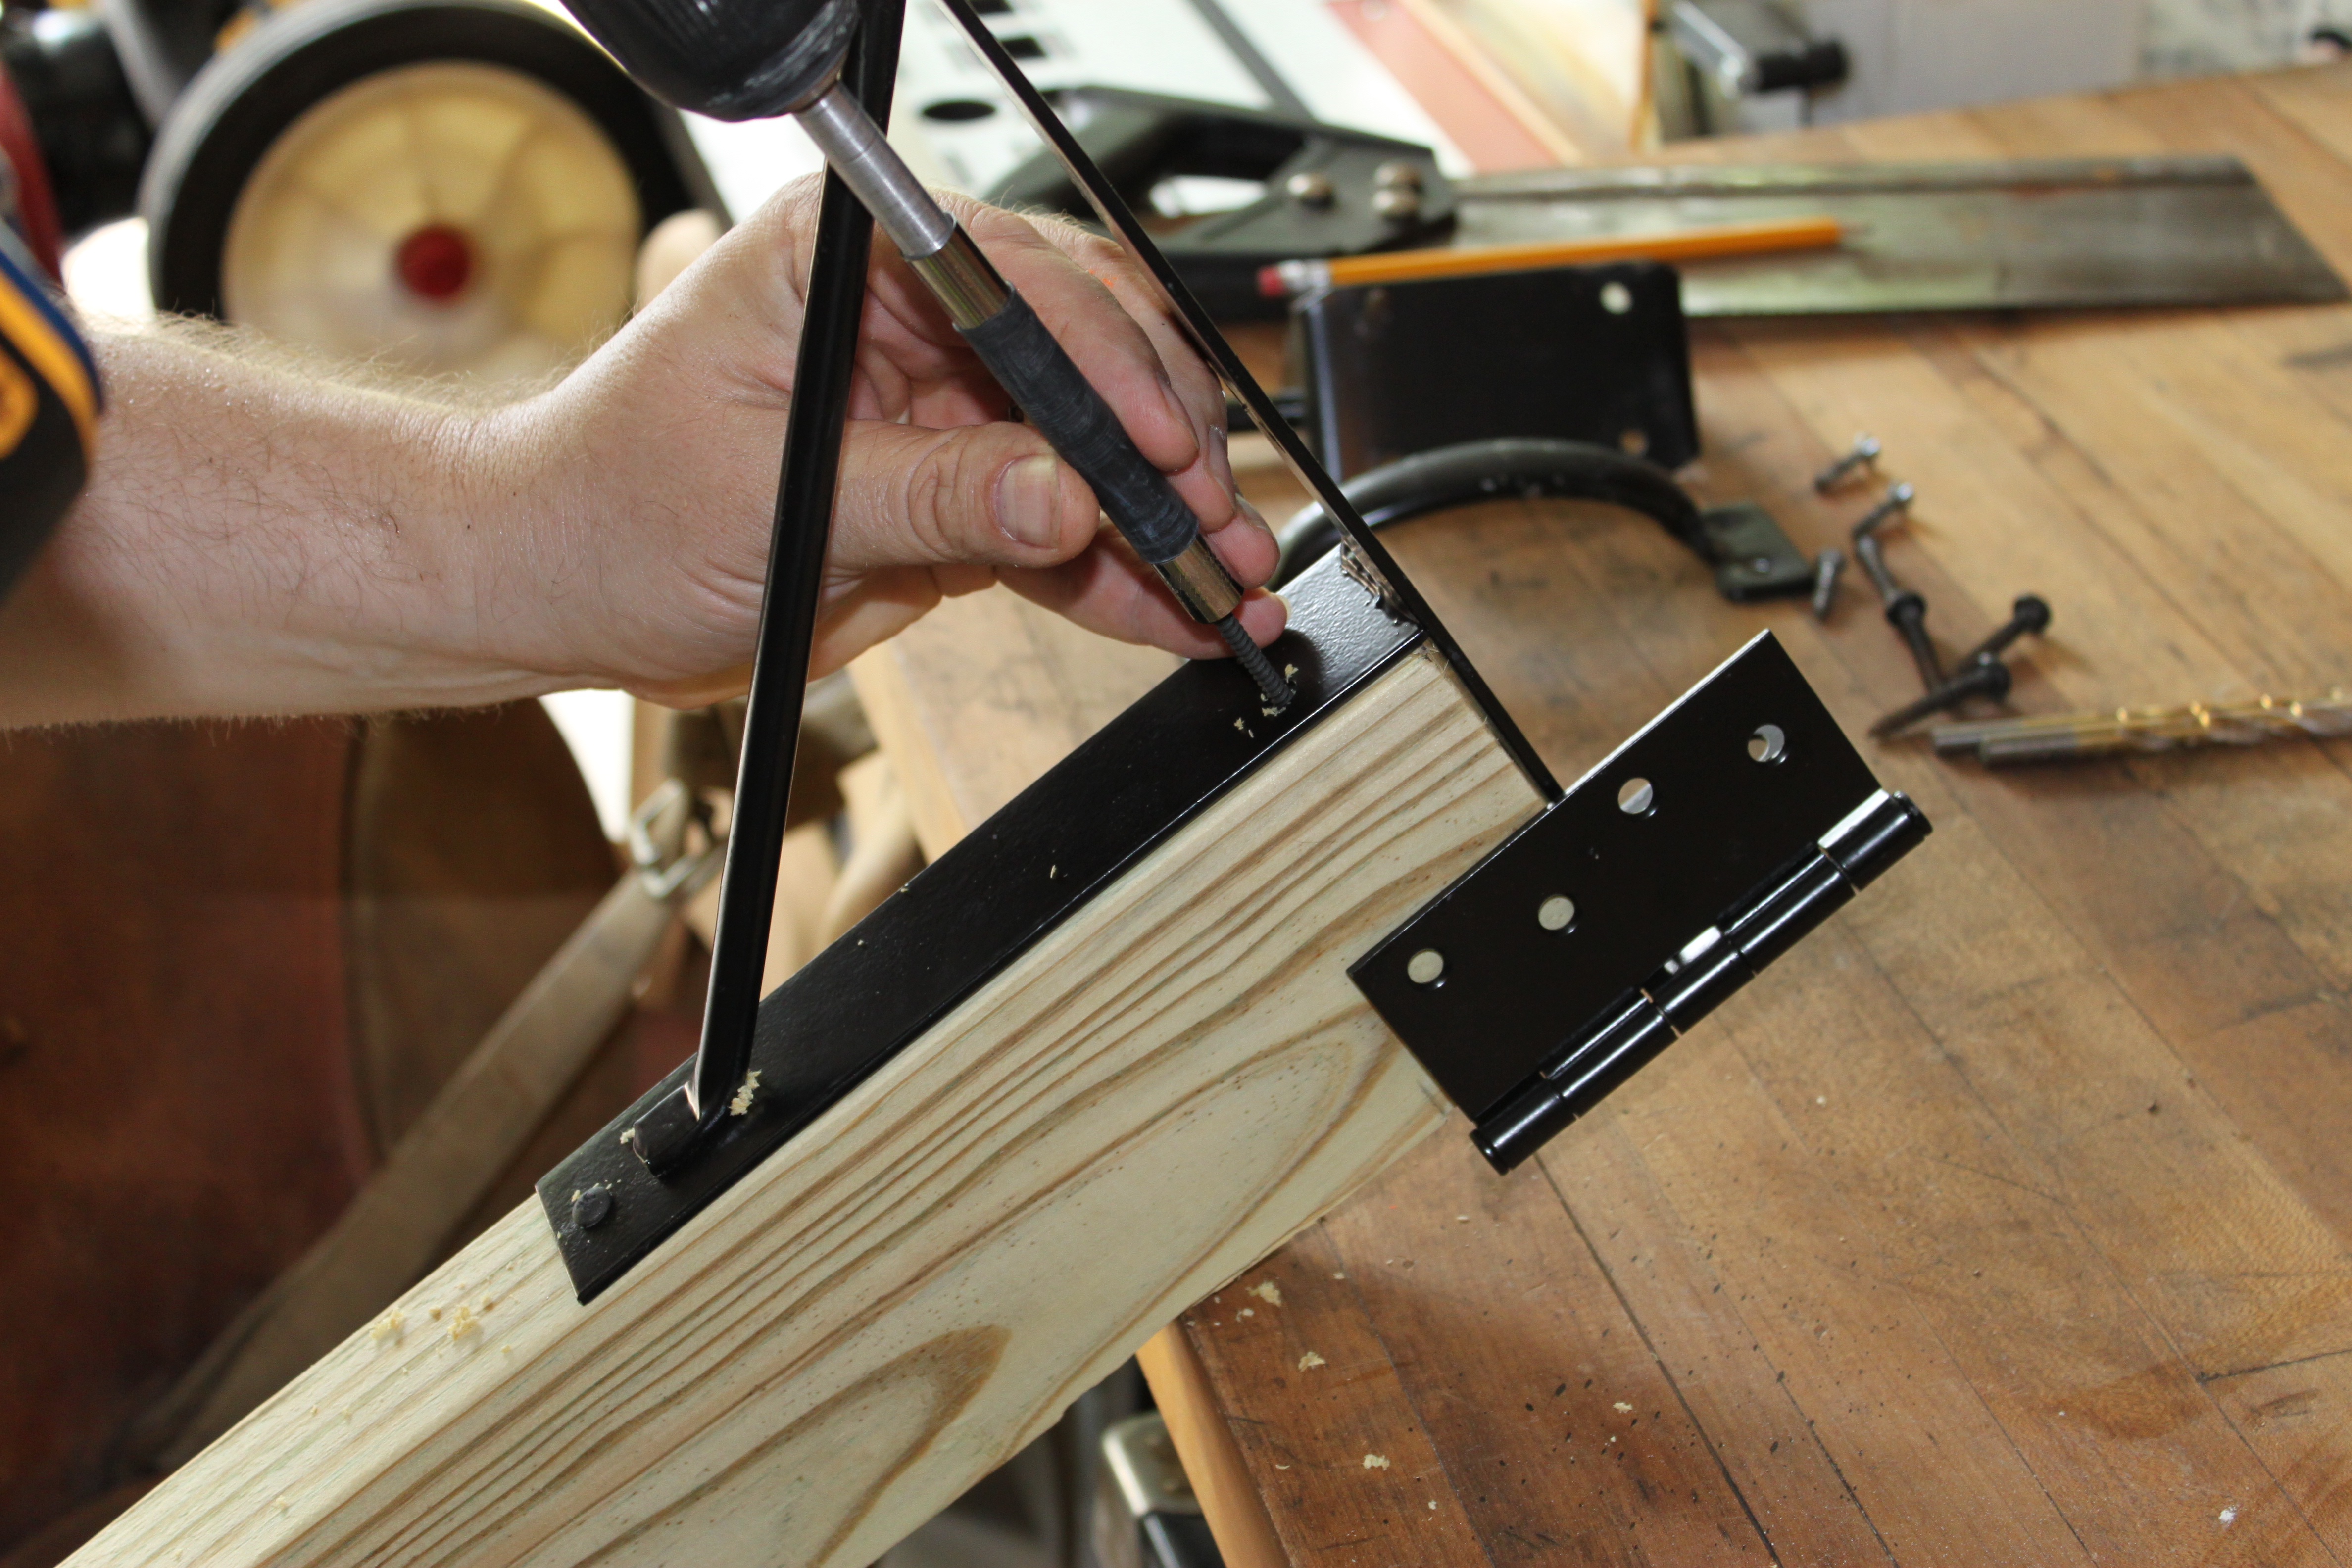
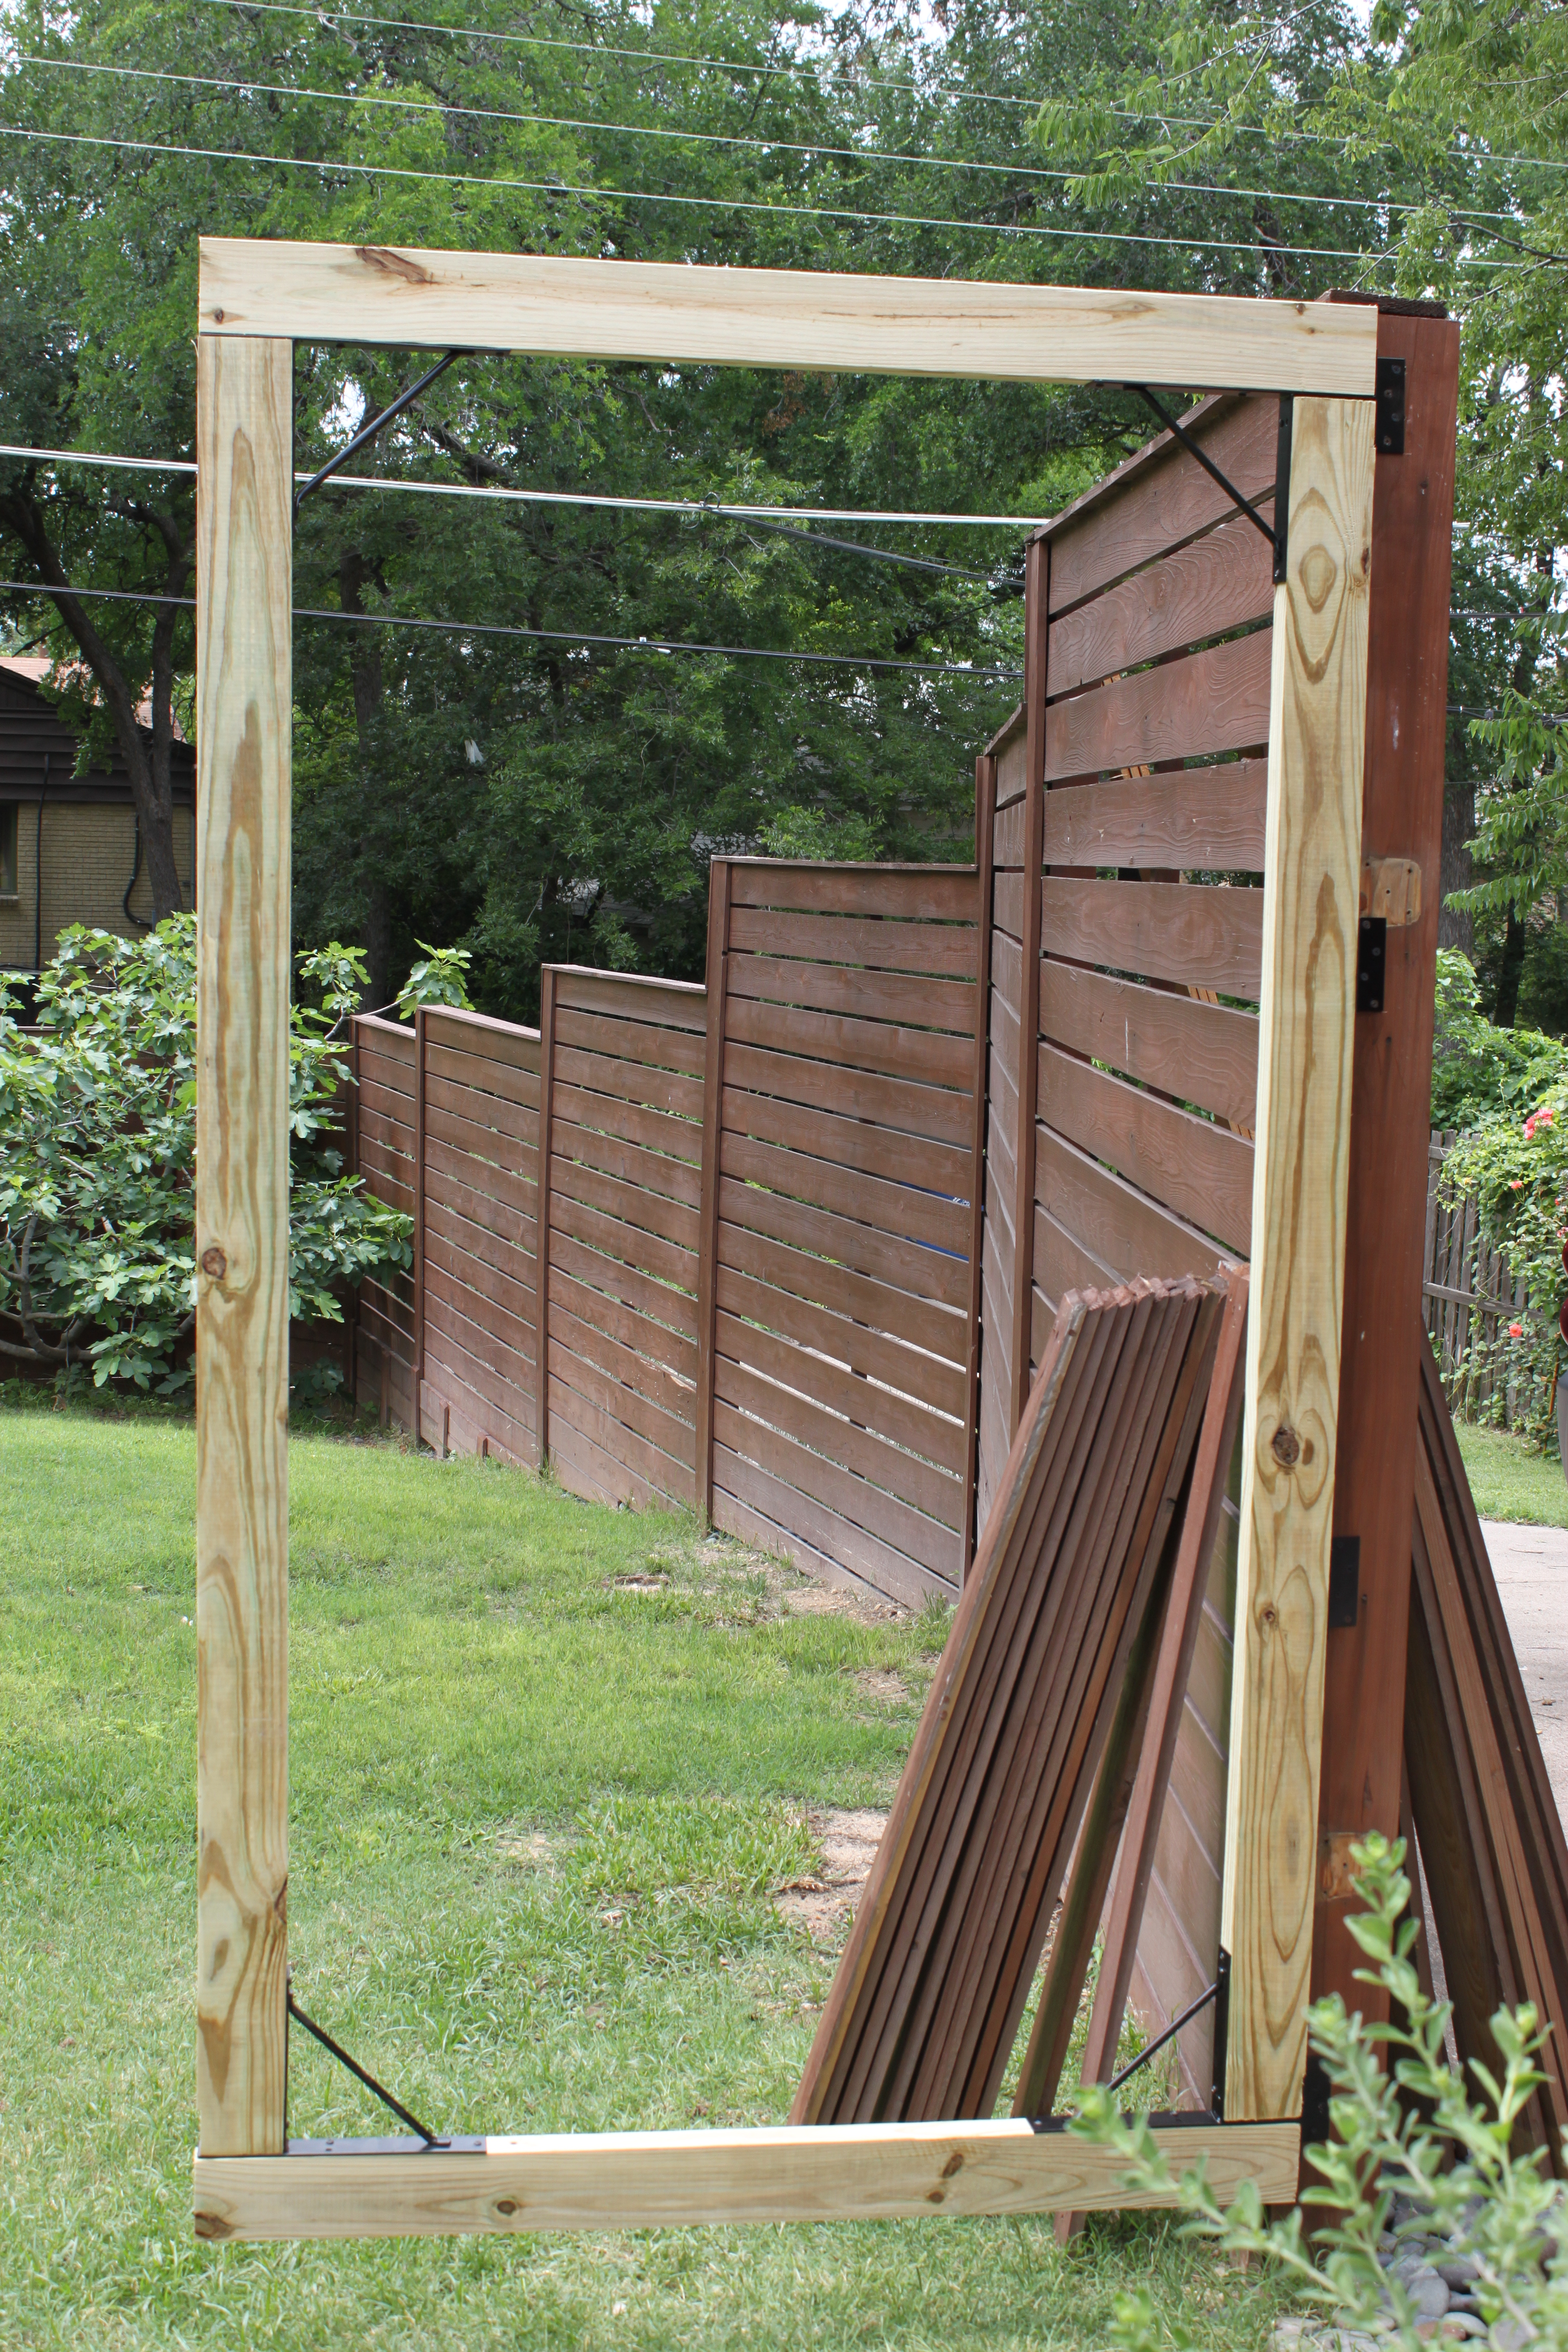
Then we hung it in the open space with the attached hinges.
We added 2 more hinges just to be safe…..the wood is extremely wet and heavy.

Here she is where the old gate used to be.
Love that height much better already.
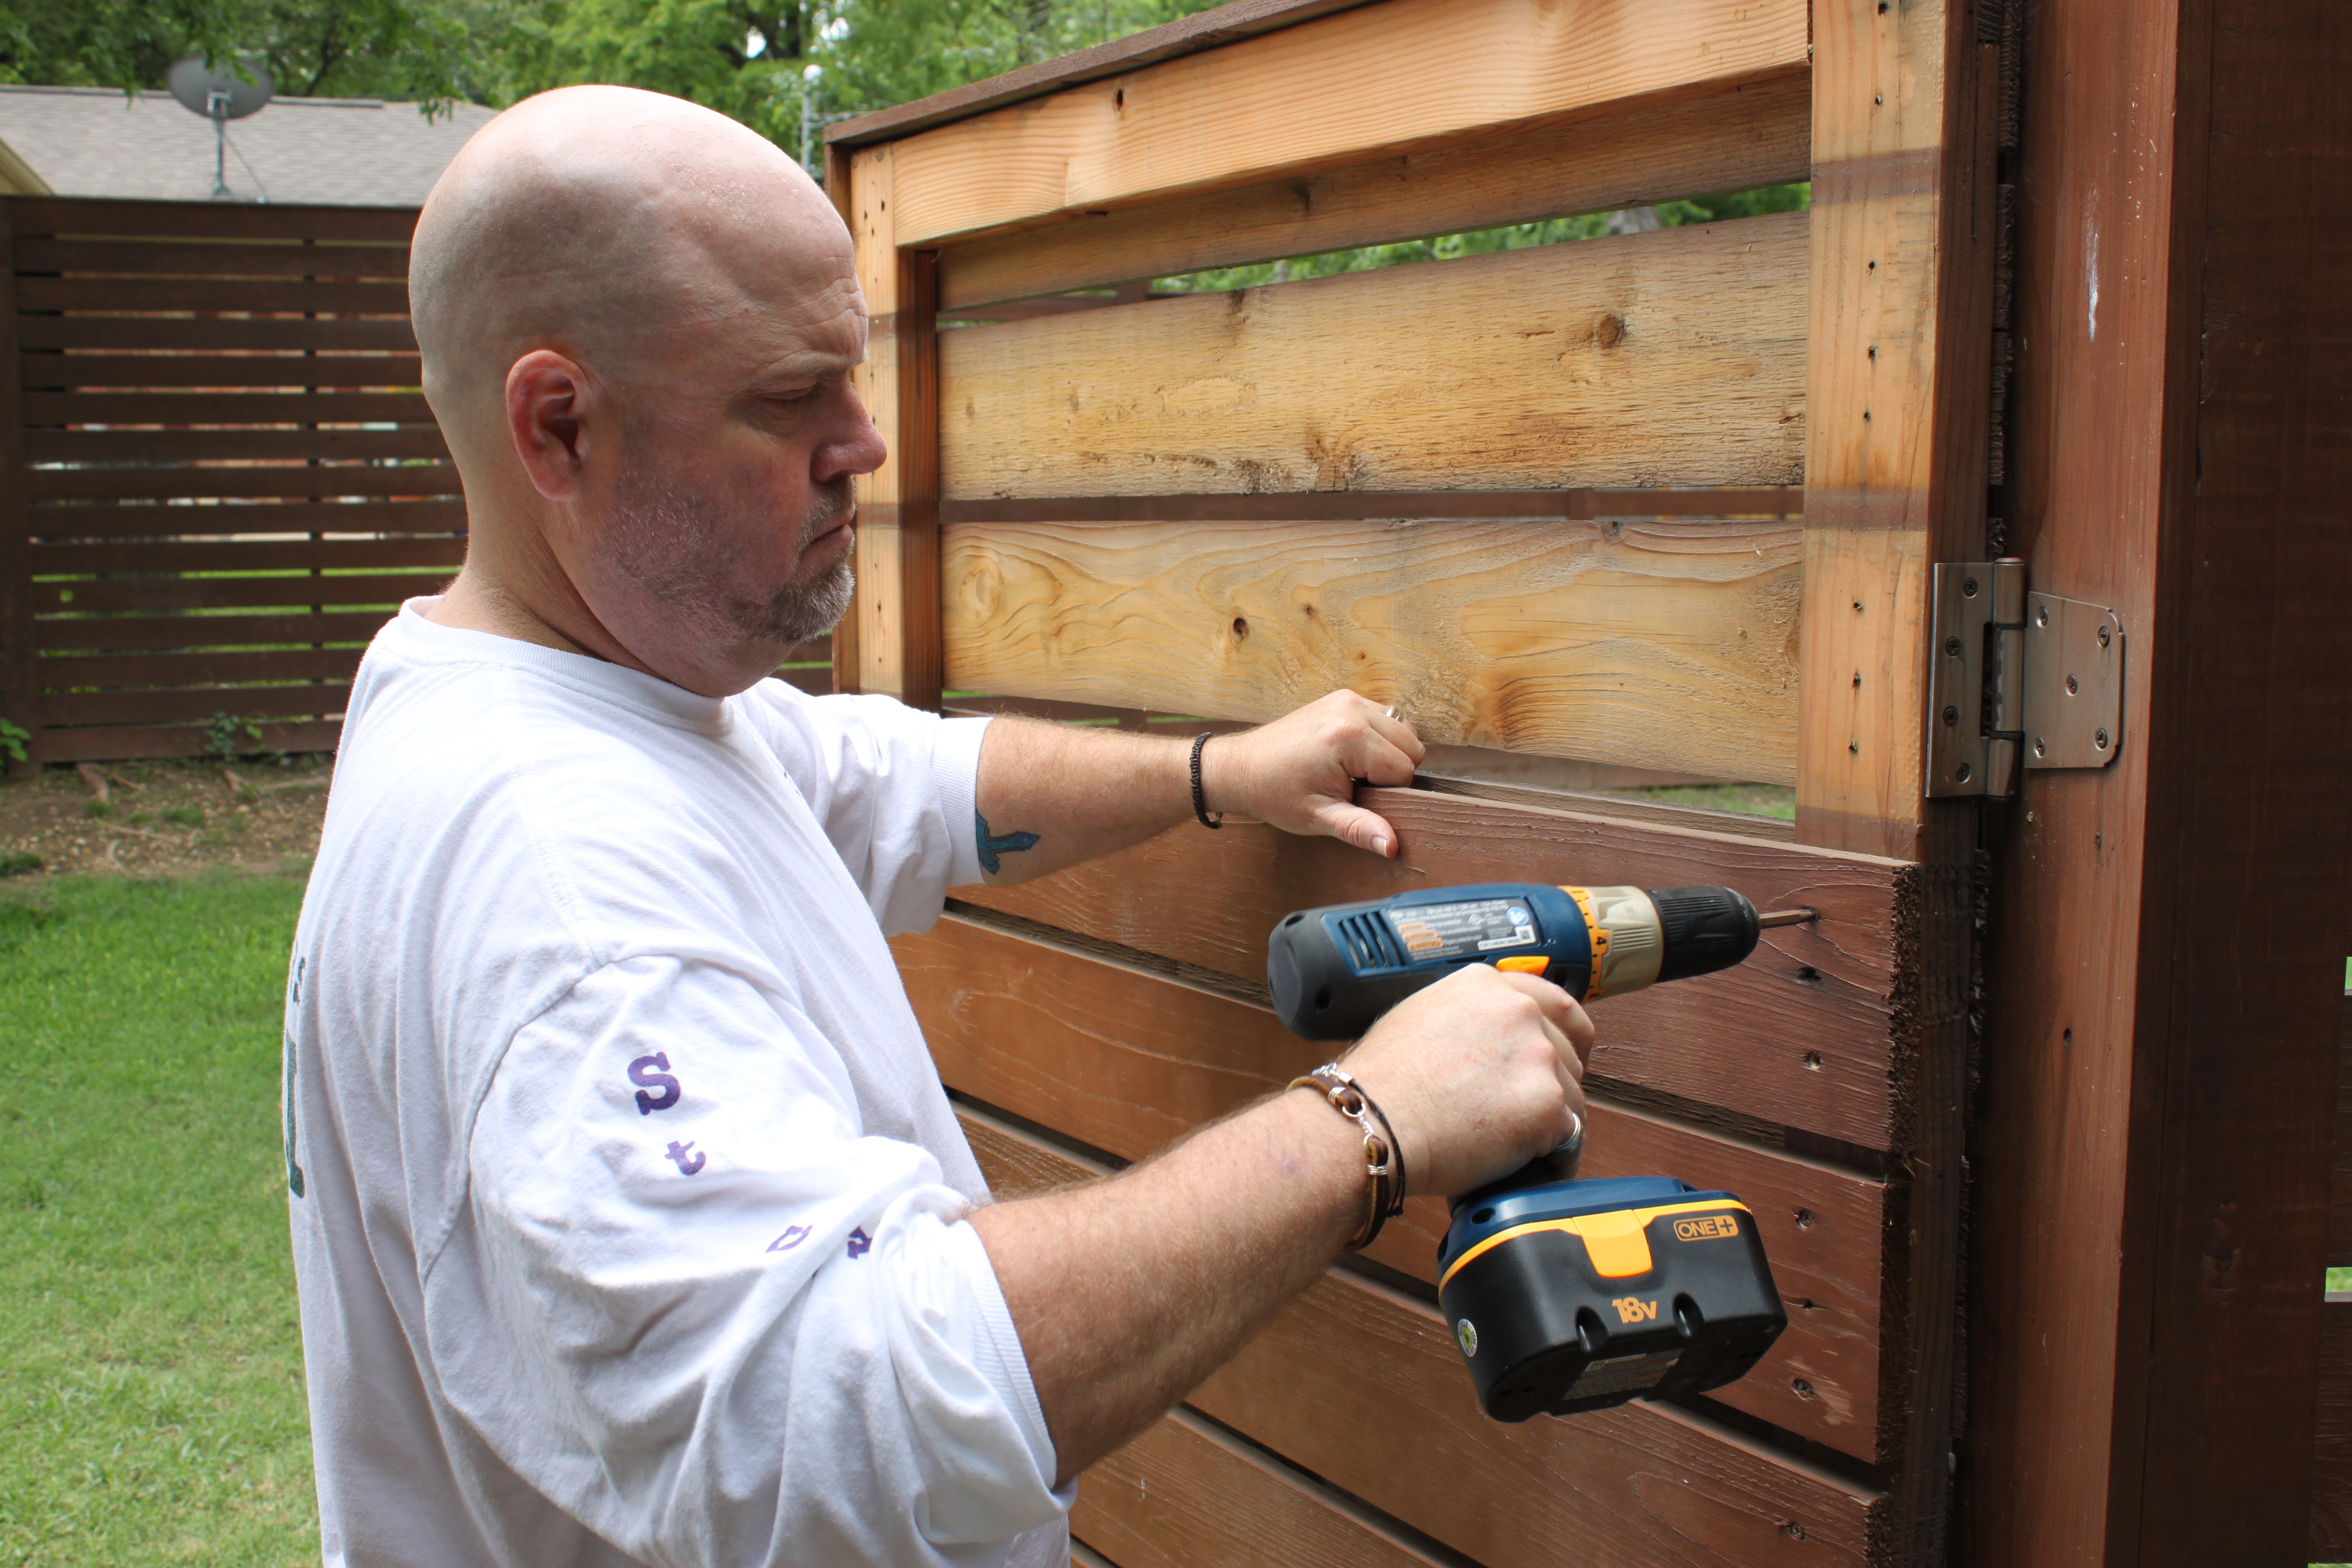
Then we reattached the old slats, “Every Part of the Buffalo”, ya know?
We used a 3/4 inch scrap board to gage the distance between slats and a level to keep them all looking straight.

Way, Much More Better already…am I right?
We changed things up slightly by only doing slats on the front side, just like the fence. The old gate had slats on both sides for no real reason, now it’s much more consistent.
Except now, we see the unstained back sides of the boards……but not for too long.
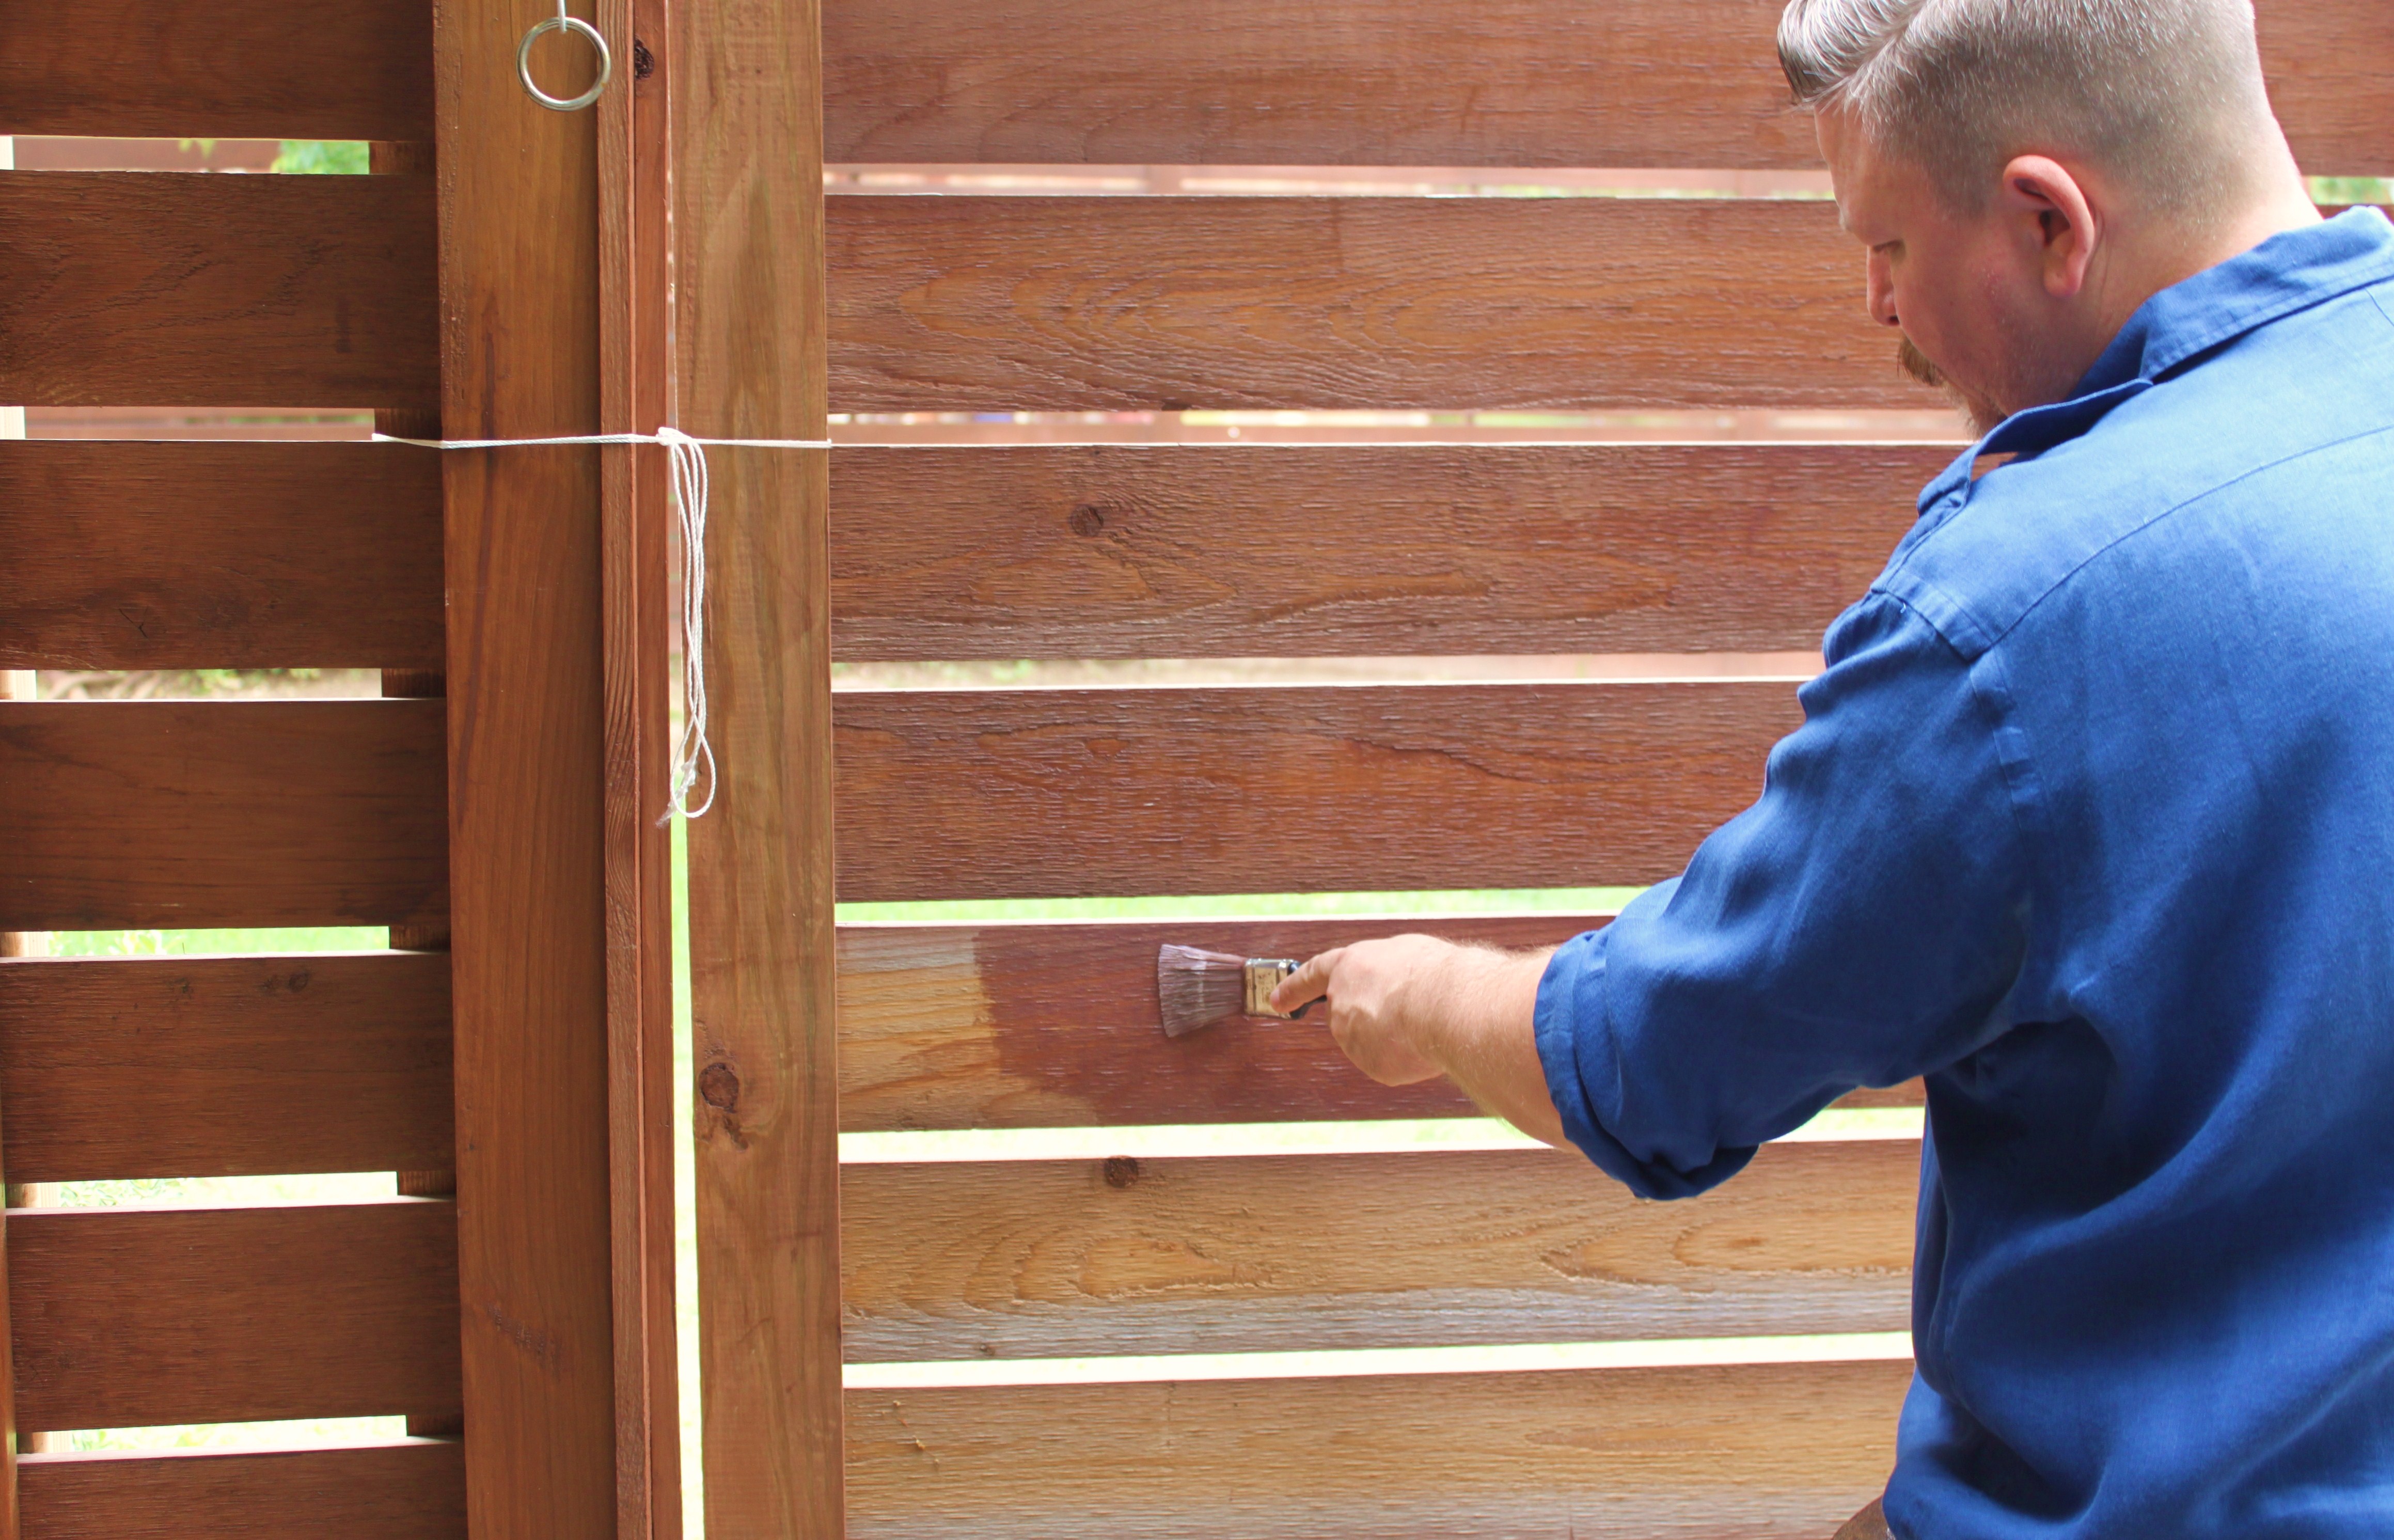
I slapped some left-over “Russet” stain on all the wood that was either new, or newly revealed.
Remember the “Russet” stain? Took us several tries to decide that we liked it with 1/4 of the colorant added to the clear stain. Then we had our dear friend Chuck spray the entire fence…..and he did a knock-out job. Always does.
Here’s what the gate should have looked like all along. (minus the row of screw holes along the left side)
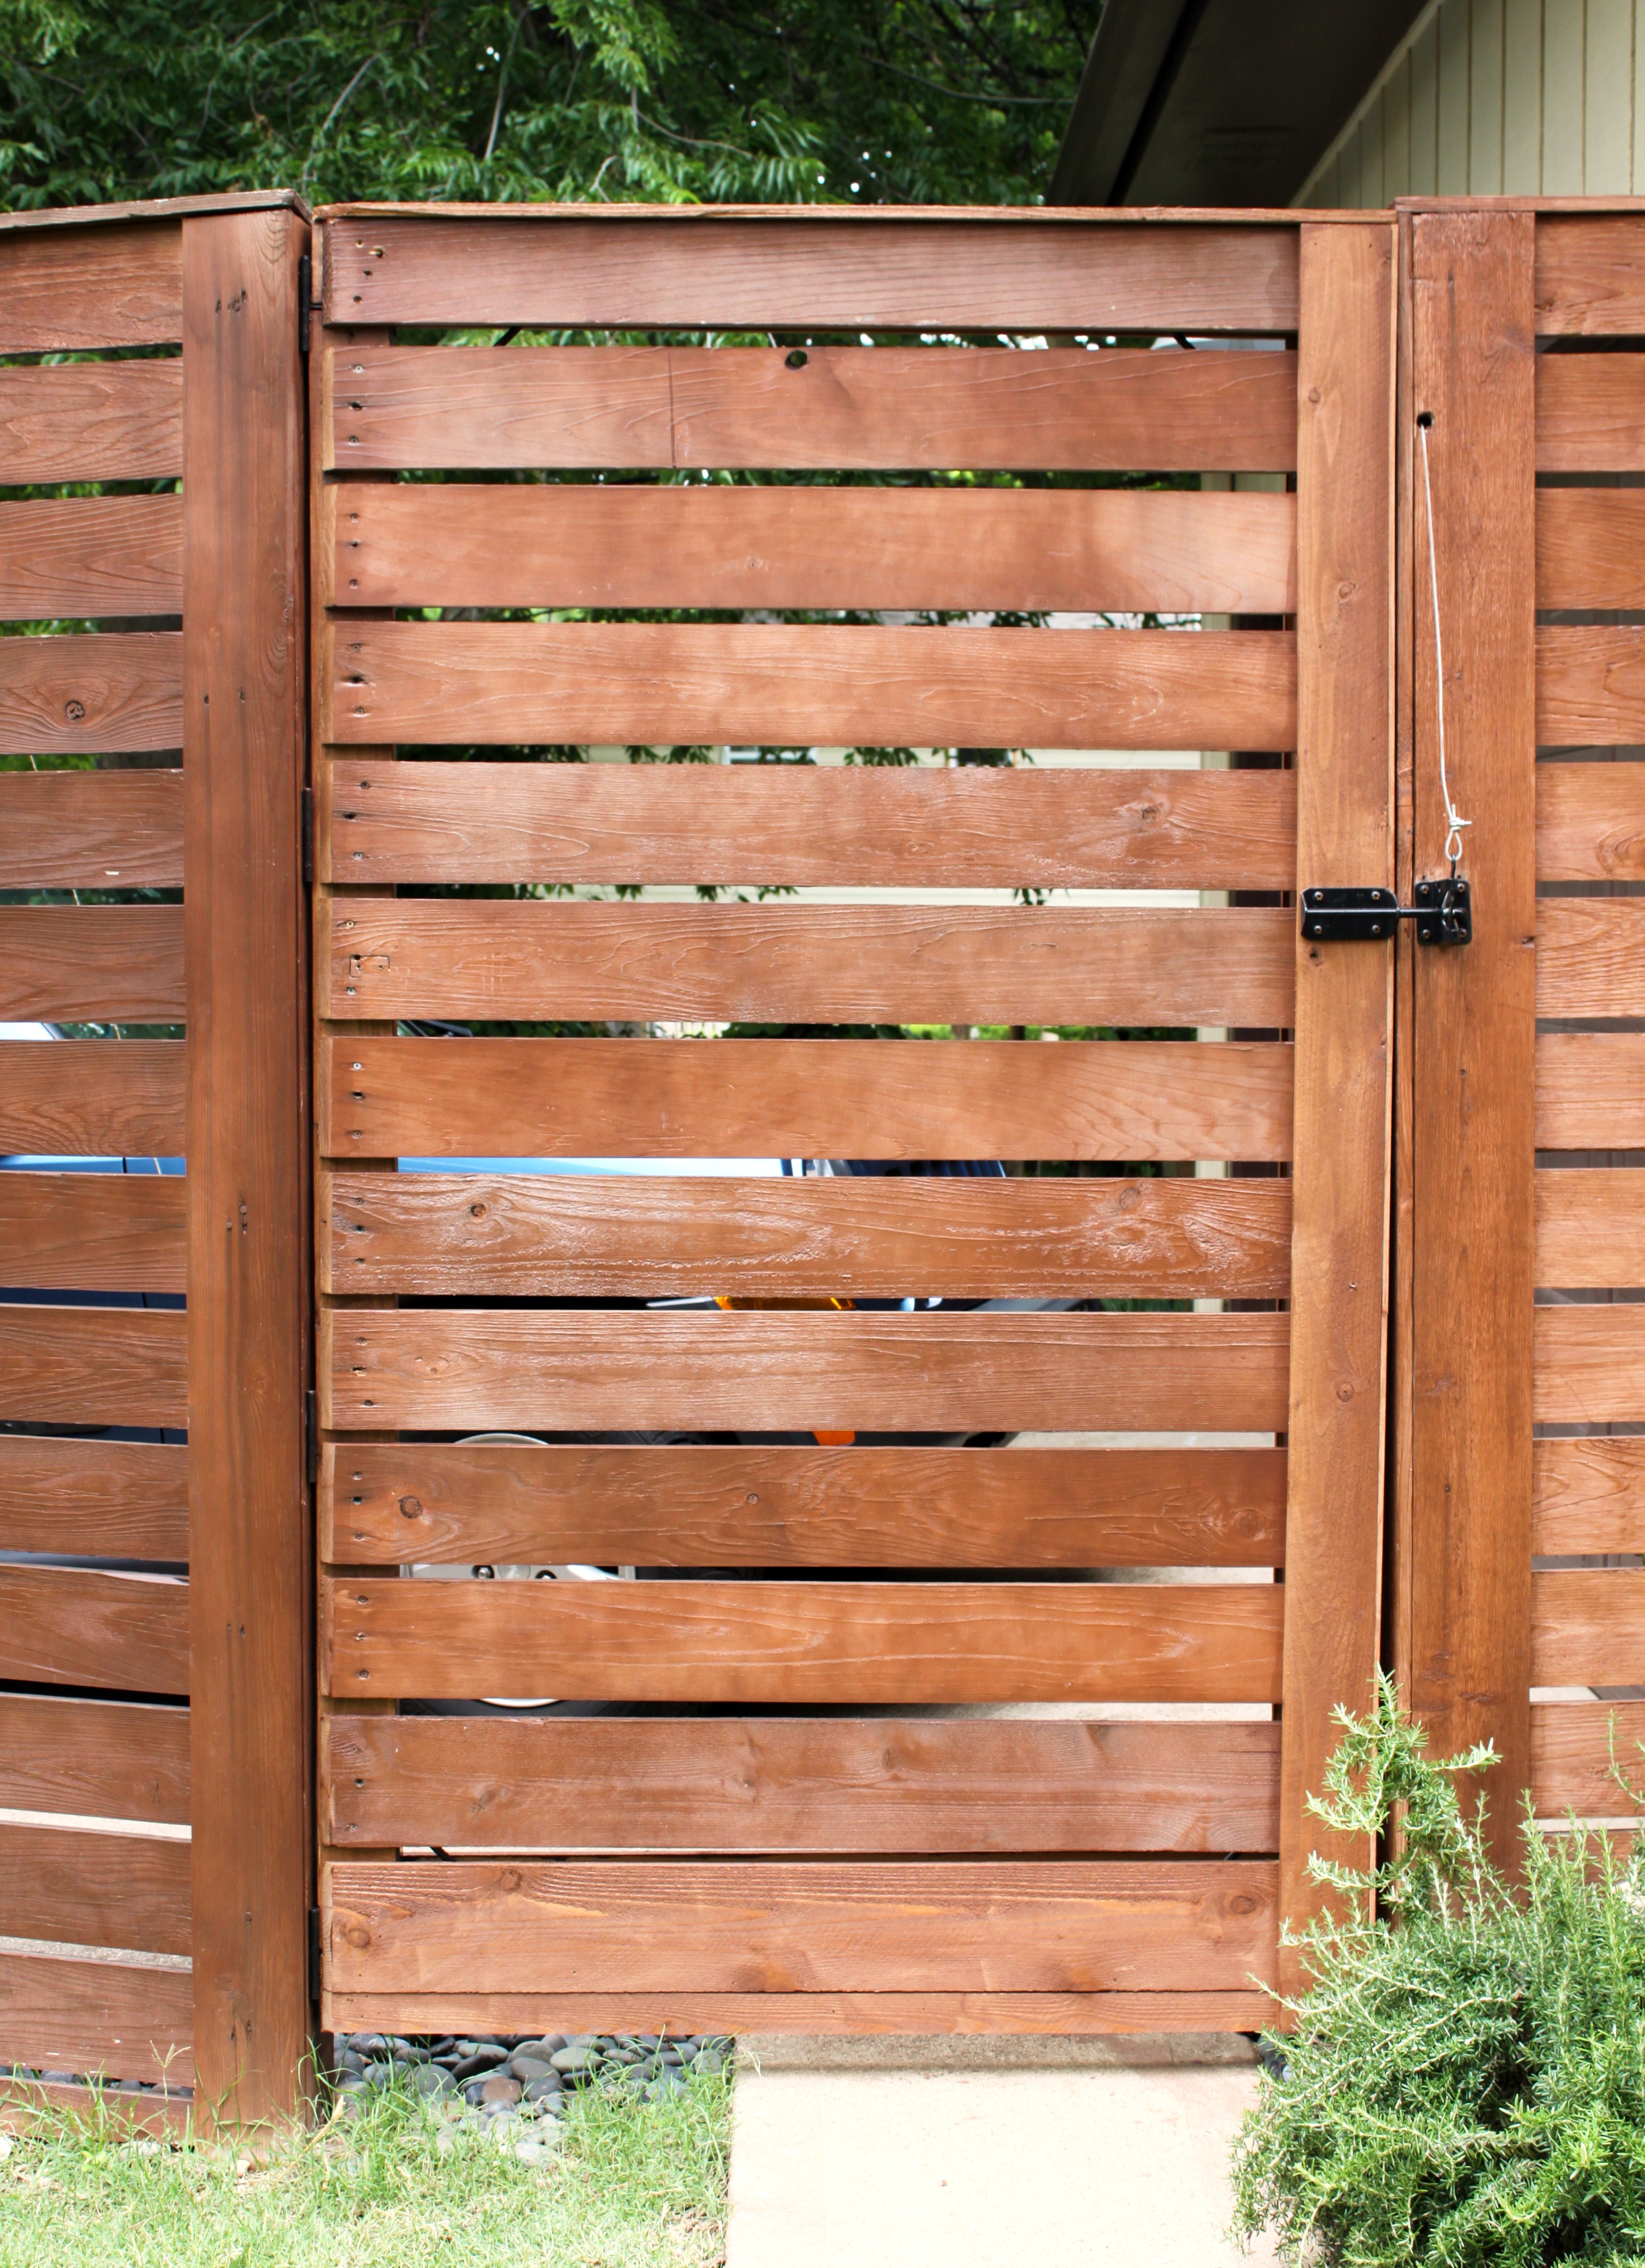
…and it looks the even better on back side,
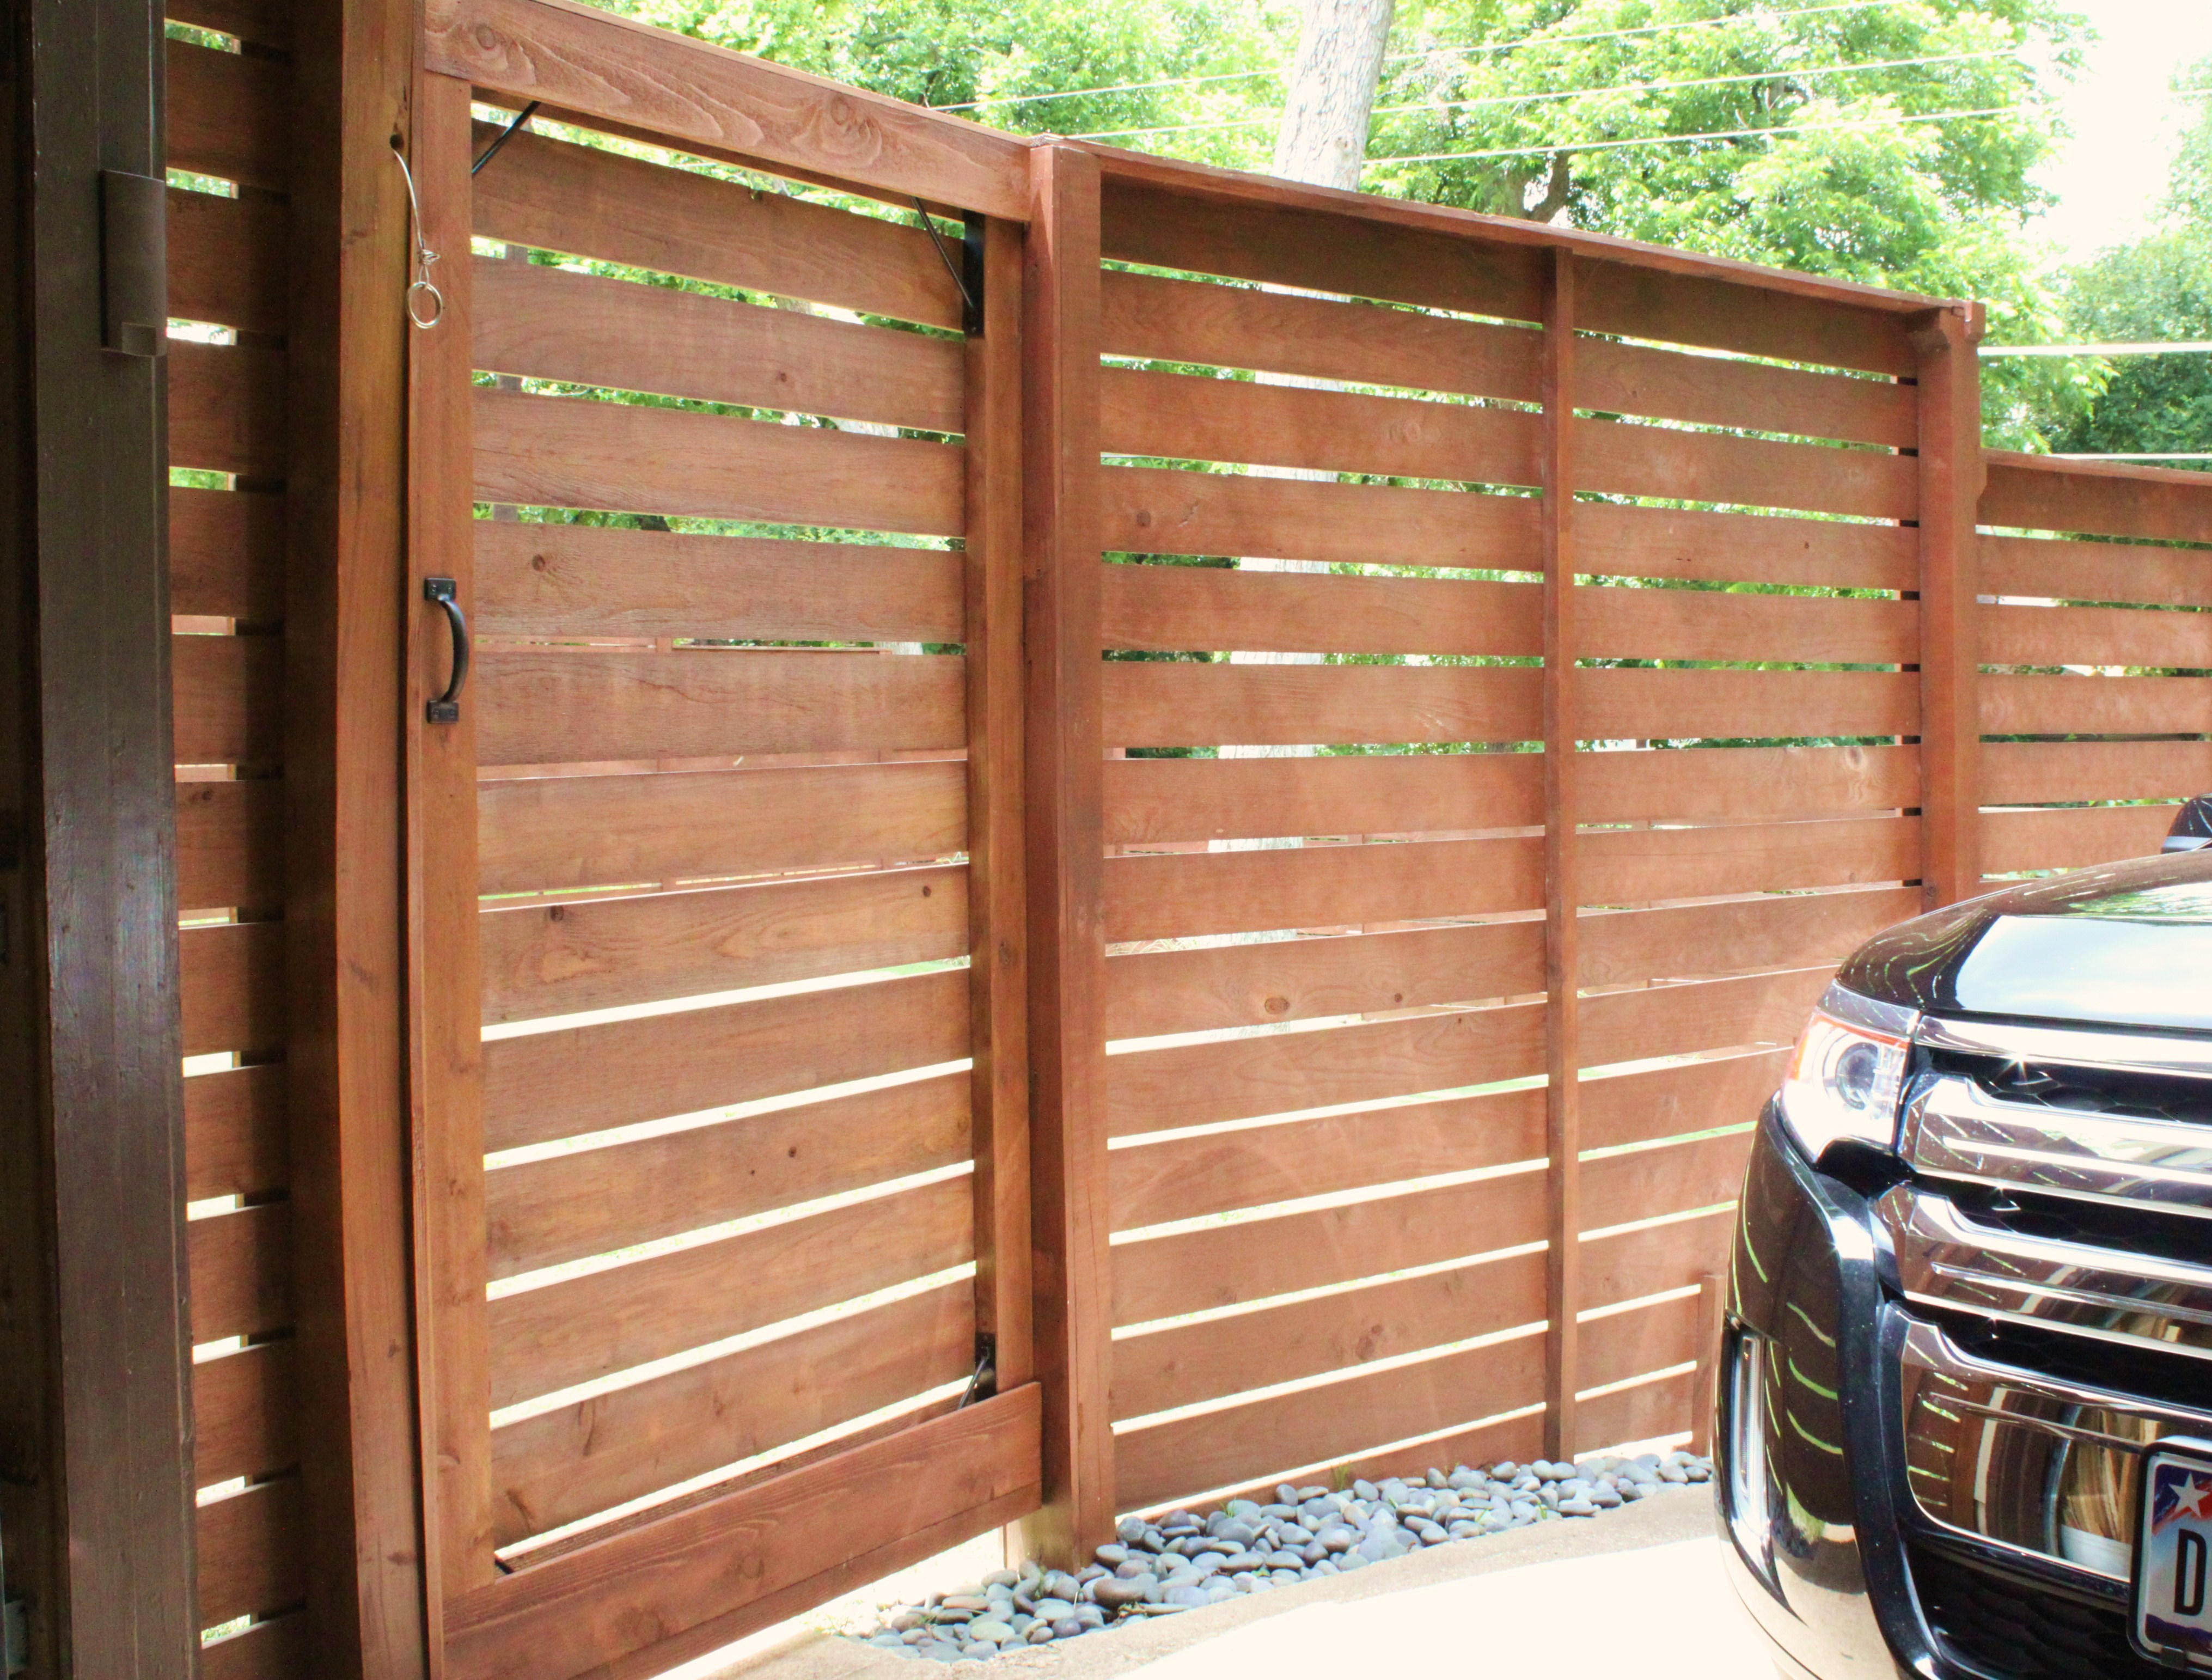
Now, with all the slats lining up with the fence , our gate looks more continuous and just plain beautiful.

Now on to tackle gate number 2…..Hopefully in the next few weeks.


One of the many reasons why I love you: you use the word ‘wonky’. i’ve gotten some funny looks for that word. Like i made it up or heard it on sesame street or something. ;0)
Isn’t wonky the best word to describe a crooked gate? I think it might be a “design” word……all my friends in the fashion/design world use it….our other friends? not so much…Also see “groovy” and “oogie”
Typical yanks (or non-Brits!), nicking one of our common words and pretending they saw it on Sesame St first or it’s a trendy design word! :o)
Wonky is a common word in the UK, it’s been around a long time but I do love that it’s come from another well known Middle English word wanky, which now has a subtle but important difference to us.
You should definitely add wanky to your inner dictionary, or the noun form, wanker, You’ll find them both very useful in a lot of everyday situations.
https://en.wiktionary.org/wiki/wonky
Feel free to throw in a cattywampus if you’re feeling fancy.
“Cedar isn’t forever” just struck me as so funny. Glad I have my big ole diamond ring instead of some cedar thing!
My technical hubby completely over-engineered a gate and the weight made it slump so I think you were brilliant, as always, to lighten the load. Beautiful.
Awwww shucks (kicks dirt)…jus’ doin’ we what we always do. Makin’ stuff better…….
Another great project. Thanks for the inspiration. I am taking on the barn on our property, and need to redo barn doors. I want to give them a X-style appearance like old barn doors. Does HD have an easy barn door kit?
Best,
E
I think you could use the same kit, just add the X on top and trim the sides…LOVE that idea btw. We will be working on our shed soon, doing something similar…just you wait
Pingback: The Perfect Gardening Area | THE CAVENDER DIARY
Pingback: DIY Fence Gate - 5 Ways to Build Yours - Bob Vila
Great gate and fence
Thank you ….it took a while to find someone to do it for us. Apparently, horizontal fences are harder to do.
Thank you for your helpful diy details. I was able to do the gate on my horizontal slat fence all by myself along with your experience. Thanks!
Thanks so much for a helpful tutorial. I was able to put a gate up on my horizontal slat fence all be myself and all your tips. Thank you!
Pingback: Home Depot Wooden Fence Planks – TonyWoodsArt
Thanks so much for this post! I love your gate, and I appreciate having your inside scoop before I begin my own similar project tomorrow. Have you been happy with the Home Depot Gate Kit?
Hi Eve, glad you asked. It’s been a few years and honestly our “no droop” gate is drooping. Not sure it’s the kits fault, our contractor said it might be the posts. But it was easy to install and still looks great. Just at a slight angle.
Hi James,
This is very good to know!
Does it sag enough that you would recommend adding more clearance at the bottom of the gate?
Possibly, ours is a good 5ish inches off the ground, so no worries there.
Pingback: 21 DIY Fence Gate Ideas-Learn How To Build A Fence Gate For Your Yard – Home And Gardening Ideas
Pingback: The Most Important Sliding Front Gate Designs Innovation - Property Design Ideas
Where do I get it and how much does it cost?
I made it
Pingback: 40 Wooden Gate Ideas For An Inspiring Backyard | Arq:ink
Pingback: 40 Wood Gate Concepts for an Inspiring Yard - LunaticTech
Pingback: 40 Wooden Gate Ideas for an Inspiring Backyard - jusgrillaurora
Pingback: 40 Wooden Gate Ideas for an Inspiring Backyard - aanvang
Pingback: 40 Wooden Gate Ideas for an Inspiring Backyard - Aquiestu Veayer
Pingback: 40 Wooden Gate Ideas for an Inspiring Backyard
This is an excellent blog. As well as an informative and helpful blog about Fencing and Gate
Pingback: 27 DIY Fence Gate Ideas - Solar Living Savvy