
I hate the asphalt roof on our tool shed.
I know hate is a strong word, but asphalt roofing is just not a selling feature for me.
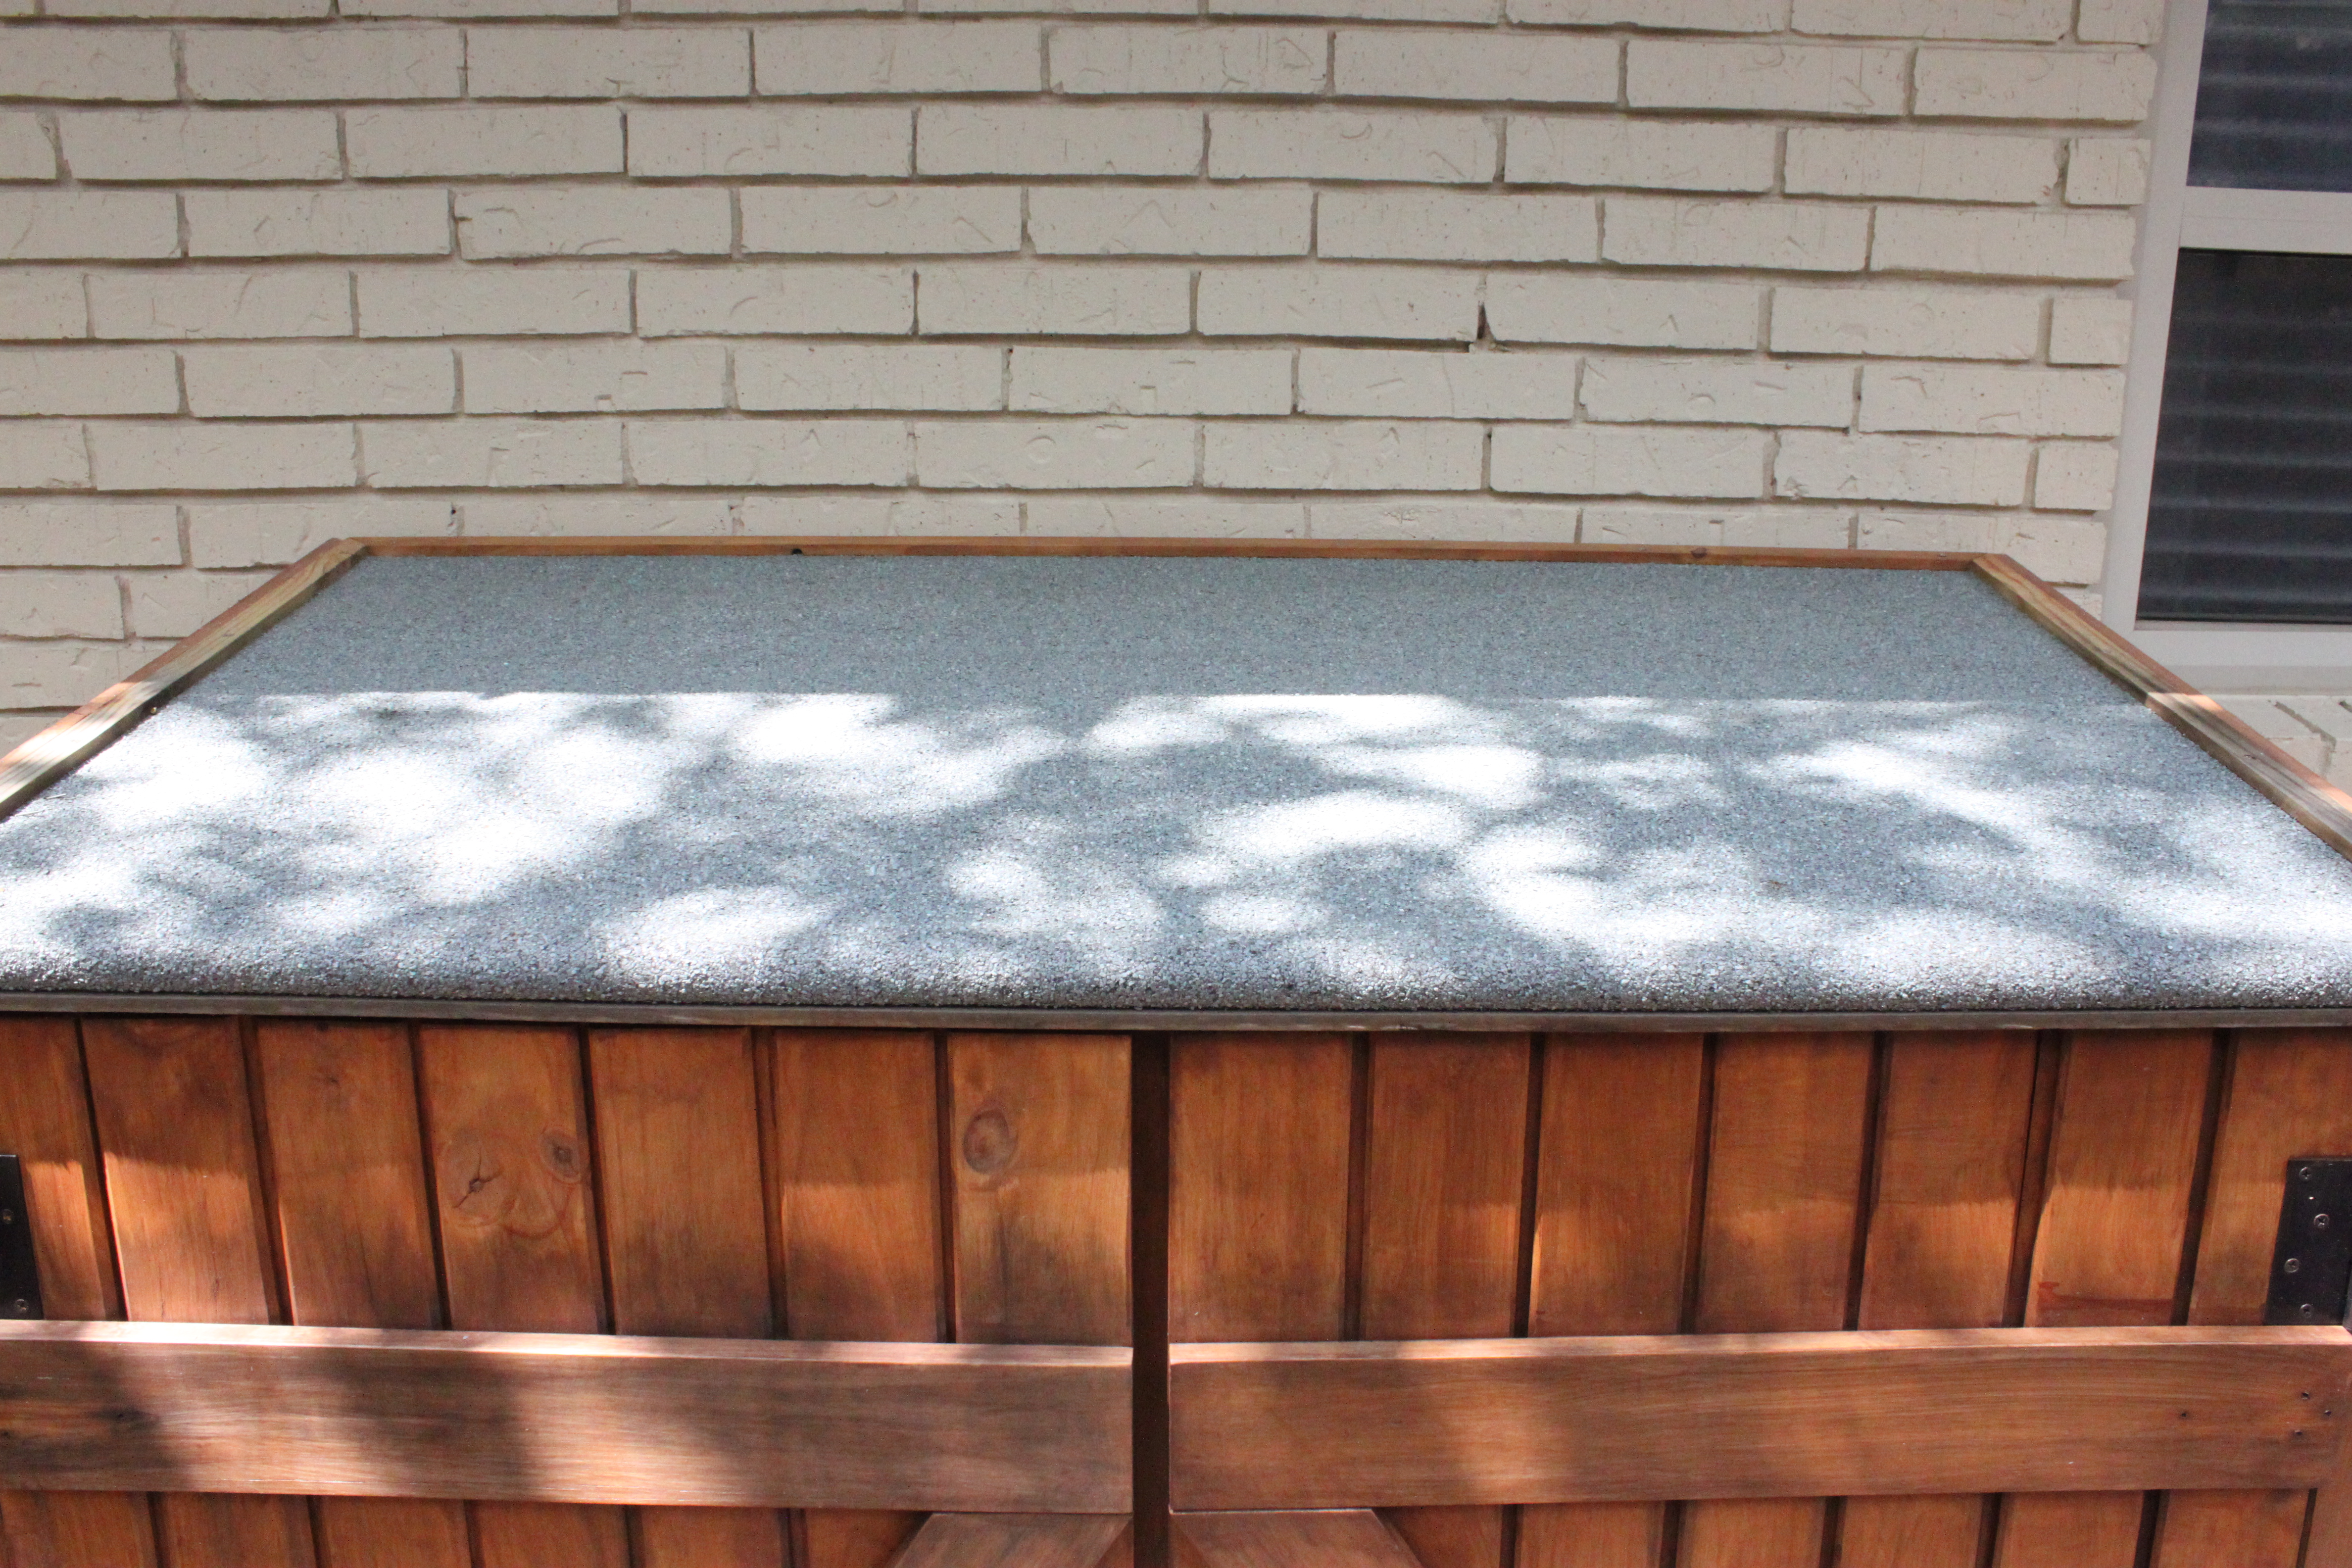
What to do…what to do.
Last weekend while visiting Jamie’s parents, I checked out the roof of Jamie’s father’s tool shed…….and what was up there?

Corrugated, galvanized, tin.
Beautiful,…………………. aged to perfection, ……………….corrugated ………………..galvanized tin roofing.
How awesome that must sound in a rainstorm.
Being the fans of Austin Texas that we are, there aren’t many out-door design elements that are more stereotypical Austin than:
-
and Corrugated Tin.
I started by adding a 2 inch strip of stained cedar to the front edge of the roof with the brad gun.

Then attached scalloped trim to hold the tin roof. One in the front, and a second in the back…..being careful to line up my “humps”.
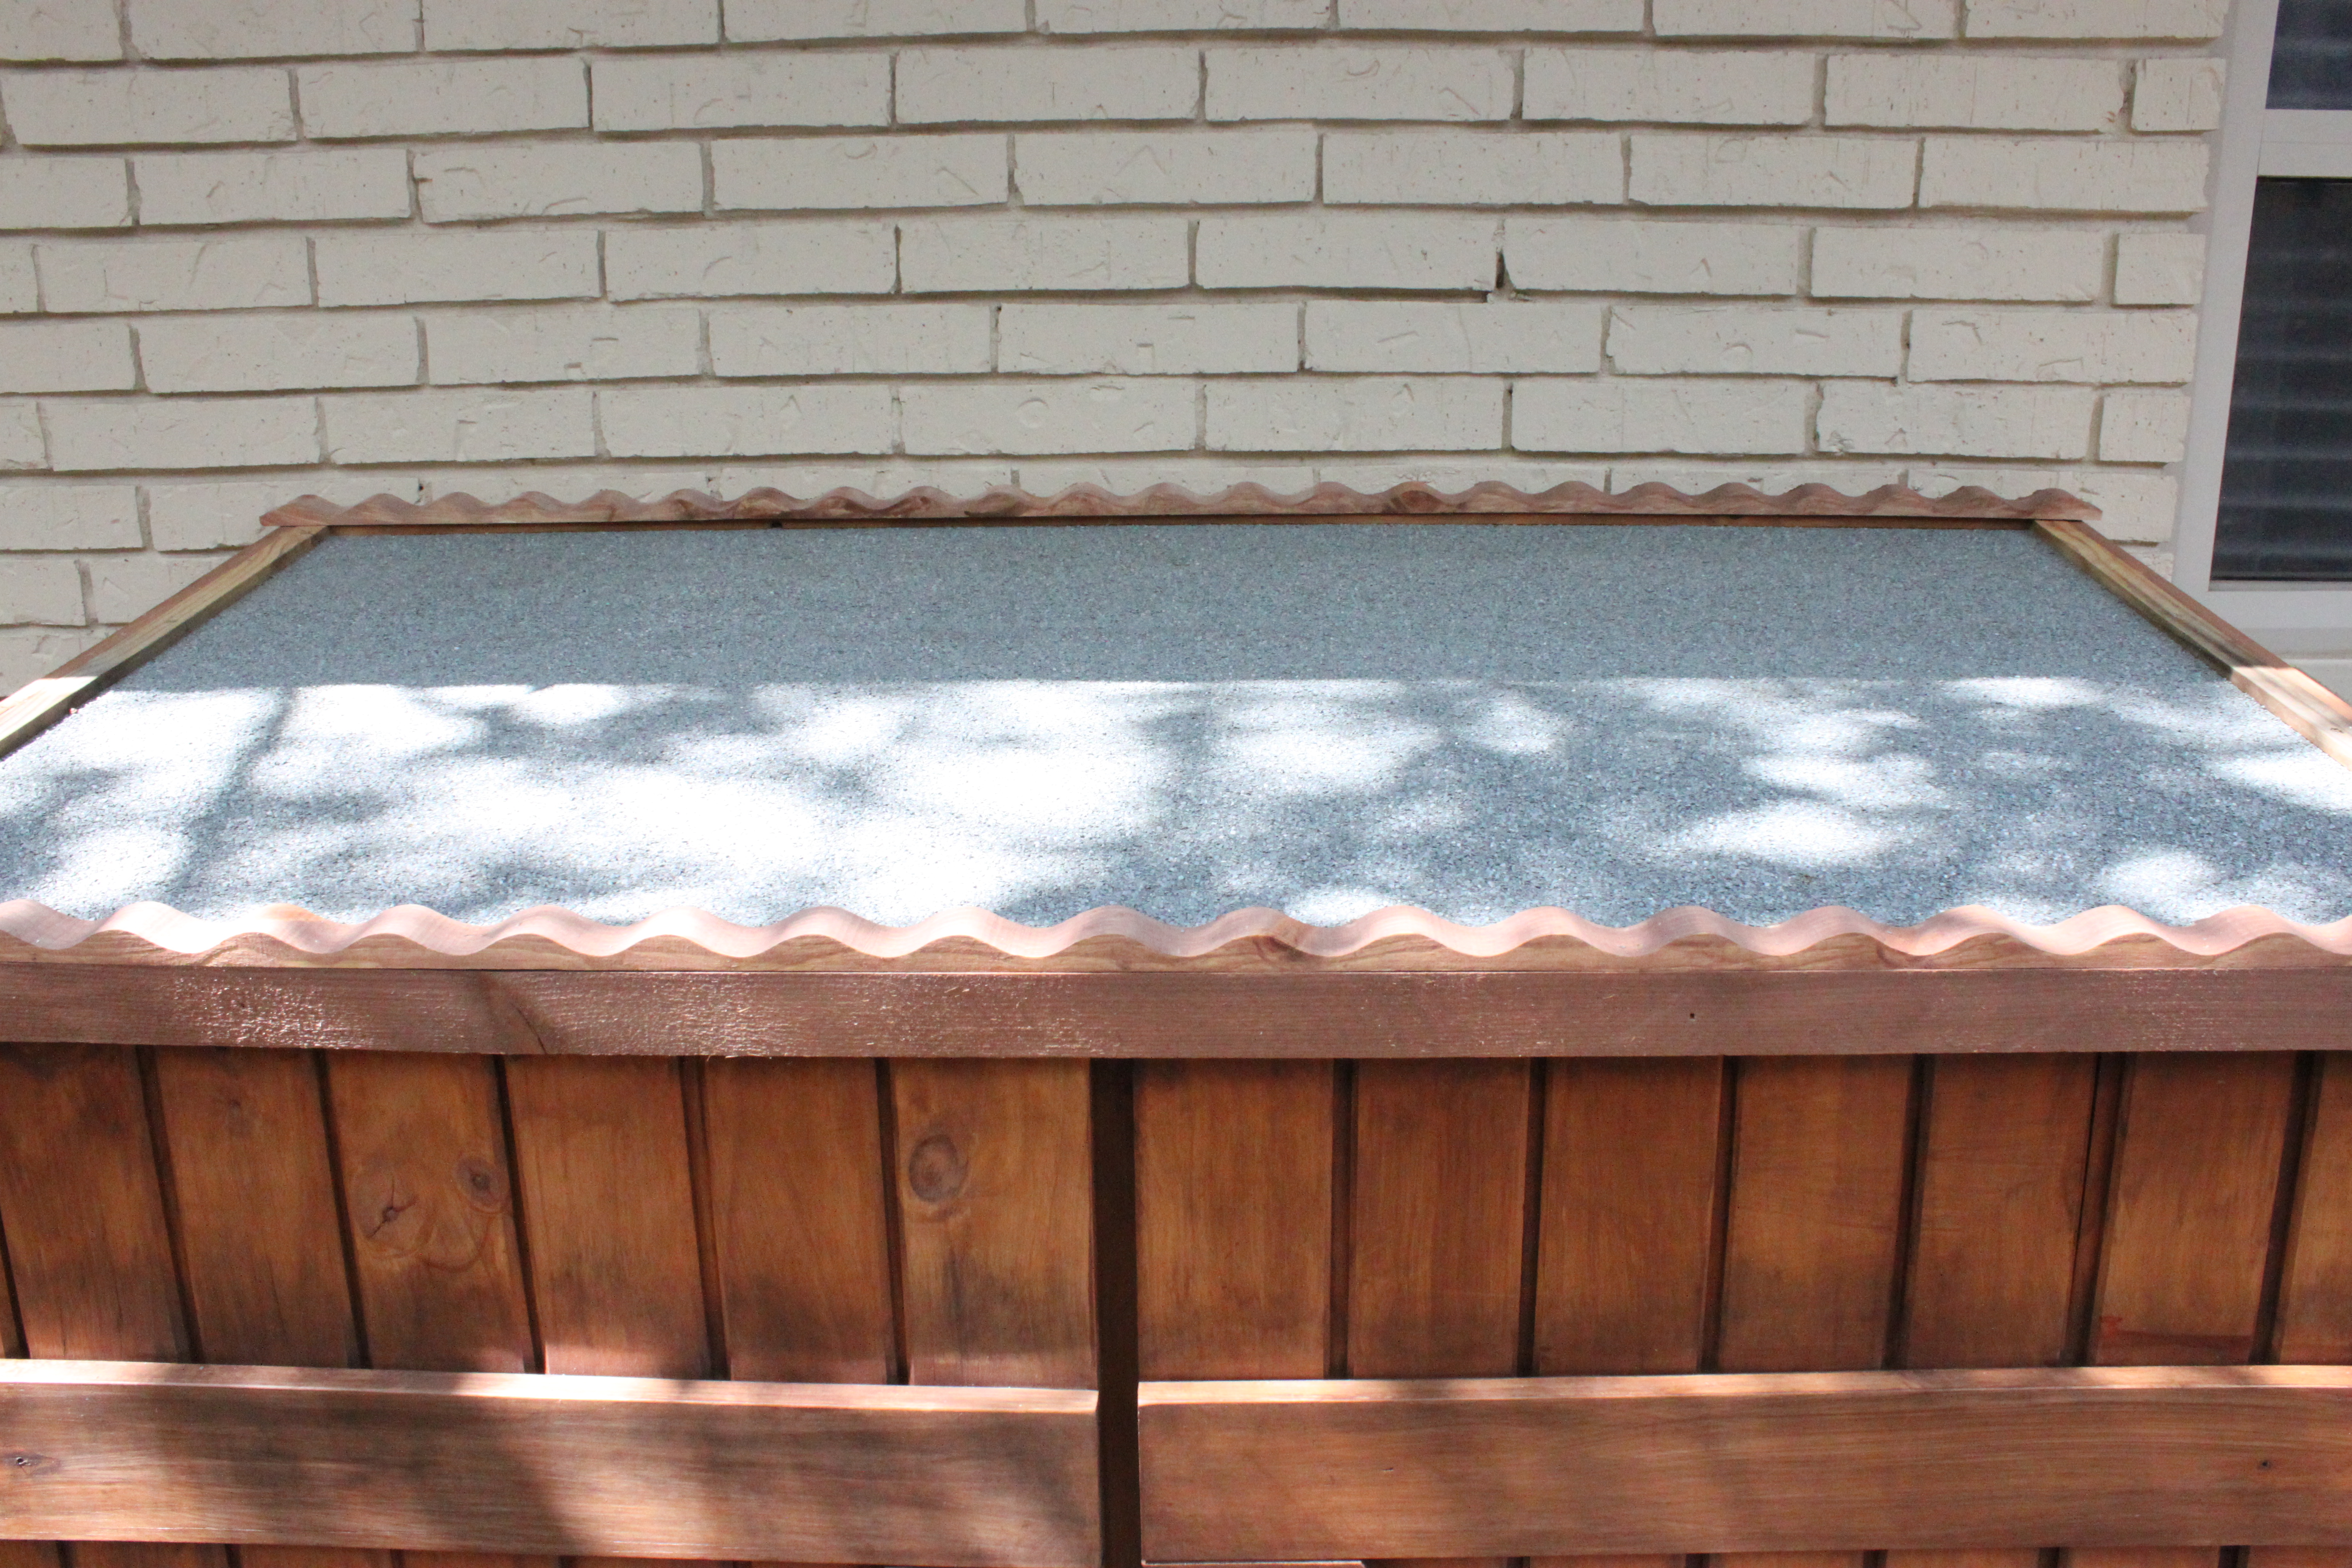
The scallops are just the right size to keep the roof on tight. I could also use a silicone roof sealant to close all the gaps, but come on, this isn’t a serious roof.
Oh yeah, I stained the scalloped trim ahead of time also.
We want everything perfect, now don’t we?
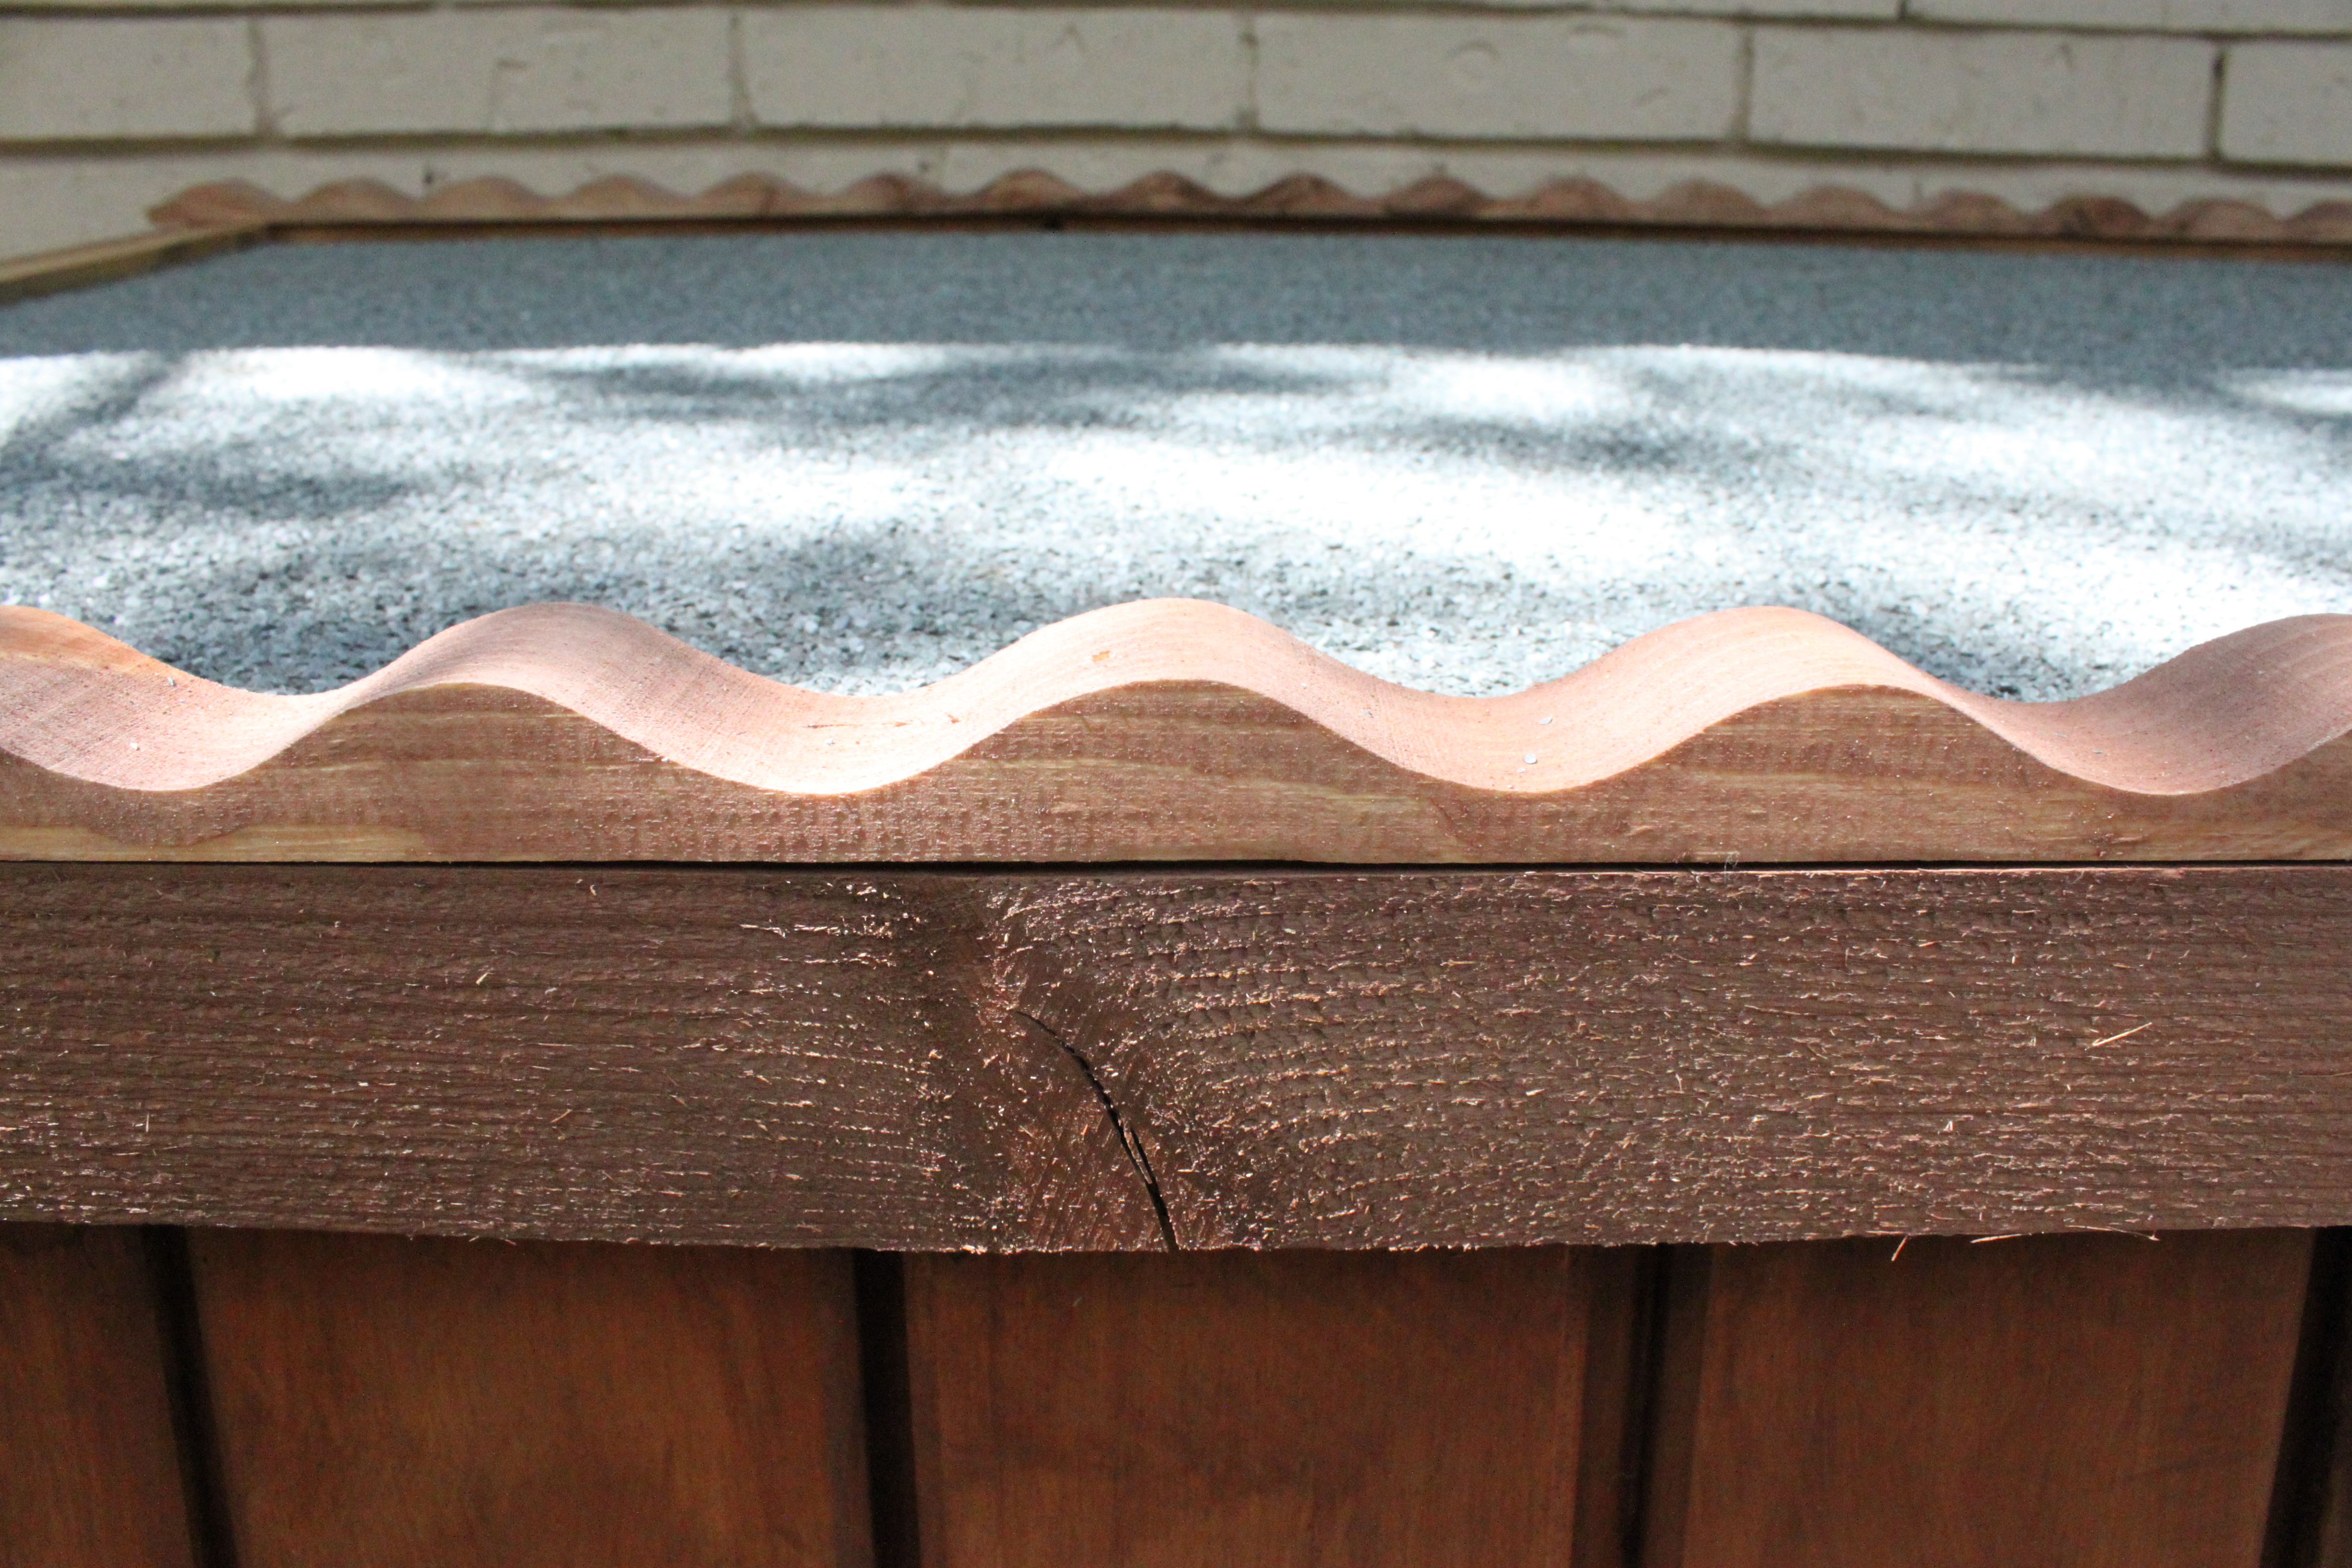
There’s a good 1 inch drop from the highest hump to the asphalt on the roof below it, and I need to screw the middle into something, so I attached a few cross pieces with scrap pine.
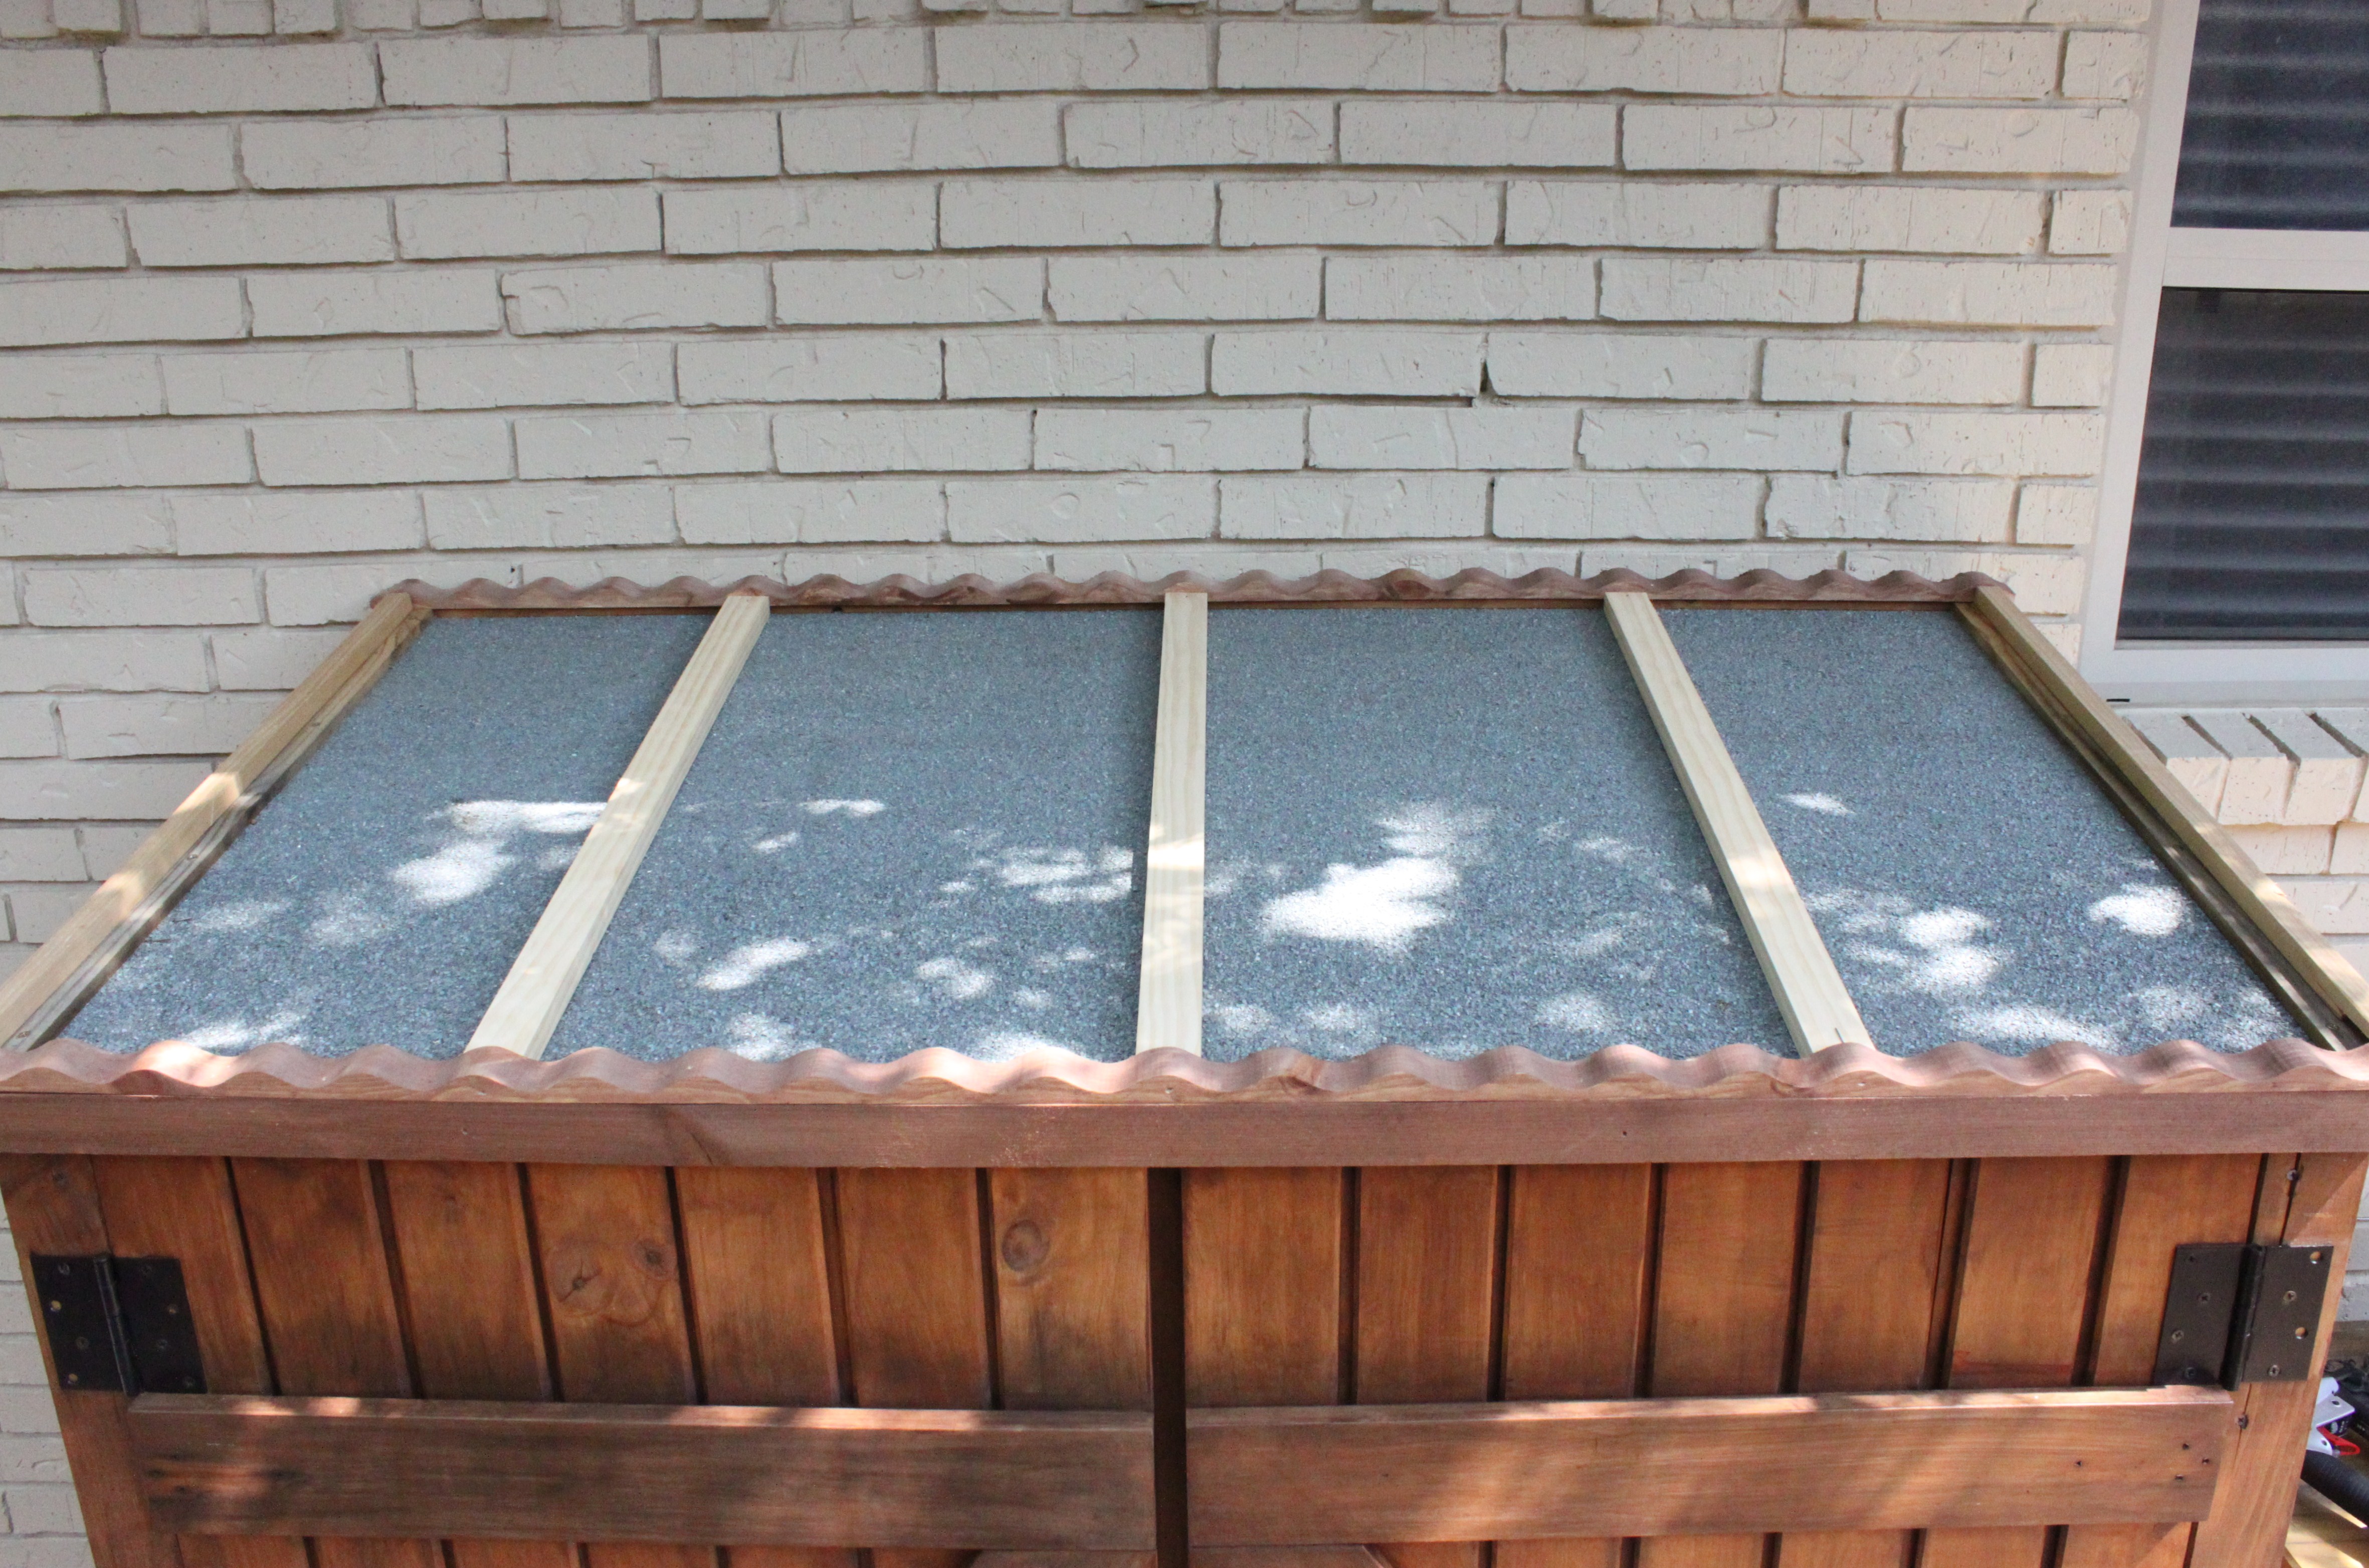
Now I know that I can screw my roof into these boards without creating huge dents in the tin.
Speaking of the corrugated tin. I bought 2 sheets at home Depot for 7 bucks each. They are 2 foot wide by 7 foot tall. My finished roof is only 30 inches dep by 60 inches wide (with a slight overhang at the front and back)….so I knew I’d have to cut the sheets to get 3 layered pieces.
I checked several places on-line that suggested using a jig-saw with a metal blade, but it was much easier cutting with tin snips. Like scissors.
All the edges are sharp, but the cut edges especially so, wear protective gloves.
The best way to attach roof panels is with galvanized roofing screws. They have a rubber washer attached.

The rubber keeps rain water from seeping under the tin. (ignore the filthy fingers)

I started with my smallest middle piece…and lay the 2 sides on over it. (I labeled them with tape so I’d know to put the freshly cut, AND VERY SHARP, edge toward the brick wall)
I didn’t want to overscrew – didn’t want to loose the whole thing in a wind storm either – so I used a screw on top of every third hump. (and 5 through the middle)
That might possibly be overkill. Not sure.
And here’s our finished too shed roof……

Way, WAYYYY, WAyyyyyy, WAYYYYYYYYY better than that asphalt sadness before.
Trust me on this one folks, we don’t need a new roof on the house, and pro’lly won’t for another 30 years…….
But the minute we do,
It’s gunna be tin.
OOhhh yeah it is.

