
I hate the asphalt roof on our tool shed.
I know hate is a strong word, but asphalt roofing is just not a selling feature for me.
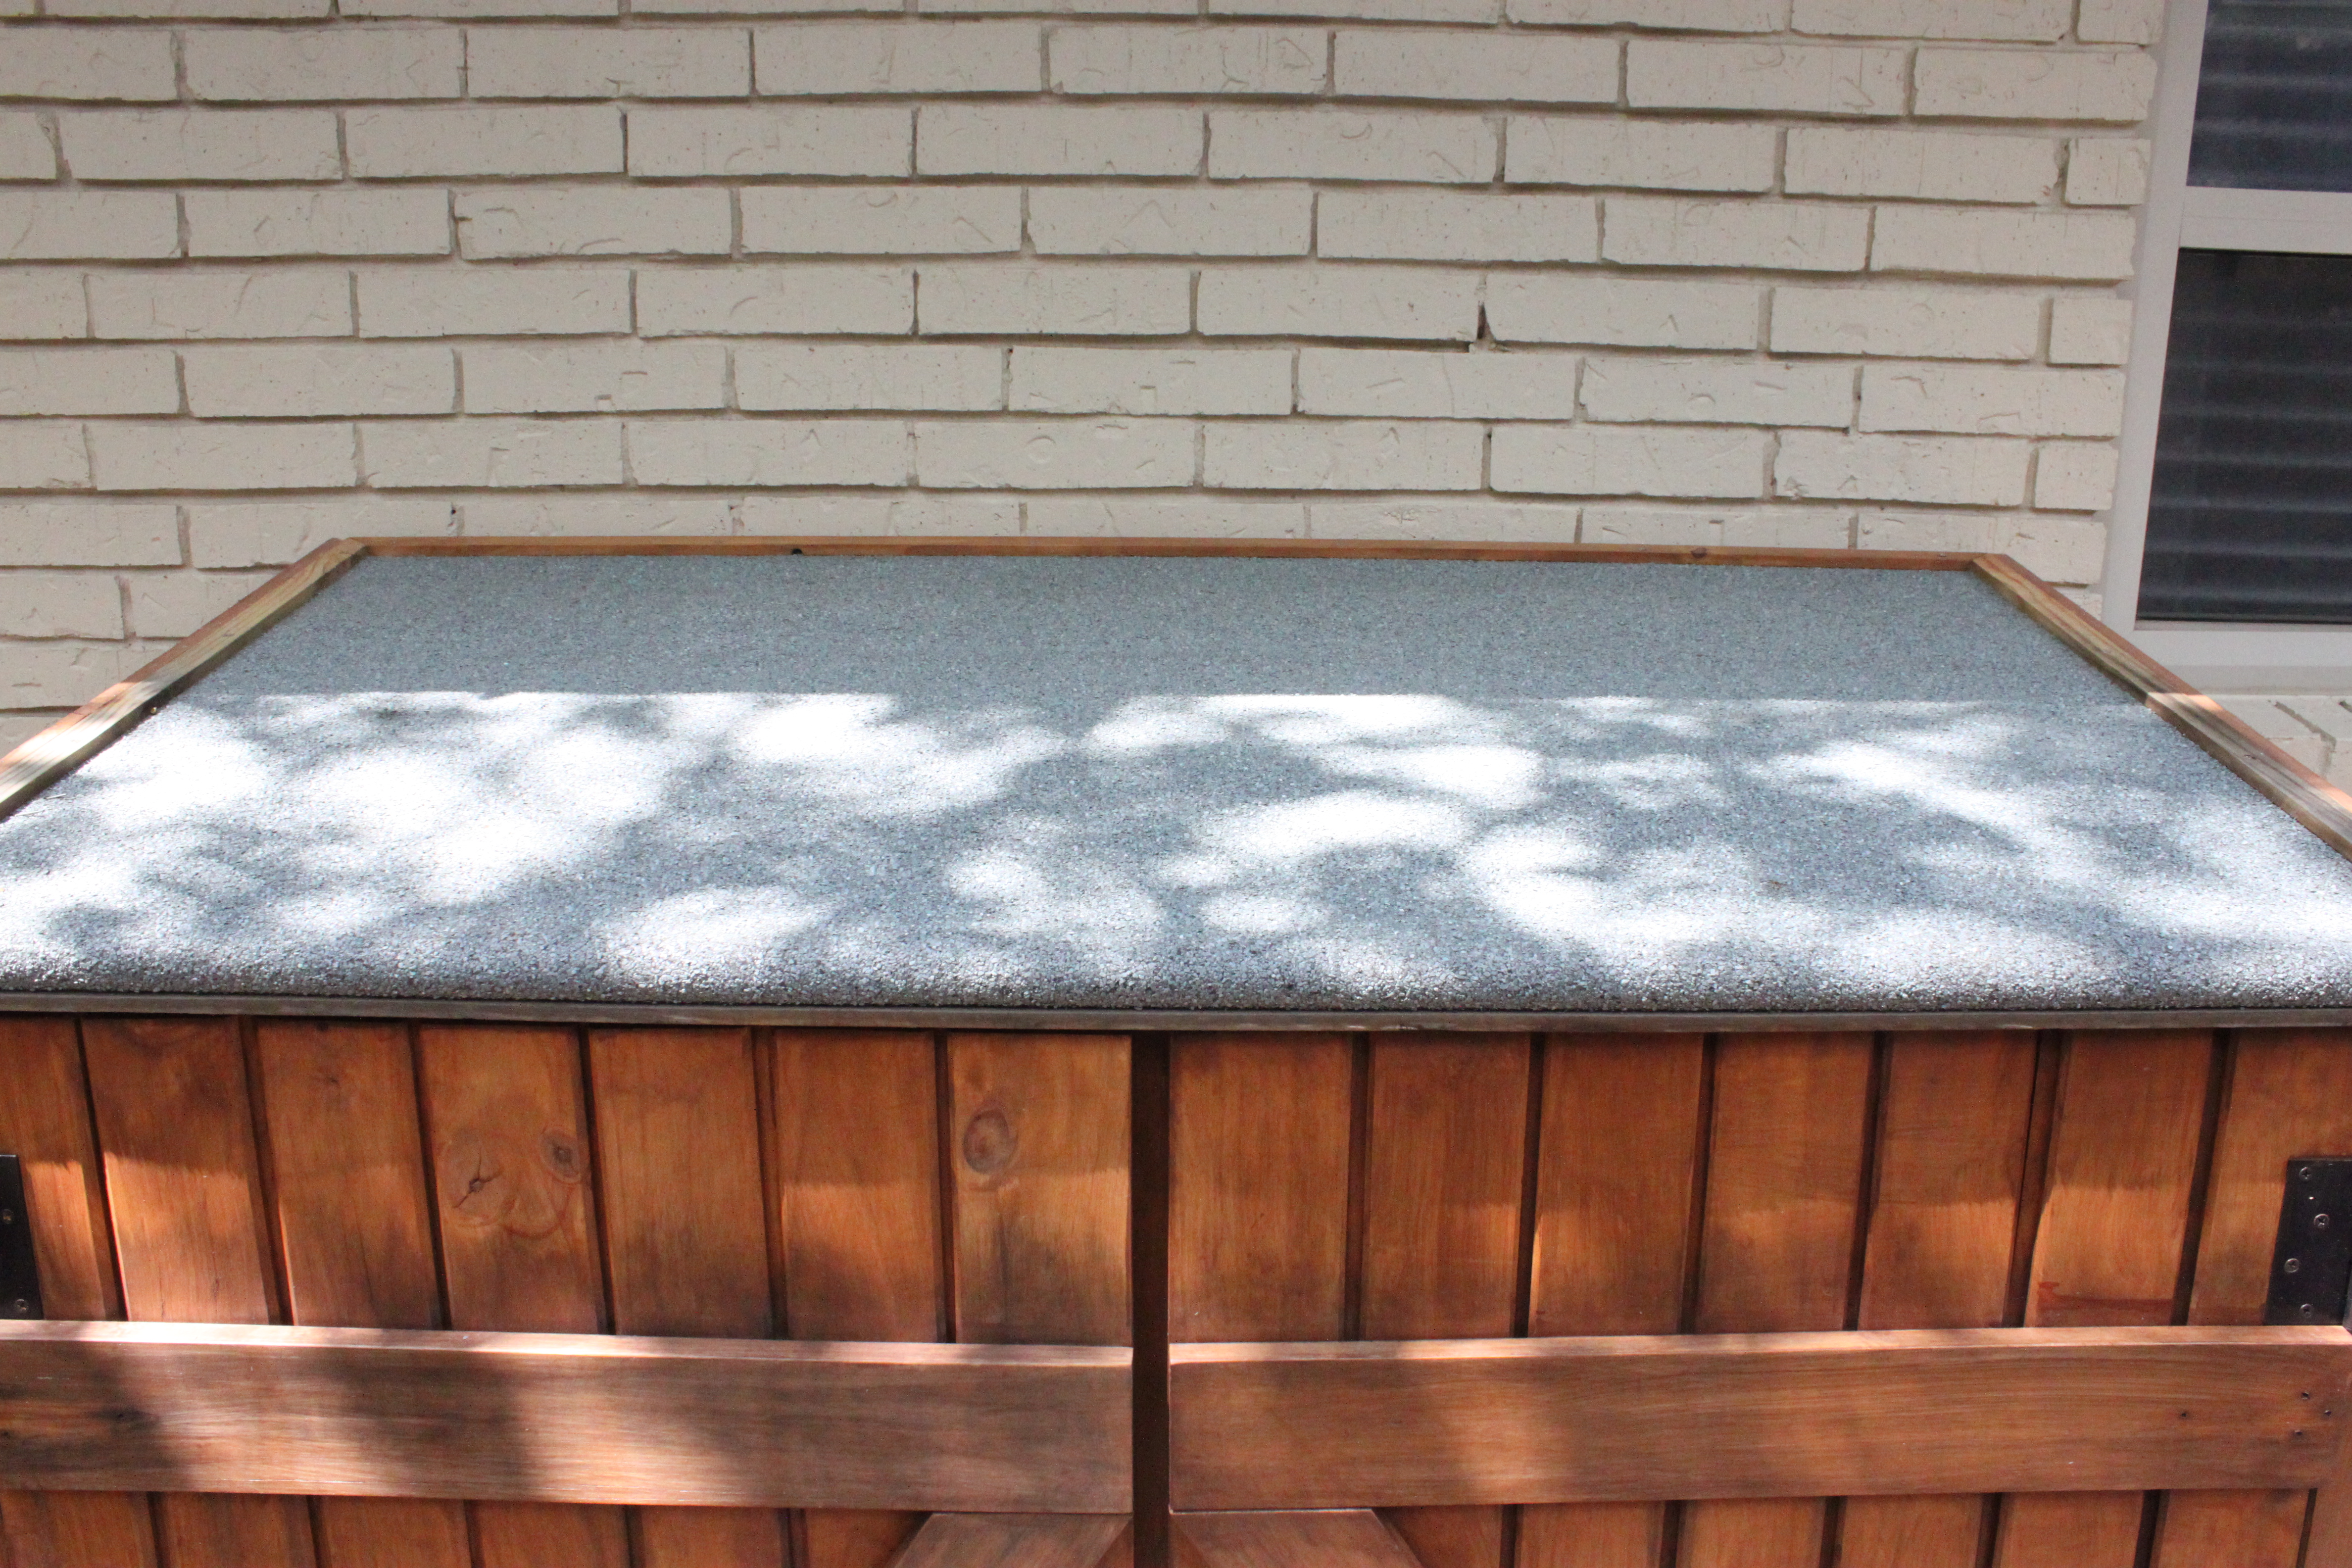
What to do…what to do.
Last weekend while visiting Jamie’s parents, I checked out the roof of Jamie’s father’s tool shed…….and what was up there?

Corrugated, galvanized, tin.
Beautiful,…………………. aged to perfection, ……………….corrugated ………………..galvanized tin roofing.
How awesome that must sound in a rainstorm.
Being the fans of Austin Texas that we are, there aren’t many out-door design elements that are more stereotypical Austin than:
-
and Corrugated Tin.
I started by adding a 2 inch strip of stained cedar to the front edge of the roof with the brad gun.

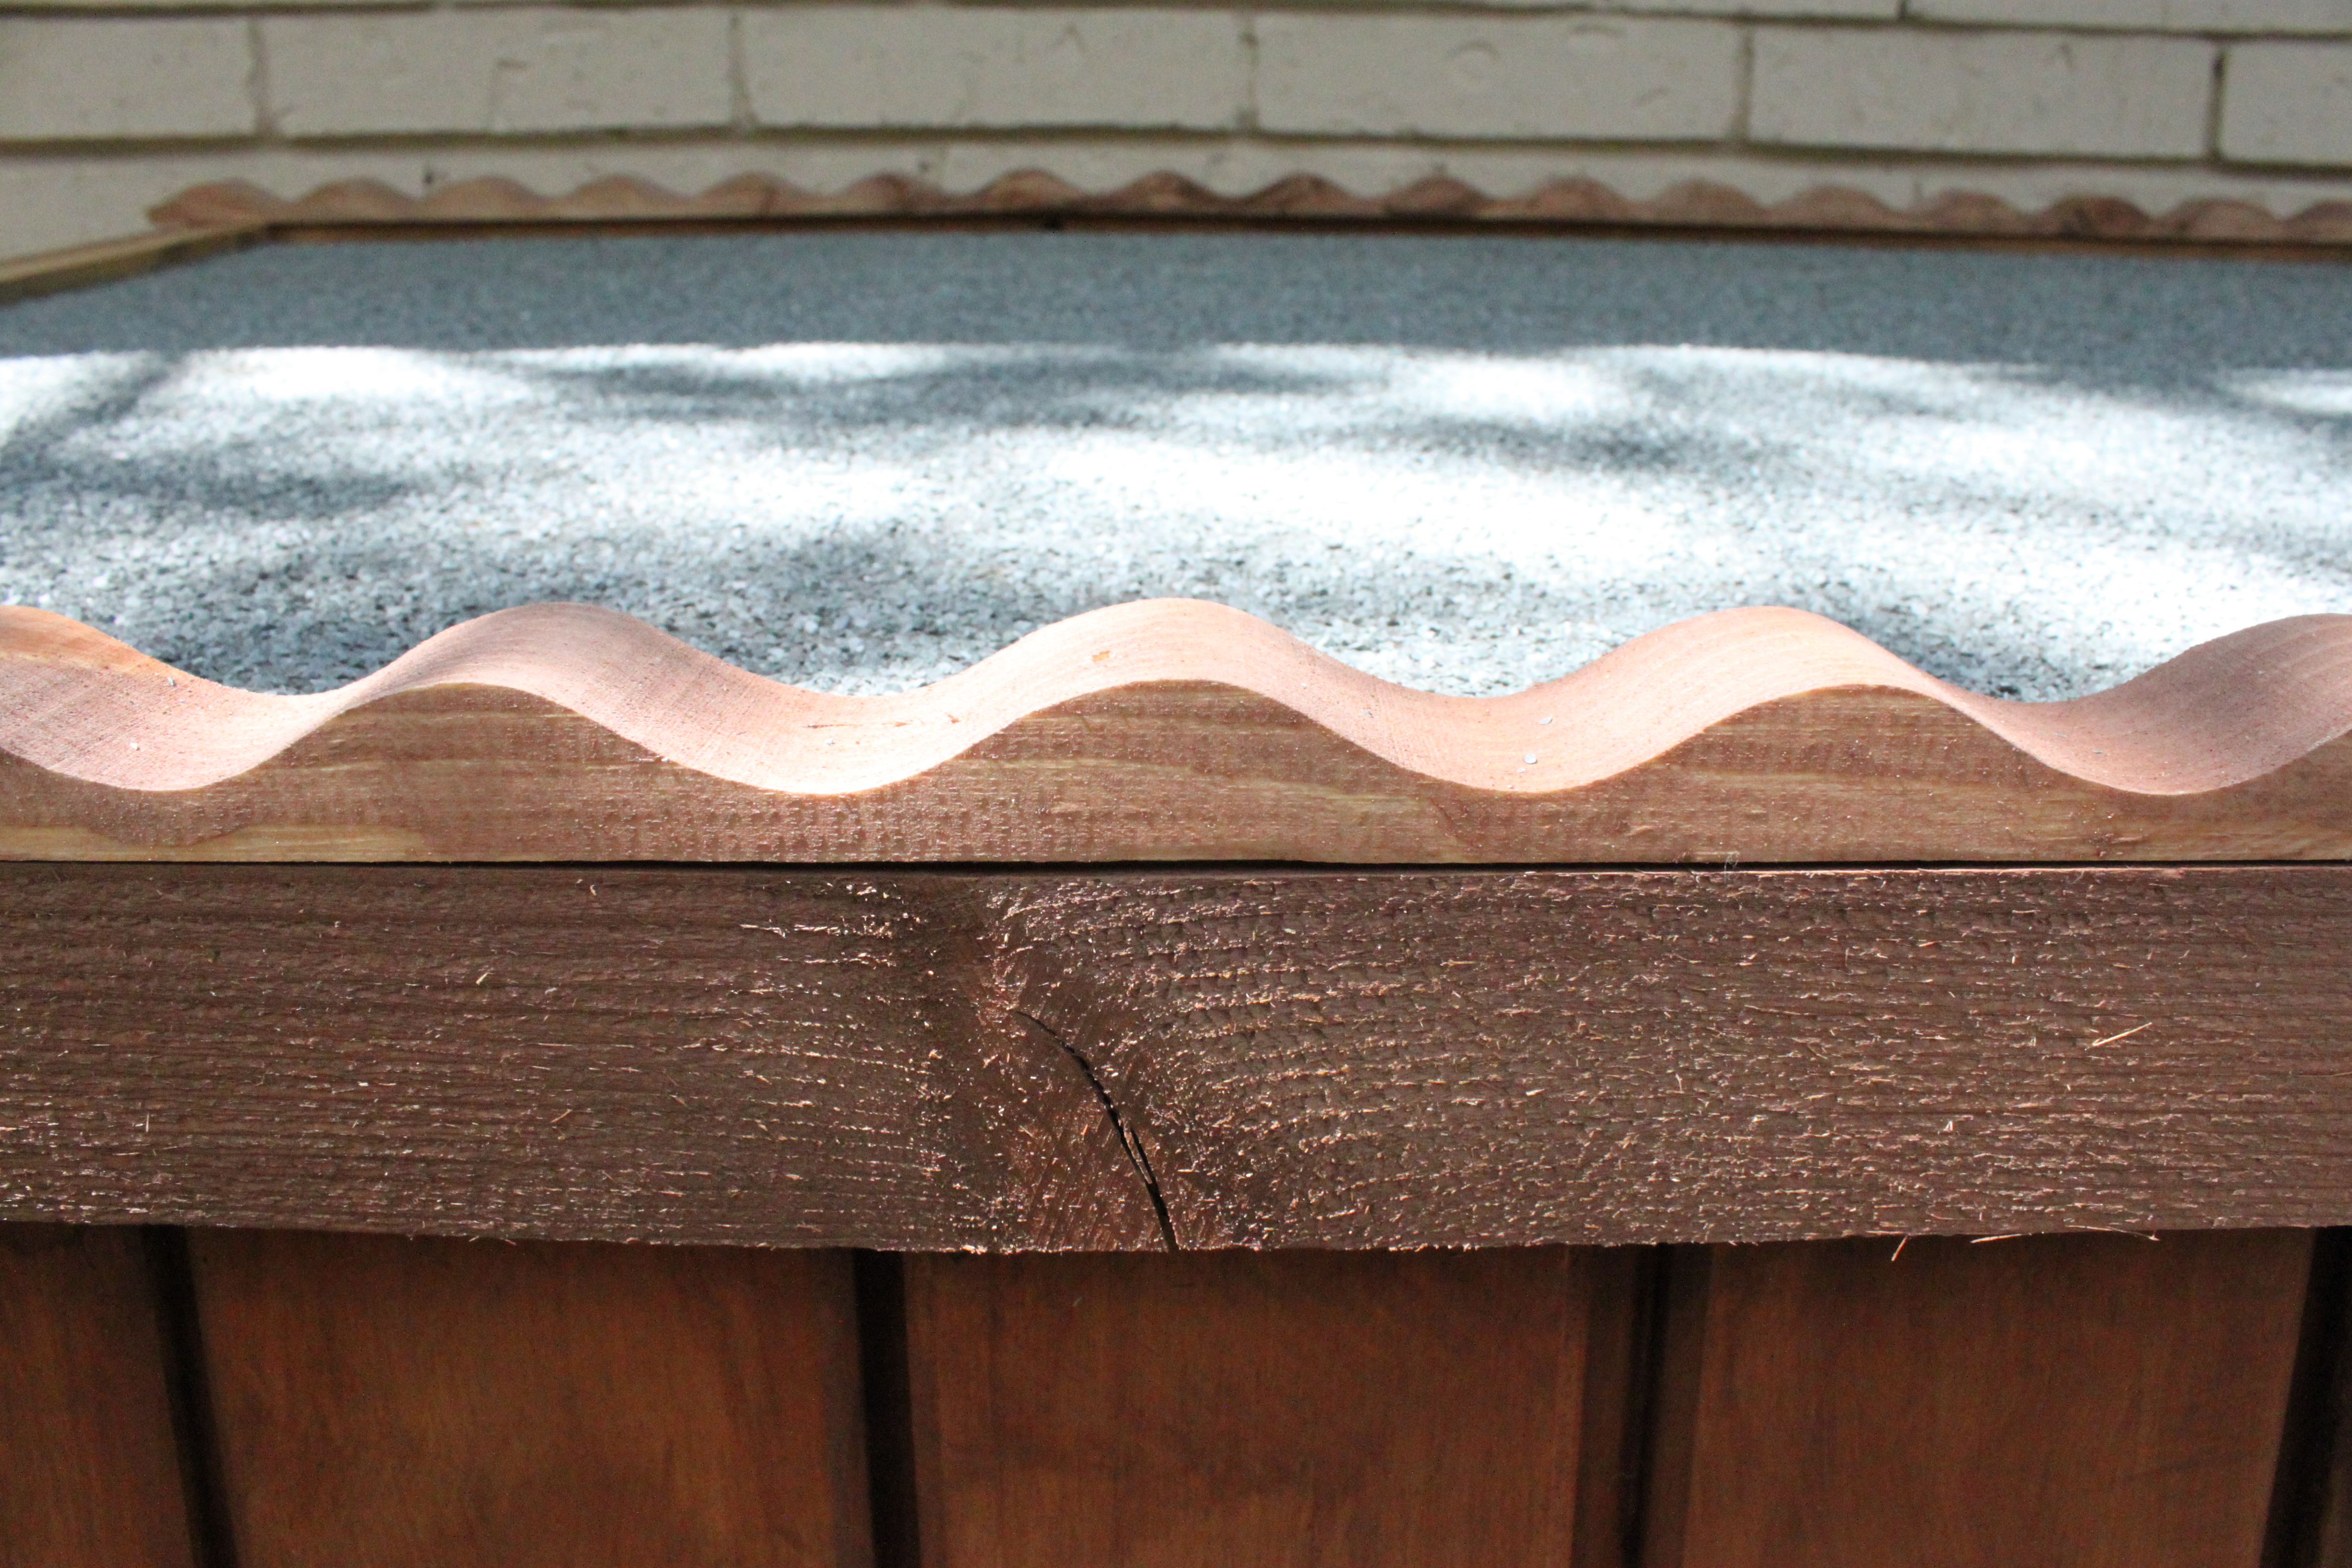
Then attached scalloped trim to hold the tin roof. One in the front, and a second in the back…..being careful to line up my “humps”.
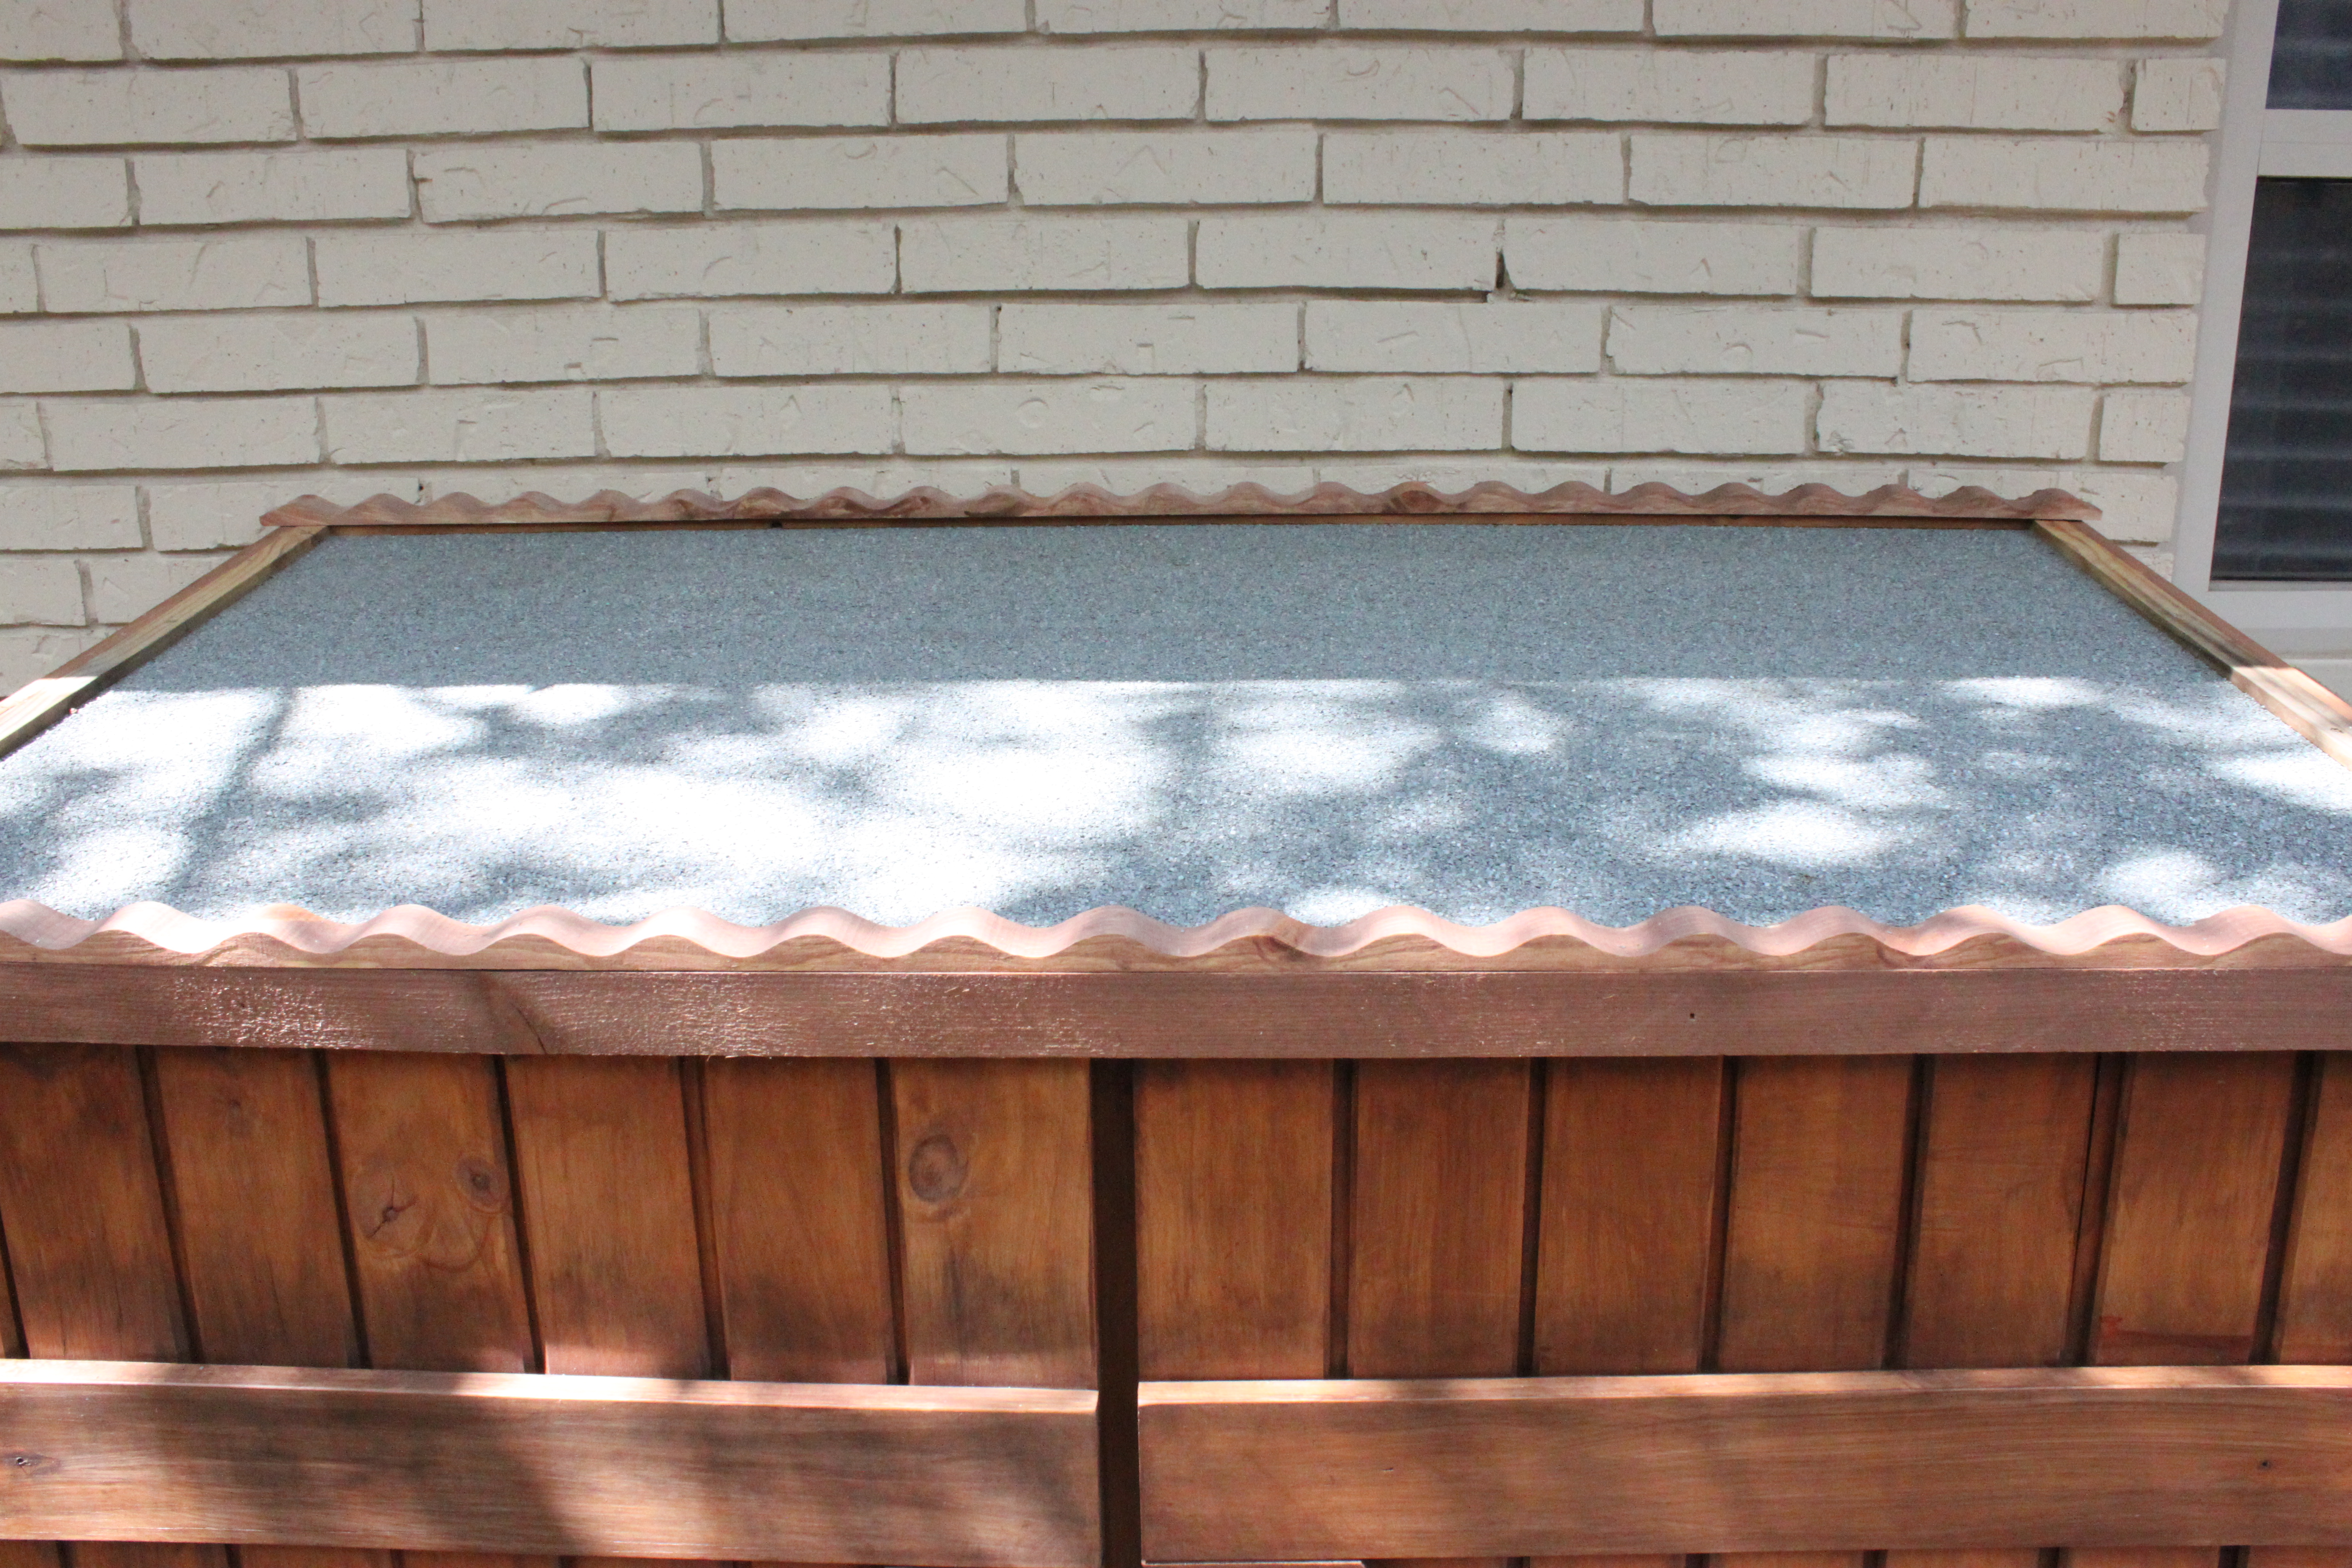
The scallops are just the right size to keep the roof on tight. I could also use a silicone roof sealant to close all the gaps, but come on, this isn’t a serious roof.
Oh yeah, I stained the scalloped trim ahead of time also.
We want everything perfect, now don’t we?
There’s a good 1 inch drop from the highest hump to the asphalt on the roof below it, and I need to screw the middle into something, so I attached a few cross pieces with scrap pine.
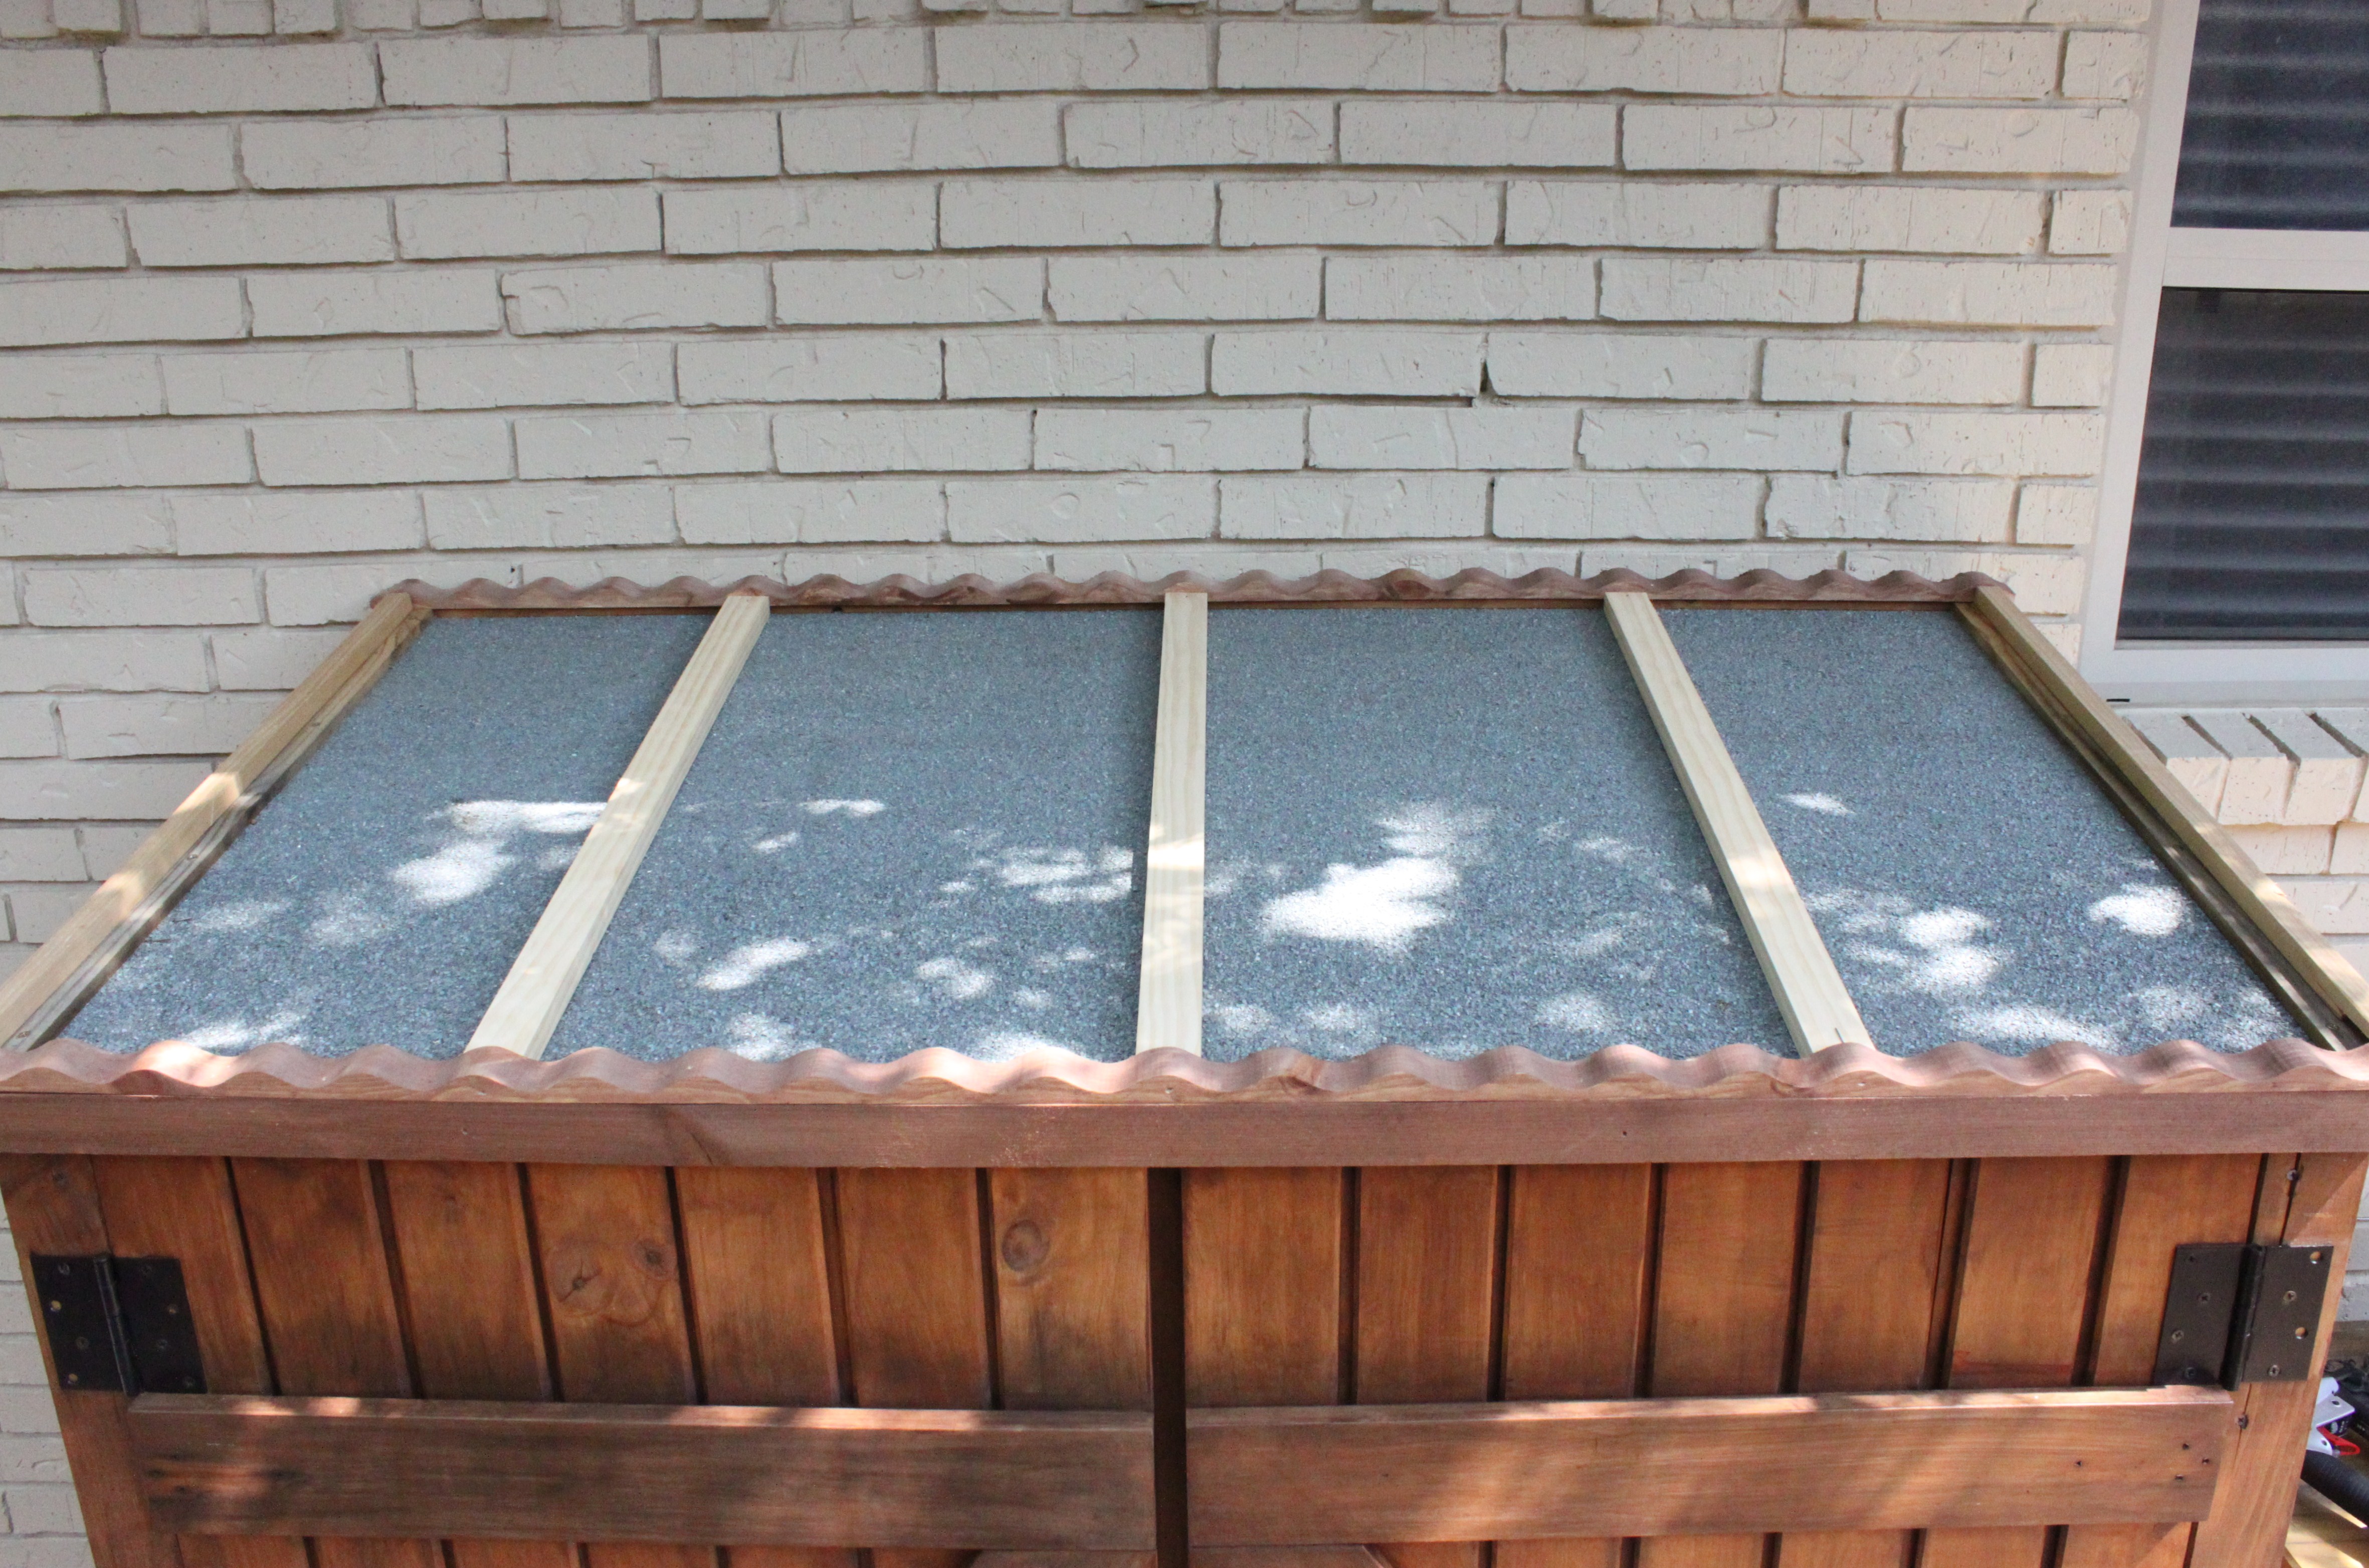
Now I know that I can screw my roof into these boards without creating huge dents in the tin.
Speaking of the corrugated tin. I bought 2 sheets at home Depot for 7 bucks each. They are 2 foot wide by 7 foot tall. My finished roof is only 30 inches dep by 60 inches wide (with a slight overhang at the front and back)….so I knew I’d have to cut the sheets to get 3 layered pieces.
I checked several places on-line that suggested using a jig-saw with a metal blade, but it was much easier cutting with tin snips. Like scissors.
All the edges are sharp, but the cut edges especially so, wear protective gloves.
The best way to attach roof panels is with galvanized roofing screws. They have a rubber washer attached.

The rubber keeps rain water from seeping under the tin. (ignore the filthy fingers)

I started with my smallest middle piece…and lay the 2 sides on over it. (I labeled them with tape so I’d know to put the freshly cut, AND VERY SHARP, edge toward the brick wall)
I didn’t want to overscrew – didn’t want to loose the whole thing in a wind storm either – so I used a screw on top of every third hump. (and 5 through the middle)
That might possibly be overkill. Not sure.
And here’s our finished too shed roof……

Way, WAYYYY, WAyyyyyy, WAYYYYYYYYY better than that asphalt sadness before.
Trust me on this one folks, we don’t need a new roof on the house, and pro’lly won’t for another 30 years…….
But the minute we do,
It’s gunna be tin.
OOhhh yeah it is.


Swooning! I couldn’t love the tin roof MORE. We considered said-same for our garden shed roof, but we had a hip roof (seams!) + didn’t know about the scalloped trim + OMG. It’s just tragic.
We’ll be springing for metal accents on our house roof, though.
Ditto on the Austin, Texas LOVE. Those people rule down there! My sister teaches at the U of Texas, so she’s not Austin “weird”, but oh, well.
Kudos on your roof!
Can’t wait to see its patina come in!
KAY @ redbirdv.wordpress.com
I know, it’s gunna age soooo nicely. Have you been to Austin? Such a great city…..a few years ago we were stuck in hurrican Irene on St Croix, made it through the storm to the hotel bar and one of the other “stranded tourists” had a “Keep Austin Wierd” t-shirt on…..small world
Seriously guys??? Now your yard needs to be in magazines too!
Looks perfect! I cut a lot of corrugated tin. I found that a grinder with a cut-off disc is easiest and with a little practice you can make a nice straight cut, and use the grinder to soften the sharp edges. Get an inexpensive grinder about $30 at Northern Tool, etc. – cut-off discs are about $1.50 each. Wear safety glasses for sure, then let the sparks fly! You’ll be surprised how soon the little grinder pays for itself. Keep up the good work – you’re awesome!
GREAT idea! I love a new power tool….I’ll be sure to get one for ourn next project.(maybe a doghouse…but I don’t want to give away any secrets just yet) And yeah…We ALWAYS wear safety glasses!!!!
Isn’t the tin a bit… shiny?
Well yeah, it starts out that way…but it will weather real fast with the sun and the rain……or I can always spray it down with bleach like we did to that clock
Hi James & Jamie,
I came across your blog on our most recent annual trip to PEI. It’s an 18 hour drive from Toronto, so I’m always looking for good reading material to while away the hours. Your blog kept me entertained for hours (if you see an uptick in page views for July, it’s most definitely me)
I love the layered look you’ve encorporated all over your house & the extra love you put into making simple things, like a shed, totally FAB-u-lous!
My only grievance is that Harley is not in more of the pictures 😉
Shawna
PS – my husband would swoon over your jacket collection (they look great they way you’ve hung them!)
Hi Shawna, thanks for the kind words. It’s nice to know that someone is really reading this stuff. It’s actually quite a juggling act to keep Harley OUT of the pictures? she always wants to be involved. She cried at the back door when I was taking the shed pictures…..She loves to run through the gravel, spreading it everywhere. I’ll write more about her, promise.
James
We both have way to many jackets for Dallas….the average temperature is 80.
Would love to know where the shed came from..
Hi Doris, it must have been in an earlier post, because I mentioned that they aren’t available online anymore. Probably because the roof slants forward, and not back…..kind of a design flaw…..
I get it that you believe they are not selling them anymore, but if you could still let your readers know what site you ordered the pretty shed from that would help.
Sorry Robyn. It’s posted in a different post about the shed. Jamie ordered it from the Skymall catalog on an American Airlines flight. About 5 years ago. Wish we’d have bought 50 of them……we’d have sold every one by now.
Pingback: Tool Shed 2.0 | THE CAVENDER DIARY