THE CAVENDER DIARY

2 GROWN MEN vs a 40 YEAR OLD HOUSE

  • Home
  • Who Are We?
  • House Tour
  • To Do List
  • Projects
  • Recipes
  • Did Ya Know?
  • Books
  • Our Press

Cement Board Up the Walls

Posted by James on June 1, 2015
Posted in: New Home. Tagged: Master Bathroom, Master Bathroom Remodel. 3 Comments

About time we added some walls to this room.

Because we’re gluttons for punishment, we thought we’d tile the entire feature wall of the master bathroom. (I’m sure that idea will bite us on our asses eventually)

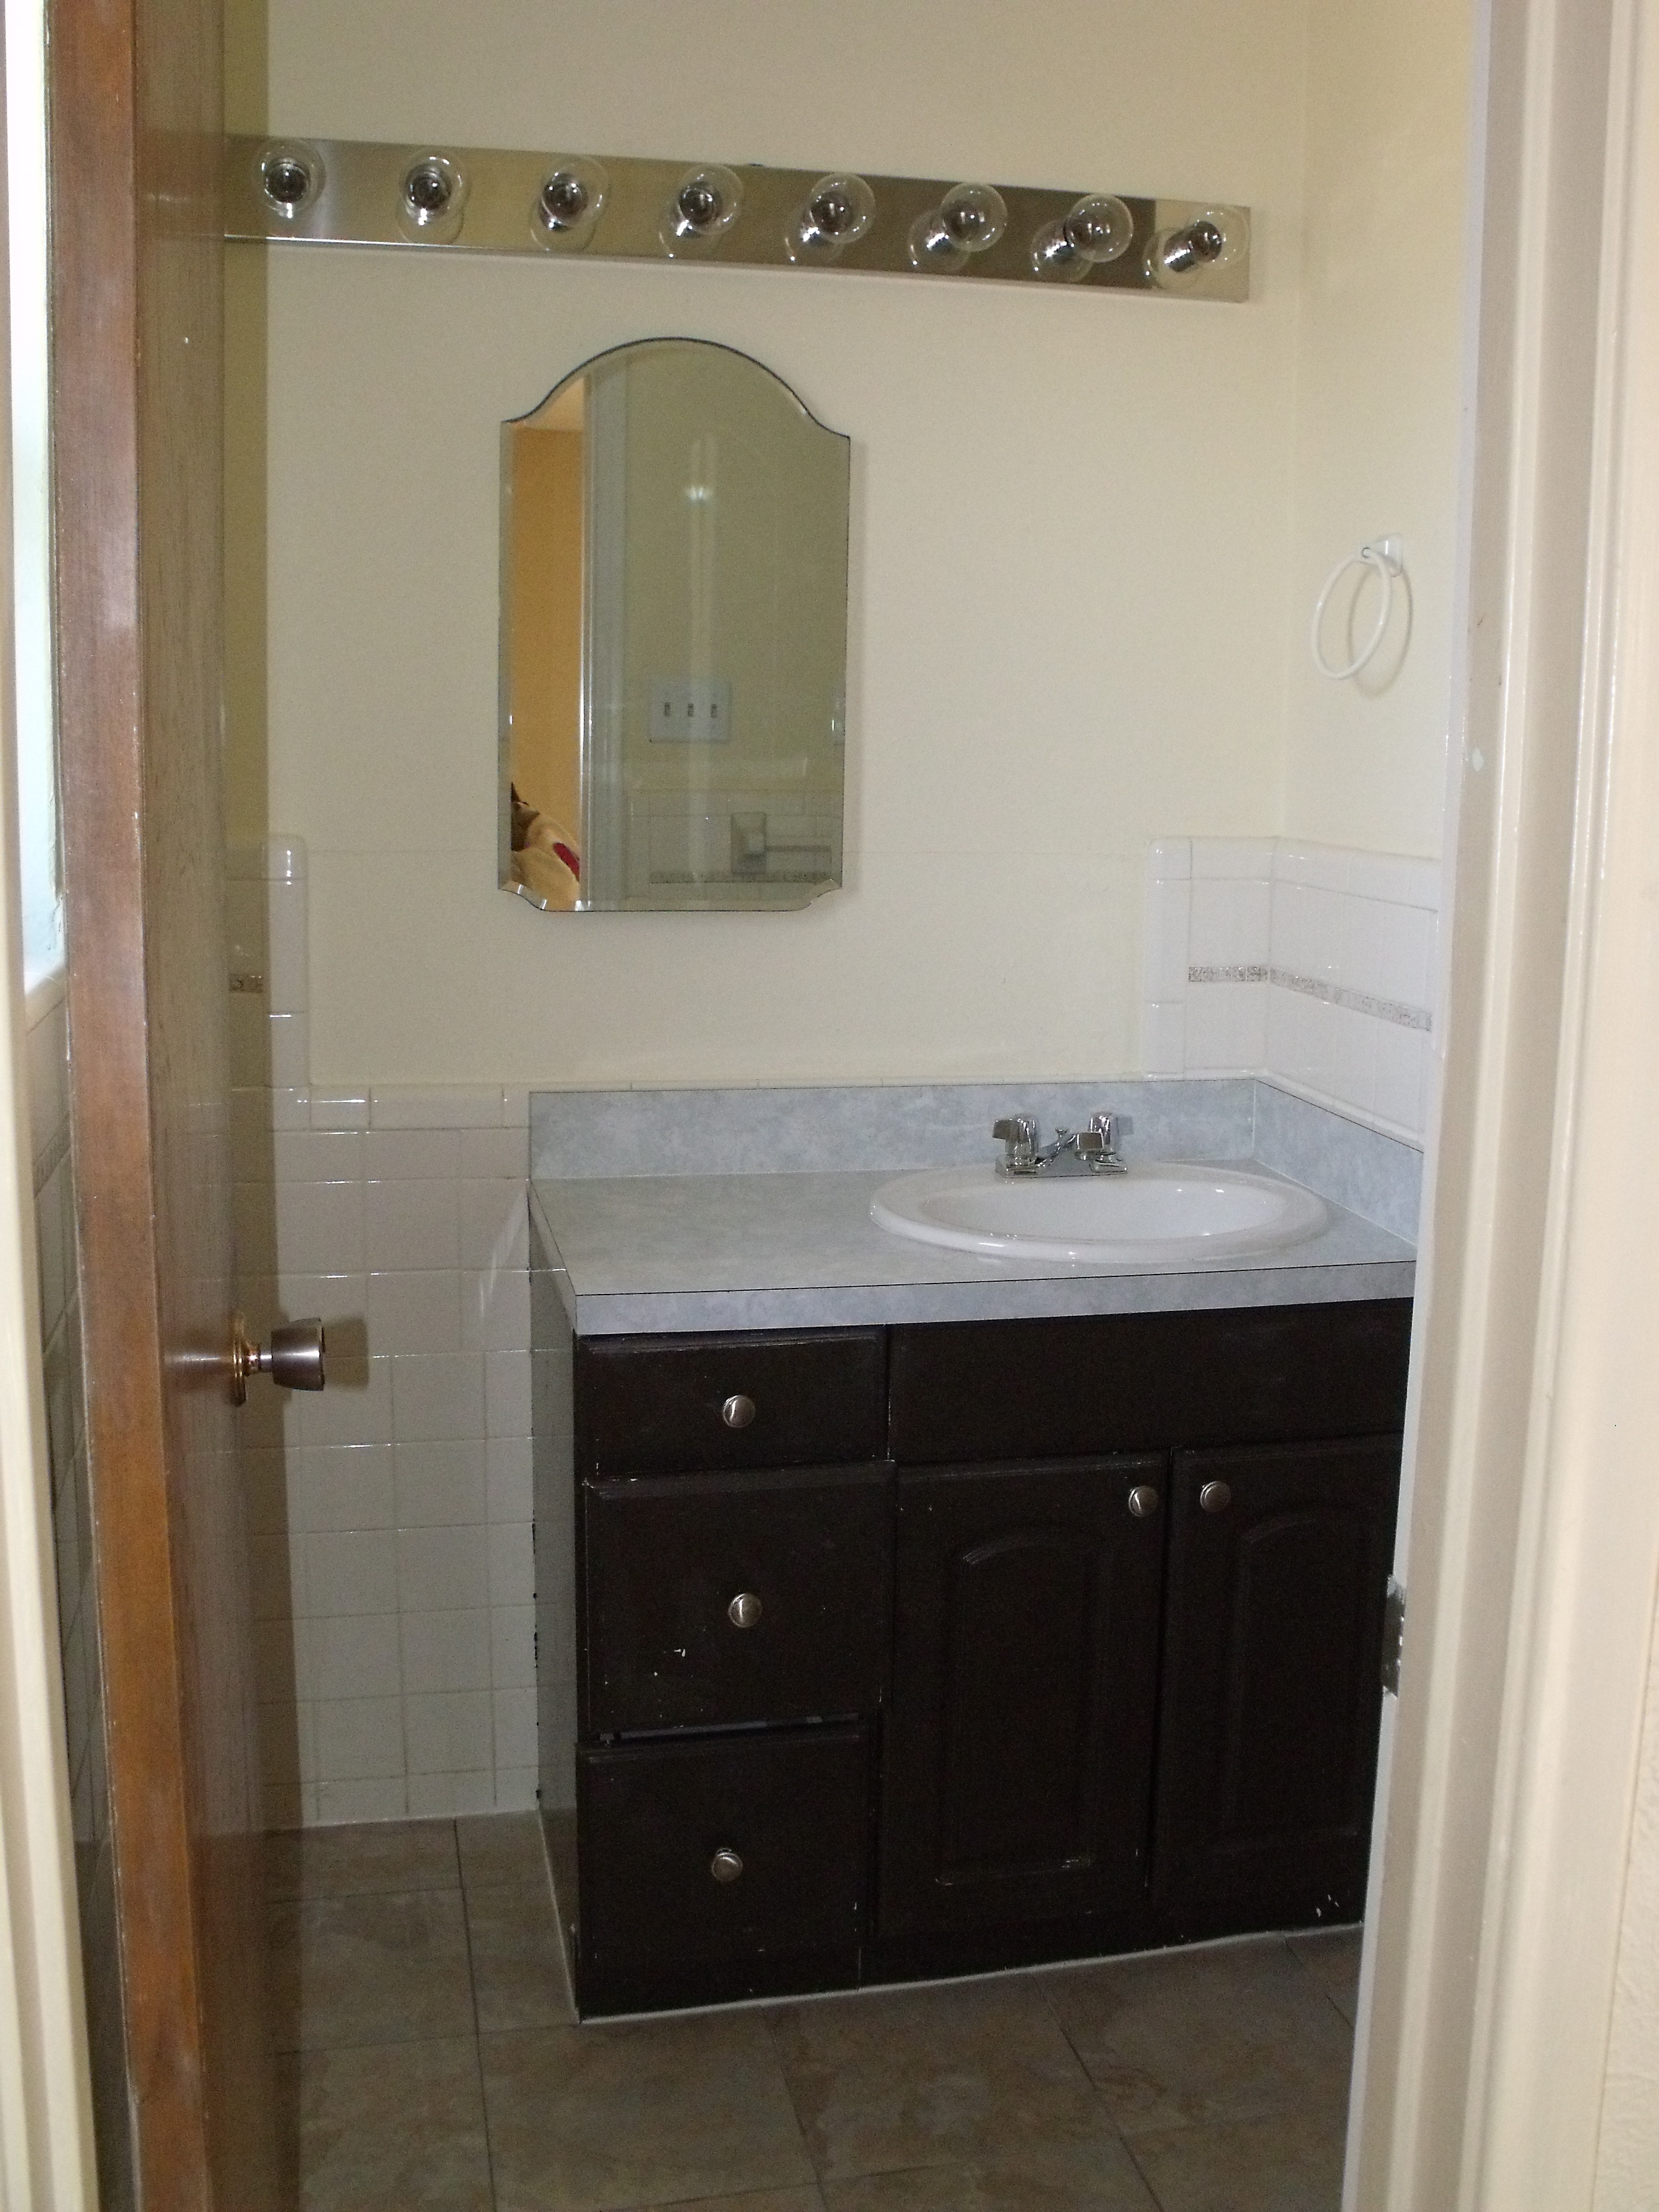
Feature wall? Accent wall? Well, umm the biggest wall in the room. Both the shower and sink are on it – and it’s the first thing you see – we thought it’d be a cool idea to cover it in color. It’s a small room and taking the tile floor to ceiling will certainly make the room feel taller.

Kinda like this….

Master Bathroom Slate Floor Inspiration

We’ll come back to this picture a few more times.

When the Cavender house was built in 1972, cement board wasn’t the standard for “wet” areas. Now, for black-mold-prevention….it is.

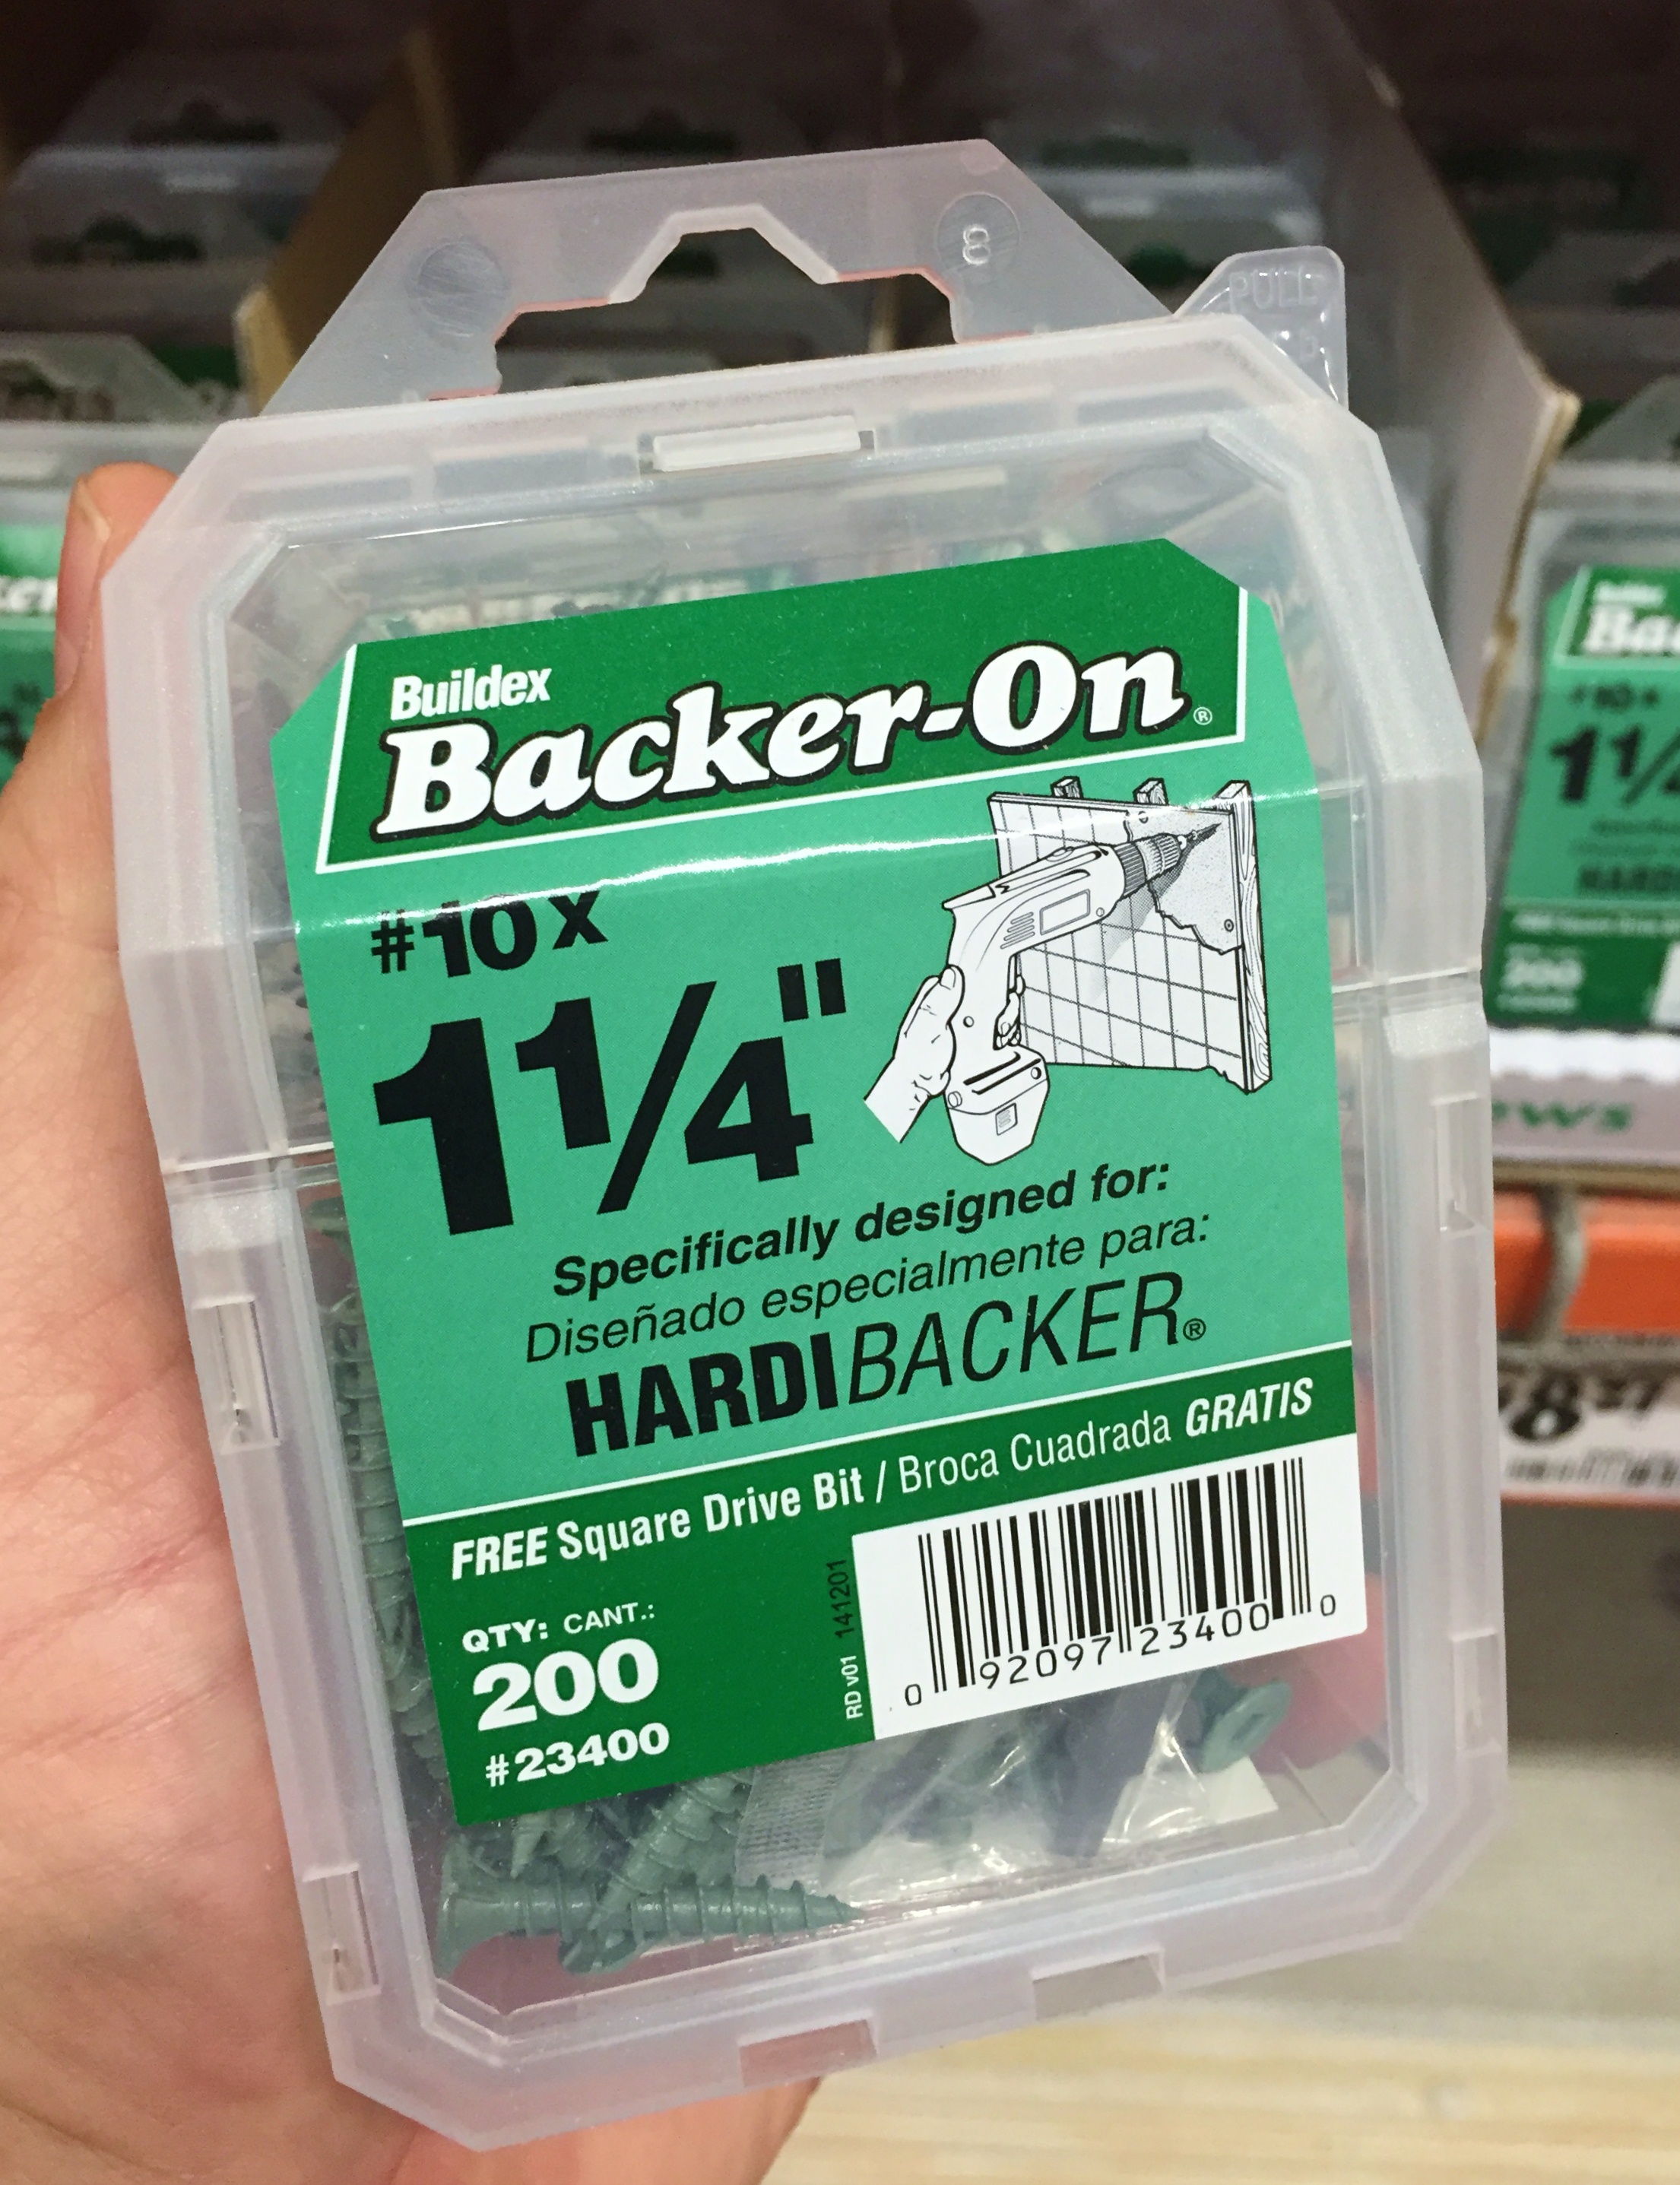
There are 2 types of cement board to choose from; Durock and Hardi Board. Both in 1/4″ and 1/2″ depths.

Hardi Board is only about $1 more than the Durock. With the advice of my contractor brother – we decided to just spend the extra dollar and get the better quality board.

Durock Vs Hardi Board

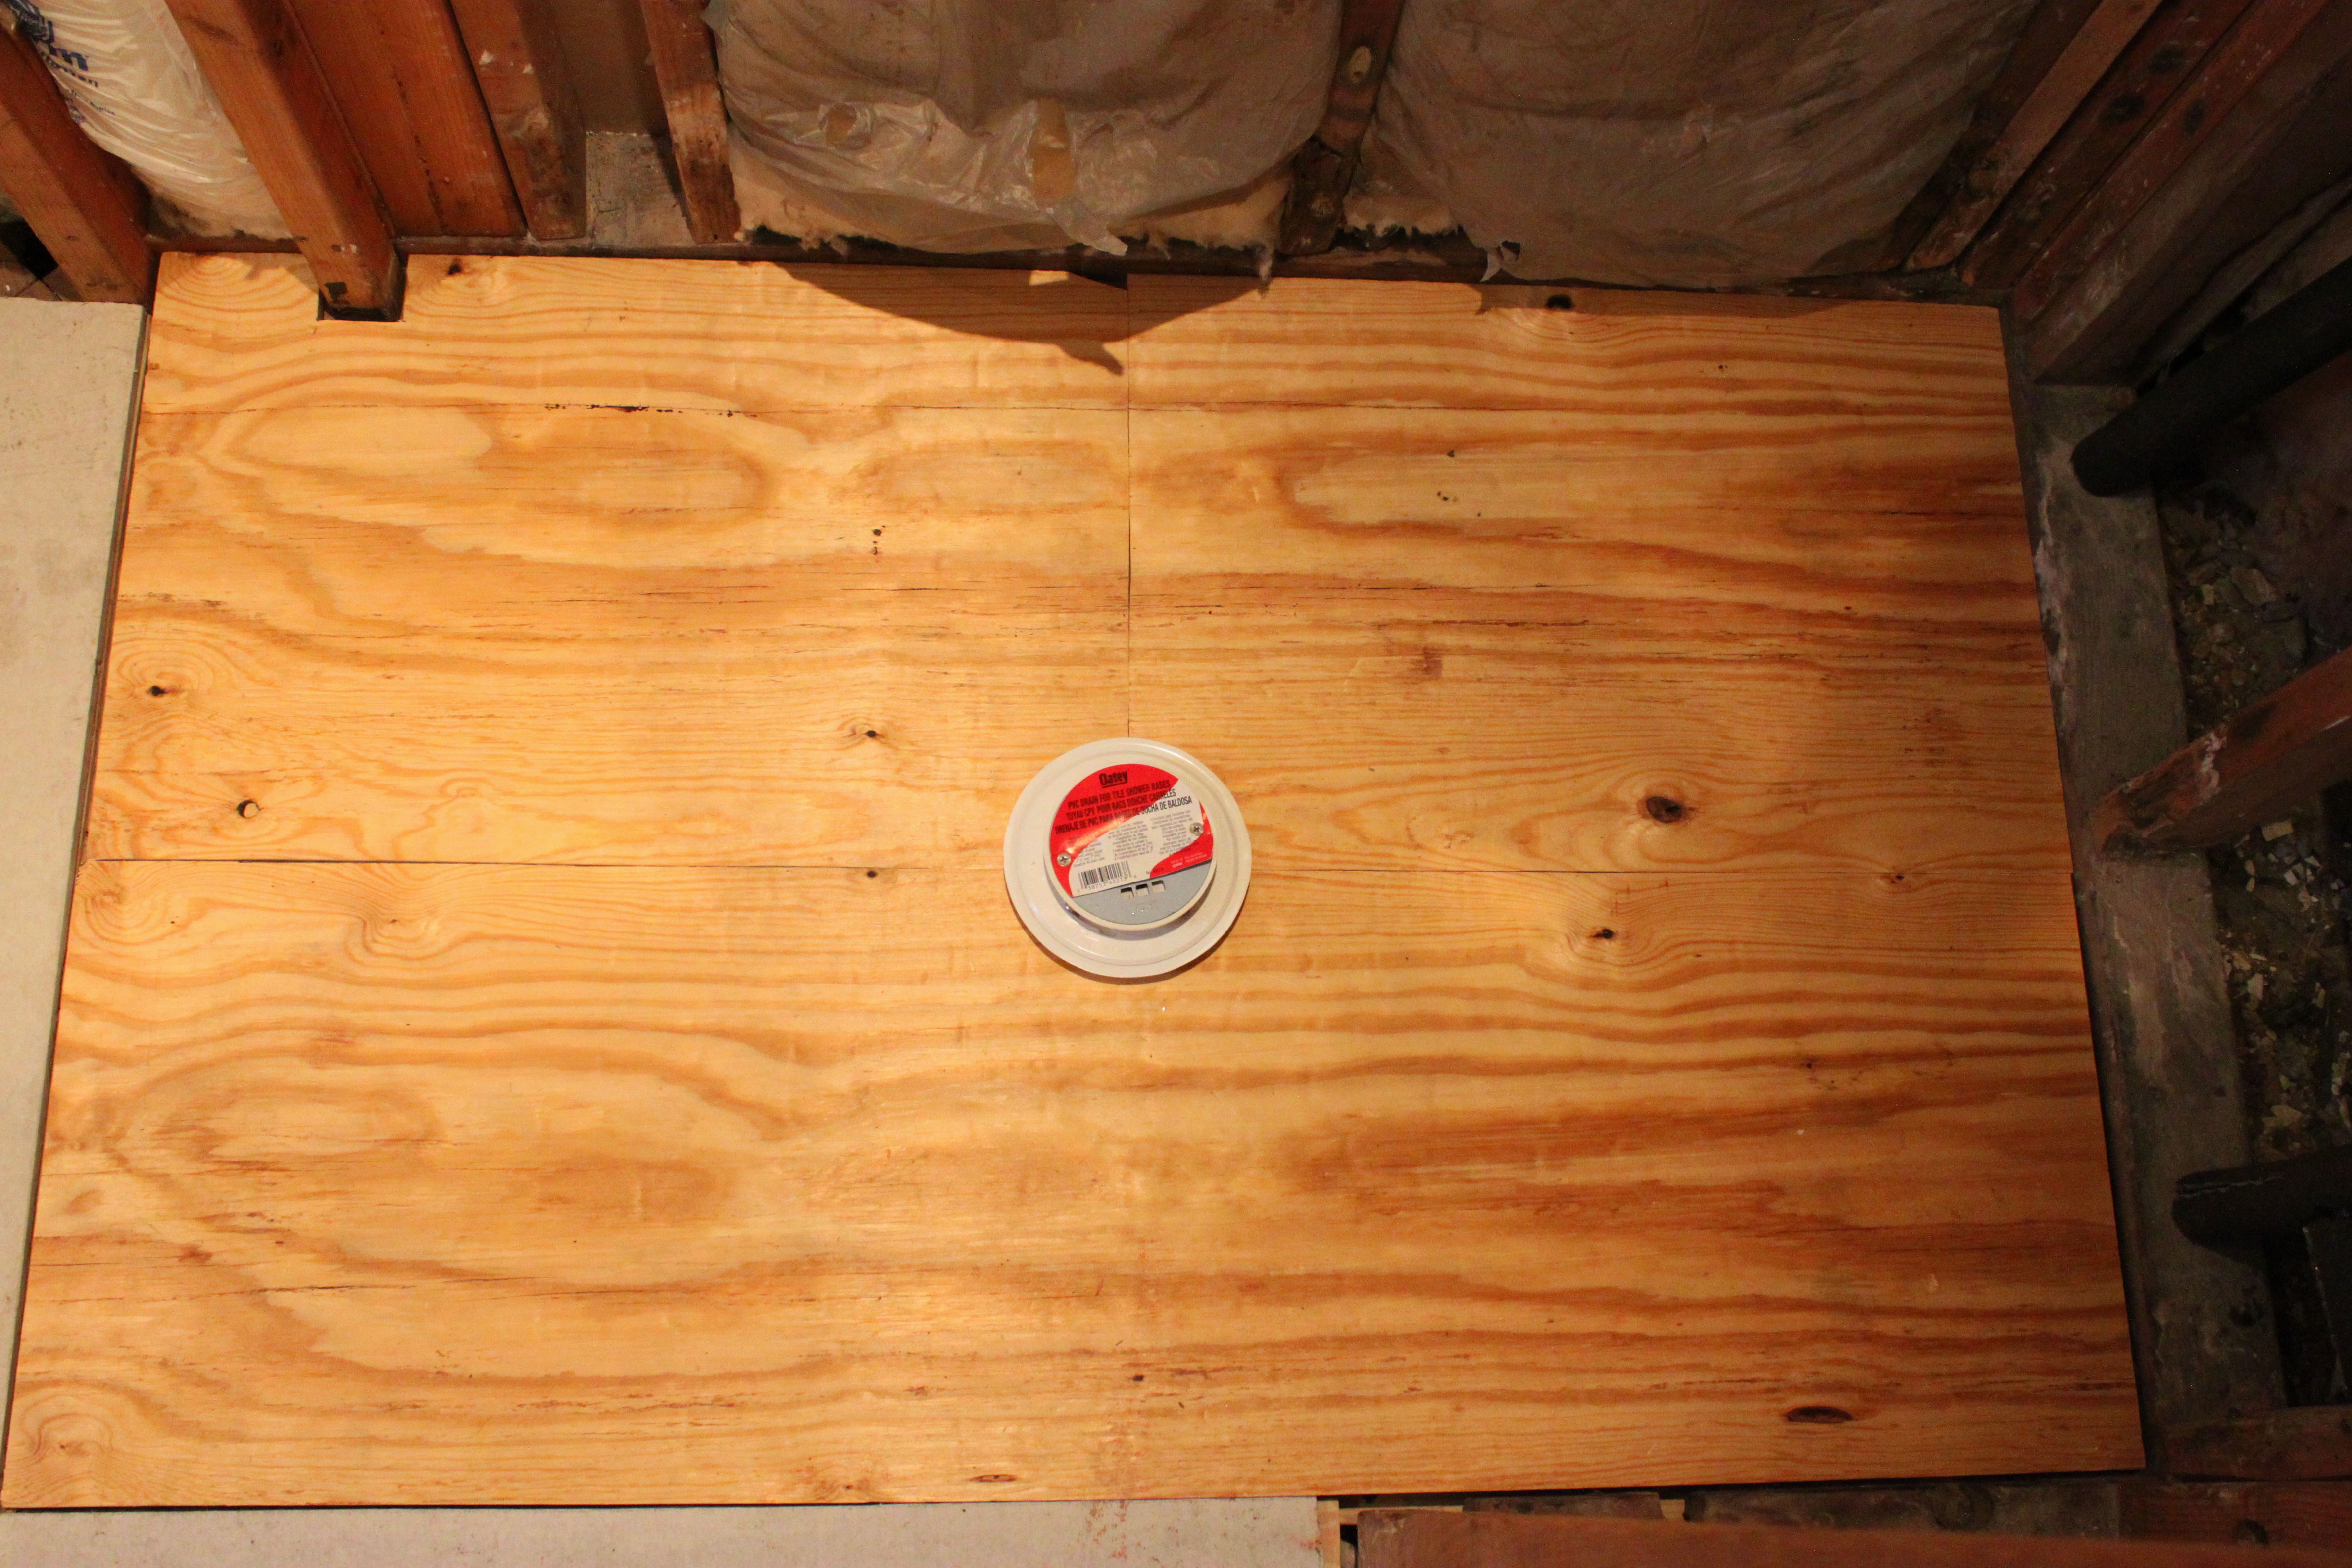
We used 1/2″ thickness on the floor, and we’re doing  1/4″ for the walls.

They come in 3′ X 5′ sheets, so no need to rent a truck for these…….they fit in the back of both our cars. Good thing too, we went back for “just 1 more piece” 4 times….

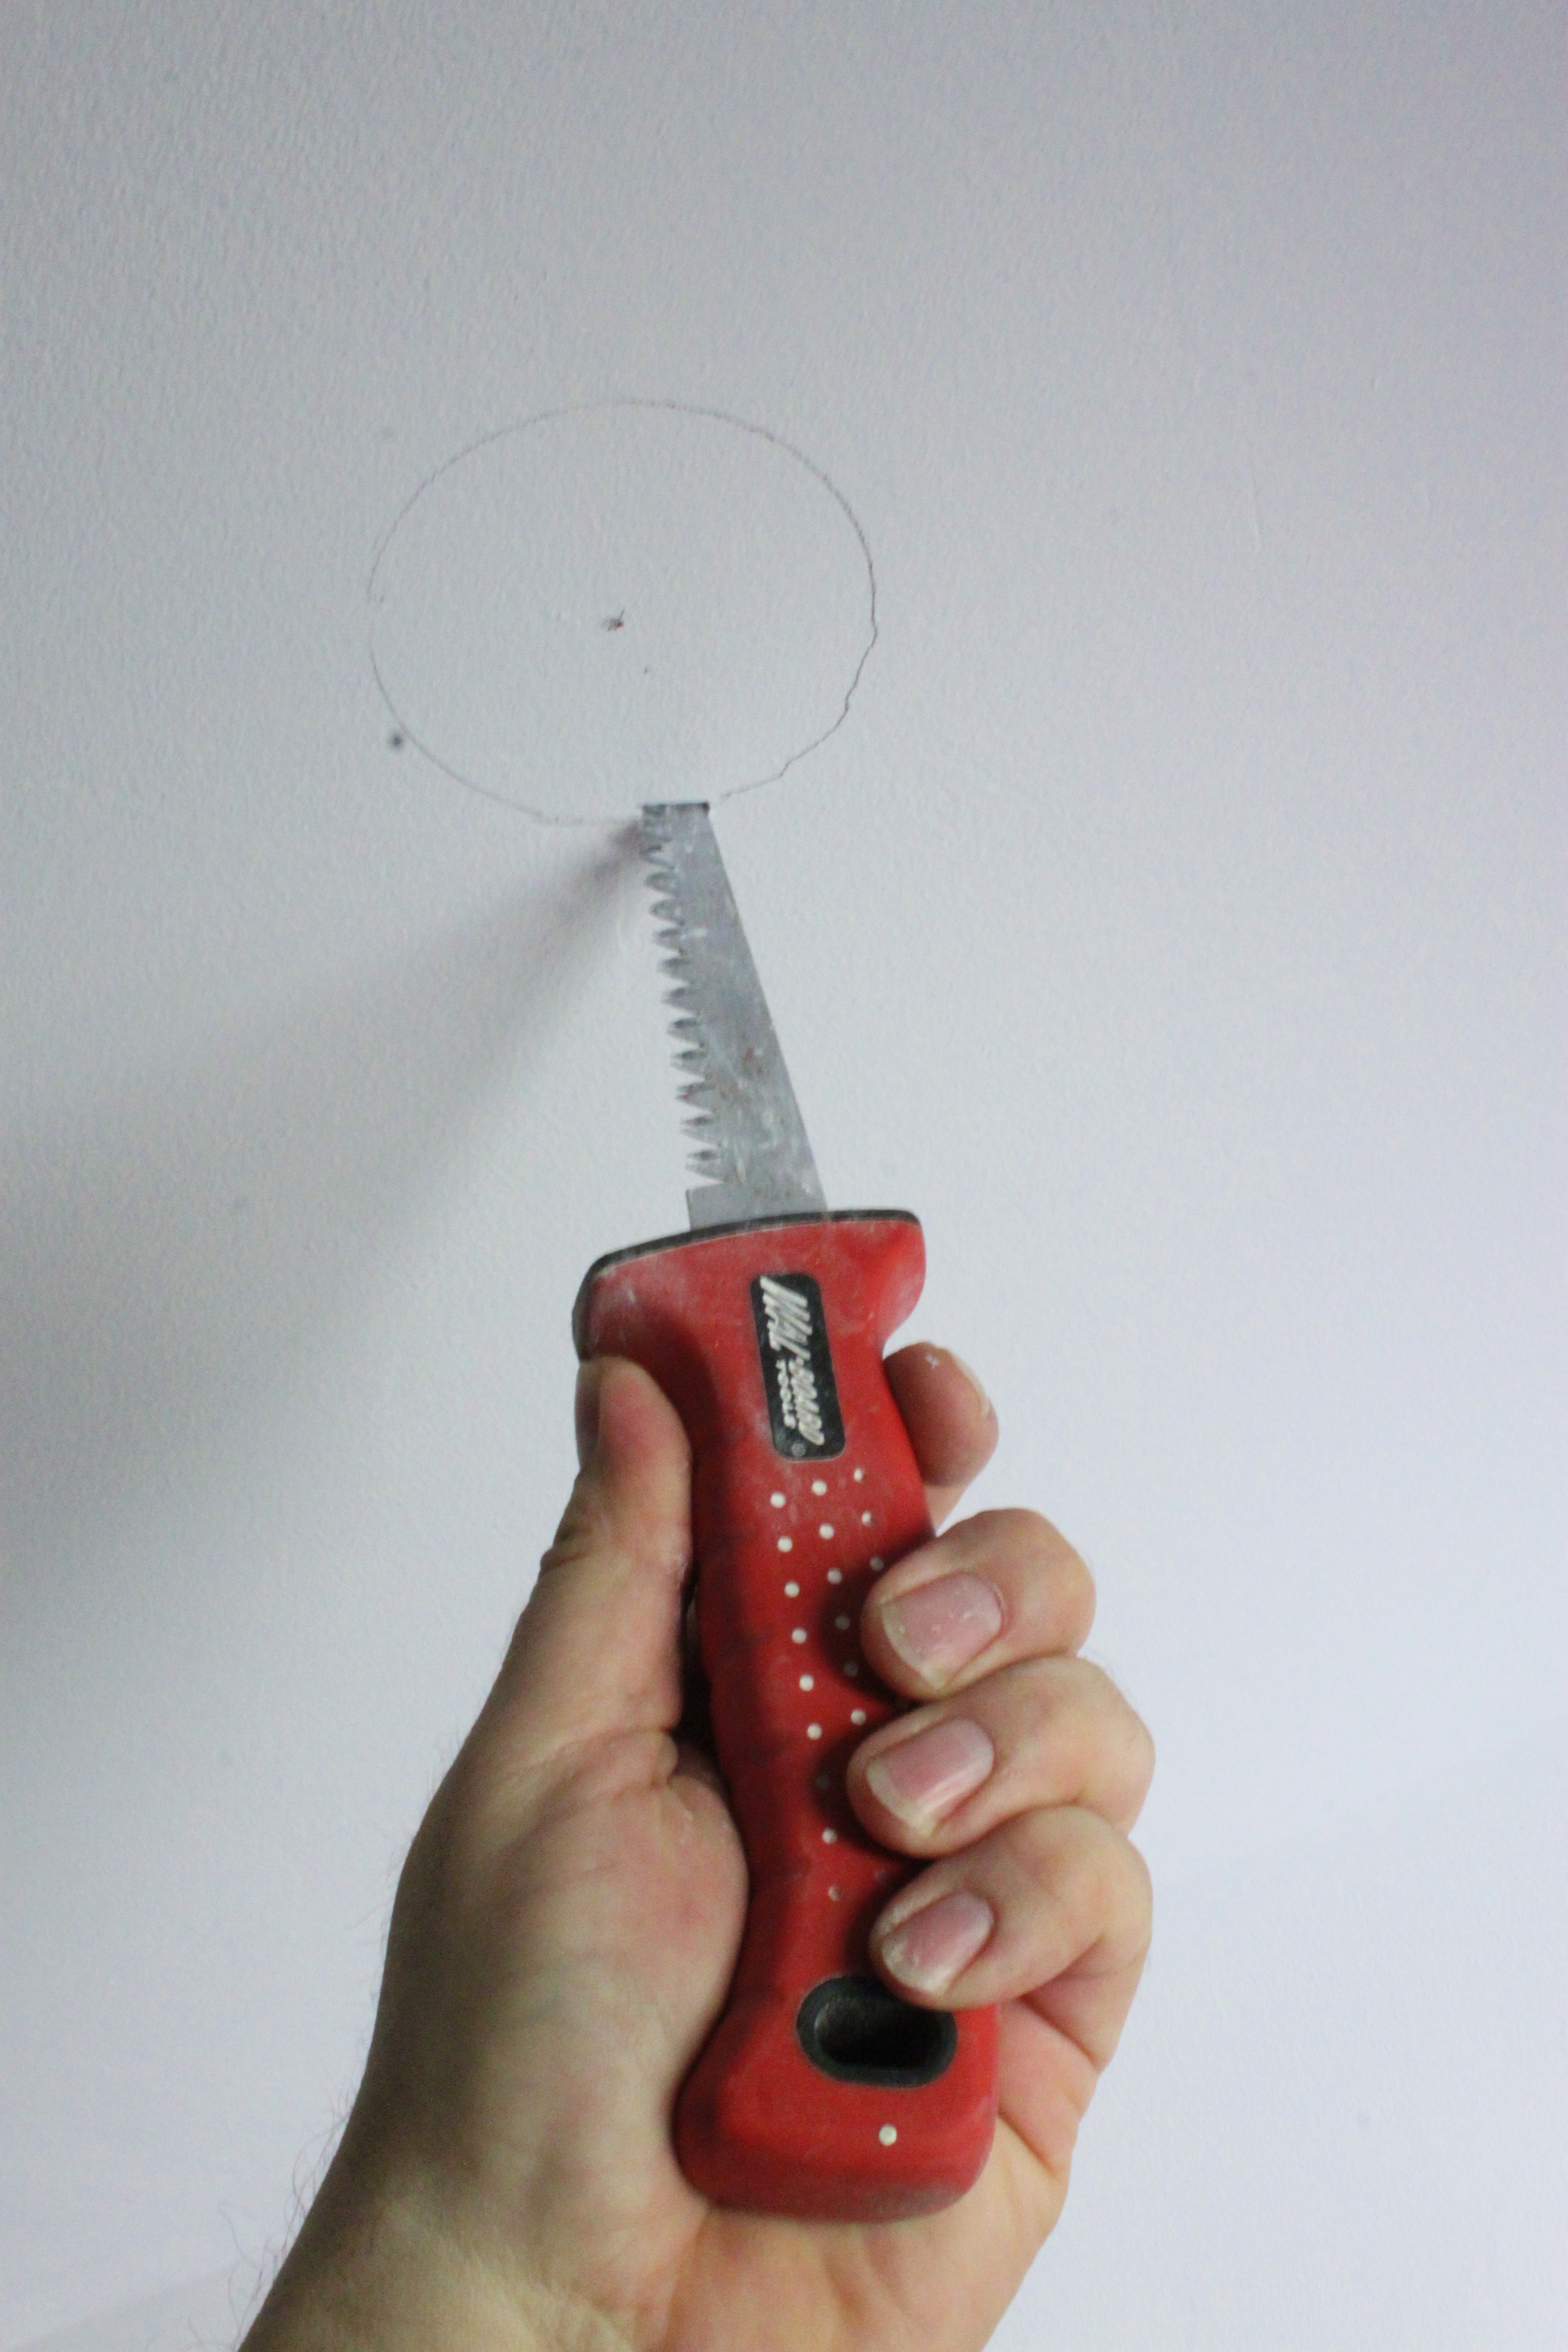
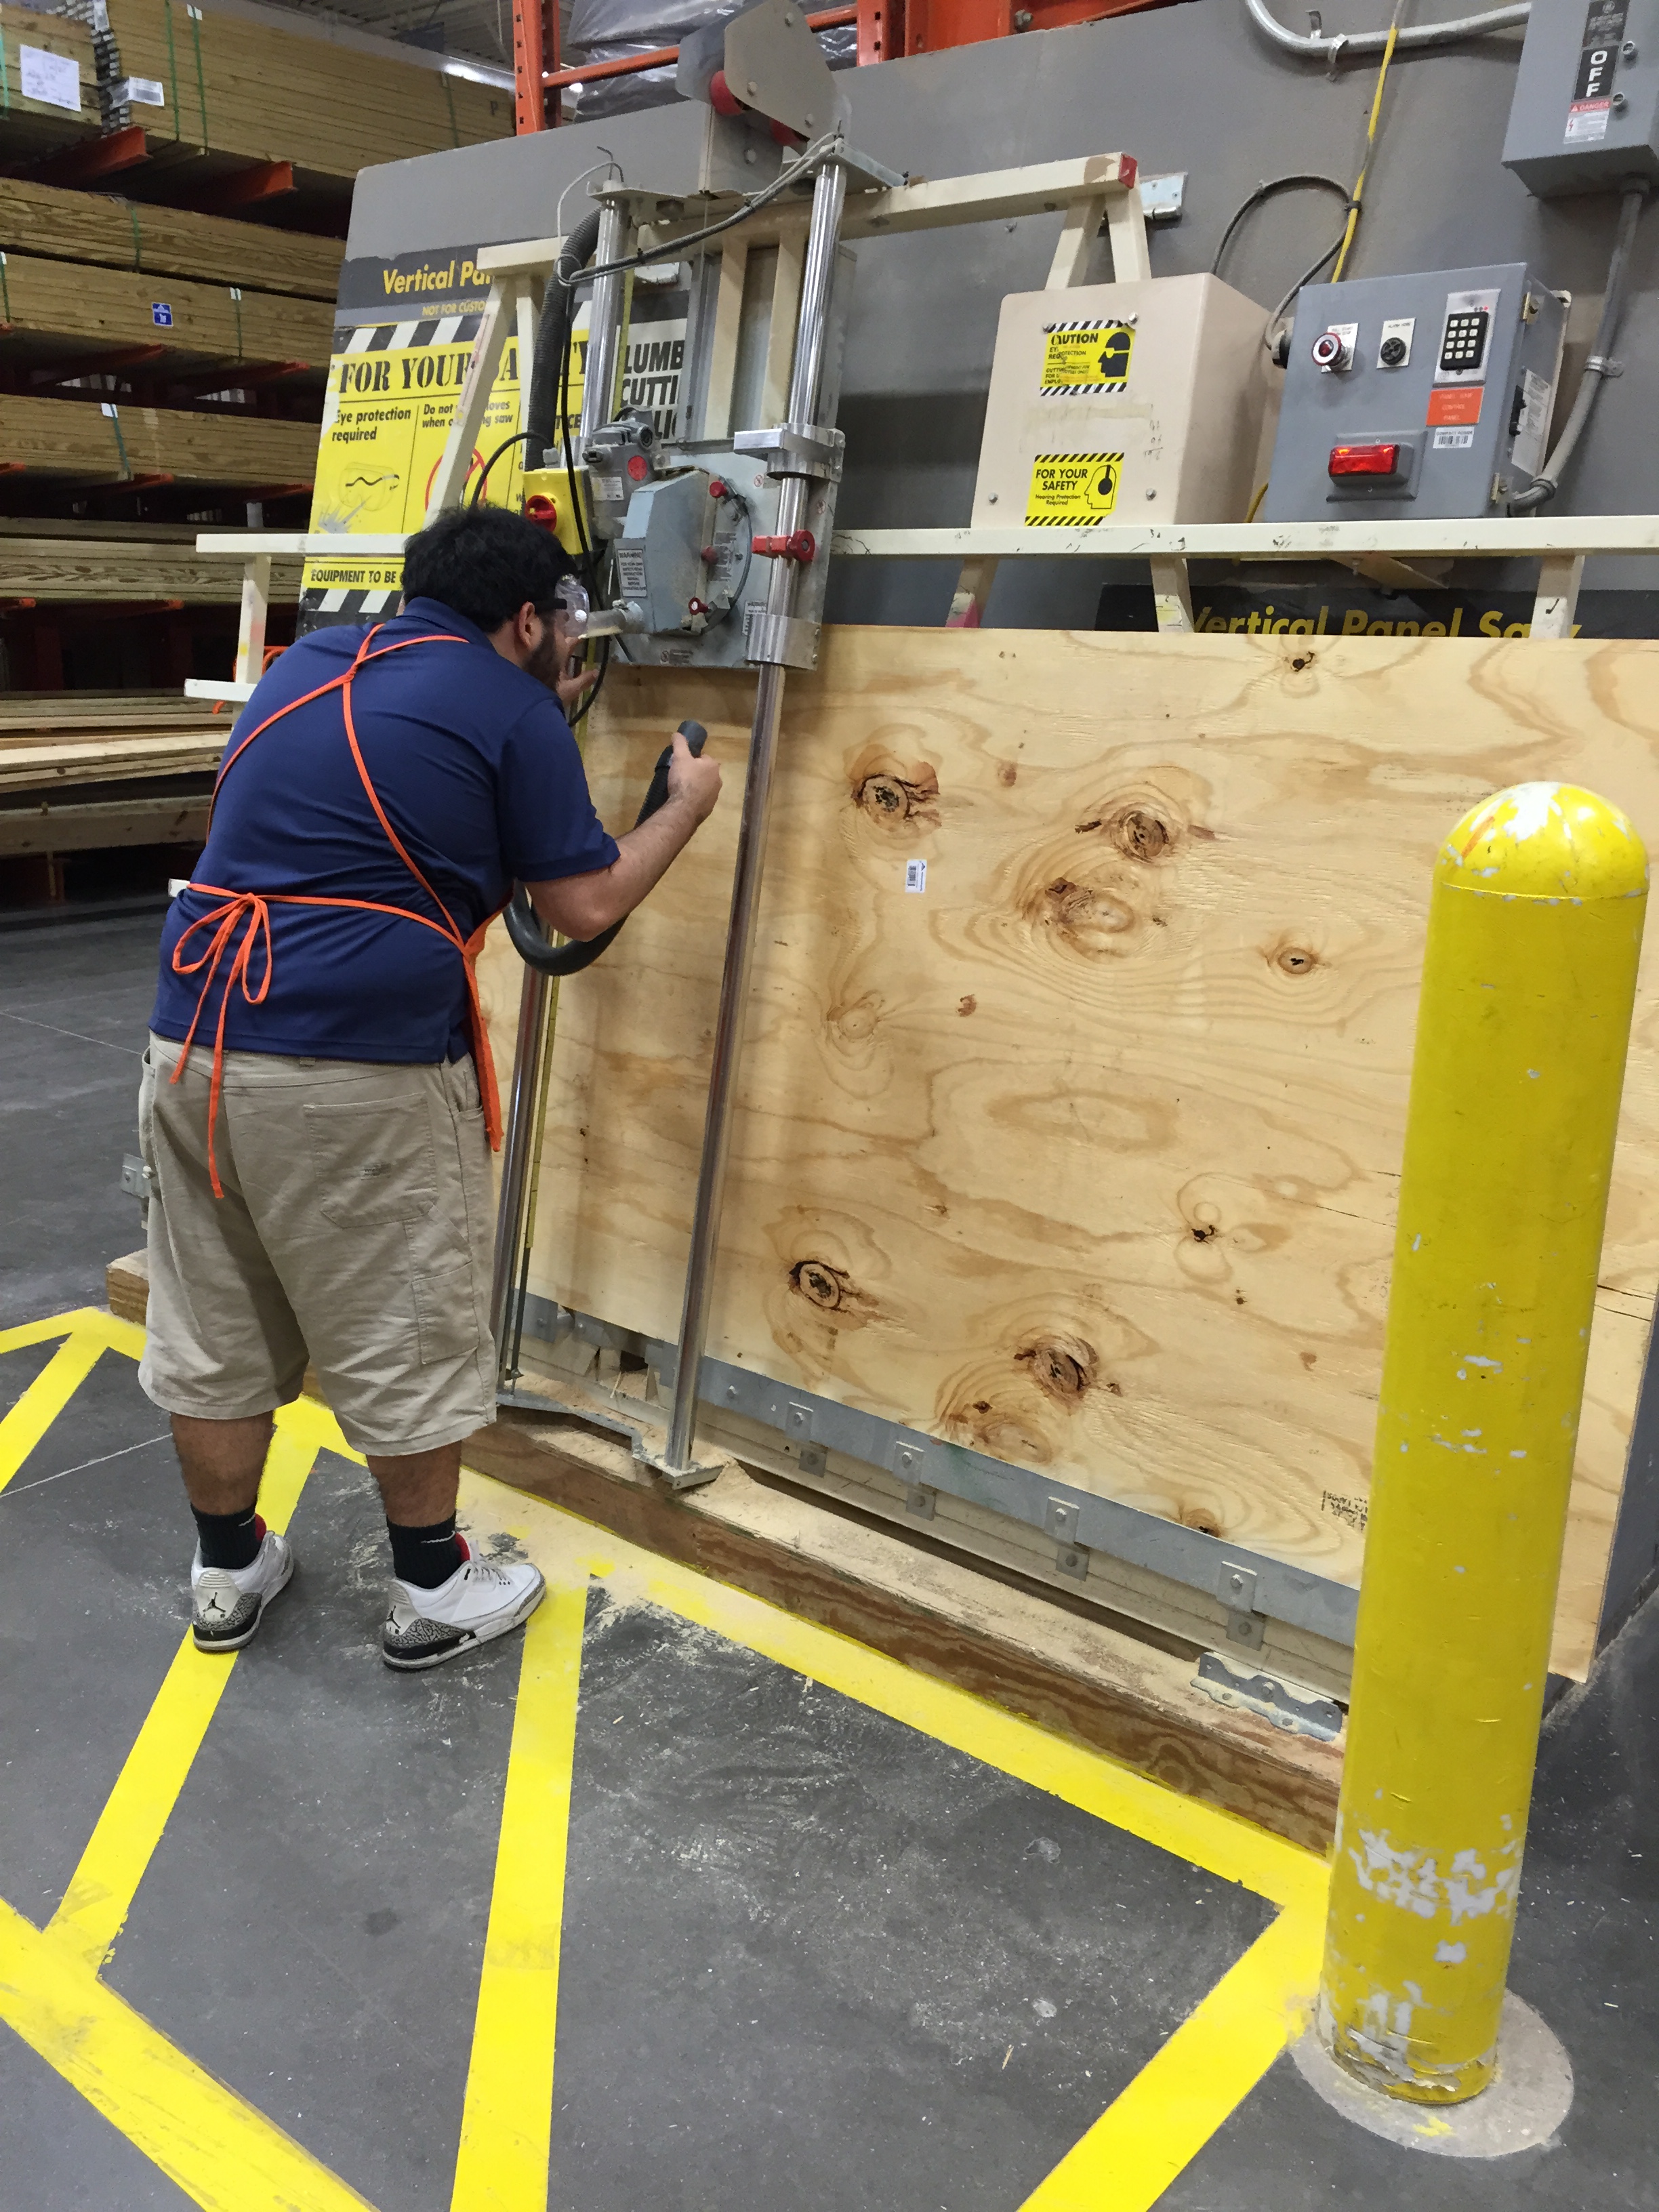
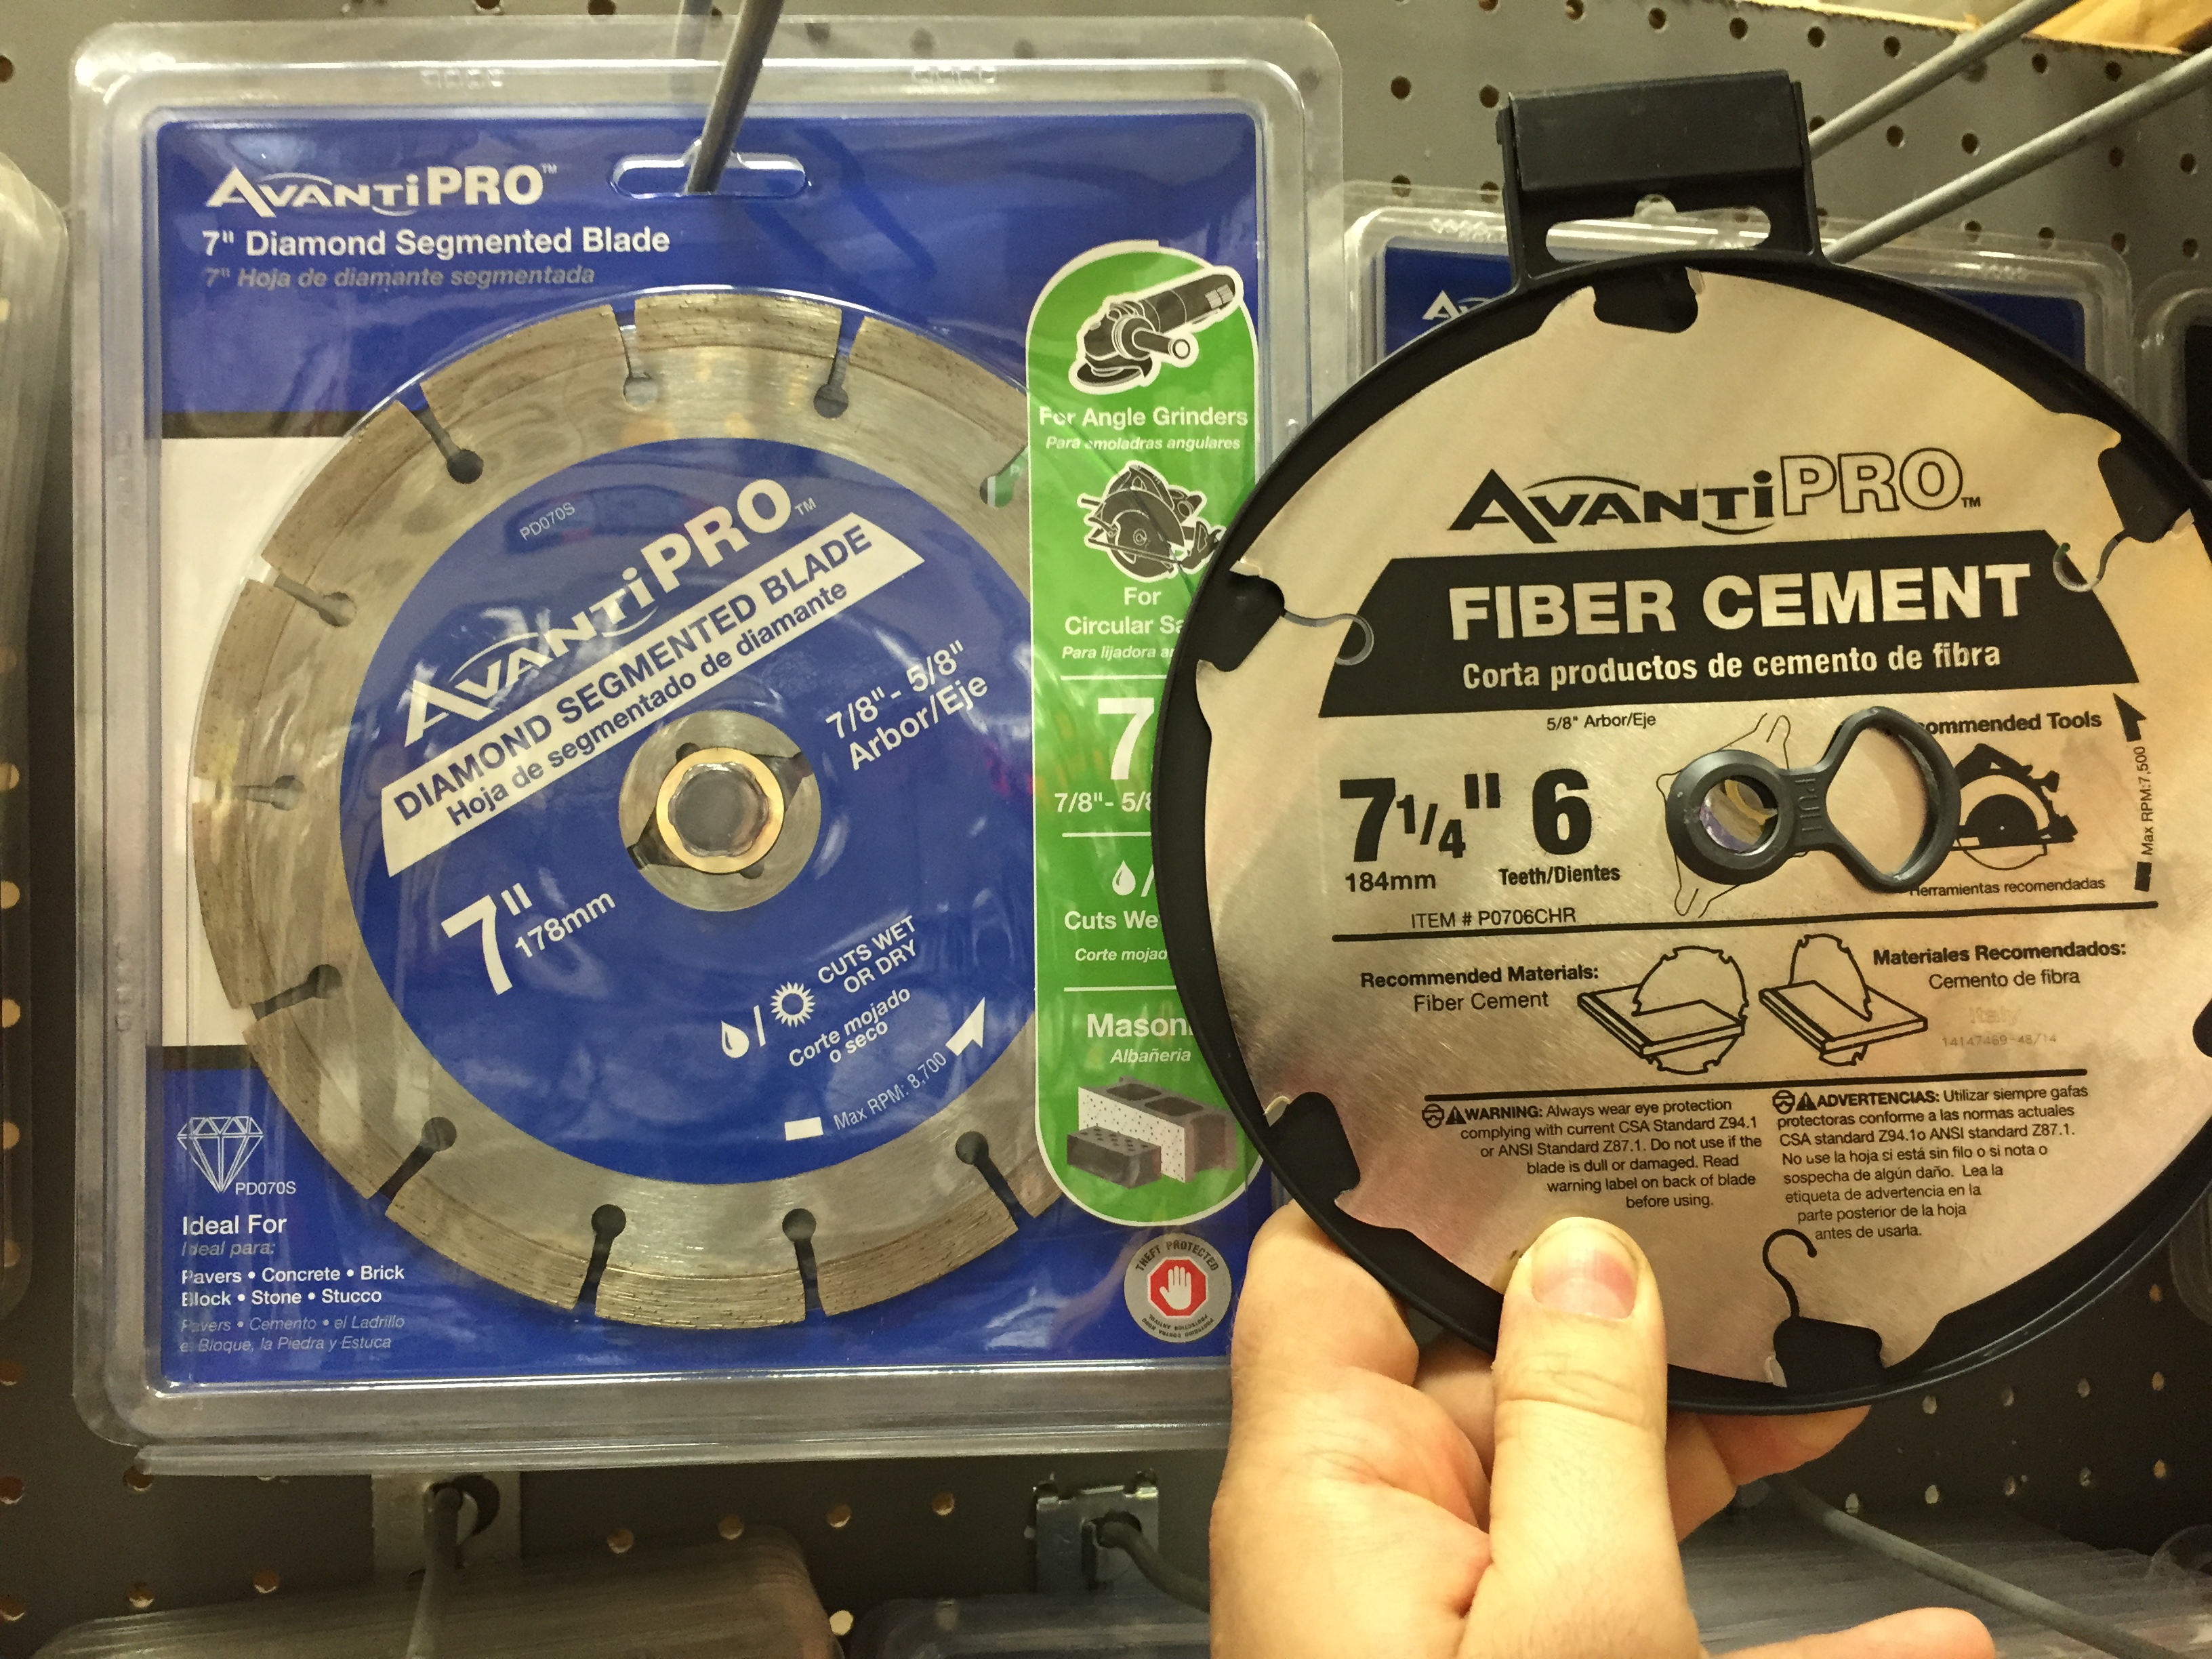
To cut our cement board, we need a cement cutting blade for our circular saw.

Like one of these…..

Blades for Cutting Cement Board

I wasn’t afraid of this project one bit…….so I jumped right in and had the shower walls installed in no time.

What I Thought Was a Beautifully Cement-Boarded Shower

Perfect job…….or so I thought.

I wasn’t counter-sinking my screws nearly as well as I was supposed to.

HHHHHmmmmmppphhh

I was Unaware That the Screws Needed to be Counter-sunk

The screws need to be flush so the beautiful tile we selected will lay flat on top of it.

Makes sense. Didn’t have this problem with the floor install.

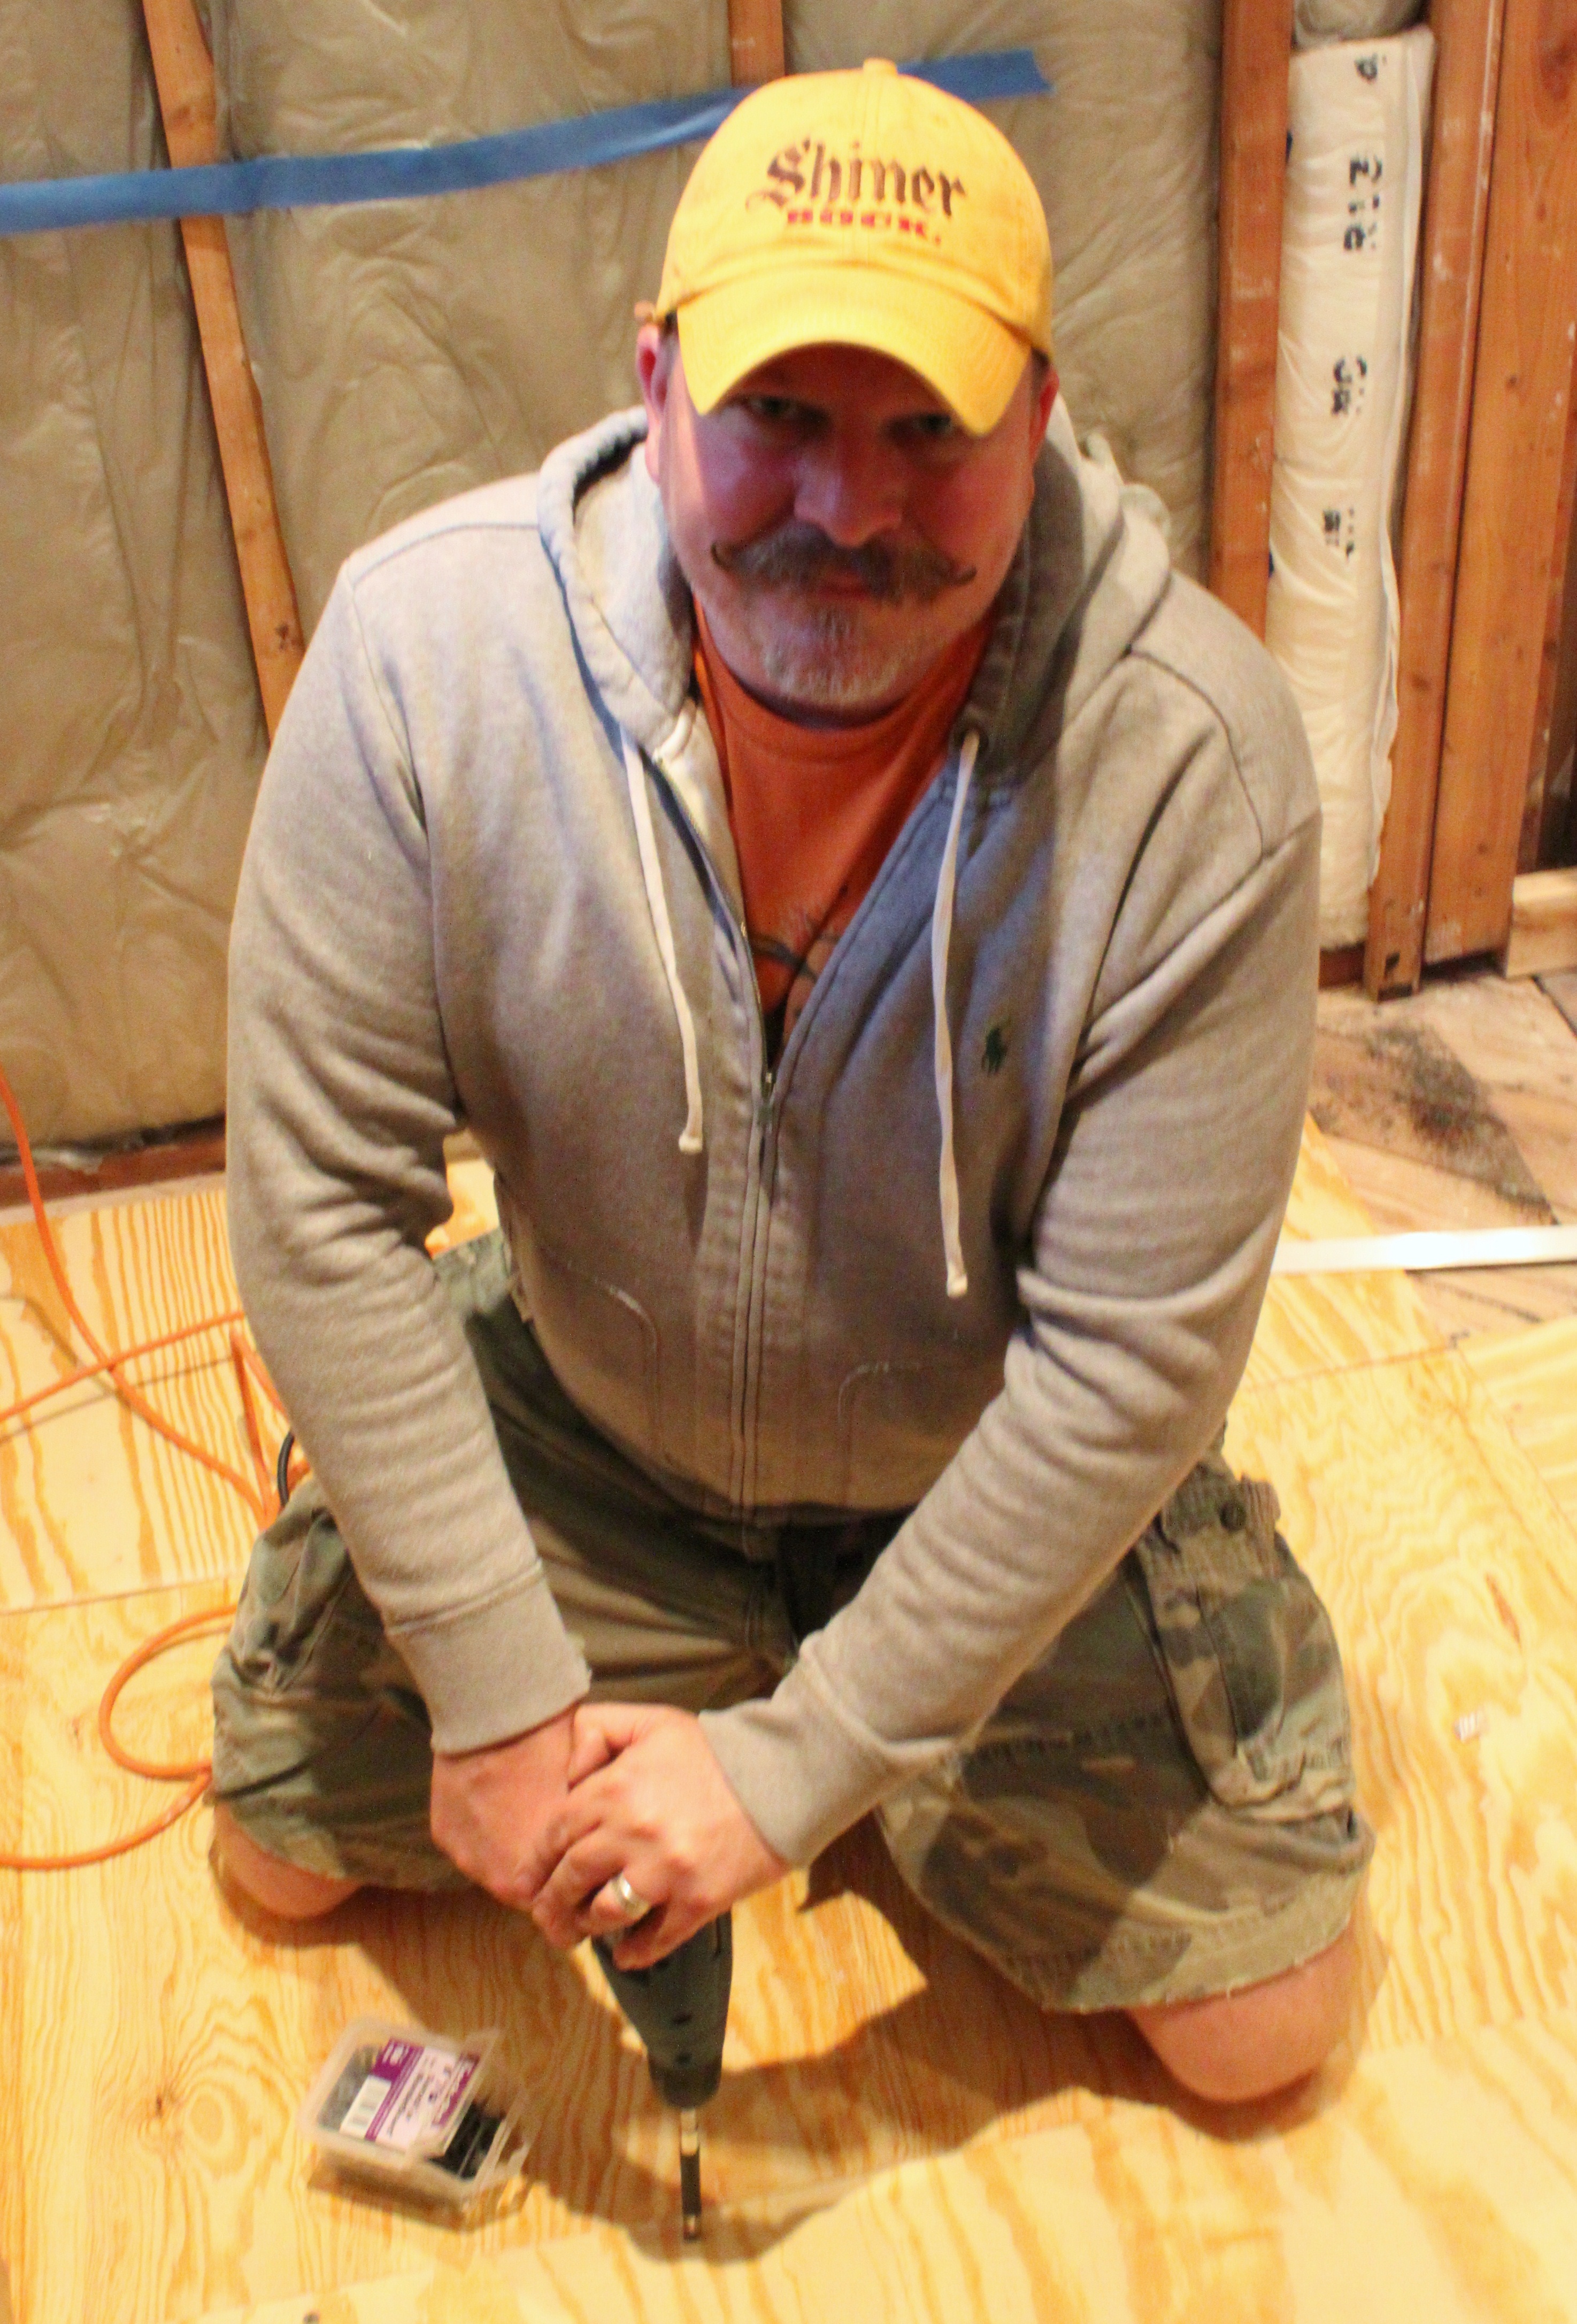
So Jamie had to go behind me and re-drill all my screw holes with a counter-sinking bit……like this one.

The Counter_Sink Tip is Shaped in a Point

He unscrewed every single screw, drilled a bigger pilot hole and then re-screwed the screws.

Jamie Uses an Electric Drill to Pre-Drill Holes for the Screws

Several hours later we had this loveliness……

The Cement Board is up on the Cavender Master Bathroom Walls Collage

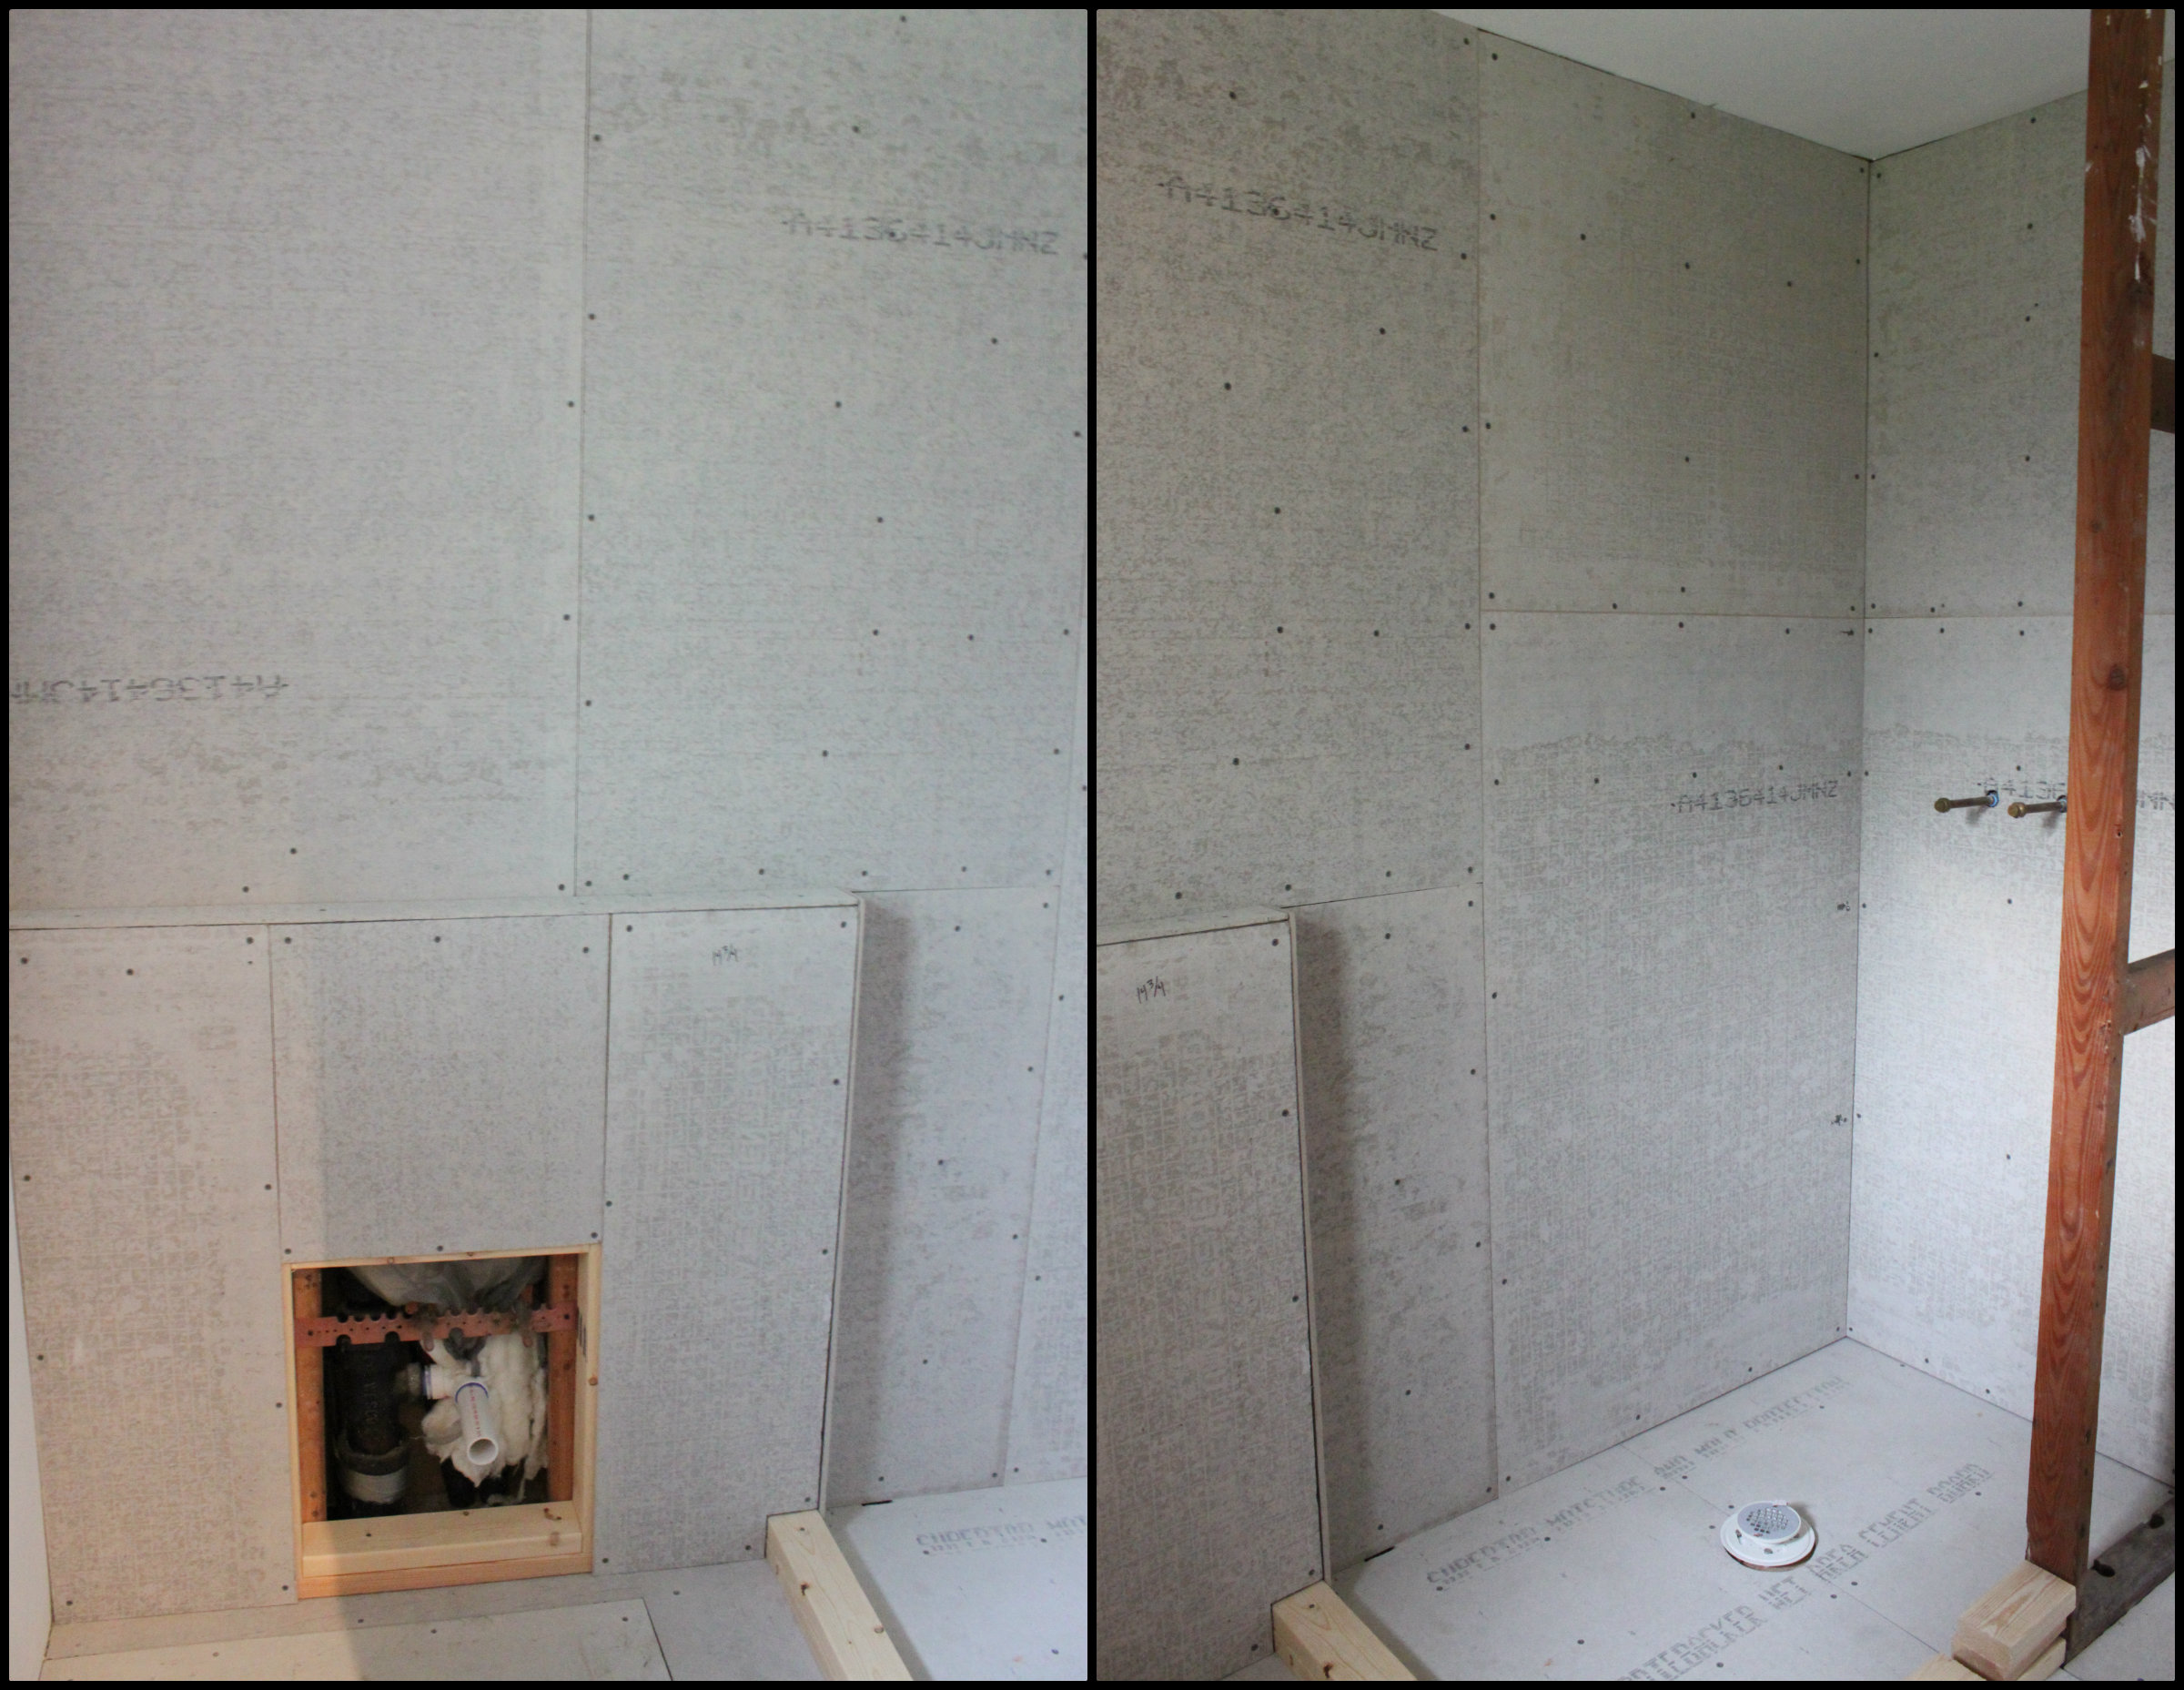
All the screws are flush……

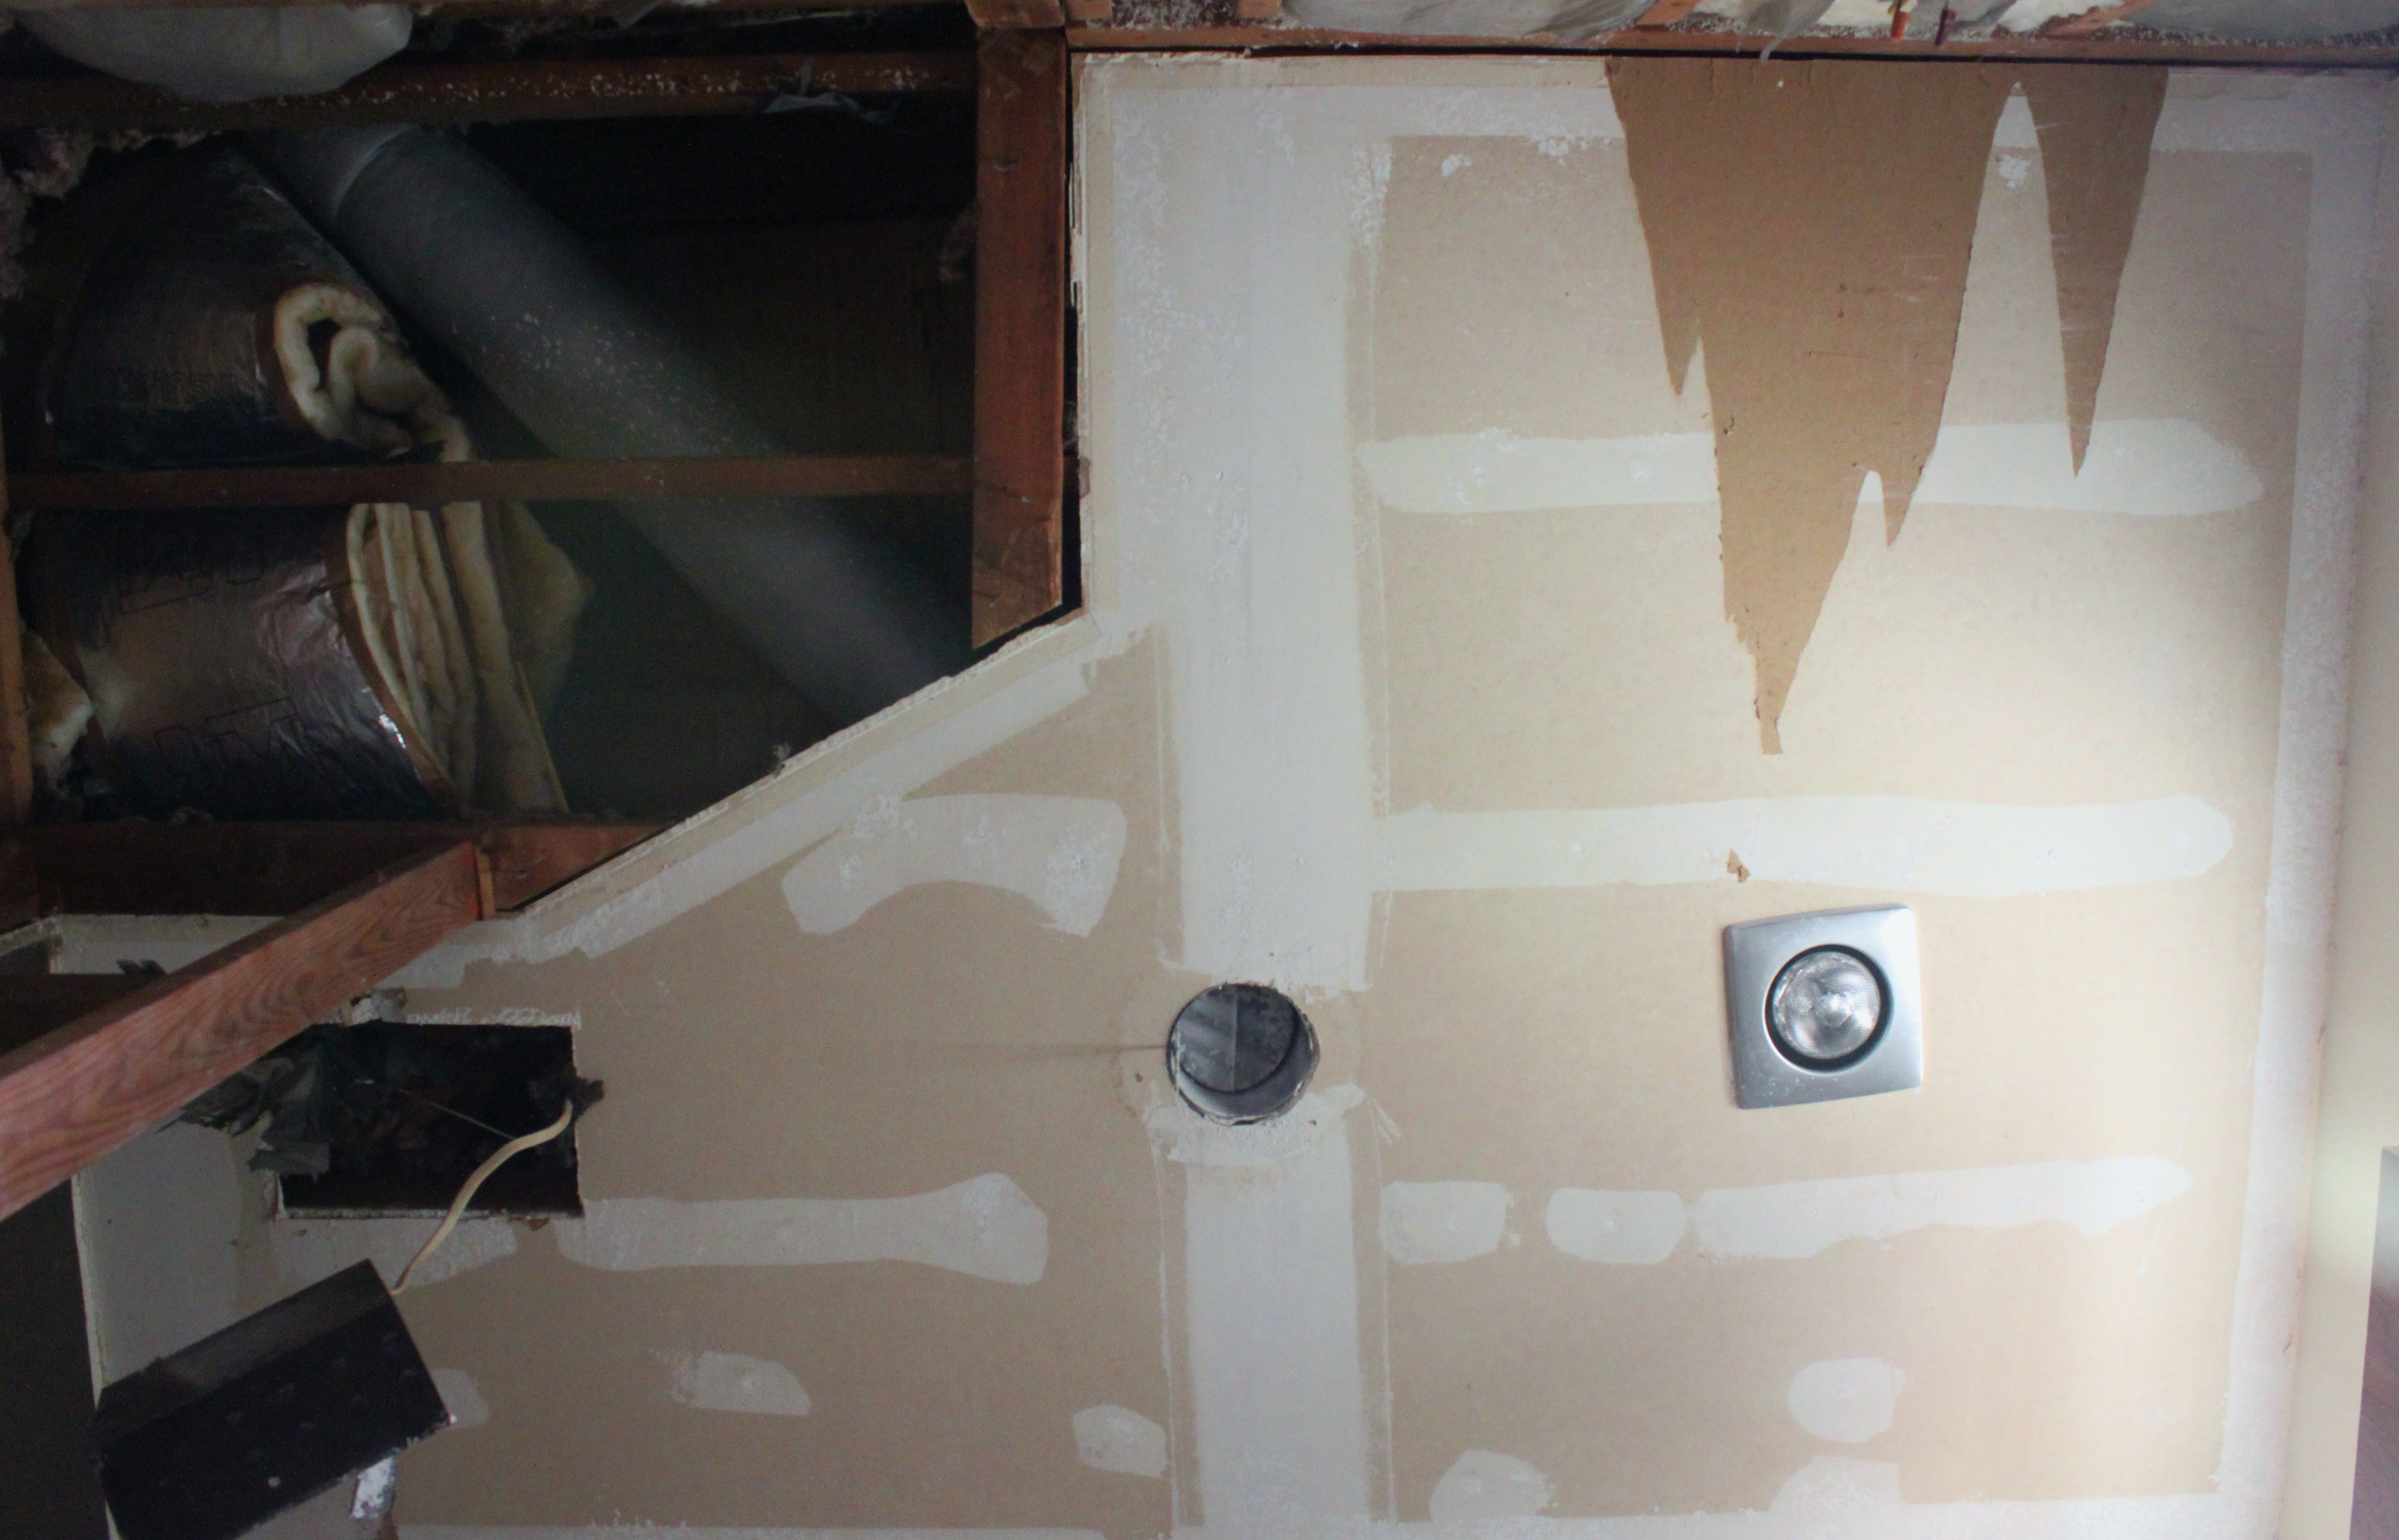
Finally, it’s starting to look like a bathroom again.

“But what’s that little fireplace-looking-bump-out-thing on the left?” you’re probably asking……

We’ll get to explaining that in a bit…

Share this:

  • Share on Facebook (Opens in new window) Facebook
  • Share on LinkedIn (Opens in new window) LinkedIn
  • Share on X (Opens in new window) X
  • Share on Pinterest (Opens in new window) Pinterest
Like Loading...

The Whole Bathroom Floor

Posted by James on May 27, 2015
Posted in: New Home. Tagged: Master Bathroom, Master BAthroom Floor, Master Bathroom Remodel, Nicole Curtis. 14 Comments

After prying everything off the old bathroom floor……3 layers of vinyl flooring, a layer of tar paper and one more layer of hardie-board…..

We are left with this loveliness….

Master Bathroom Lowest Floor

If this were “Rehab Addict”, Nicole Curtis would simple stain this diagonal floor and call it a day…but, Ummm…we have slightly higher standards than that.

So we are laying a sub-floor and then tile.

Choke on that Nicole Curtis.

The distance from this floor to the current bedroom hardwood is just about 1 1/4 inches……

Depth of the MDF Subfloor and the Hardwood in  the Master Bedroom

We’d like it to be somewhat the same…..

Here’s the layers we’ll add:

  • 1/4″ Plywood
  • 1/2″ Cement Board
  • 1/2″  Tile

Started with the plywood.

James Attaching the Plywood Sub-Floor with Decking Screws

Screwed it down with as many screws as I possibly could.

Master Bathroom Quarter Inch Plywood Sub-Floor

Pretty decent job.

The blue tape lines on the wall tell me where the cross beams under the house are. Wanna make sure all my boards are screwed into that.

Then a layer of cement board. 1/2″ Hardi Backer Board. Pretty standard in a house these days……Not so much in 1972.

The New Master Bathroom Cement Board Sub-Floor

Looking pretty good. Screwed this down too. With screws for Hardi Board.

Screws for Hardi Backer Boards

Once we add the 1/2″ thick tile we should be up to the same floor height as the bedroom…..

So we thought.

Then my brother pointed out that the grout under the tile has a depth……

Oh well, mistake number one…at least it’s a small one.

Let’s call it a 1/4 inch mistake.

Share this:

  • Share on Facebook (Opens in new window) Facebook
  • Share on LinkedIn (Opens in new window) LinkedIn
  • Share on X (Opens in new window) X
  • Share on Pinterest (Opens in new window) Pinterest
Like Loading...

Sweet Potato Ice Cream with Charred Marshmallows and Bourbon

Posted by James on May 25, 2015
Posted in: New Home, Recipes. Tagged: Sweet potato Ice Cream, Sweet Potato Icecream. 3 Comments

Sweet Potato Ice Cream with Charred Marshmallows and Bourbon from the Cavender Diary Boys

I know, right?

Let’s get right to this.

Here’s what ya need…..

  • 1 1/2 Cups Cubed Sweet Potato
  • 2 Cups Whole Milk
  • 4 TBS Soft Cream Cheese
  • 1 1/4 Cups Cream
  • 1/3 Cup Sugar
  • 1/3 Cup Brown Sugar
  • 1/4 TSP cinnamon
  • 1/4 TSP Sea Salt
  • 2 TBS Molasses
  • 1 Cup Mini Marshmallows
  • 1/4 Cup Bourbon
Start with a sweet potato about the size of your hand. Or my hand. Either way, you’ll want about 1 1/2 cups peeled and diced.

 Perfect Size Sweet Potato Collage

Add the diced sweet potato and the milk to a sauce pan.

2 Cups of Milk and 1 and a Half Cups of Diced Sweet Potato

Bring the mixture to a boil then reduce the heat to simmer.

Stir constantly, until the potato is completely cooked and falling apart. About 4-6 minutes depending on how finely you diced it.

Heat the Milk and Swet Potato Chunk to a Boil the Simmer

Once the potato is fully cooked, you’ll want to blend everything together.

I’ve had this Braun hand mixer since the Reagan administration. No kidding. It’s that good.

If you don’t have one, you can use a food processor.

Us ea Handmixer to Completely Break up the Sweet Potato Collage

When the potato/milk mixture is lump-free, add the softened cream cheese, cream, sugars, salt, cinnamon, and molasses.

Here’s a trick for measuring molasses. Spritz the measuring spoon with a shot of non-stick cooking spray first. The molasses will slide right out. (Just make sure the cooking spray isn’t garlic flavor)

Measuring Molassas Collage

Bring the mixture back to a boil, stirring constantly again and scraping the sides of the pan. Then remove it from the heat and blend the hell out of it once more.

Use a Handmixer to Completely Blend all the Ingredients

Here’s the perfect consistency. Not too lumpy, and not too thin.

Perfect Consistancy

Set this mixture aside and let it cool completely before adding it to the ice cream maker. A few hours in the fridge is best.

Scoop the mix into the bowl of your ice cream maker and pour in about a quarter cup of good bourbon. (More, if you’re making this for adults only. OR…… if the kids are going to eat some and you want them to fall asleep a little earlier)

Add About a Quarter Cup of Good Bourbon

Takes about 25 minutes of churning away until the ice cream is the consistency of a Wendy’s Frosty. If y’all are keeping track, that’s use numero dos for our ice cream maker. It’s almost like it’s paying for itself at this point.

Now, to char the marshmallows.

You’ll need about a cup of mini marshmallows.

Maybe, slightly more than a cup. Ours tend to get eaten before they can make it into the icecream.

About 1 Cup Mini Marshmallows

Spritz a cookie sheet with cooking spray……

Spray a Cookie Sheet with Pam Cooking Spray

……and arrange the marshmallows so that none of them are touching.

Spread the Mini Marshamallows Evenly on the Sprayed Cookie Sheet

Use a hand-held butane kitchen torch to char the marshmallows. Let them cool, flip them over, and torch the other sides too.

Don’t worry if a few catch on fire. Because they will.  If I remember correctly from my childhood summers at camp…….they’re better that way anyway.

Use a Kitchen Torch to Char the Mini Marshmallows Collage

Sprinkle your charred marshmallows on top of the churned ice cream in a Tupperware and stick it in the freezer for a few more hours.

When it’s firm enough for your liking, scoop it into waffle cones, and enjoy.

Sweet Potato Ice Cream with Charred Marshmallows and Bourbon from the Cavender Diary Boys

Sure, you can skip the addition of the fire-water……but I wouldn’t. (Insert evil grin here)

Sweet potato ice cream, Who knew?

You better believe that you’re welcome.

Happy Memorial Day

Share this:

  • Share on Facebook (Opens in new window) Facebook
  • Share on LinkedIn (Opens in new window) LinkedIn
  • Share on X (Opens in new window) X
  • Share on Pinterest (Opens in new window) Pinterest
Like Loading...

Driving Out the Darkness…

Posted by James on May 24, 2015
Posted in: New Home. Tagged: Master Bathroom, Master Bathroom Remodel. 1 Comment

About time that we did something about the lighting in that master bathroom.

Because currently……..there isn’t any.

My brother Ben replaced the old, ecru mini-switches ……

Ben Installing the New Electrical Collage

…..with a modern white toggle (for the fan) and a dimmer (for the overhead lights).

New Switches in the Master Bathroom

There used to be a chrome 1970’s vanity light over the sink…..well, more over the mirror than the off-centered sink,

Cavender House Master Bathroom

Since we’re adding 4 can lights to the ceiling, we aren’t going to need that now. So Ben cut it down to just 2 switches. (He simply disconnected the fixture from the power source and shoved the now unused wire back into the wall)

I know what y’all are thinking here, “You’re NOT going to do sconces over the sink?”

Ahhhh nope. Not this time. Probably in the other bathroom.

Before we drywalled the ceiling, I labeled the power cable for the new can lights (formerly the power for the also off-centered heat lamp in the ceiling) and shoved it back up into the attic.

I Labled the Power Before I Sealed it up with Drywall

The rest of the house has 4 inch can lights. But the bathrooms are both so small – only 5’X8′ – that we’re going with 3 inch cans.

These specific 3 inch can lights. 

3 inch White Gimbal Recessed Light Kit from the Home Depot.

New 3 Inch Recessed Can Lights for the Master Bathroom

If you’ve never hooked up a light fixture before, they’re pretty easy. The hardest part is centering them between beams on the ceiling.

We had a bit of an advantage.

Before we installed new drywall on the ceiling over all this ugliness…..

Master Bathroom Ceiling After Jamie Scrapped the Popcorn Off

Ben and I made a spacing map of exactly where each new can light should go,

Bathroom Lighting Map

……because there is only so much space between all the oddly placed beams and vents and what not.

Each light kit comes with a paper template to mark the hole location on the ceiling…..

Template for Can Lights

I just thumb-tacked it to the newly dry-walled ceiling just where the can light needed to be, and traced it with a pencil.

Trace the Template on the Ceiling

Then I used a drywall saw to cut my hole.

I could use a drill with a hole-cutting attachment…but drywall is pretty easy to saw through with a hand-saw. Or even a serrated steak knife if you have too.

Use a Drywall Saw to Make Hole for Can Light

I stuck my hand through the hole and pulled out the first electrical cord I could reach.

There were 2….One from the heat lamp and one from the vanity light…..Good thing I labeled my power source before we dry-walled the ceiling.

Good Thing I Labled the Power in the Ceiling

I’d love to show y’all the exact steps for connecting the can lights. But I was too busy to take photos.

So here’s the summary:

  • White connects to white,
  • Black connects to black,
  • The whole unit gets shoved into the hole in the ceiling.
  • Done.

Here’s what we see now when we lay on the bathroom floor and look up….

Finished Can Lights in the Master Bathroom Ceiling

I know. They aren’t perfectly gridded – that one light in the shower is just a few inches away from his 3 friends – and they never will be.

Not without rebuilding the ceiling, anyway.

I’ve made my peace with that fact.

No one will even notice.

All anyone will see if a beautifully lit bathroom.

Share this:

  • Share on Facebook (Opens in new window) Facebook
  • Share on LinkedIn (Opens in new window) LinkedIn
  • Share on X (Opens in new window) X
  • Share on Pinterest (Opens in new window) Pinterest
Like Loading...

Back From the Dead……

Posted by James on May 20, 2015
Posted in: New Home. Tagged: flower beds. 12 Comments

When we moved into the Cavender house 5 (Has it really been 5 years already?) years ago….our front flower beds were filled with Indian Hawthorn.

Cavender House May 2011

Not a very pretty bush. Just kinda …….there.

It was only 2 years ago that we removed the not-quite-our-taste bushes from the front flower beds and added all this awesomeness.….

Cacti and succulents….

Flower Beds on the Right Side of the House full of Plants

But 7 months later, after a particularly grueling winter, everything looks like this……

IMG_1284

Here, get a closer look at the devastation….

IMG_1287

IMG_1286

IMG_1285

We were a little bummed too. Even considered calling FEMA.

Thought we were picking plants that were hardy. They were perfect for our Texas summers…..not so much the winters.

But now, a little over a year later, we’ve grown into this…..

The Cavender House Flower Beds May of 2015

The Cavender House Front Porch May of 2015

Like a breath of fresh air…….and green grass.

The Cavender Diary House Front Yard May of 2015

Might possibly look this spectacular because Jamie spends every Saturday working in the yard.

possibly…..

Share this:

  • Share on Facebook (Opens in new window) Facebook
  • Share on LinkedIn (Opens in new window) LinkedIn
  • Share on X (Opens in new window) X
  • Share on Pinterest (Opens in new window) Pinterest
Like Loading...

Artist Profile – Mimi Kirchner

Posted by James on May 17, 2015
Posted in: Did Ya Know?, New Home. Tagged: Lumberjack Doll, Mimi Kirchner, Mimi Kirchner Dolls, Strong Man Doll. 19 Comments

I’ve had this picture of a lumberjack doll with toile tattoos pinned on my Pinterest page for a few years now.

Mimi Kirchner Lumberjack in Red Plaid Shirt

Thought I’d try to make one in my spare time…..(Like I have any).

I didn’t really know anything about him.

Hello, Google.

Google instantly led me to the crazy talented Mimi Kirchner,

The Very Talented Mimi Kirchner

….and the fanciful soft-sculptures that she creates.

After what she calls a “20 year distraction in ceramics”, Mimi finally followed her true calling and started creating people and animals from scraps of gently used old fabrics. She calls this “rescuing”. Working out of her house in a Boston suburb, Mimi’s Etsy shop has been steadily buzzing since 2006.

Although her imagination has led her to craft everything from fish, to swaddled babies, and even robots; it’s her lumberjacks, soldiers, and tattooed strong men that I like the best.

See for yourselves,

Mimi Kirchner Strongman with Toile Skeleton Tattoos

Face Detail on Mimi Kirchner Strongman

Mimi Kirchner Tatooed Red Beard Collage

Mimi Kirchner Mustached Strongman

Face Detail on Mimi Kirchner Doll

Mimi Kirchner Red Beard Lumberjack Collage

Mimi Kirchner Lumberjack Doll

Mimi Kirchner Blond Beard Red Pants Collage

Chest Detail on Mimi Kirchner Lumberjack

Mimi Kirchner Soldier in Red Jacket

Mimi Kirchner Metals

Mimi Kirchenr Tattooed Sailor

Mimi Kirchner Sailor Collage

Mimi Kirchner Kilt Man

Too much masculine doll-energy for ya?

Don’t worry, There are plenty of tattooed ladies too.

3 Mimi Kirchner Tattooed Ladies

Check out more of Mimi’s extensive work, inspiration, and maybe even a few vacation photos on her blog .

Share this:

  • Share on Facebook (Opens in new window) Facebook
  • Share on LinkedIn (Opens in new window) LinkedIn
  • Share on X (Opens in new window) X
  • Share on Pinterest (Opens in new window) Pinterest
Like Loading...

The Shower Sub-Floor

Posted by James on May 16, 2015
Posted in: New Home. Tagged: Master Bathroom, Master Bathroom Shower, shower floor. 4 Comments

I know that this probably isn’t too thrilling, but I documented it anyway.

The previous shower had rotted through the sub-floor……good thing we never used it. The cross beams were a little weathered as well. We solved that issue by doubling them up with new pressure treated 2X6’s attached with lag screws.

Way, Much, More better….but we’re still left with a “Reverse-Nevada” shaped hole in the floor completely exposing our crawl space.

Reinforced Beams in the Reverse Nevada Shaped Shower Hole

First off, we need to get the hole up to the height of the existing sub-floor, 1/2 inch. There’s no way I’d ever get a 4X8 sheet of 1/2 inch plywood in my Jeep.

No worries, because I found Ismael at the Home Depot to cut it for me. More like; he found me and even asked if I needed any help today. He must be new….all the other guys there know to run the other way when they see me with a cart of lumber.*

*(I’m a little too precise with my measurements for most of them…..and have been know to make them re-cut wood before. You know, until they get it correct)

Ismal at H Depot Cutting My Plywood Subfloor

Didn’t faze Ismael one bit. He sliced that 4X8 sheet into 5 perfect pieces.

Most importantly, one piece 39″ X 30″, and another 51.5″ X 32.5″ (I checked his work with my own tape measure)

These pieces will fit in my Jeep just fine.

My 4 X 8 Plywood Sheet Cut into 5 Pieces

The 39″ X 30″ piece will become the “Reverse-Nevada” after I slice a corner off…….like so.

IMG_8750

Should fit in my empty space just perfectly. But I can’t tell because there’s a drain in the way.

I must slice the “Reverse-Nevada” in half with a circular saw and make room for the drain.

Slicing that Reverse Nevada Collage

After making a cut-line through the almost middle, I use a drinking glass as a template for the drain hole. Pretty clever, I know.

I Use a Drinking Glass as a Template for the Drain

Once the board is cut in half, I used a jig-saw to cut out the 2 half-circles.

I Use a Jig Saw to Cut my Hole

Then simply slipped it around the drain. (I know, looks like my precise measurements were about 1/4″ off on the left)

My Perfect Reverse Nevada Shaped Plywood Subfloor

I screwed the “Reverse-Nevada” down with about 25 drywall screws, and started the process over with the 51.5″ X 32.5″ sheet.

This one will cover the entire shower floor. It took 3 slices to get it around the drain, but it fits beautifully.

The Full Plywood Subfloor in Our Shower

Did the same with 1/2″ thick cement board. Could not possibly screw this thing down enough.

The New Shower Floor with the Cement Board

So there ya have it.

Looks like our plumber centered that drain just perfectly BTW.

The new dimensions of the shower floor, 51 X 32 (Pretty big for an 8′ X 5′ room)

Still have to do a layer of sloping Quickcreate, the water-proof liner, and tile.

And Way, More Better than the gaping hole that was there this morning…….

Share this:

  • Share on Facebook (Opens in new window) Facebook
  • Share on LinkedIn (Opens in new window) LinkedIn
  • Share on X (Opens in new window) X
  • Share on Pinterest (Opens in new window) Pinterest
Like Loading...

Chili Mango Margaritas

Posted by James on May 5, 2015
Posted in: New Home, Recipes. Tagged: Chili Mango Margaritas, Mango MArgaritas, Margarita Recipe. 9 Comments
I love paletas.
Mexican popsicles.
We don’t have a traditional ice cream man in our neighborhood, we have Latino guys, Paleteros, on bicycles with coolers filled with paletas and bomb pops.
My favorite? That’s easy, mango. Mango with chili.
Jamie and I will be working in the yard, and I’ll hear the bells chiming a few blocks away.
Feverishly, I’ll dig in my pockets for dollar bills, because I need 2 for a paleta.
“Amigo,” (Flawless execution of my 3 years of High School Spanish, BTW) ” Tengas mango con chili?”.
He gives me a knowing smile – because I’m a Weto – and digs one out of the bottom of the cooler. A “weto”  is someone who looks white on the outside, but is Mexican inside. (Still unsure if that’s a compliment or not)
Here’s my version of that spicy/sweet paleta…in margarita form. Because everything is better with tequila.
  • About 1 Cup of Ripe Mango, Cubed and Frozen
  • 1 Cup Orange Juice, Frozen Also
  • Juice of 2 Small Limes
  • 3 Ounces  Silver tequila
  • 1 Ounce Triple Sec  or Orange Liquor
  • Dash of Tabasco
  • 1 Tbs Agave Nectar (For Added Sweetness if Needed)

Mangos should be soft, but not squishy. Peel, slice the fruit off the flat pit, and dice into chunks. Freeze them overnight. Add all the ingredients to the blender (with more – or possibly less? – tequila to suit your tastes) and pulse till smooth.

Add About a Cup of Chopped Frozen Mango to the Blender

My secret to making easy frozen margaritas is to freeze the liquids first.

6 orange juice ice cubes is just about 1 cup of liquid.

Freeze Orange juice in Ice Cube Trays

Tabasco may seem like an odd thing to add to a margarita, but trust me on this one…..just a few shakes is all it takes.

The Secret Ingredient is Tobasco Sauce

To prep the glasses: Rub the rim of each glass with a lime wedge, then rub it in a mixture of equal parts sea salt and chili powder to coat.

Rim the Glass for the Chili Mango Margaritas Collage

Pour your frozen margaritas into the chili/salt rimed glasses and enjoy with a friend. This recipe makes 2 because no one should ever drink margaritas alone.

Chili Mango Margaritas From the Cavender Diary Boys
Spicy/Sweet, Mind = Blown,
I need to make these every weekend.
Or find a push-cart and sell them in our front yard.
Happy Cinco de Mayo, y’all.

Share this:

  • Share on Facebook (Opens in new window) Facebook
  • Share on LinkedIn (Opens in new window) LinkedIn
  • Share on X (Opens in new window) X
  • Share on Pinterest (Opens in new window) Pinterest
Like Loading...

May the Fourth…….

Posted by James on May 4, 2015
Posted in: Did Ya Know?, New Home. Tagged: George Lucas Quote. Leave a comment

George Lucas Quote

Share this:

  • Share on Facebook (Opens in new window) Facebook
  • Share on LinkedIn (Opens in new window) LinkedIn
  • Share on X (Opens in new window) X
  • Share on Pinterest (Opens in new window) Pinterest
Like Loading...

Which White is the Right White?

Posted by James on May 3, 2015
Posted in: New Home. Tagged: Master Bathroom, Master Bathroom Remodel, Ralph Lauren Brilliant White Paint, Semigloss VS Flat Paint. 4 Comments

Say that 10 times real fast.

The last time we caught y’all up on the master bathroom the walls were ready for paint.

Because our tile is gunna be pretty colorful, (OOOPS, said too much about that already), we thought that we’d do solid white walls.

I’m not really a big fan of white walls. I know every hipster-home-tour featured on Apartment Therapy has plain ol’ white walls. I need warmth, not sterility. But it’s a small room, and even with the one little window, we’re gunna need all the light we can get in there.

So white it is…..

and like I said earlier…….

Which white is the right white? We started with Ralph Lauren paint, mostly because I enjoy a 40 dollar can of paint displayed in the garage. (Honestly, that’s the only reason.)

And, of course, Mr. Lauren does do some beautiful colors…….especially whites.

4 Bathroom Whites to Choose From.jpg

We brought home a few testers of whites and slapped them on the wall. Aren’t they all so drastically different? Well, much more so in person.

Here they are in natural light……

4 Bathroom White Paints in Daylight

And here they are with the overhead light on…..

4 Bathroom White Paints in Electric Light

Clearly there’s a winner. (Even with the terrible pictures)

“Brilliant White”, the one in the bottom right corner.

To make our white even more white…I primed every surface with Kilz 2 Latex Primer.

Kilz Latex Primer

After the Kilz comes a few coats of Ralph Lauren Brilliant White….in flat.

Never, NEVER, NEVER in Semi-gloss. Sure, the “part-time high school kid working in the paint department” at the Home Depot will tell you that semi-gloss paint is better in a bathroom or kitchen. But he’s wrong. Soooo VERY wrong. Semi-gloss paint on walls looks institutional; like a hospital room or reform school….or, better yet, a McDonald’s. The next time you’re at a fast food restaurant, take a look at the walls. Semi-gloss….I guarantee you. You’re better than that. We both are. And we all deserve soft, light-filled spaces to live in.

So…..in conclusion…..flat paint.

James Pouring Ralph Lauren Brilliant White Paint

Notice how I use that “W” painting technique they always preach about on HGTV shows…..

James Painting Brilliant White on the Master Bathroom Walls

After 2 coats of Kilz primer, and 2 more coats of Ralph Lauren Brilliant White.

We were left with this (Iphone panoramic) awesomeness…..

Panoramic of White Walls in the Master Bathroom

And how about that ceiling?

Painted Ceiling in Master Bathroom Panoramic

May not look like much,

But it’s a giant step of progress to us.

Stay tuned. Because this project is really on a roll now…..

Share this:

  • Share on Facebook (Opens in new window) Facebook
  • Share on LinkedIn (Opens in new window) LinkedIn
  • Share on X (Opens in new window) X
  • Share on Pinterest (Opens in new window) Pinterest
Like Loading...

Posts navigation

← Older Entries
Newer Entries →
  • The Cavender Boys

  • Buy My Book

    Check out the link below to get your copy of "DIY Industrial Pipe Furniture & Decor" by James Angus

    https://amzn.com/1612436064

  • Tags

    American Flag Apartment Therapy arts Backyard Bathroom Remodeling Beacon Blanket Big Tex Black Spray Paint Bloggers Can Lights Cedar Walls Christmas Christmas Decorating Christmas Ornaments Christmas Tree Crazy Mouse Ride Den Diane Keaton diy Doberman Earth Grout Edward Curtis Electrical Work Fletcher's Corny Dogs flower beds Frankoma pottery Front Yard Garage Garage Update Halloween Halloween Decorating happy halloween harley Harley Davidson home House Tour Houzz hudson bay blankets Ikea Ikea Borrby Lantern illustration july 4th Key West Trip Kitchen Remodel Living Room mantle Master Bathroom Master Bathroom Remodel Master Bedroom mercury ornaments merry christmas Modern Horizontal Fence Motherhood Paint Colors plumbing pipe Projects Ralph Lauren restoration hardware Russet Stain Shiny Brite Ornaments state fair of texas style Swiss Army Blanket Target technology Texas State Fair thanksgiving Thrift store Tile Backsplash travel vacation Vintage chair vintage christmas vintage ornaments Wood Wall
  • Recent Posts

    • Vacation ’24
    • Happy Halloween
    • Planes, Trains & the Occasional Uber
    • Family Secrets
    • Capitol T, and that Rhymes with P
  • Archives

    • June 2024
    • October 2023
    • June 2023
    • April 2023
    • July 2022
    • December 2021
    • July 2021
    • December 2020
    • October 2020
    • September 2020
    • August 2020
    • July 2020
    • June 2020
    • May 2020
    • April 2020
    • March 2020
    • February 2020
    • January 2020
    • December 2019
    • October 2019
    • April 2019
    • January 2019
    • December 2018
    • November 2018
    • October 2018
    • September 2018
    • June 2018
    • May 2018
    • April 2018
    • March 2018
    • January 2018
    • December 2017
    • October 2017
    • September 2017
    • August 2017
    • July 2017
    • June 2017
    • May 2017
    • April 2017
    • March 2017
    • February 2017
    • January 2017
    • December 2016
    • November 2016
    • October 2016
    • September 2016
    • August 2016
    • July 2016
    • June 2016
    • May 2016
    • April 2016
    • March 2016
    • February 2016
    • January 2016
    • December 2015
    • November 2015
    • October 2015
    • September 2015
    • August 2015
    • July 2015
    • June 2015
    • May 2015
    • April 2015
    • March 2015
    • February 2015
    • January 2015
    • December 2014
    • November 2014
    • October 2014
    • September 2014
    • August 2014
    • July 2014
    • June 2014
    • May 2014
    • April 2014
    • March 2014
    • February 2014
    • January 2014
    • December 2013
    • November 2013
    • October 2013
    • September 2013
    • August 2013
    • July 2013
    • June 2013
    • May 2013
    • April 2013
    • March 2013
    • February 2013
    • January 2013
    • December 2012
    • November 2012
    • October 2012
    • September 2012
    • August 2012
    • July 2012
    • June 2012
    • May 2012
    • April 2012
    • March 2012
    • February 2012
    • January 2012
    • December 2011
    • November 2011
    • October 2011
    • September 2011
    • August 2011
    • July 2011
    • June 2011
    • May 2011
    • April 2011
    • March 2011
    • February 2011
    • January 2011
    • November 2010
    • August 2010
    • June 2010
    • May 2010
    • April 2010
    • March 2010
    • February 2010
  • Enter your email address to follow this blog and receive notifications of new posts by email.

    Join 2,158 other subscribers
  • @CavenderDiary

    Tweets by CavenderDiary
  • The Cavender Diary

    The Cavender Diary
  • The Cavender Diary

    • RSS - Posts
    • RSS - Comments
  • Blogs Worth Watchin'

    • An Urban Cottage
    • Apartment Therapy
    • Beard and Pigtails
    • Brooklyn Limestone
    • Burlap & Denim
    • Camp Wandawega
    • Color Outside the Lines
    • Decorpad
    • Decorum DIYer
    • Den & Delve
    • Design Hazards
    • Domestic Daddy
    • Domestic Imperfection
    • Eclectically Vintage
    • Emily Henderson
    • Fourth Floor Walkup
    • Funky Junk Interiors
    • Handmade America
    • Heather Bullard
    • Houzz
    • I Heart Organizing
    • Japanese Trash
    • kara pasley designs
    • Manhattan-Nest
    • Merrypad
    • Nine Red
    • Our Humble Abode
    • Our Vintage Home Love
    • Pure Style Home
    • Red Bird Vintage Home
    • Roger & Chris
    • Sweetsuite
    • Tara Bradford Photography
    • The Brick House
    • The Inspired Room
    • The Lettered Cottage
    • The Recipe Grinder
    • Today's Nest
    • Vintage Revivals
    • West Eastern
    • Yellow Brick Home
    • Young House Love
  • Steal Our Style

    • American Photo Archive
    • Art's Not Dead
    • Barn Light Electric
    • Bauer Pottery
    • CB2
    • Decades Home
    • Design Within Reach
    • El Paso Saddle Blankets
    • Fiestaware
    • Jonathan Adler
    • Just Modern Decor
    • Lucky Stars Ranch
    • Pendleton
    • Pottery Barn
    • Ralph Lauren Home
    • Ranger Doug
    • Restoration Hardware
    • School House Electric & Supply Co.
    • Sonic Editions
    • The Curiosity Shoppe
    • The Land of Nod
    • Urban Outfitters
    • West Elm
    • Wisteria
Blog at WordPress.com.
THE CAVENDER DIARY
Blog at WordPress.com.
  • Subscribe Subscribed
    • THE CAVENDER DIARY
    • Join 1,063 other subscribers
    • Already have a WordPress.com account? Log in now.
    • THE CAVENDER DIARY
    • Subscribe Subscribed
    • Sign up
    • Log in
    • Report this content
    • View site in Reader
    • Manage subscriptions
    • Collapse this bar
 

Loading Comments...
 

    %d